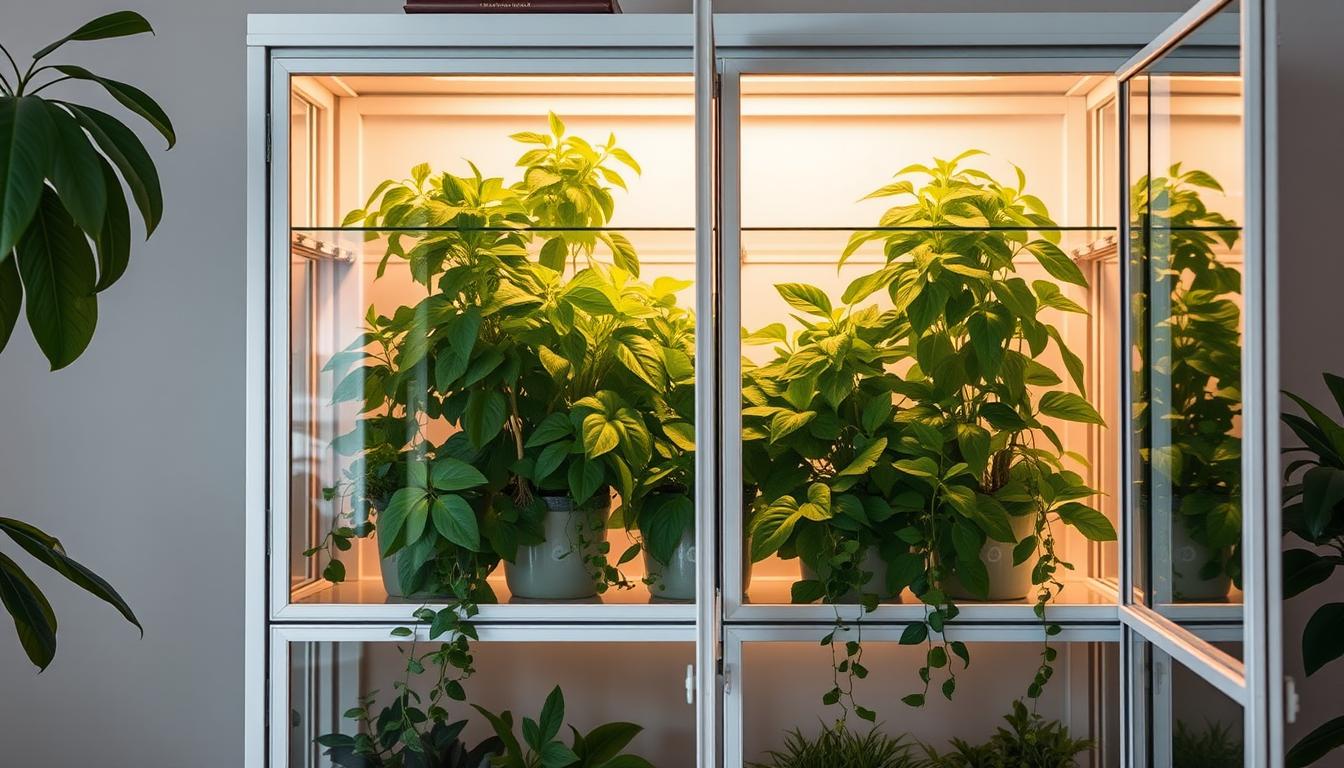
Can a simple display cabinet become a self-contained microclimate that boosts growth and adds style to your home?
This guide shows you how to plan, build, and style a thriving indoor greenhouse using an IKEA base. You’ll learn to map light and outlets, seal doors, add lights and ventilation, and keep humidity steady for healthy plants.
Popular bases like MILSBO, FABRIKÖR, RUDSTA, and DETOLF adapt well to upgrades. Many DIYers pair units, add pegboard, or use glass shelving to improve light penetration. With basic weatherstripping and fans, reported humidity can reach about 80% when sealed.
Expect a flexible build: go minimal with a clean look or add controllers and a humidifier for more control. Focus on tidy wiring and safe pass-throughs so the cabinet stays safe and low-maintenance.
Key Takeaways
- Plan layout, light, and outlets before you assemble the cabinet.
- Sealing doors and adding fans raises humidity and circulation.
- Simple upgrades like lights and weatherstripping yield strong growth.
- Choose shelving and finishes based on light needs and style.
- Measure light and humidity to fine-tune conditions over time.
Plan Your IKEA Greenhouse Cabinet: Models, Space, and Budget
Start by matching a base to your room: size, light needs, and budget set the tone for the build. Think about how much glass you want, how tall your tallest plants will be, and where power will run.
Choosing your base: MILSBO, FABRIKÖR, RUDSTA, DETOLF compared
- MILSBO cabinet — clean lines and room for taller specimens; good if you want a vertical display.
- FABRIKÖR — bold colors and easy terrarium conversions for sealed setups.
- RUDSTA — roomy and forgiving for tropical or propagation mixes.
- DETOLF — lots of glass for excellent light spread inside the unit.
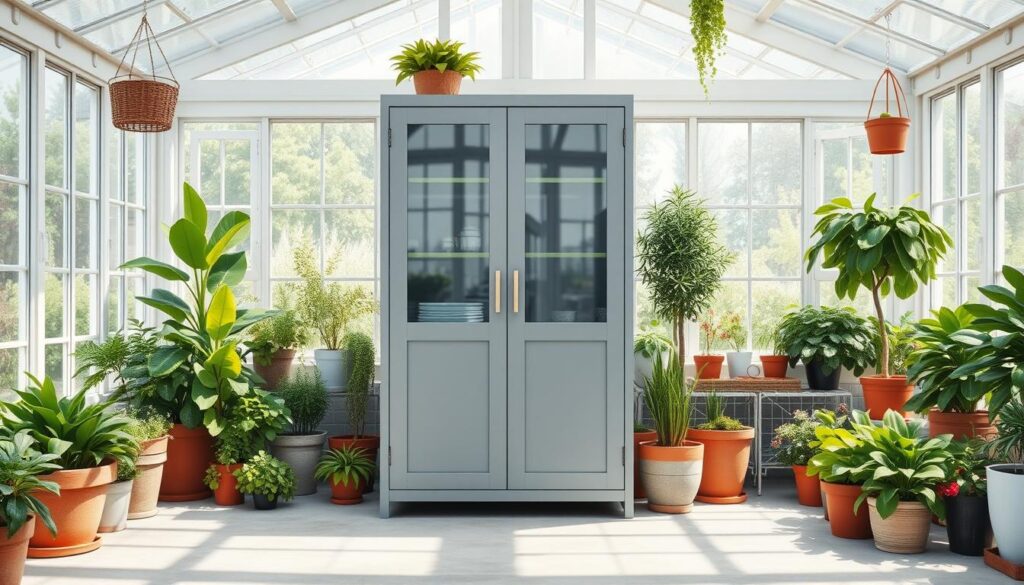
Assess room light, airflow, and outlets
Measure wall width, ceiling clearance, and space for opening doors. Leave room at the bottom for a power strip or pass-through.
Plan a 50–70mm hole for cables, pick the right drill bit, and rust-proof cut edges after drilling. Pair cabinets or add pegboards and wire shelving for airflow if you expect higher humidity.
“Match the base to your care needs — good planning saves time and keeps your microclimate steady.”
Tools, Hardware, and Grow Gear Checklist
Before you drill a single hole, gather the tools and grow gear that make the job quick and safe. This short checklist keeps the work clean, reduces mistakes, and protects your setup.
Hand and power tools
Essentials: a drill with a hole saw bit, safety glasses, ear protection, a dust mask, scissors, and a tape measure. Use a vacuum to clear metal shavings while you work; drilling through two metal layers can take minutes with a low-powered drill.
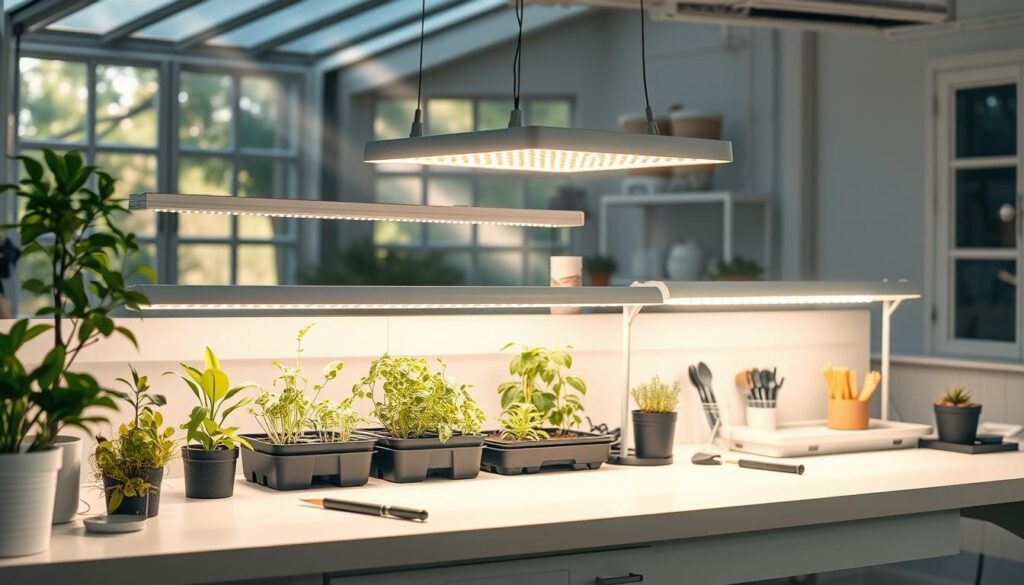
Build hardware
Finish cable pass-throughs with grommets and protect raw edges with primer and white spray paint or zinc spray paint. Stock up on metal brackets, screws, heavy double-sided tape, and foam tape for door seals.
Grow gear and wiring
Choose slim LED grow lights like Barrina 2-foot strips and a light meter. Add a thermometer/hygrometer, mini USB fans, a humidifier, timers, and a cable management box or management box to hide cords.
“Vacuum metal shavings immediately, use grommets for pass-throughs, and route wires through a management box for safety.”
For extra tips and a photo reference, see this assembly reference.
IKEA Greenhouse Cabinet Assembly and Core Modifications
Begin with a clear plan for cable ports, mounts, and seals before final assembly. Small, careful cuts and good rust protection keep the enclosure safe in higher humidity.
Tackle ports first. Mark and drill the cable port through the two bottom metal layers with a hole saw bit (50–70mm). Vacuum shavings as you cut and fit a snug grommet so cords slide without abrasion.
Immediately treat raw metal edges. Prime exposed cuts and coat with white spray paint or zinc spray paint to prevent rust when humidity rises.
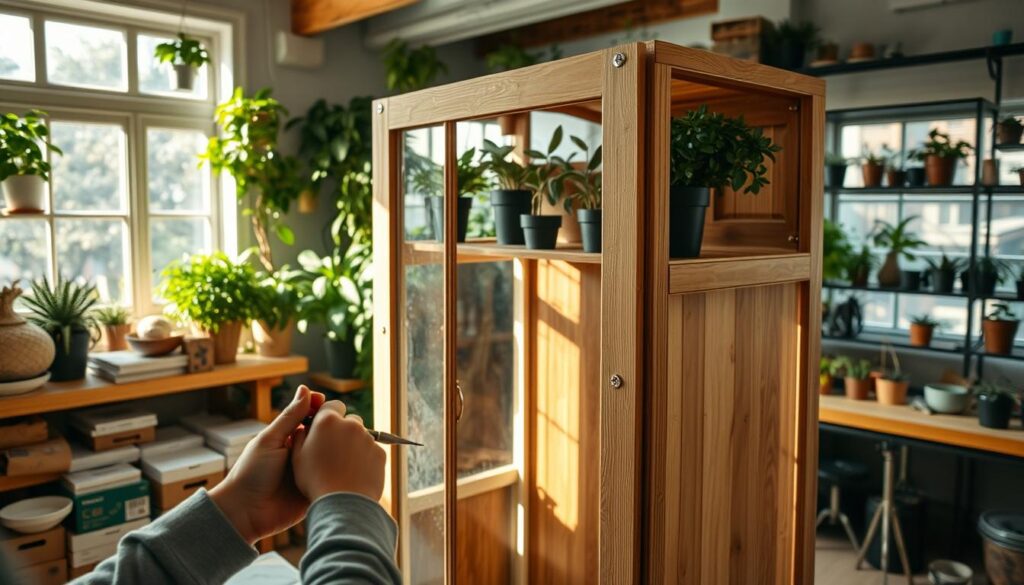
- Seal the doors with foam tape at frame contacts to boost internal humidity; many builders report major gains.
- Plan power and run wire paths for a MILSBO cabinet or similar; hide cords with a management box and zip ties.
- Mount lights on wood cleats or concealed brackets under the roof and dry-fit glass and plants before final fasteners.
“Rust-proof raw edges and seal gaps early — these small modifications make the unit last and perform better.”
Lighting, Ventilation, and Humidity: Dialing in a Healthy Microclimate
Good light, steady airflow, and measured humidity make the difference between a tired shelf and a thriving microclimate. Focus first on placement and schedules, then monitor and tweak weekly.
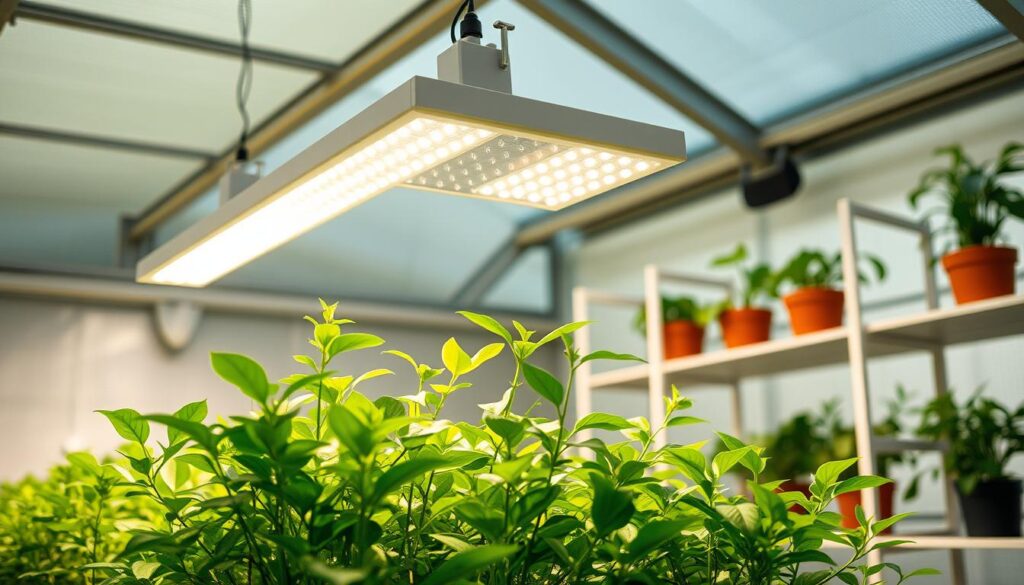
How to place grow lights for aroids and tropicals
Place a top light across the ceiling and add a vertical side grow light strip to create layers of intensity.
Aroids often thrive at about 200–800 foot-candles for roughly 12 hours. Measured setups with two Barrina 2-foot bars produced ~1400 FC at the top, ~400–600 FC mid, and ~200 FC low in a milsbo cabinet.
Air movement strategy that prevents mold
Run a compact fan 24/7 to keep fresh air moving. Aim the flow across shelves and not directly at delicate foliage.
Leave narrow channels behind pots and along sidewalls to avoid dead zones. A small USB fan often prevents mold in humid, enclosed spaces.
Humidity: when sealing is enough and when to add a humidifier
With foam-taped doors, watering alone often yields ~50–60% humidity. More complete sealing can push values toward ~80%.
Add a humidifier only when readings persist below your target. Use timers or smart plugs for modest cycles to avoid condensation and mineral buildup.
- Lights on ~12 hours; adjust height or dim if leaf scorch appears.
- Use a meter to match light to your requirements, not guesswork.
- Use timers for lights and smart plugs for humidifier schedules to stay consistent.
| Element | Target/Setting | Why it matters |
|---|---|---|
| Top light + side strip | 1400 FC top / 400–600 FC mid / 200 FC low (example) | Creates tiered intensity to suit varied foliage needs |
| Fan | Continuous, low flow; angled across shelves | Prevents mold and evens temperature and humidity |
| Humidity | 50–80% depending on seal; humidifier if | Supports tropical growth but avoid condensation |
| Automation | 12-hour light timer; smart plug for humidifier | Keeps schedules consistent and reduces guesswork |
Track temperature and humidity with a reliable hygrometer and adjust weekly. Small changes to light height or fan angle often deliver the best results.
For quick kit ideas that pair well with this setup, consider this simple indoor herb kit as an accessory for staging and microclimate trials: inside herb garden kit.
Shelving, Cable Routing, and Power Management
Good shelving choices set the tone for airflow, light spread, and long-term stability inside your cabinet. This section shows how to pick shelves, anchor panels, and route power so systems run cleanly and safely.
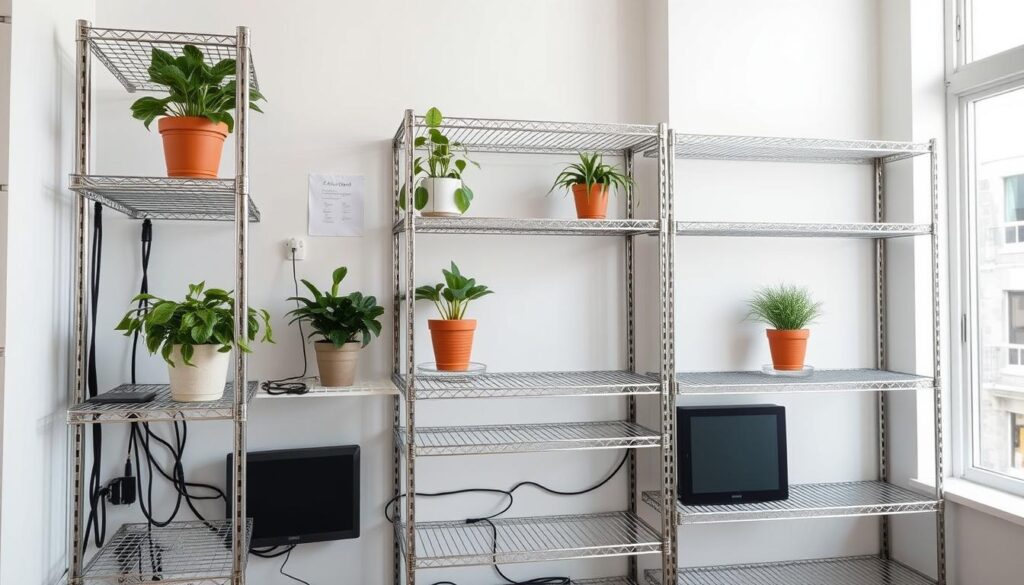
Wire shelves or glass shelves — which fits your needs?
Wire shelves let air and light pass between tiers, lowering mold risk and improving lower-level illumination.
Glass shelves show off foliage and reflect light, but they block airflow and can trap humidity. Mix types: use wire where circulation matters and glass where display wins.
Gridwall and closet wire alternatives
Grid panels and closet wire racks are modular, easy to cut, and strong when mounted correctly.
- Secure panels with metal brackets, wood cleats, or heavy-duty zip ties.
- Test each shelf with filled trays before fully loading prized plants.
- Keep mounting hardware reversible so you can reconfigure without damage.
Tidy, safe cabling and power setup
Pre-route wires along corners using adhesive clips. Short runs reduce snag risks during watering and pruning.
Use a cable management box or small management box to contain power strips and adapters above floor level. This protects gear from mist and spills.
- Label cords and group timers for the grow light, top light, fan, and humidifier.
- Add small foam tape bumps where cords contact metal to prevent abrasion.
- Leave open channels behind shelving so fans can move air; make sure vents are not blocked.
| Topic | Recommendation | Why it matters |
|---|---|---|
| Shelf type | Wire shelves for airflow; glass for display; mix as needed | Balances light penetration with visual presentation |
| Mounting | Use metal brackets, cleats, and zip ties for gridwall or closet panels | Provides secure, adjustable support for varied loads |
| Power routing | Adhesive clips + cable management box; smart plugs for timers | Keeps cords safe, reduces trip hazards, automates schedules |
| Protection | Foam tape at rub points; elevate management box above mist | Prevents wear and protects electronics from humidity |
“A clean layout and simple cable management make maintenance fast and stress-free.”
ikea greenhouse cabinet hack plant lover’s dream: Style, Plant Selection, and Inspiration
Pick a clear visual mood and match gear to it. That choice guides shelving, humidity decisions, and daily care.
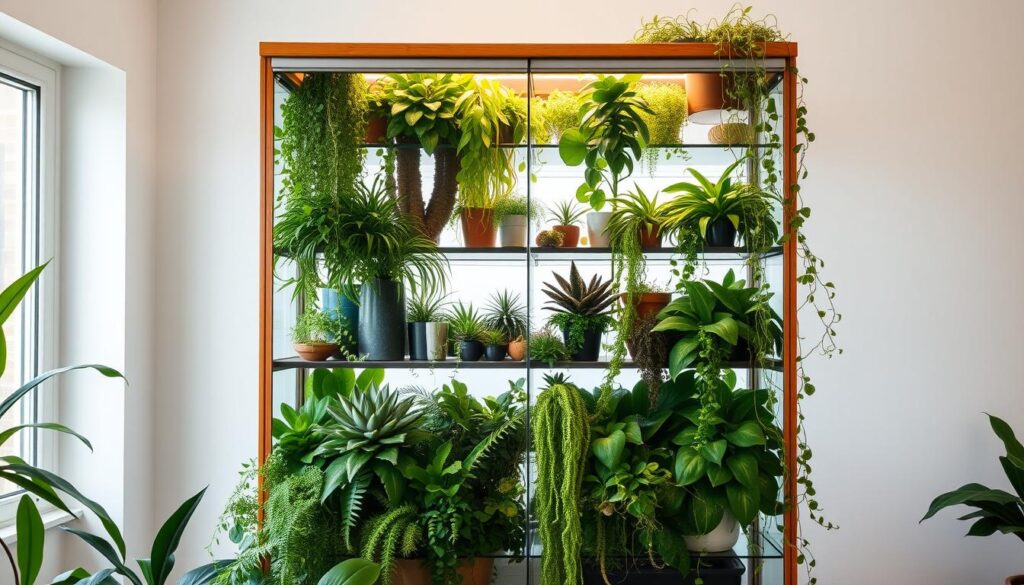
A well-styled enclosure can read like modern art or a tiny jungle; pick one vibe and carry it through.
Styling cues from real builds: minimal to terrarium-style looks
Minimal gallery uses matched pots, even spacing, and lots of glass to show form.
Terrarium-style layers moss, tight groupings, and sealed bottoms for humid displays. Monitor humidity near 70–80% to avoid mold.
Smart placements: pegboards, shelf inserts, and decorative touches
- Combine wire shelves for airflow with risers to vary heights.
- Use pegboards to hang small groups and free shelf surface for trays.
- Spotlight favorites at eye level; place propagations mid-cabinet for steady humidity.
“Curate plants with similar needs and the system becomes easy to run.”
| Style | Key features | Best for |
|---|---|---|
| Minimal gallery | Clear glass, matching pots, even spacing | Showcase sculptural foliage |
| Terrarium-style | Sealed base, moss, tight groupings | High humidity tropical mixes |
| Modular wall | Paired units, matched lights, pegboards | Large displays and propagation banks |
Troubleshooting and Optimization Over Time
Small changes in airflow and schedules solve most humidity headaches fast. This section shows quick fixes for condensation, mold, and heat, plus ways to trim energy use without harming growth.
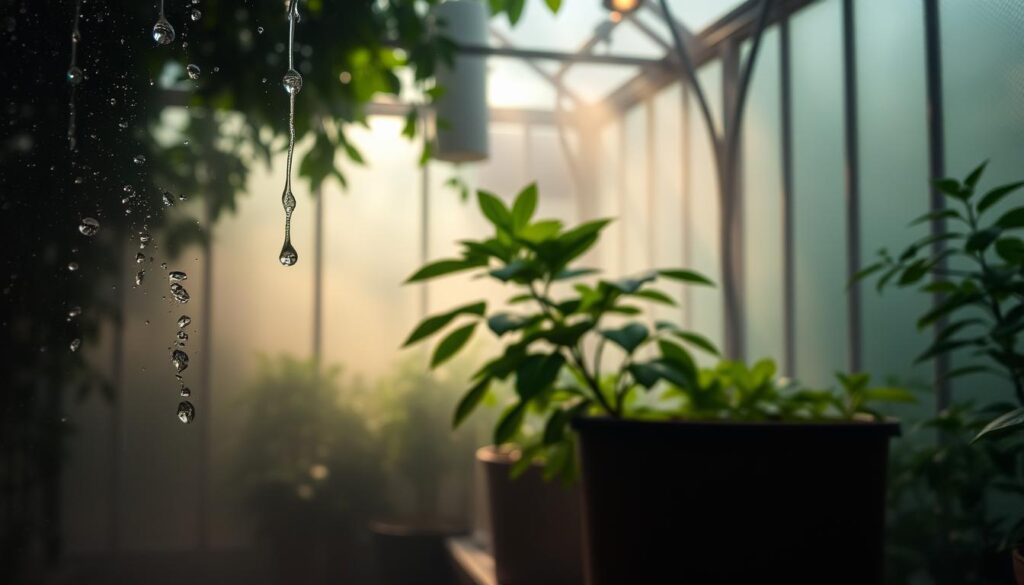
Condensation, mold, and heat buildup: quick fixes and habits
If you see persistent condensation, lower humidity, shorten humidifier cycles, and increase air movement. Run a small fan 24/7 and leave narrow channels around pots to avoid dead spots.
For mold on media or walls, make sure you improve ventilation, reduce misting, and spot-treat affected surfaces. Briefly open the cabinet daily if your plants tolerate it.
To cut heat, raise your lights or reduce intensity. Keep top vents and corner gaps clear so warm air can escape.
Energy use tips: schedules, efficient fans, and targeted humidification
Use short, timed bursts from the humidifier (for example, 10 minutes every two hours) and log how the enclosure responds. Door sealing often boosts humidity enough to avoid extra runs of the device.
- Water from trays or wicks to keep foliage dry and reduce mist use.
- Keep lights on consistent timers and run quiet, efficient fans to save power.
- Safety first: make sure power strips live in a cable management box above possible water contact.
“Track simple metrics weekly and small tweaks will improve this project steadily.”
Conclusion
With thoughtful sealing, lighting, and cable protection, a common storage unit becomes a reliable indoor growing station. Follow the checklist: rust‑proof ports, foam seals, tidy power, and staged lighting for consistent results.
You now have a clear plan to turn an ikea greenhouse idea into a compact greenhouse cabinet that fits your home and care routine. Prioritize a clean pass‑through for cables and treat raw metal edges early.
Seal the doors with foam tape and finishing foam, add reliable grow lights and quiet fans, and protect power in a cable management box or small management box. Use wire shelves or wire shelving for airflow, or mix in glass shelves for display.
Choose a proven base like a milsbo cabinet (or DETOLF, FABRIKÖR, RUDSTA), start by sealing before adding a humidifier, and tune light and flow as your plants settle in. For an assembly photo reference, see this assembly reference.