
Can one season really reshape tired soil so plants and trees thrive by next year?
Yes — with focused steps, rich organic inputs, and steady water, a marked change is possible.
The Miyawaki-inspired method shows rapid biomass gains when you add heavy compost, microbial liquids, and dense planting. Afforestt’s examples—350 trees on 100 square meters—prove how deep preparation and mulch lead to self-sustaining growth in 2–3 years.
We outline a simple five-move approach: assess soil, wake it with organics, match amendments to soil type, plant and cover, then water and fine-tune for steady growth. Use 5-gallon buckets for scaled mixes and a basic pH kit to aim near pH 6–7.
Expect visible wins by season’s end: greener foliage, crumbly texture, and better moisture retention. For practical amendment recipes and testing tips, see a clear guide on soil media and fertility.
Key Takeaways
- One season can greatly improve soil structure with heavy organic inputs and mulch.
- Follow five clear moves: test, amend, match, plant, and manage water.
- Keep pH near 6–7 and adjust with lime or sulfur as needed.
- Use simple tools: pH kits, a shovel, and 5-gallon buckets for mixes.
- Smart nutrient timing protects soil life and supports steady plant growth.
What “one season” soil transformation looks like in the United States
In one warm growing period you can expect visible changes in texture, moisture control, and plant growth when you add organic material, mulch, and targeted feeds.
In practical terms, “one season” means the single warm period between spring and fall when plants actively grow. Start with clear goals: higher fertility, better water-holding capacity, and measurable above-ground growth by harvest time.

What realistic outcomes should I expect?
You will often see more organic matter on the top few inches and improved infiltration. Roots establish faster and leaves grow fuller compared to untreated areas.
How do compost and fertilizer affect results?
Amending with compost and modest fertilizer boosts nutrients and helps sandy or clay soils respond quickly. Compost tea can nudge microorganisms and water retention with low risk.
How does mulch and cover reduce erosion and conserve moisture?
Apply mulch right after planting to cut soil erosion and evaporation. Mulching plus dense or cover crops builds living roots and steady moisture, so plants need less frequent watering and show steady growth through the year.
“University extension work shows pH near 6.0–7.0 gives the broadest crop success when paired with organic inputs.”
Track progress at set times. Early tweaks to irrigation or nutrients compound results by season’s end. For more on shade-friendly planting techniques, see planting in shade.
Assess the starting point: soil type, pH, structure, and erosion risks
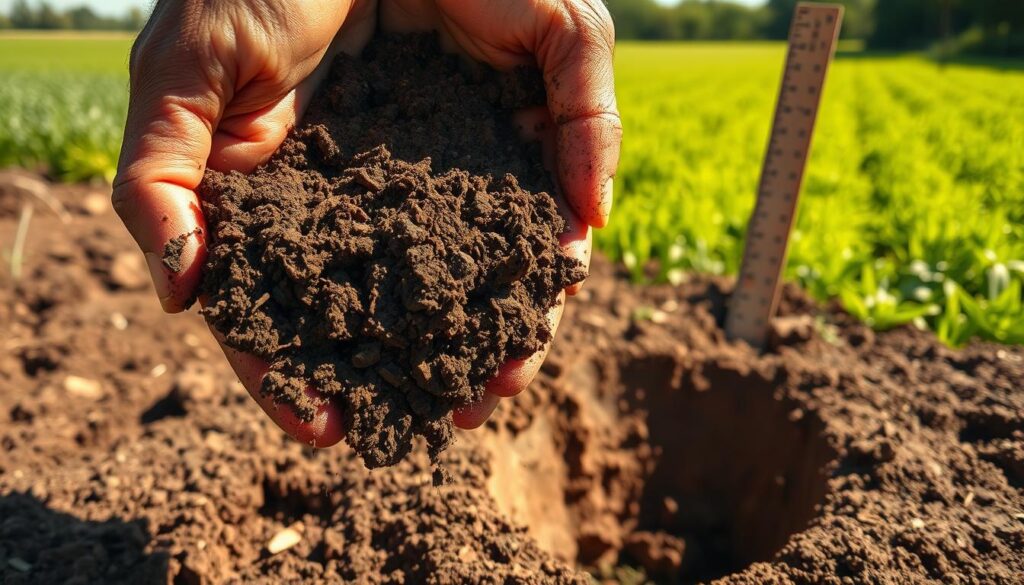
Begin with a simple, reliable snapshot so you can choose amendments with confidence. Quick tests reveal texture, pH, compaction, and surface issues that shape water and nutrient behavior.
What checks matter most?
How can I test texture and particle mix quickly?
- Jar test: Shake a sample in water; sand settles first, silt next, then a fine clay layer. This shows how particles and layers affect drainage and nutrient holding.
- Texture-by-feel: Gritty = sand, silky = silt, sticky ribbons = clay. Use this to match amendments by type.
What about pH and nutrient baselines?
Use a basic kit to check pH. Most plants prefer near pH 6.0–7.0, where minerals and nutrients are most available.
Pull a home nutrient test to set a baseline. Note that high potassium can suppress magnesium uptake; balance the amount when choosing fertilizer.
How do I spot compaction and erosion risks?
- Shovel test and root checks: resistance or shallow roots signal high bulk density that limits capacity for water and roots.
- After rain, look for rills, crusting, or exposed roots on the soil surface—these are erosion red flags.
- Map weed patches; some weeds indicate compaction or low fertility and help target remediation.
Awaken your soil: add organic material, microbes, and structure
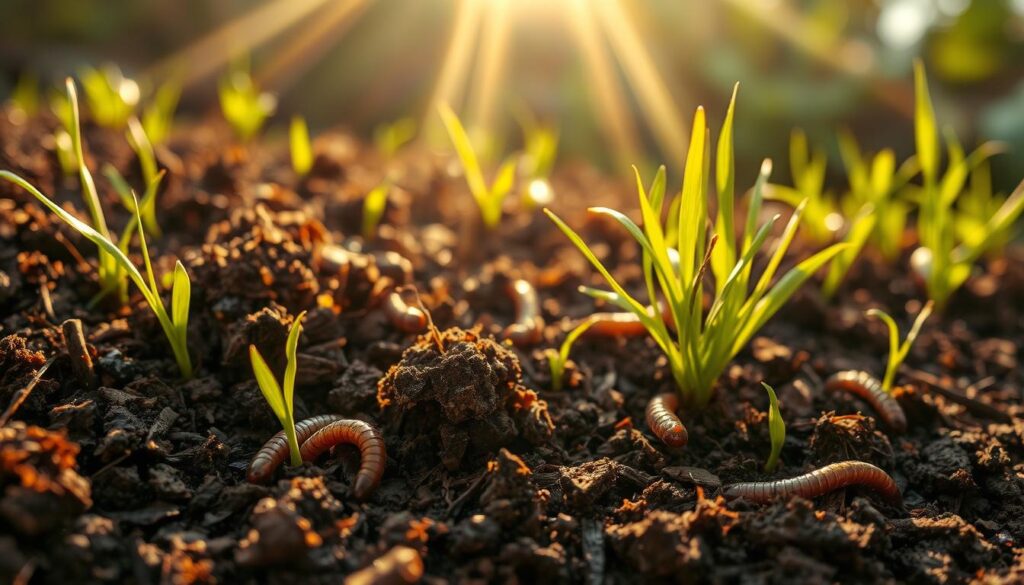
Create a sponge-like top layer with coarse plant residues, mature compost, and a quick microbial brew. This jump-starts nutrient cycles and improves moisture and root growth in one season.
Create the base by digging and blending porous residues such as paddy husk or sugarcane bagasse into the profile. Return the soil and spread a thin layer of well-aged compost and manure to feed life below the surface.
How should you feed microbes and cycle nutrients?
Feed life first: spread compost and fully aged manure to energize microbes that turn organic inputs into plant-ready nutrients. Choose cow, sheep, or chicken sources that are well composted to avoid salts and pathogens.
What is a simple microbial liquid recipe?
In a 100-liter container combine 10–15 kg cow dung, 1–2 liters cow urine, and 500–600 g aged jaggery. Add kitchen scraps if you like, fill with water, steep three days, and stir daily. Dilute and water into beds to seed beneficial microbes.
How do layers and compost tea help structure and moisture?
- Layer coarse plant-based materials under the topsoil to build pores that improve aeration and structure.
- Brew compost tea from mature compost to deliver diverse microorganisms. It helps clay loosen and sandy beds hold water and nutrients.
- Work in increments: blend compost and organic material, then water in the microbial liquid so organisms colonize quickly.
Targeted amendments by soil type to make soil productive fast
Match mixes to your site and you can make soil ready for planting within a season. Use consistent parts by 5-gallon bucket so results scale easily.
Loose sandy ground?
For in-ground sandy dirt, mix 5 gallons sandy dirt + 5 gallons compost/manure and add 1 cup 10-10-10 fertilizer. This raises water-holding capacity and supplies slow nutrients.
Sandy mixes for boxes or pots?
Use 5 gallons sandy dirt + 5 gallons coarse sand or perlite + 10 gallons compost/manure plus 2 cups 10-10-10. The extra compost stabilizes nutrients and moisture in the root zone.
Hard clay soil?
In-ground, blend 5 gallons clay + 5 gallons coarse sand + 10 gallons compost/manure and 2 cups 10-10-10. For pots, increase coarse sand/perlite to 10 gallons and use 2.5 cups fertilizer to protect roots and improve structure.
Dark, moist native soil?
Fine-tune drainage with coarse sand or perlite. In-ground: 5 gallons coarse sand + 5 gallons native dirt + 1 cup 10-10-10. In pots: 7 gallons coarse sand/perlite + 5 gallons native dirt + 1 cup 10-10-10.
Compost used as primary soil?
Blend minerals to avoid compaction. In-ground: 5 gallons coarse sand + 5 gallons compost + 1 cup 10-10-10. For containers: 7 gallons coarse sand/perlite + 5 gallons compost + 1 cup 10-10-10.
| Soil type | In-ground mix | Container mix | Why it helps |
|---|---|---|---|
| Loose sandy | 5 gal sand + 5 gal compost/manure + 1 cup fertilizer | 5 gal sand + 5 gal coarse sand/perlite + 10 gal compost + 2 cups fertilizer | Raises water capacity and stores nutrients |
| Hard clay | 5 gal clay + 5 gal coarse sand + 10 gal compost + 2 cups fertilizer | 5 gal clay + 10 gal coarse sand/perlite + 10 gal compost + 2.5 cups fertilizer | Opens structure, improves drainage and root air |
| Dark, moist | 5 gal coarse sand + 5 gal native dirt + 1 cup fertilizer | 7 gal coarse sand/perlite + 5 gal native dirt + 1 cup fertilizer | Sharpens drainage without stripping nutrients |
| Compost as soil | 5 gal coarse sand + 5 gal compost + 1 cup fertilizer | 7 gal coarse sand/perlite + 5 gal compost + 1 cup fertilizer | Prevents compaction and balances nutrients |
- Measure with a 5-gallon bucket for consistent mixes.
- Water after mixing to settle the profile and activate nutrients.
- Preblend before planting so roots find nutrients, air, and water immediately.
Plant, cover, and protect the soil surface for rapid fertility gains
Plant into prepared beds and cover the top right away to lock in moisture and cut losses from sun and storms.
After planting, seal the surface with a 2–4 inch mulch layer. This step reduces evaporation and shields the soil from erosion during heavy rains.
How does mulching help?
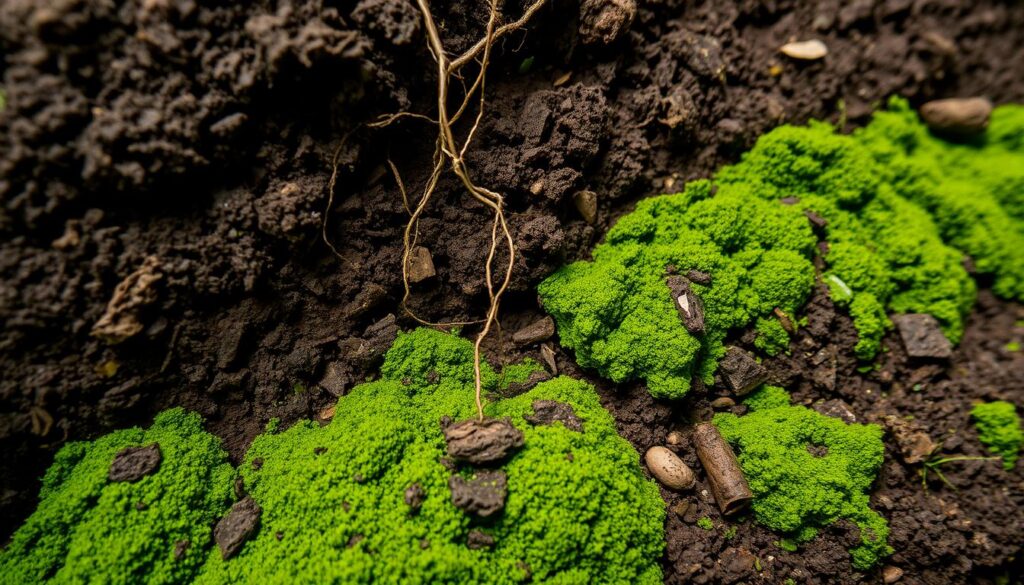
Mulching holds moisture, lowers temperature swings, and smothers many common weeds. Use clean straw, shredded leaves, or arborist chips.
Should I use cover crops or dense plantings?
Fast cover crops or dense Miyawaki-style beds shade the ground. Living roots feed microbes and speed nutrient cycling. Trees planted close will shade more quickly and need less outside care once established.
- Plant into prepped beds, then cover the soil surface to stabilize moisture and temperature.
- Water after mulching so materials settle and microbes start working.
- Keep mulch away from trunks to prevent rot and pest harborage.
| Action | Material | Benefit |
|---|---|---|
| Mulch 2–4 in. | Straw / leaves / chips | Reduces evaporation, cuts weeds, limits erosion |
| Cover crop | Fast rye / clover | Shades soil, feeds microbes, holds water |
| Interplant | Short-season herbs | Quick ground cover, early growth and protection |
Small weekly weeding keeps beds tidy. These moves speed steady growth and make water use more efficient.
Water, monitor, and adjust: keep moisture steady and nutrients balanced
Keep soil moisture steady and feed only what tests show your beds need. This simple rhythm protects microbes, prevents salt buildup, and helps plants use minerals efficiently.
Match irrigation to the soil’s capacity and the weather.
How should I time watering and fertilizer to protect soil life?
Water deeply and less often to encourage roots to go deep. This improves drought resilience and supports steady growth.
Check moisture by hand at 2–3 inches. Adjust run time rather than relying on a clock. This saves water and keeps the soil alive.
- Feed by test: apply fertilizer only after baseline results show the amount needed. This avoids harming microbes.
- Split applications: give small doses of nutrients through the season so plants use minerals as they grow.
- Balance K and Mg: if potassium is high, watch magnesium to prevent hidden deficiencies.
- Use compost tea: a gentle supplement that can improve moisture retention and disease resistance.
| Check | When | Why |
|---|---|---|
| Soil moisture (2–3″) | Daily in heat, twice weekly otherwise | Matches water to capacity and weather |
| Nutrient tests | Baseline and mid-season | Prevents over-application and salt buildup |
| pH | If growth stalls | Restores nutrient availability quickly |
Keep simple notes on timing, rates, and plant response. Small weekly tweaks tighten the process and boost results by season’s end.
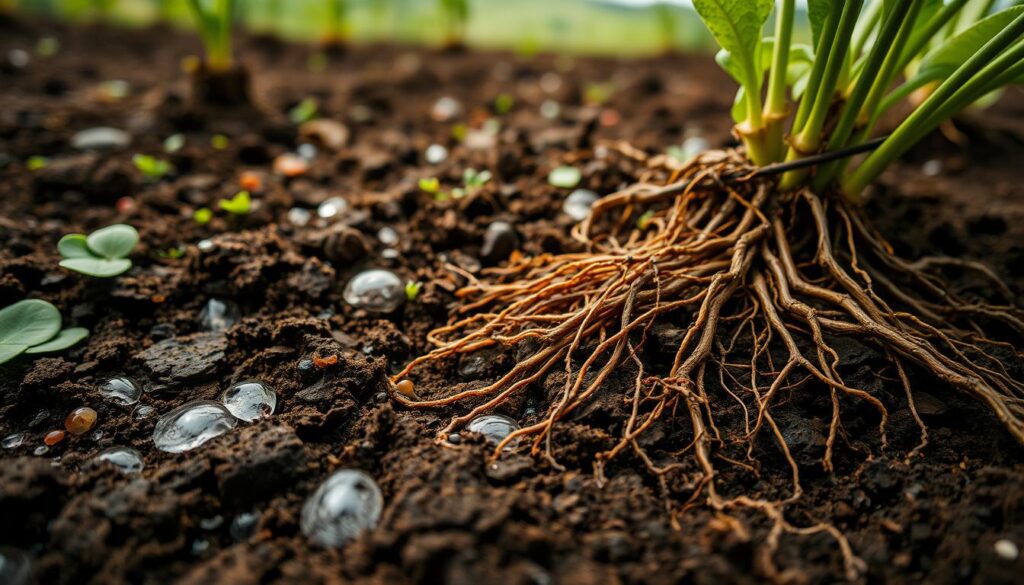
5-step plan turning barren ground into fertile
Can a clear, hands-on method quicken soil recovery in one season? Yes — by matching tests, organic feeds, and focused care you can make soil respond fast and support strong plant growth.
Follow five actionable moves:
- Step 1 — Assess: run a jar test, check pH, and test infiltration to map compaction and limits so you know how to make soil adjustments.
- Step 2 — Awaken: add aged compost and well-aged manure, then apply a simple microbial liquid (cow dung, urine, jaggery steeped three days, stirred daily) to prime nutrients and biology.
- Step 3 — Amend: use the 5-gallon recipes by soil type — blend compost, perlite or coarse sand, and a balanced 10-10-10 where indicated to tune structure and drainage.
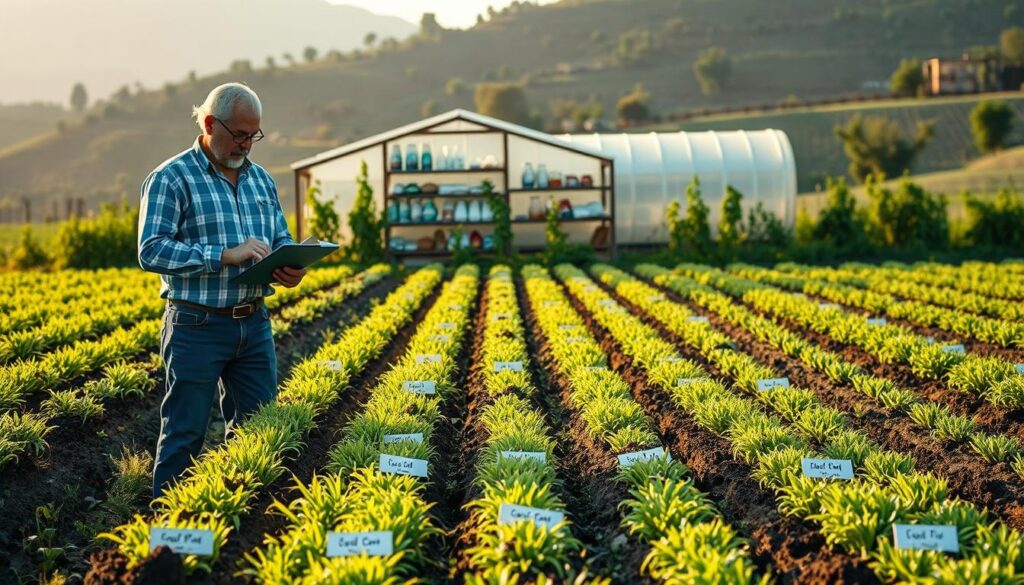
- Step 4 — Plant and Protect: set plants and trees, then cover the top with 2–4 inches of mulch so moisture stays steady and roots can explore safely.
- Step 5 — Water and Monitor: irrigate deeply and less often, feed lightly by test, and adjust based on plant response and notes.
This method compresses months of trial-and-error. Match inputs to what your soil and plants need today and you speed visible growth and better tilth by late season. Trees and perennials settle faster when beds stay covered and microbes stay fed.
Keep refining: small corrections to nutrients and water build long-term fertility and resilience. For container herb ideas and planting tips that pair well with these steps, see best pallet herb garden.
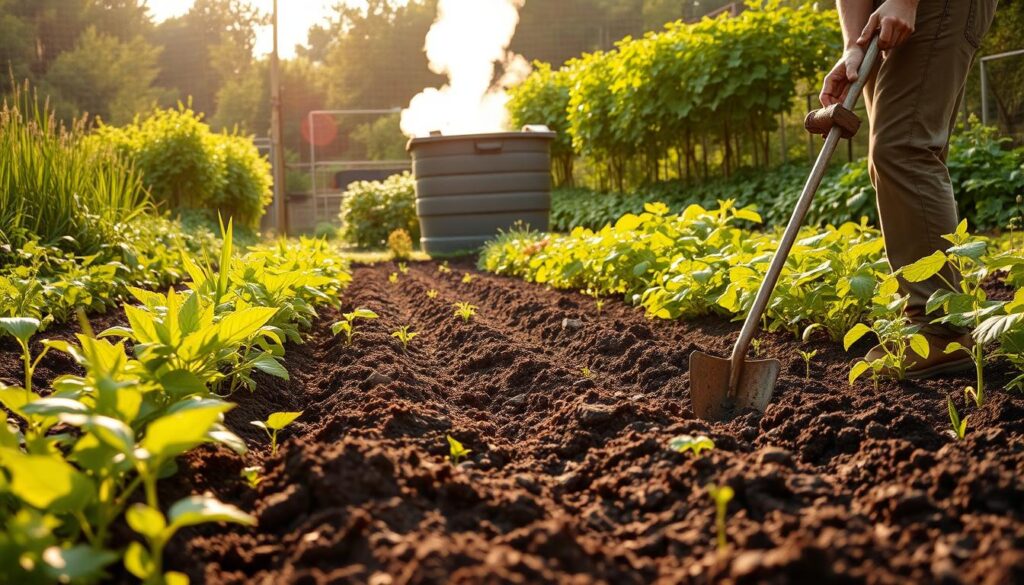
Conclusion
In one season you can kick-start living soil and see real plant vigor, while steady care builds lasting fertility over years.
You can make soil respond fast by feeding biology, keeping moisture, and protecting the surface. Start with smart tests, add compost and compost tea, and avoid heavy disturbance so microbes thrive.
Balance nutrients, pH, structure, and water to raise water-holding capacity and mineral cycling. Small, timely inorganic inputs help first-year gains without harming biology.
Repeat the cycle at planting for vegetables, flowers, and young trees and refresh mulch to lock in results. Over 2–3 years dense plantings and steady organic additions often lead to self-sustaining beds. For methods used in dry-land recovery see cultivating dry lands.
Keep wastes out of the bin by composting; every bucket returned to the garden builds fertility soil and resilience. For quick companion herb ideas that pair well with these steps see best herbs for garden.