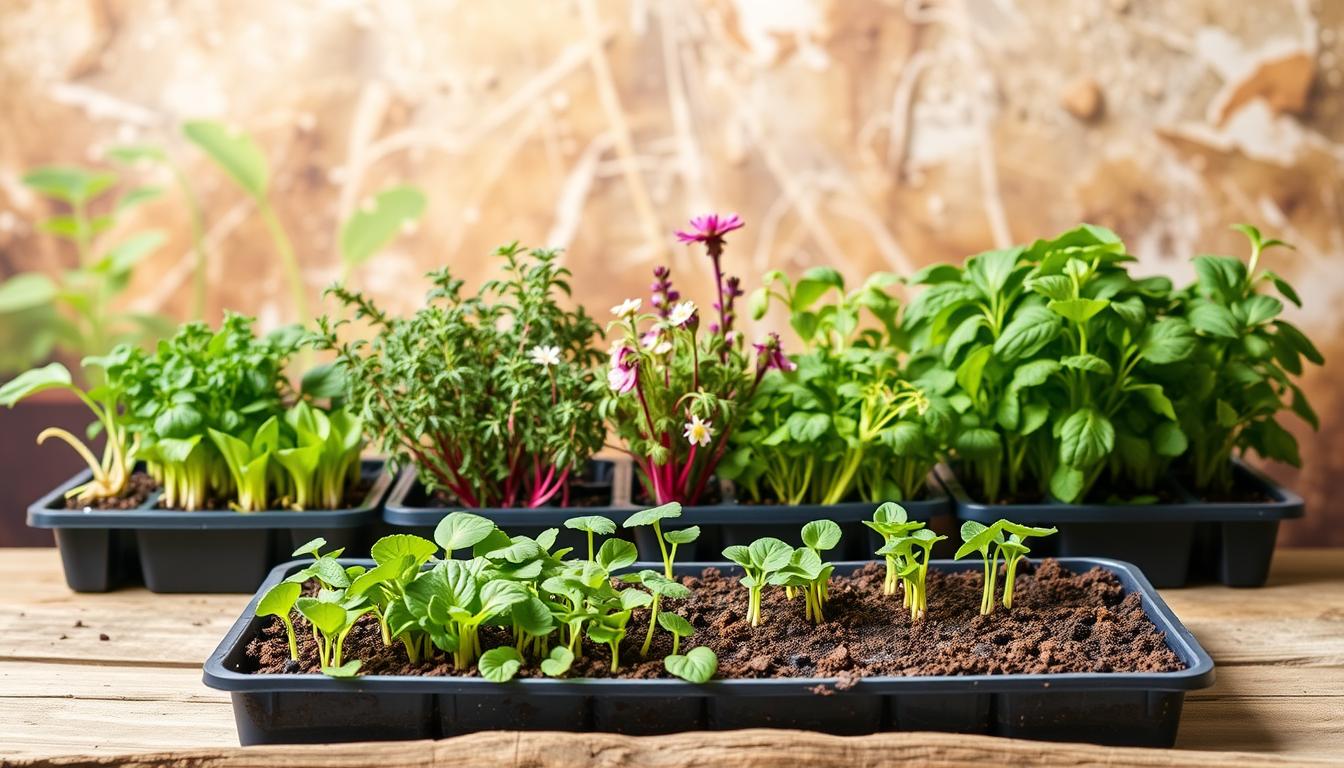
Curious if a single cutting can multiply your favorite kitchen herbs? Yes — and it’s easier than many gardeners expect. With simple cuttings and a few tools you already own, you can clone a beloved plant and fill a windowsill or raised bed.
This short guide explains the method, timing, and basic care. Water-rooted cuttings often show roots in 1–2 weeks but can shock when moved to soil. Roots formed in soil or coarse sand take about a month and tend to be tougher.
Softwood cuttings root fast. Hardwood needs coarser medium and often a rooting hormone. You’ll learn what to cut, how to keep humidity steady, and simple checks to know when a plant is ready to pot.
Start with one tray and clean pruners. No fancy gear is needed. By season’s end, you’ll have healthy herbs to cook with and share with fellow gardeners.
Key Takeaways
- Use cuttings to clone herbs affordably and quickly.
- Water: roots in 1–2 weeks; soil/sand: about a month but stronger roots.
- Softwood roots faster; hardwood may need hormone and coarse medium.
- Keep tools clean, steady humidity, and check roots before potting.
- Begin with one tray and simple supplies for reliable success.
Why Propagate Herbs: More Plants, Less Cost
Turning a single healthy stem into several usable plants is surprisingly simple and very budget friendly. It saves trips to the nursery and keeps kitchen staples on hand for the whole family.
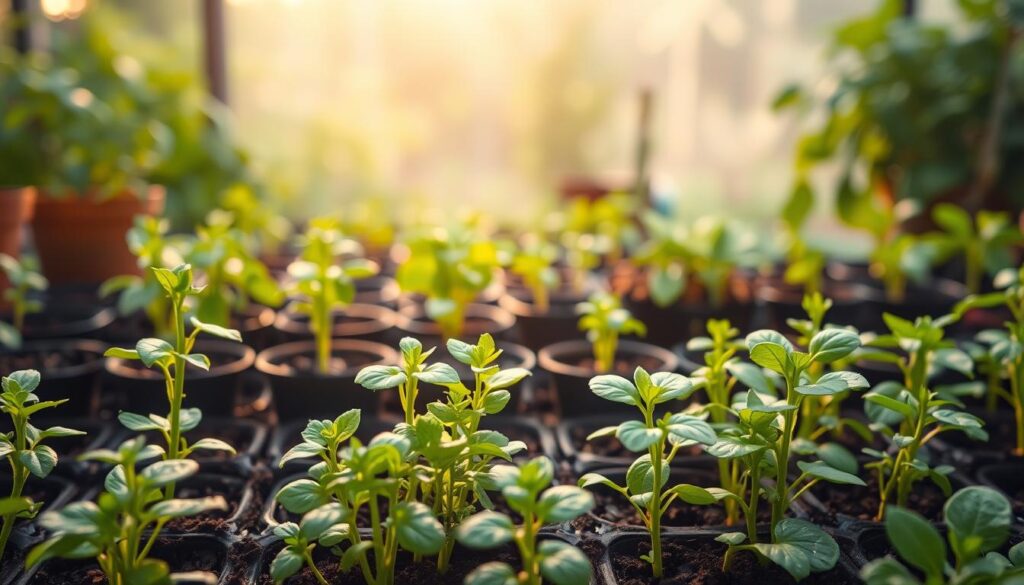
Vegetative cloning makes exact genetic copies. That preserves the flavor and leaf shape you love. It also helps rebuild or expand a small garden without buying dozens of starts.
Benefits for home gardeners and families
- Propagating your herbs gives you more plants for less money. Use jars, a sunny area, and a pair of pruners to begin.
- Savings you can taste: Propagate herbs once and create many new plants for pesto, teas, and sauces for the whole family.
- Preserve favorites: Cloning keeps that perfect lemony thyme or spicy oregano identical, avoiding seed variability.
- Faster fill-ins: Rooted cuttings fill gaps in containers and beds faster than seeds.
- Share and swap: Many gardeners gladly trade a few stems at pruning time—bring a clean jar and say thanks.
- Optional boost: A light dusting of hormone helps tougher material root more reliably.
“A healthy cutting today can be a full starter pot by next month.”
For practical step-by-step tips, see a practical guide that walks through simple methods and timelines.
What Herb Propagation Means and When to Use It
Vegetative methods create exact copies of a parent plant without seeds. Use them when you need speed, reliability, or to preserve a favorite flavor or form.
Vegetative propagation uses a piece of an existing plant — often a stem or leaf — to form new roots and shoots under steady humidity and light.
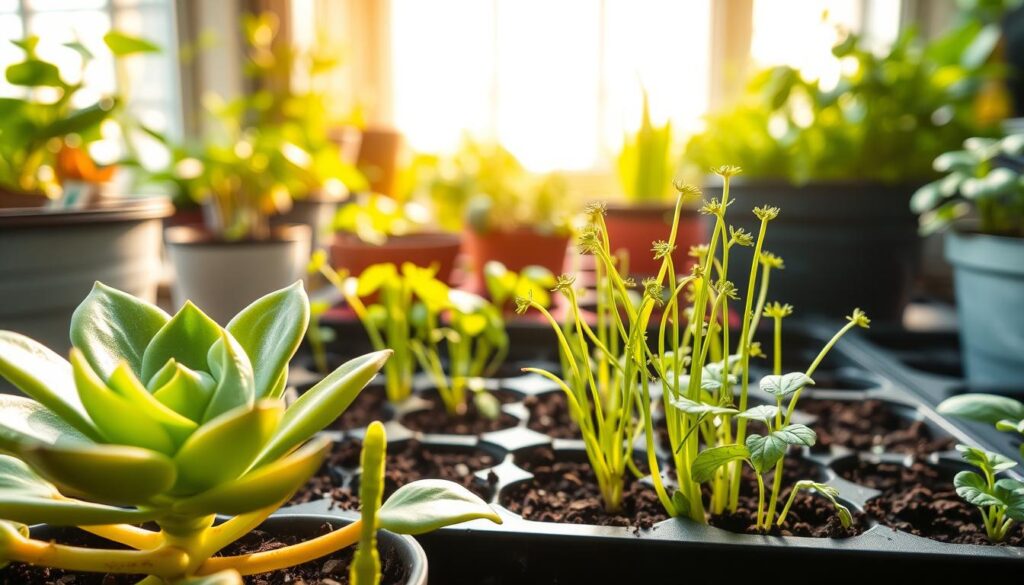
How does vegetative cloning work?
Cloning means the cutting develops a root system and new growth from nodes. It bypasses seed variability so harvests stay true to the original.
Which species root easily and which do not?
- Works well: Rosemary, lavender, thyme, oregano, sage, mint, and chives often root from cuttings with nodes.
- Annuals: Basil clones easily. Cilantro is tricky. Dill and fennel usually reseed themselves instead of rooting reliably.
- Skip stem cloning: Bulbs and tight clumping plants (like garlic or hosta) are best divided, not stuck into medium as stems.
“Take cuttings from a healthy, pest-free parent at peak vigor; energy in the piece matters.”
Quick check: if you see clear nodes on a branch, you can likely take cuttings. If it’s a bulb or dense clump, choose division. This simple rule saves time and delivers strong, steady growth.
Tools, Supplies, and Growing Mediums You’ll Need
Clear, simple gear and a well-draining growing medium set you up for quick success. Keep tools clean, label every tray, and match the mix to the cutting type.
A few basics cover most setups. You ’ll need clean, sharp pruners or scissors, labels, a dibber or pencil, small pots or trays, and a covered tray or clear dome for humidity.
What about rooting hormone?
Use a commercial rooting hormone for stubborn stems. Natural options—like willow tea—work for tender cuttings. Decide by species and how reliably you want rooting.
Which growing mediums work best?
Choose perlite or vermiculite to add air. Sphagnum moss holds moisture without sogginess. Coarse sand or a sterile potting mix suits woody cuttings and prevents rot.
Humidity, labels, and cleaning
Cover trays with a clear dome or plastic bag to keep humidity high while leaves breathe. Make sure you label variety and date on each pot.
Disinfect tools with 70% alcohol between each plant. A small knife helps trim nodes cleanly. Good drainage protects nodes so roots form steadily, not rotted by excess water.
Softwood, Semi-Hardwood, and Hardwood Cuttings Explained
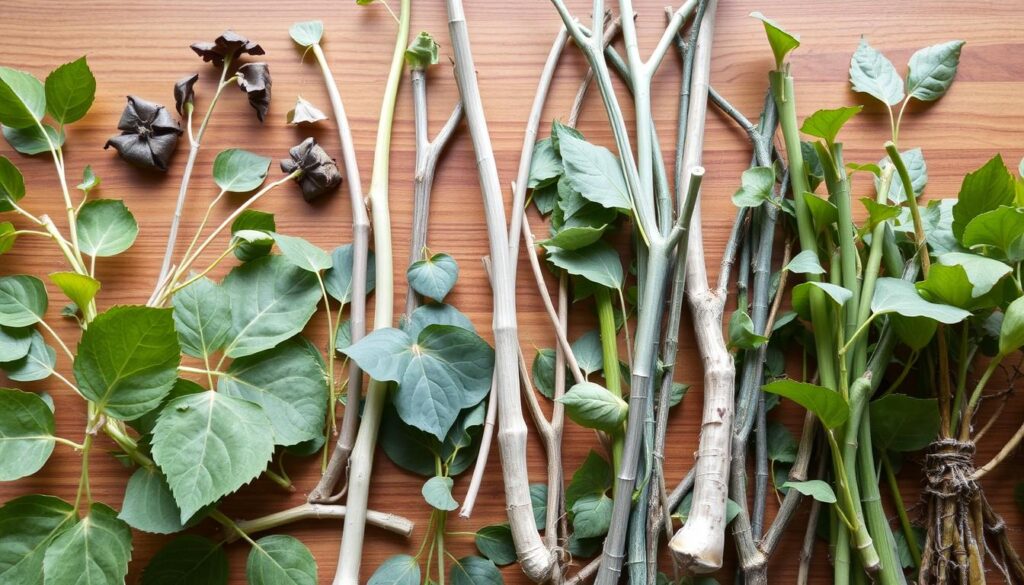
A quick test helps you choose the right cutting and rooting method. Use simple sensory cues—color, bend, and feel—to match the cutting to water, soil, or sand.
A simple touch test—bend, snap, and note the color—tells you whether a cutting is softwood, semi-hardwood, or hardwood.
How can you tell them apart?
Identify by feel. Softwood bends easily and has bright green tips. It shows active growth and roots fastest in water.
Semi-hardwood is firmer, slightly brown, and flexes with resistance. Use soil or sand for steadier root formation.
Hardwood is woody and snaps cleanly. Dust the node zone with rooting hormone and place in coarse media for best results.
What to prepare before taking cuttings
- Node focus: Choose pieces with visible nodes and healthy cut leaf scars—this is where roots start.
- Stem prep: Trim a disease-free stem cleanly below a node and remove lower leaves to reduce stress.
- Timing: Softwood works best in spring to late summer; semi-hardwood in summer to early fall; hardwood after active growth ends.
“Softwood is fastest, semi-hardwood slower, hardwood slowest but reliable when handled correctly.”
Want more plants free introduction herb propagation
Use this friendly starter hub to turn simple cuttings into healthy, rooted starters. This short, practical snippet shows a clear method and steps so you can grow new plants with confidence.
Treat this section as your quick-start toolkit for turning one stem into a usable starter. The full guide walks you from choosing material to aftercare so you lose fewer tries and save money as your collection expands.
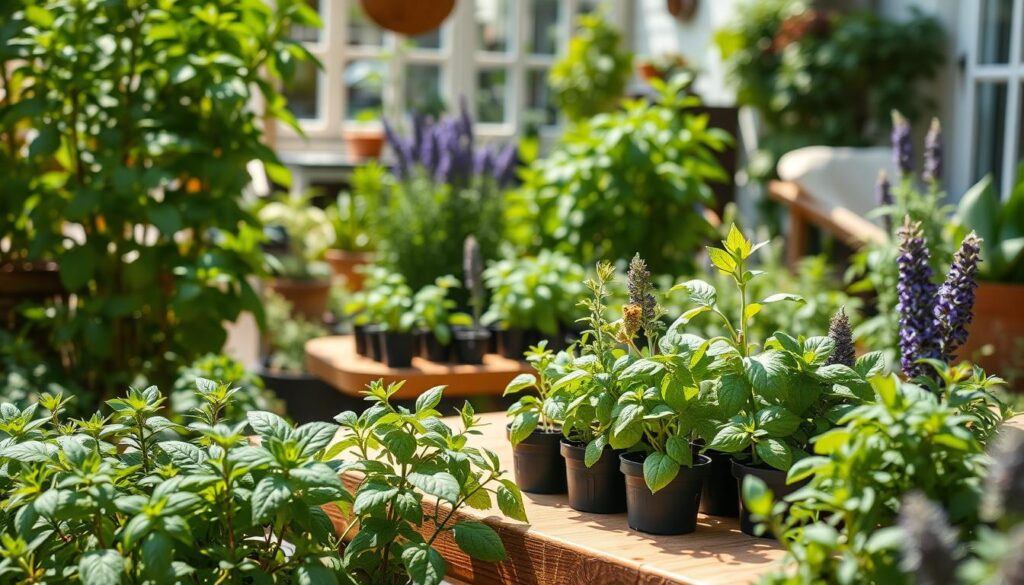
Ask neighbors for cuttings—many gardeners share excess trimmings. Bring a clean jar and a smile. Simple jars and a plastic bag make mini greenhouses that speed rooting.
- This section is your quick-start path to free plants with simple tools and steps.
- Reuse cell packs and jars; convert clear lids into humidity covers and label each plant to track progress.
- Core propagation flow: select, cut, prep, set in medium, control humidity, then wean to light.
Start with easy herbs and a single tray. Keep things clean, avoid hot direct sun, and watch moisture to prevent rot. Expect a few failures; follow the steps and your success rate will climb with each batch of cuttings.
Water vs. Soil: Choosing the Right Method for New Roots
Deciding between jars of water or a loose potting mix shapes how fast and strong new roots will form. Use water for speed and a soil approach for long-term vigor. Both work when you match light, warmth, and humidity to the cutting.
How does water rooting compare to starting in a medium?
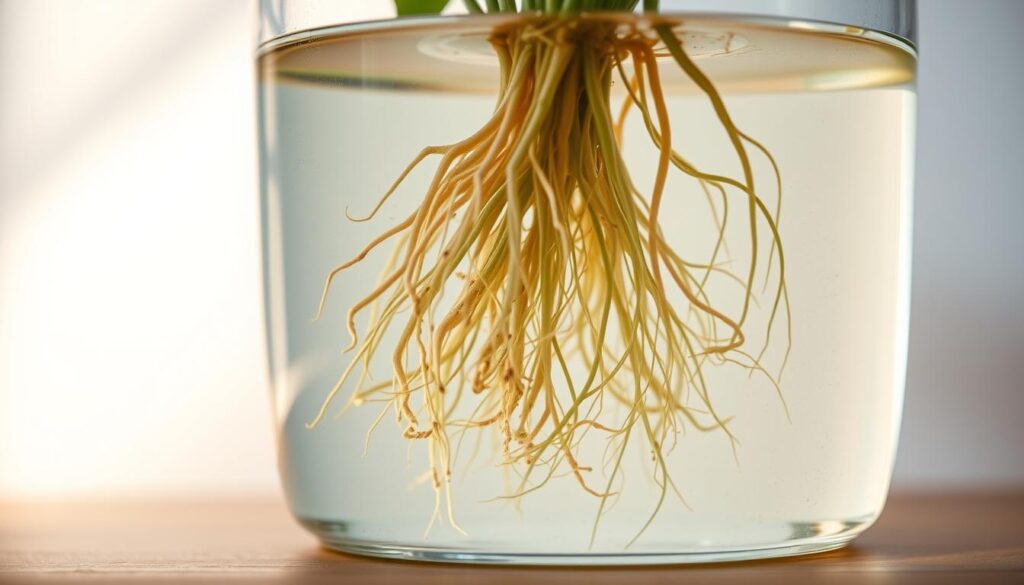
Use water for speed—soft cuttings often show tiny roots in 1–2 weeks. You can watch progress, but plan a gentle move to potting soil to avoid shock.
When is soil or sand the better choice?
Soil or coarse sand takes longer—about a month—but builds sturdier structure below ground. Woody cuttings root best in a coarse growing medium with good aeration.
What environment keeps cuttings happy?
Keep bright indirect light, steady warmth near 65–75°F, and high humidity under a clear dome or loose bag. Open daily to exchange air and stop mold.
- Quick tip: Change water every few days and keep leaves above the liquid for clean roots.
- Transition trick: Pot water-rooted material into a pre-moistened medium, tent for humidity, then vent over several days.
- Optional boost: A light dusting of rooting hormone helps woody cuttings in soil, but soft stems usually do fine without it.
“Pick the route that fits your timing and the type of cutting—fast results are visible, but slow starts often yield tougher survivors.”
Step-by-Step: Taking Herb Cuttings the Right Way
Follow a simple bench routine to take clean cuttings that root reliably. Clean tools, a tidy workspace, and clear labels keep success rates high.
Where to cut and how long
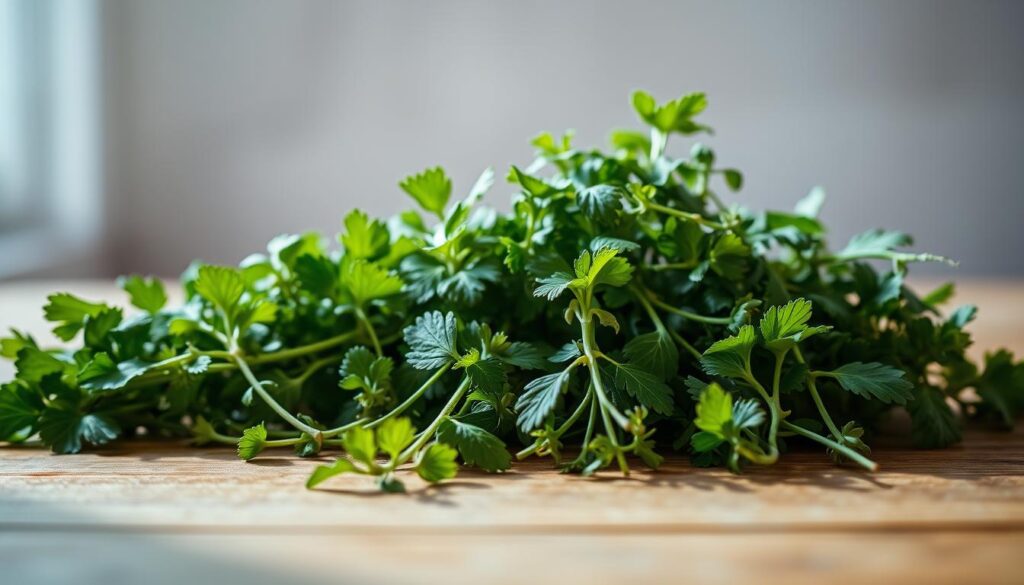
Use clean pruners and take soft shoots about 3-4 inches long. Cut at a 45° angle just below a visible node. This exposes the most active area for new roots.
Prepare the stem and leaves
Remove leaves on the lower half to reduce moisture loss. Keep a small top cluster for photosynthesis. Trim any ragged cut leaf edges with a small knife.
Use hormone and set into medium
Dip the basal end in rooting hormone if desired. Tap off excess and slide the piece into a pre-moistened growing medium or into water for visible roots.
Labeling, spacing, and moisture
Label variety, date, and method—you ’ll need this for tracking. Bury 1–2 nodes, space cuttings so leaves do not touch, and cover with a clear bag for humidity.
- Sanitize: wipe blades with alcohol between cuttings; a clean knife tidies nodes.
- Moisture: keep the potting mix evenly moist; mist daily or bottom-water trays.
- Light: bright, indirect light and daily air exchange prevent mold.
| Step | Action | Why it matters | Quick tip |
|---|---|---|---|
| Cut length | 3–4 inches long | Balances stored energy and handling | Use a 45° angle below node |
| Leaf prep | Remove lower leaves | Reduces rot and conserves water | Keep 2–3 leaves at top |
| Insert | Bury 1–2 nodes in medium | Nodes form roots reliably | Pre-punch holes to avoid scraping hormone |
| Aftercare | Label, space, mist | Tracks progress and prevents disease | Change water often if using jars |
“Clean tools and clear labels make the bench work fast and repeatable.”
Species Snapshots: Basil, Oregano, and Thyme
Try these simple, species-specific recipes to turn common kitchen stems into healthy starters.
How should I root basil cuttings?
Basil roots fast in water. Pick juvenile stems about 3–4 inches long. Cut at a 45° angle and remove leaves on the lower half so nothing sits in the jar.
Place cut ends in clean jars and change the water every other day. Expect visible roots in about 2–3 weeks. When roots are sturdy, pot up gently and harden off over several days.
What works for oregano cuttings?
Oregano is slower and benefits from rooting hormone. Take 3–5-inch shoots and either dust the base or add hormone to the jar. You can start in water or a loose medium.
Keep pieces in bright indirect light and steady warmth. Transplant after about four weeks when roots hold against gentle tugs.
How do I root thyme cuttings?
Thyme prefers potting soil and a covered, warm setup. Use tender new leaf growth from a mature bush. Insert stems into a warm mix and cover with a ventilated bottle dome to keep humidity high.
Check after 3–4 weeks. A slight resistance when you tug means it’s ready to move to a small pot.
- Quick recap: Basil — water and fast roots; oregano — slower, use rooting hormone; thyme — soil under a dome.
- Watch for cloudy water with basil and swap it promptly to prevent rot.
- Woody oregano/thyme pieces often root better in medium than in jars.
| Species | Cutting Size | Starting Method | Timeframe |
|---|---|---|---|
| Basil | 3–4 inches long | Clean water; lower leaves removed | 2–3 weeks to roots |
| Oregano | 3–5 inches | Dust with rooting hormone or set in medium; indirect light | ~4 weeks to transplant |
| Thyme | Tender leafy shoots | Potting soil under bottle dome | 3–4 weeks; check for resistance |
“Use a gentle tug to test roots—resistance means it’s time to pot up.”
For a guided list of useful varieties to try, see discover the best garden herbs.
Timing Your Propagation in the United States
Match the tissue to the season for the best results. Timing your cuttings to local seasons greatly raises your success rate. Use this simple calendar to plan bench work by region and by stem type.
When should you take softwood cuttings?
Take softwood cuttings from spring through late summer. Prioritize rapidly growing tips while days are long and nights stay mild.
What about semi-hardwood?
Switch to semi-hardwood in summer to early fall when stems begin to firm and color shifts from green to tan. Use a coarser medium and consider a light dusting of hormone for the firmer tissue.
When is hardwood best?
Take hardwood after active growth has ended. Rooting will be slow, so plan longer bench time and avoid expecting quick results at the season’s end.
- Weather watch: avoid heatwaves and cold snaps; pick mild spells for steady callus and root starts.
- Batch planning: stagger cuttings every 2–3 weeks to build a pipeline of ready-to-pot plants.
- Regional tweak: warmer U.S. zones shift calendars later; cooler zones start earlier indoors under protection.
- Parent health: cut after a good watering and in the morning for perkier donor plant tissue.
| Season | Cutting Type | Key Action | Expected Pace |
|---|---|---|---|
| Spring → Late Summer | Softwood | Use water or light mix; high humidity | Fast (1–3 weeks) |
| Summer → Early Fall | Semi-hardwood | Use coarser medium; consider hormone | Moderate (3–6 weeks) |
| After Active Growth | Hardwood | Plant in coarse mix; expect slow roots | Slow (several weeks to months) |
“Match tissue maturity to season and you’ll see more reliable rooting across regional climates.”
Troubleshooting and Aftercare: From New Roots to Pots
Keep calm and check basics: humidity, temperature, and gentle handling decide success in this stage. Ease into potting and focus on small wins that reduce shock and loss.
Ease cuttings from jars to potting mix by planting into pre-moistened medium, covering for humidity, and venting a bit more each day. Watch for overwatering and sudden sun exposure—those cause most losses.
- Wilting: raise humidity, trim excess foliage, and move away from heat. Make sure the mix is moist but not soggy.
- Rot: improve airflow, cut away soft stems, and switch to a grittier medium if wetness persists.
- Slow rooting: be patient with woody stems; a mild dose of rooting hormone can help stubborn material.
- Pests: isolate affected plants, rinse aphids, and use insecticidal soap as needed.
How do I move water-rooted cuttings into pots without shock?
Plant when new roots reach 1–2 inches. Gently set into pre-moistened potting mix, firm lightly, and tent for 3–5 days. Keep 65–75°F and bright indirect light.
How do I acclimate to brighter light?
Start in bright shade and increase sun 30–60 minutes daily until the plants tolerate morning or filtered sun. Up-pot to ventilated pots only after roots fill the starter cell and new growth appears. Feed lightly then.
Free Plants Beyond Your Yard: Swaps, Shares, and Closeouts
Neighborhood swaps and nursery closeouts are great ways to score free plants. Bring labels, small pots, and a clean blade. Ask politely and offer to prune in return.
How do I ask local gardeners for cuttings?
Be specific about varieties. Say which cutting you need and when you’ll collect it. Always get permission before snipping in any garden.
Where else can I find healthy starters?
- Attend plant swaps and club exchanges to trade starts and advice.
- Watch nursery closeouts for bargains—check stems for firmness and no pests.
- Local garden clubs often host seasonal exchanges and share tips on propagating plants.
“A few well-chosen cuttings can fill a windowsill and build community ties.”
Transport and setup: wrap bases with damp paper, pot immediately, then rehydrate and set into your chosen method. Use jars of water for soft stems or coarse media for woody ones.
- Tip: Ask nearby gardeners for a few cuttings and trade care notes.
- Make it a family project—kids can label, fill pots, and check roots as the new plants develop.
Conclusion
Try one simple cutting now and build confidence with a small success.
Start small, learn fast: pick a healthy tip, trim below a node, remove lower leaves, and root in water or a gritty mix. Water starts show roots fast; soil or sand yields tougher roots and easier potting.
Match tissue to season: softwood in spring, semi-hardwood and hardwood later. Begin with basil for quick wins, then try oregano or thyme as your skills grow.
Key next steps: select one easy cutting, label it, and track results. Each success multiplies into confident care and a small collection of new plants you’ll enjoy.
FAQ
What is vegetative propagation and when should I use it?
Vegetative propagation is cloning a plant using cuttings — stems, leaves, or roots — so the new plant is genetically identical to the parent. Use it when you want to preserve a favorite flavor or trait, quickly multiply reliable performers, or avoid the unpredictability of seeds. It’s ideal for many perennial and tender perennial herbs during active growth.
Which herbs root best from cuttings: basil, oregano, or thyme?
Basil roots very quickly in water or soil from 3–4 inch juvenile stem cuttings and often shows roots in 1–2 weeks. Oregano roots more slowly and benefits from rooting hormone and indirect light. Thyme does well from short, tender cuttings in a well-draining potting mix, with a clear dome or bottle to raise humidity while roots form.
Should I root cuttings in water or potting mix?
Water rooting is fast and lets you watch roots form, but moving plants to potting mix can cause shock. Soil or coarse sand produces tougher, longer-lasting roots and stronger plants but takes longer. Choose water for quick results and easy monitoring; choose a sterile potting mix or perlite blend for durability and direct planting.
What tools and supplies do I need to start cuttings?
Gather clean, sharp pruners or a knife, labels, a dibber for making holes, small pots, sterile potting mix or sand, perlite or vermiculite, and optional rooting hormone (commercial powder or natural alternatives). A clear dome, plastic bag, or bottle makes a simple mini greenhouse to keep humidity high.
Do I need rooting hormone, and which type should I use?
Rooting hormone speeds and improves success, especially for slow-rooting species. Use commercial powders or gels for reliable results. Natural options like willow water can help but are less consistent. Apply lightly to cut stems before inserting into the medium.
How do I take a cutting properly — where to cut and how long should it be?
Cut just below a node (where leaves attach) using a sharp, clean tool. Aim for 2–4 inches of stem for most herbs. Remove lower leaves so at least one node sits in the medium. Leave a few top leaves intact to photosynthesize, but trim large leaves to reduce moisture loss.
How do I transition water-rooted cuttings into potting soil without shock?
Gradually acclimate by planting roots into moist sterile potting mix, keeping humidity high for a few days under a dome or bag, and placing in indirect light. Avoid deep watering at first; keep the mix evenly moist. Reduce humidity over a week while increasing light to harden the plant.
What are softwood, semi-hardwood, and hardwood cuttings and how do I tell them apart?
Softwood cuttings come from new, flexible growth in spring and early summer. Semi-hardwood are partially matured stems from mid to late summer. Hardwood are fully mature, woody stems taken in late fall or winter. Softwood roots fastest; hardwood suits woody shrubs and takes longer.
How long does rooting usually take?
Timing varies by species and method. Water-rooting can show roots in 1–2 weeks for fast-rooters like basil. Soil or sand rooting often takes several weeks. Semi-hardwood and hardwood cuttings may need months. Keep conditions warm, humid, and shaded for best results.
What light, temperature, and humidity work best for cuttings?
Provide bright, indirect light, temperatures around 65–75°F, and high humidity (use a clear dome or plastic bag). Avoid direct sun that stresses cuttings. Good air circulation prevents rot while keeping the medium evenly moist encourages rooting.
What common problems should I watch for and how do I troubleshoot them?
Look for wilting (too little moisture or root failure), rot (overwatering or poor air flow), slow rooting (low temps, insufficient light, or no hormone), and pests. Correct by adjusting moisture, improving drainage, increasing warmth and light, and using sterile tools and media.
When is the best time to take cuttings in the U.S.?
For softwood cuttings, spring through late summer is best. Semi-hardwood is ideal in summer to early fall. Take hardwood cuttings after active growth ends in late fall or winter for woody species. Local climate can shift these windows slightly.
Can I get cuttings from neighbors or plant swaps?
Yes. Ask gardeners, neighbors, and garden clubs for cuttings or join local plant swaps and nursery closeouts. Always clean tools before cutting and label shared material clearly. Trading is a great way to diversify without buying new specimens.
What growing mediums work best for rooting cuttings?
Use sterile potting mix, perlite, vermiculite, coarse sand, or a sphagnum blend. Perlite and sand give excellent drainage for herbs that rot easily. A sterile, lightweight mix combined with perlite helps keep the medium evenly moist without waterlogging.
How should I space and label my cuttings?
Give each cutting room so leaves don’t touch and air circulates. Use small pots or a propagation tray with separate cells. Label each with species and date so you track progress and know when to transplant.