Can a single jar on your windowsill turn kitchen scraps into steady harvests? This guide shows how simple setups—clear water in a glass, a sunny sill, and a little patience—jumpstart regrowth for common vegetables and herbs.
Start small with green onions, celery stumps, garlic cloves, or potato eyes. Many tubers and bulbs root easily in water, while carrot and beet tops produce fresh leafy greens you can snip for salads.
We’ll share practical tips for healthy rooting, when to move roots into soil, and what to expect from lettuce or romaine stumps so you save time and get repeat harvests at home.
Expect clear, step-by-step advice that fits busy kitchens. Learn which scraps offer fast wins, how to avoid slimy water, and how a jar or glass becomes a low-cost tool for growing food with confidence.
Key Takeaways
- Simple jars and clear water can revive many kitchen scraps like green onions and celery.
- Tubers and bulbs often root better from cut pieces than from seed.
- Carrot and beet tops give greens, not full roots; lettuce may regrow leaves but taste can change.
- Change water often to prevent slime and support healthy root growth.
- Move rooted pieces into soil for stronger, longer-lasting vegetables and herbs.
- Use a sunny windowsill to speed rooting and make indoor growing food practical for beginners.
Why regrowing scraps matters for your kitchen, wallet, and the climate
A jar of water on the windowsill does more than sprout roots—it lowers emissions and stretches grocery budgets. Small habits at the counter can keep usable scraps out of the bin and back into meals.
How methane, landfills, and food loss drive climate impacts
When organic scraps go to landfill, they decompose without oxygen and emit methane. Methane traps heat about 25 times more effectively than CO2. If global food loss and waste were a nation, it would rank as the third-largest emitter of greenhouse gases.
From trash to treasure: turning scraps into fresh produce
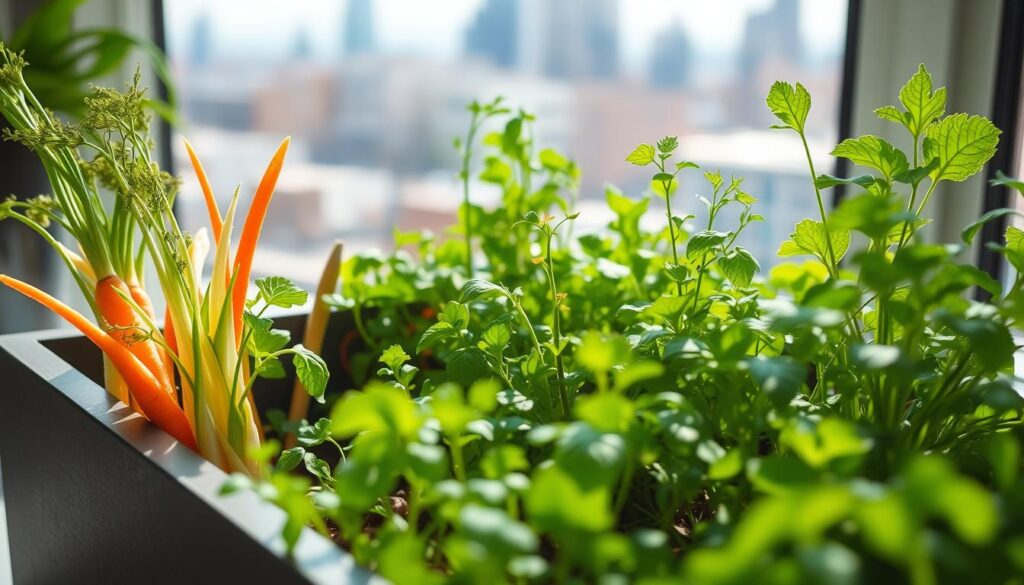
Regrowing bases, bulbs, and tubers can supplement meals with fresh greens using minimal time and materials. Start a small jar or bowl of water, test seeds in tiny batches, and try quick recipes like soups or omelets to use regrown leaves.
- Regrowing scraps cuts methane-emitting landfill inputs and turns tossable items into edible growth.
- Plan meals and save trimmings for regrowth or composting to keep nutrients circulating at home.
- Know the limits: some grocery fruits and vegetables are irradiated or picked early; seeds may not sprout. Do small tests and track results.
- Record a short video or time-lapse to learn what light, water, and time each item needs.
Windowsill basics: jars, water, light, and when to switch to soil
A clean glass on a sunny windowsill can turn a carrot or celery base into fresh greens. Place stumps and cuttings in fresh water and pick a bright, draft-free spot that gets steady light. Clear containers make it easy to watch root progress and water clarity.
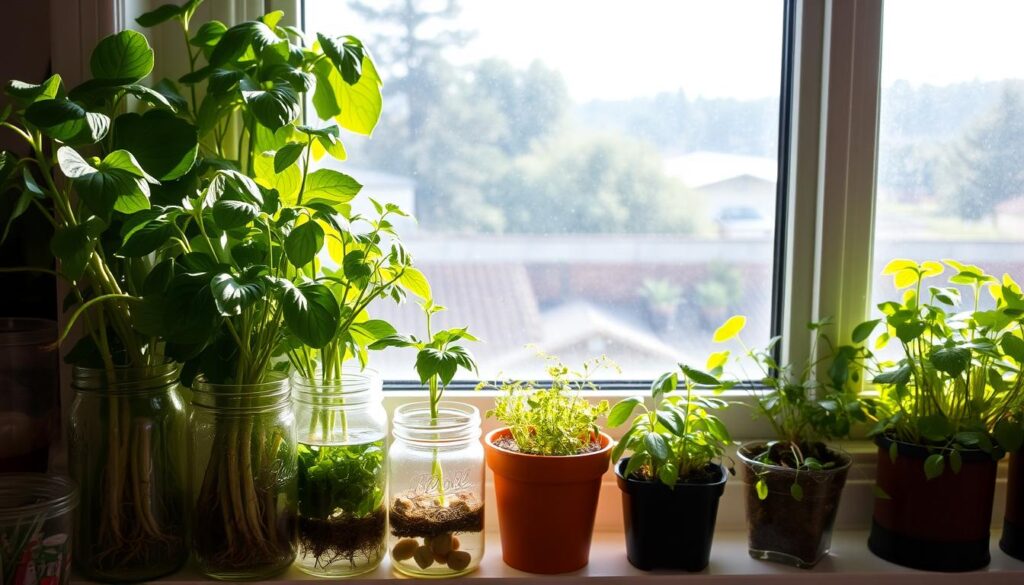
Swap water often to keep starts healthy. Change water every day or every other day to prevent slimy film and to keep oxygen available for new roots. Submerge only the cut bottom; leave leafy tops above water so they do not rot.
Quick setup and when to move to soil
- Core tip: A bright windowsill, a clean jar or glass, and fresh water are the backbone of successful regrowing.
- Core tip: Once you see healthy white roots, transfer the piece into moist potting soil for stronger growth and better flavor.
- Use painter’s tape to label start dates and items so you can track how each scrap responds to light and water.
- Start with reliable pieces like green onions, celery bases, or basil cuttings; sweet potato slips also form well in water before potting.
| Step | Action | Why it helps |
|---|---|---|
| Setup | Place cut base in a clear jar with fresh water on a sunny windowsill | Light and visibility speed rooting and let you spot problems |
| Maintenance | Change water every day or every other day; rinse jar between cycles | Prevents biofilm, reduces bacteria, and supplies oxygen for roots |
| Transition | Move to soil when roots are a couple of inches long | Soil strengthens the plant and improves flavor and yield |
Quick-win plants you can regrow in water first
Try simple starts that reward patience quickly. A bright windowsill, a clear glass, and steady light give the fastest results for common kitchen scraps.
Pick one or two scraps and track them for a week. Short notes or photos help you learn which items root fastest and taste best when moved to soil.
Green onions
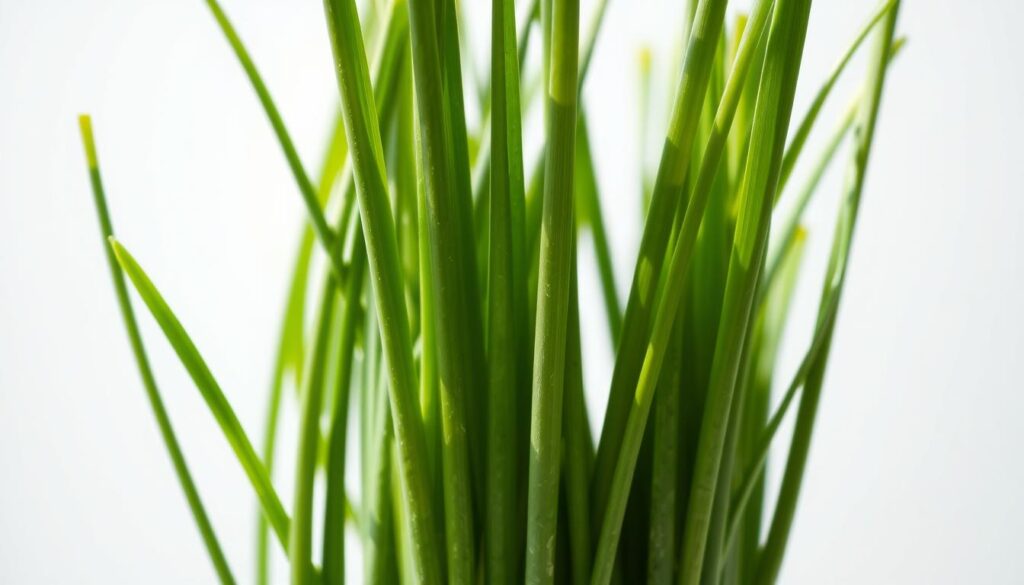
White ends with roots take off fast. Stand the root ends in a glass with just enough water to cover roots. Set on a sunny sill and change water daily or every other day.
Snip greens in about a week for fresh flavor. When the roots look healthy, pot into soil to boost long-term growth.
Celery and romaine
Trim a 2-inch base and sit it in shallow water. In 5–7 days you’ll see new leaf buds at the center.
After a week, transplant the base into soil and keep new tips above the surface. Expect leafy regrowth rather than a full head of lettuce; flavor can turn slightly bitter.
Basil and other herbs
Select a 4–6 inch cutting and strip the lower leaves. Place the stem in water and change water every two days to keep starts clean.
Once roots reach about 2 inches, pot up for steady harvests. Frequent snipping encourages fresh leaves and discourages early flowering.
“Start small, watch daily, and move to soil when roots are white and branching.”
- Tip: Keep the water line low to reduce rot and let leafy parts stay dry above the rim.
- Tip: Track growth over the same number of days to compare how different stalks perform.
Root-to-leaf eating: plants where nearly every piece gets used
Some kitchen bits do double duty: they re-root, sprout greens, and season meals. Alliums and root tops give you bulbs, stalks, and tender leaves you can use in many dishes.
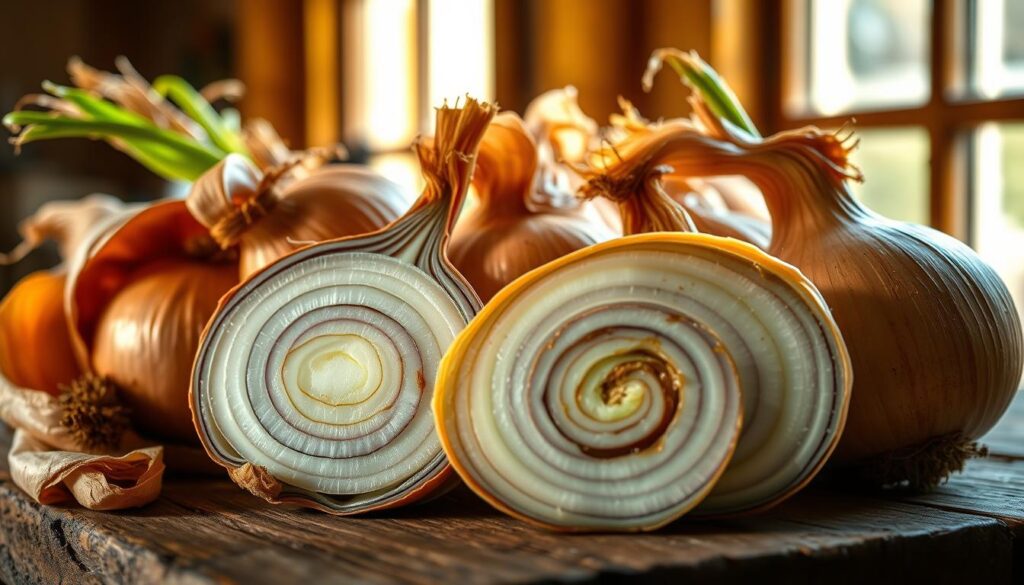
Onions and garlic: bulbs, greens, and flavor from top to bottom
Alliums are generous: use onions for bulbs and greens, and garlic for flavorful cloves or tender shoots.
For onion regrowth, split sprouted bulbs to expose inner shoots. Start them in water to form white roots, then transplant to soil to encourage a new bulb or longer green stalks.
Or let the onion bottom callous, plant it in moist soil, and harvest the green stalks as needed. For garlic, plant cloves pointed side up and snip mild garlic greens while the bulb matures.
Carrots and beets: regrow greens for pestos, salads, and soups
With carrots and beets, focus on leafy returns: tops rarely reform the root, but they make bright, flavorful greens.
Set trimmed tops in shallow water until leaves appear, then pot into soil for sturdier growth. Chop leaves into pestos, toss into salads, or stir into soups for fresh texture and taste.
| Crop | Best use of scrap | Quick tip |
|---|---|---|
| Onion | Sprouted bulb or calloused bottom → greens or new bulb | Start in water, move to soil when roots appear; harvest greens in stages |
| Garlic | Clove → garlic greens; bulb matures underground | Plant pointed side up; trim shoots like scallions |
| Carrot / Beet | Tops → leafy greens for pesto, salads, soups | Root will not reform; transfer greens to soil for fuller leaves |
Practical tip: Keep soil evenly moist, give room for foliage, and rotate small harvests so each scrap keeps producing.
Pantry heroes that sprout new harvests from scraps
Pantry tubers and rhizomes are built to regenerate: potatoes, sweet potatoes, and ginger can turn a single piece into steady growth. Start with a sprouted piece, give it light and room, and the reward is recurring harvests over months or even years.
Potatoes: Cut into pieces with one to two eyes and let the cut surface callous for a day. Plant each piece about a foot apart in roughly 8 inches of loose soil or in 5-gallon buckets to keep rot away and encourage strong roots.
Sweet potatoes: Suspend a tuber in water to produce slips. When slips form healthy roots, plant them in well-draining soil for a full-season harvest of new tubers.
Ginger: Pick a plump rhizome with visible buds. Root it in water or moist mix until white roots appear, then plant shallowly with buds up. Harvest by removing a single piece at a time and re-cover the remainder so the ground keeps producing.
- Practical tips: Keep even moisture and good drainage, use containers or raised beds, protect young growth from cold, and feed periodically with balanced fertilizer.
- Heads-up: If a scrap refuses to sprout after reasonable time, it may have been irradiated—sourcing seed potatoes or organic ginger helps ensure success.
“Start with small pieces, give them space and steady care, and a pantry scrap becomes a season of vegetables.”
Want reduce food waste grow these plants: top picks and what to expect
Some scraps give fast rewards and others ask for patience. Start with quick-turn greens to stay motivated, then add a slower project for long-term satisfaction.
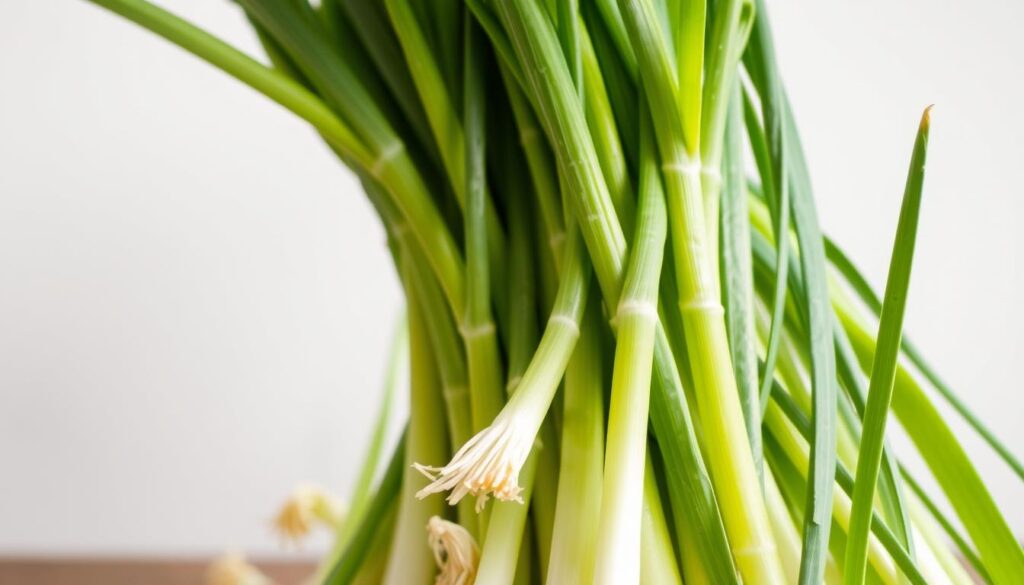
Lettuce, celery, and green onions for fast results
Lettuce and celery bases often sprout new leaves within days. Set romaine or a celery bottom in shallow water and refresh it often.
Green onions are especially fast — place root ends in a jar and plan your first snip within a week.
Tomatoes from saved seeds, plus long-game pineapple tops
Tomato seeds benefit from a simple fermentation step. Let pulp sit in water until seeds sink, rinse and dry, then sow in small pots and move to soil when sturdy.
Pineapple tops need patience: suspend the crown over water to root, then pot in a sunny spot. Fruiting can take up to two years, but the process is rewarding.
- Fast-track trio: romaine or celery bottoms in shallow water, green onions in a jar.
- Timeline tip: greens = days; tomatoes = weeks to months; pineapple = years.
- Practical tip: label start dates, track water changes, and keep a short video to note progress.
| Item | Best use | Expectation |
|---|---|---|
| Lettuce (romaine) | Fresh leaves for salads | Leaves regrow quickly; move to soil for fuller heads |
| Celery | New stalks and leaves | Regrows in days; transplant for stronger growth |
| Green onions | Quick snips like scallions | Harvestable in ~1 week; repeatable from same base |
| Tomato (saved seeds) | Seed-to-seedling for summer transplants | Ferment seeds, sow, then transplant to sun |
| Pineapple top | Long-term fruiting | Roots in water; fruiting may take up to two years |
“Keep a mix of quick wins and long projects so your windowsill always offers a reward.”
Steps to regrowing food scraps at home or in the classroom
Set up a small station with a shallow dish and a ruler to track regrowth over two weeks. This simple experiment shows how clear water, light, and a little record-keeping reveal what helps a scrap recover and sprout.
How to set up and run the experiment
The basic step-by-step is easy: cut the end, place it in water, give it light, and record growth every other day. Keep water fresh to prevent slime and support clean, steady regrowth.
Gather a shallow dish or jar, a glass for taller stalks, labels, clean water, and a sunny windowsill. Prepare romaine, celery, or green onions by submerging only the base; keep leaves dry above the rim.
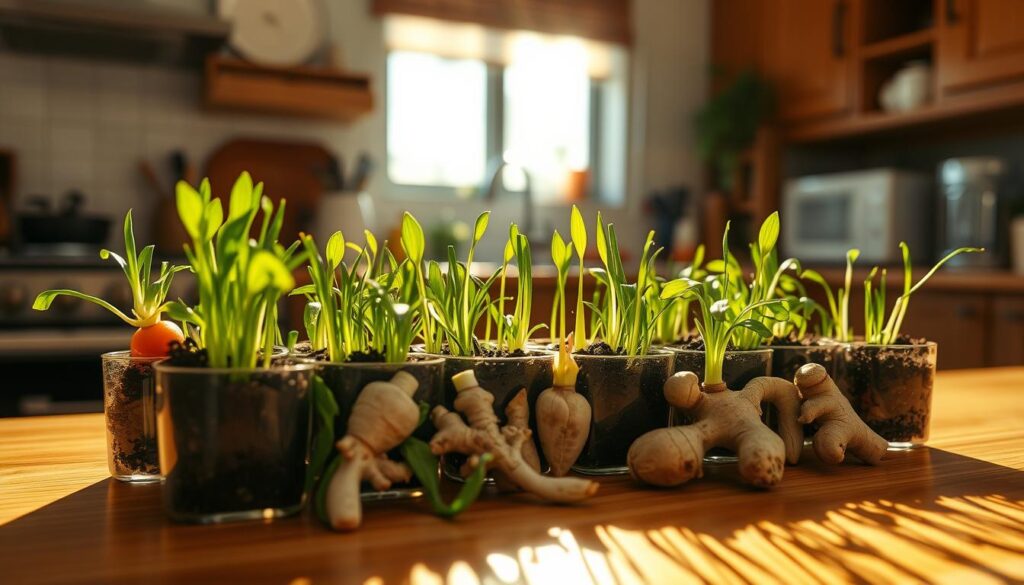
Measure, graph, and compare over two weeks
Turn this into a mini science lab: measure vertical growth every other day, change water every 1–2 days, and note water clarity, light, and color changes.
- Record a start date and mark initial height as zero.
- Use rulers or coins for quick measures; older students can create line graphs with date on the x-axis and growth on the y-axis.
- After roots appear, transplant to soil and track any change in growth rate.
“Observe which items respond best, discuss variables like light and water frequency, and link the experiment to how small household habits affect climate.”
Pro tips to boost growth and flavor
Clear water, consistent light, and gentle handling turn fragile starts into sturdy, tasty regrowth. Small daily actions—fresh water, a bright spot, and timely transfers—add up to better texture and aroma.
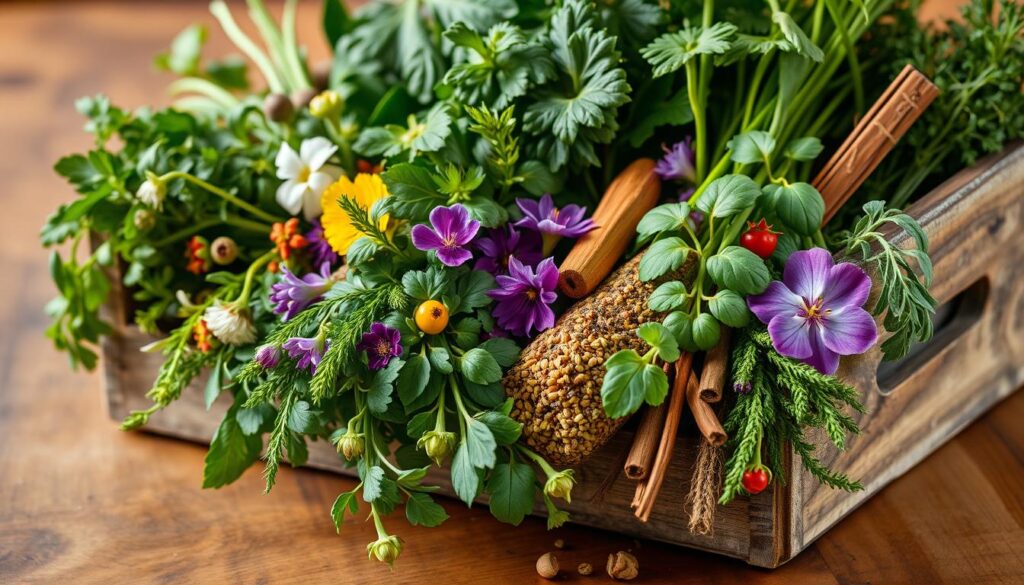
Use filtered or fresh tap water and change water every day or every other day. Clear water keeps oxygen levels up and prevents slime, which helps roots form faster.
- Use filtered water and change water—clearer jars mean healthier starts.
- Provide steady, bright light without harsh midday heat; rotate jars for even growth.
- When roots appear and branch, move to soil—herb stems like basil do best after about 2 inches of roots; leafy bases often do well after roughly one week in water.
- Keep soil evenly moist and well-drained once you transplant to avoid soggy conditions and rot.
- Feed lightly with a dilute, balanced fertilizer after establishment; avoid overfeeding in water to prevent slime and odors.
“A little routine—check jars on the same day each week, refresh water, and note changes—builds confidence and consistent growth at home.”
For more setup ideas and shelf-friendly herb options, see best kitchen herb garden picks.
Safety, limitations, and smart sourcing
Not every scrap will make a whole new crop; many pieces give leaves or flavor instead of a full replacement. Learn practical limits and safety checks before starting so you save time and avoid disappointment.
Which scraps won’t regrow into a full plant?
Know what to expect: lettuce bottoms often produce loose leaves but rarely form a full head, and carrot or beet ends mostly yield greens for salads or pesto.
Seeds from unripe fruits may fail to germinate. Try a simple float or germination test before planting seeds from store-bought fruits or vegetables to avoid wasted effort.
How does irradiation and store handling affect success?
Many grocery items are irradiated or harvested early to delay sprouting. This can inhibit rooting or render seeds sterile. If nothing roots after a fair try, switch to seed potatoes or certified starter sets.
When to compost, not toss
Taste and texture are your guide. If regrowth tastes bitter, smells foul, or the end gets mushy, compost the scrap rather than send it to the trash. Composting returns nutrients to the ground and cuts overall waste.
- Practical tip: For onions, start sprouted inner bulbs in water, then pot to soil, or plant the dried bottom and harvest greens while bulbs develop.
- Source smart: choose organic or local fruits and vegetables when possible and look for visible buds or eyes on bulbs.
“If a scrap underperforms, compost it and try a better-sourced piece; small changes in sourcing improve long-term success.”
Conclusion
Regrowing food scraps is a simple, reliable way to cut waste, save money, and add freshness to daily meals. Start small, stay consistent with water and light, and move pieces to soil when roots are ready.
A steady routine—clean water, regular changes, and timely transplants—turns small starts into lasting returns.
Mix quick wins like green onions and celery with long-term projects such as tomatoes from saved seeds or pineapple tops that may take up to two years. This balanced approach keeps your home setup productive and your money spent on groceries lower.
One simple step at a time, you’ll build habit and confidence. Treat scraps as starters for more herbs, leafy vegetables, and pantry staples—then fold fresh trimmings into soups, salads, or tacos so results show up in everyday meals.
Take one jar, pick one scrap, and begin regrowing food scraps today.