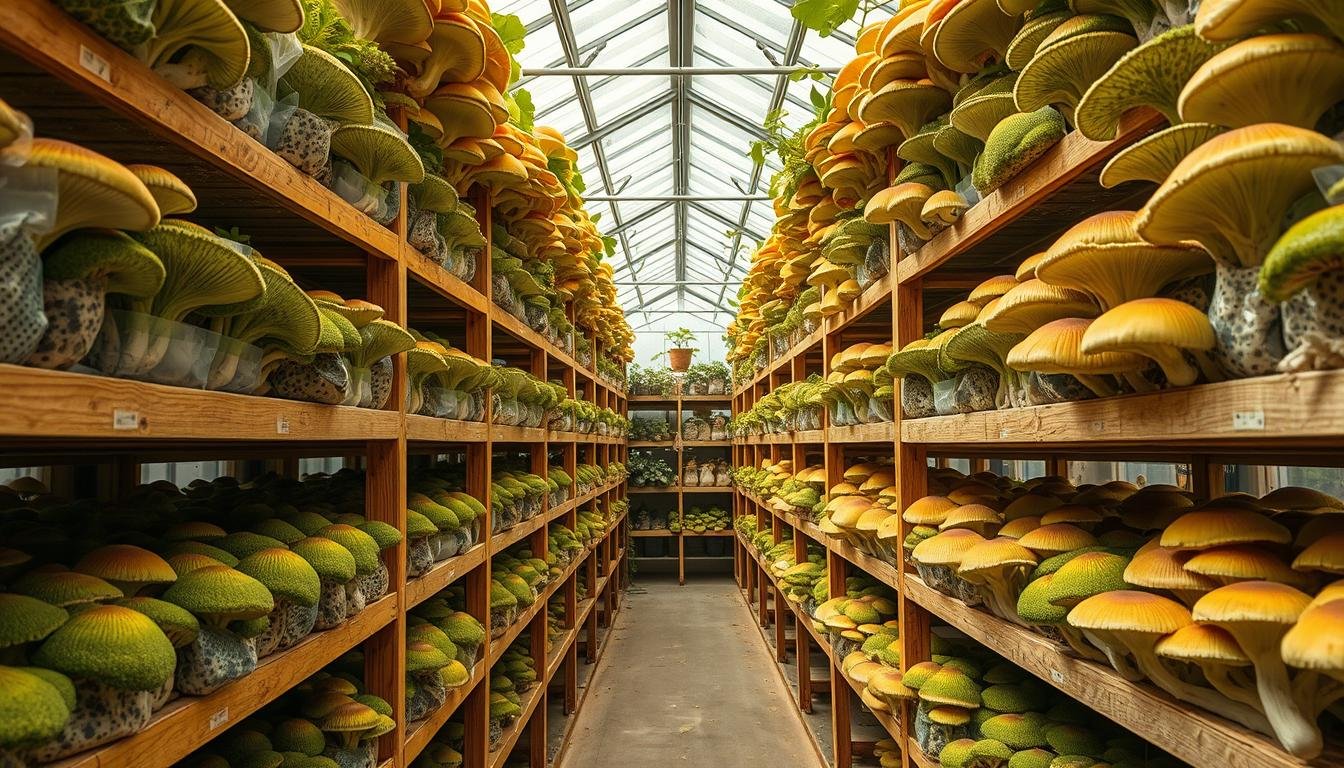
Curious how a small, controlled tent can turn ordinary spaces into a reliable mushroom harvest? This question matters if you want consistent yields, low contamination, and clear targets for humidity and temperature.
Set your goal: build a clean, controlled greenhouse grow tent where you can raise mushrooms from inoculation to harvest with simple tools. You’ll learn how to pick varieties, prepare substrate, and manage temperature, humidity, fresh air, and light.
We show when to start with spawn or a ready-to-fruit block to shorten time to first harvest. Expect practical advice on what to buy, what you can repurpose, and ways to cut contamination risks while keeping growth vigorous.
Key Takeaways
- Clear goals: set up a tidy tent for reliable production.
- Right timing: choose spawn or ready blocks to speed harvest.
- Essential equipment: buy smart, repurpose when possible.
- Environmental targets: follow simple humidity and temp ranges.
- Extend yields: encourage extra flushes and recycle spent blocks.
Understanding Goals, Safety, and the Mushroom Life Cycle
Define success clearly: aim for clean, consistent results with minimal losses by matching each control choice to the life stages of your crop.
How does a mushroom develop?
Four basic stages shape progress: spore germination, colonization by mycelium, pinning, and fruiting/sporulation. Mycelium is the threadlike body that spreads through the substrate and signals healthy growth when it looks bright white.
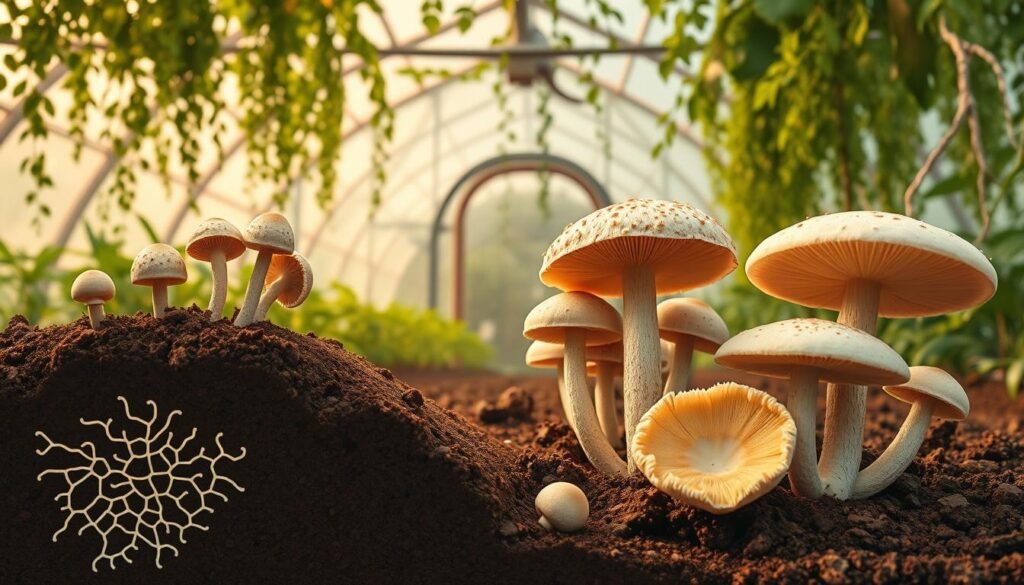
What does safety look like in the work area?
Sanitize tools with hot soapy water, then mist with hydrogen peroxide or alcohol. Wash hands and minimize drafts during inoculation; a still-air area lowers contamination risk.
- Watch the stages: visible white mycelium is progress; off-colors or strong odors mean remove affected jars or blocks.
- Environment: most culinary species do well between 55–70°F with high humidity and indirect light.
- Basics: steady moisture, oxygen, and gentle air exchange prevent stalled growth and deformities.
Choosing Gourmet Mushroom Varieties for a Greenhouse Grow Tent
Match mushroom types to your tent’s typical temperature and airflow for best results. Pick varieties that suit your space, and you’ll save time and avoid needless trial and error.
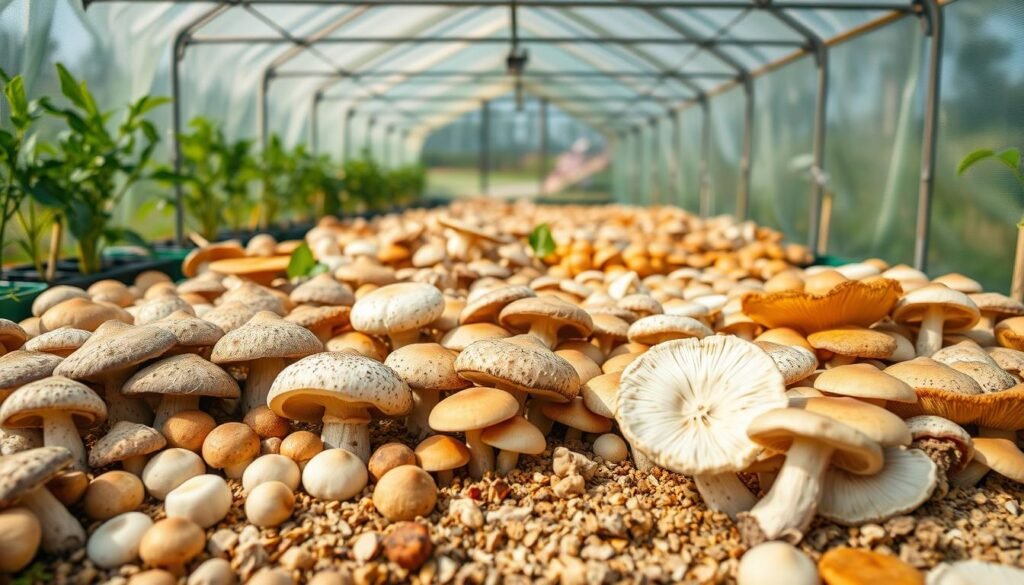
Beginner-friendly picks: oyster, lion’s mane, pioppino
Start simple. Oyster mushrooms are fast and forgiving. They tolerate a wider temperature band and like plenty of fresh air.
Lion’s mane offers a unique texture and prefers cool, steady humidity with gentle airflow. It rewards patience.
Pioppino is a rich culinary option. Pick strains that match your shelf or basement temps—some prefer cooler spots, others a bit warmer.
How to match species to temp, light, and fresh air needs
Most species fruit well between 55–70°F with indirect light. Cooler strains perform better on the low end.
Plan fan placement: oysters need frequent exchange; lion’s mane thrives with softer drafts. Light should be indirect during fruiting.
Spawn vs. ready-to-fruit substrate blocks
A ready block skips colonization and gets you to harvest sooner. Blocks can be stored in a fridge for up to a week if you need a delay.
Use spawn when you want control over substrate and batch size. Spawn takes more work but rewards scaling and experimentation.
- Quick wins: choose oyster or a fruiting block.
- Deep learning: use spawn and make your own substrate.
Essential Equipment and Supplies
Build a compact kit that lets you sterilize safely, monitor conditions, and protect your substrates.
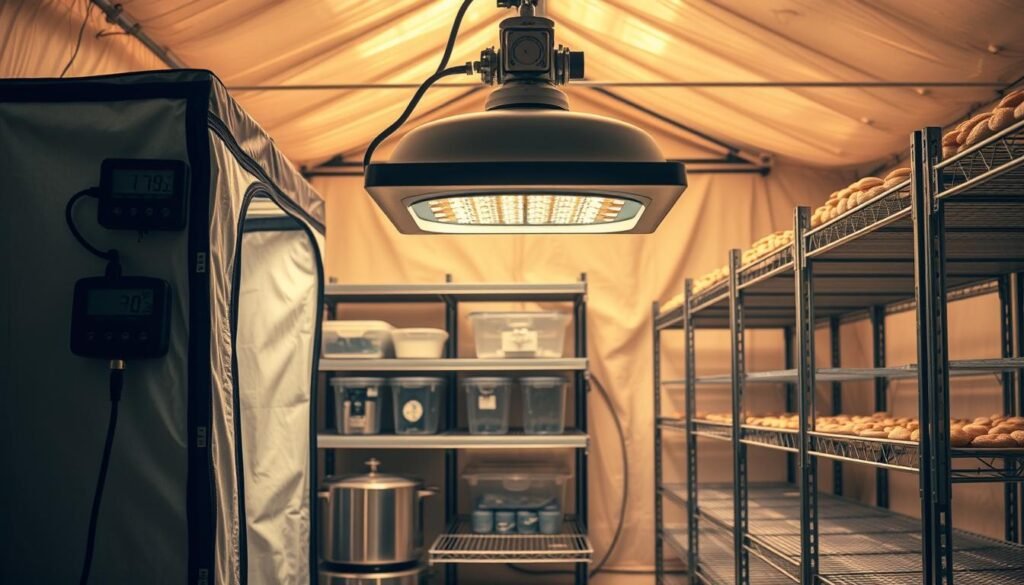
Good tools save time and contamination headaches. Start with a reliable pressure cooker to sterilize jars and tools at 15 psi. Add quart jars, foil, and polyfill for jar tops. A clear bin makes a simple still-air box for clean inoculation.
Which items matter during prep and fruiting?
For substrate work: use filter patch bags for grain or sawdust, or a steamer if you prefer atmospheric processing. Keep an ultrasonic humidifier, hygrometer, and thermometer to hold 80–95% RH during fruiting.
| Item | Use | Why it matters | Notes |
|---|---|---|---|
| Pressure cooker | Sterilize jars | Eliminates contaminants | 15 psi standard |
| Filter patch bags | Contain grain/sawdust | Withstand steaming | Reusable options exist |
| Hygrometer & timer | Monitor RH/temp | Prevents swings | Place near fruiting trays |
- Stock trays, blackout and humidity domes, and shade cloth to control light and moisture.
- Place small fans outside the tent for gentle exchange without direct drafts.
- Keep a cleaning kit—alcohol, peroxide spray, and paper towels—handy to protect your growing medium and the health of your mushrooms.
Setting Up the Greenhouse Grow Tent Environment
Keep conditions steady and simple: a cool, humid tent with controlled air exchange gives the best results. Maintain clear targets for temperature and humidity so pins form reliably and fruit bodies develop without stress.
What temperature and humidity levels should you aim for?
Most culinary species fruit best between 55–70°F. Fewer swings in temperature lead to steadier pinsets and fuller caps.
Aim for high humidity during fruiting—commonly 80–95%. Use an ultrasonic humidifier and a sealed dome to keep caps from cracking.
How do you provide fresh air without drying out the crop?
Crack vents or run fans on short cycles to bring in fresh air and vent CO2. Avoid pointing airflow directly at clusters.
Place a hygrometer at tray height and a thermometer away from direct mist. Space trays to let air pass between them.
What light strategy works for incubation and fruiting?
Keep incubation darker to favor colonization. When fruiting, give indirect light so pins orient and stems stay short.
Use shade cloth on the tent exterior to soften direct sun and reduce heat gain in a converted greenhouse area.
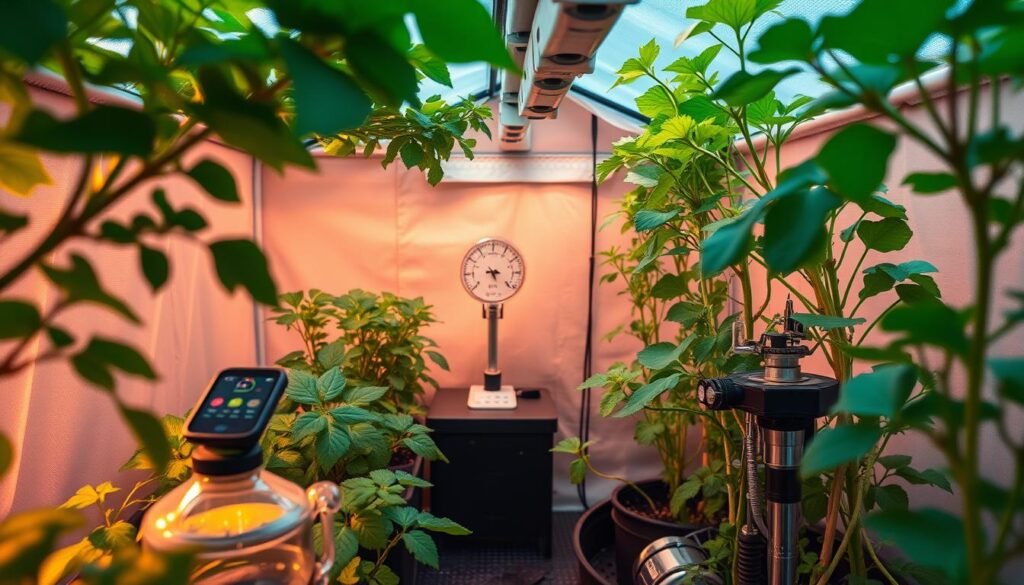
| Control | Target | Tool | Tip |
|---|---|---|---|
| Temperature | 55–70°F | Thermometer + heater/vent | Locate tent in a cool stable area |
| Humidity | 80–95% | Ultrasonic humidifier, dome | Hygrometer at tray level |
| Air exchange | Intermittent cycles | Small fan, vents, timer | Avoid direct airflow on clusters |
Preparing Substrates and Growing Mediums
Pick a growing medium that fits the mushroom’s needs and your workflow. Match the substrate to the species, pasteurize small batches, and aim for the right moisture so colonization runs smoothly.
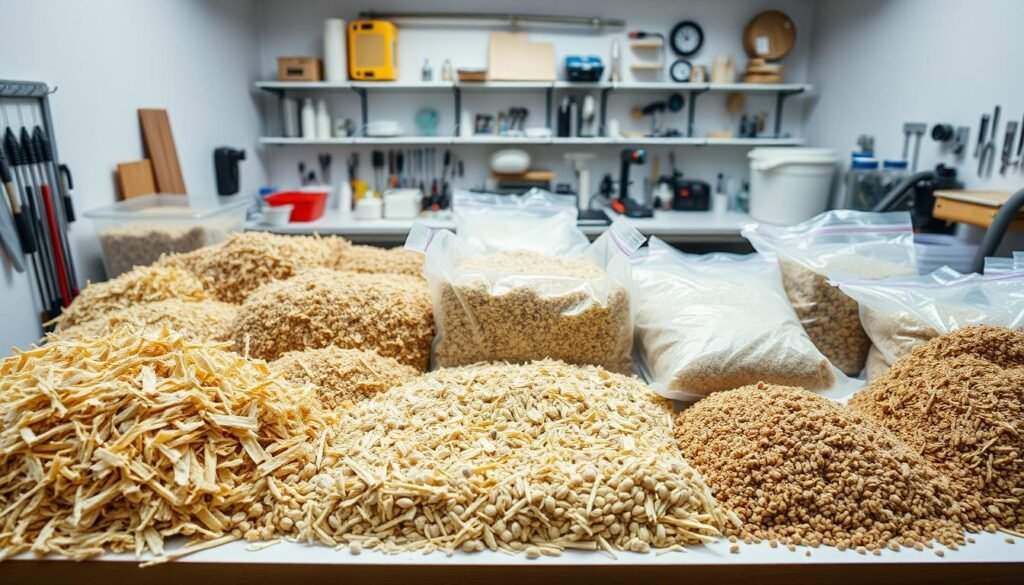
Suitable substrates include coffee grounds, chopped straw, cardboard, sawdust, hardwood chips, wheat bran, coco coir, and wood pellets. For small batches, pasteurize on a stove or use a pressure cooker. Drain well and cool under 70°F before inoculation.
Which substrate suits which species?
Coir/vermiculite works well for trays. Pasteurized straw fits fast-fruiting types. Hardwoods and sawdust favor wood-loving species.
- Blend nutrition carefully: adding bran boosts yield but raises contamination risk.
- Hydrate to a wrung-out sponge: too wet stalls colonization; too dry slows mycelium.
- Work cleanly: cover cooled substrate until use and keep a bit extra for top dressing.
- Use properly sized wood chips or sawdust for structure and moisture retention.
| Substrate | Best use | Prep note | Moisture target |
|---|---|---|---|
| Coco coir + verm | Trays | Hydrate bricks, cool fully | Wrung-out sponge |
| Straw | Oyster-type | Chop and pasteurize | Wrung-out sponge |
| Hardwood sawdust | Wood species | Sterilize or pasteurize; blend with bran carefully | Stable, not soggy |
Sterilization and Pasteurization Methods
Control heat, time, and pressure to cut contamination and protect your substrate. Proper thermal processing removes competing spores and prepares a stable growing medium for healthy mycelial colonization.
Controlling heat, time, and moisture during processing gives your batches a fighting chance. For small, low-nutrient loads like straw or coir, use pasteurization. Hold material at 167°F for two hours in a covered stock pot, then drain and cool below 70°F before inoculating.
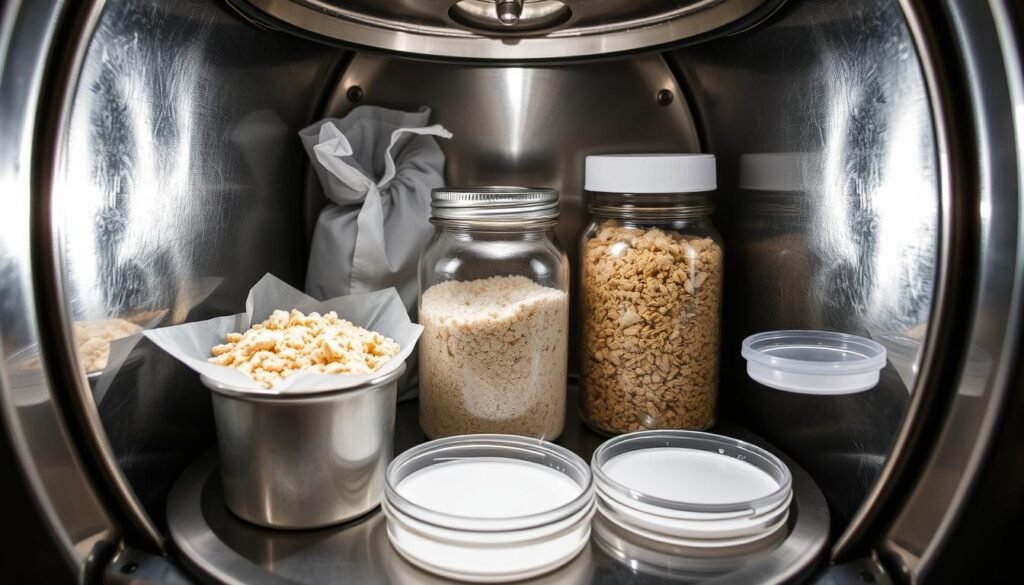
For nutrient-rich grain or sawdust mixes, choose full sterilization in a pressure cooker. Run jars at 15 psi—about fifty minutes for quart jars—so heat penetrates the core.
- Pasteurize bulk substrate to reduce competitor spores while keeping helpful microbes.
- Sterilize high-nutrient mixes with a cooker to eliminate hardy contaminants.
- Atmospheric steam works for bags and bulk; ensure even steam flow and consistent duration.
- Cool below 70°F and handle with clean gloves and tools to avoid recontamination.
Keep records: label batches, note time and pressure, and avoid opening lids unnecessarily. These simple habits protect your compost, wood chips, and other substrates so mushroom production in your tent or small greenhouse stays reliable.
Inoculation and Incubation: From Spawn to Mycelium
How do you move from clean spawn to healthy mycelium?
Set up a tidy still-air area, use safe syringe technique, and watch the timeline closely for steady growth and fewer mistakes.
A simple clear bin becomes a reliable still-air box. Cut arm holes and work on a wiped surface. Clean gloves, wipe tools with alcohol, and keep movement slow.
Flame-sterilize syringe needles between jars. Inject about 2 ml per quart jar through a taped hole. Reseal quickly to cut contamination risk.
Run jars in a pressure cooker at ~15 psi for ~50 minutes before inoculation and cool fully. Use breathable lids or filter patches so the mycelium gets oxygen without direct drafts.
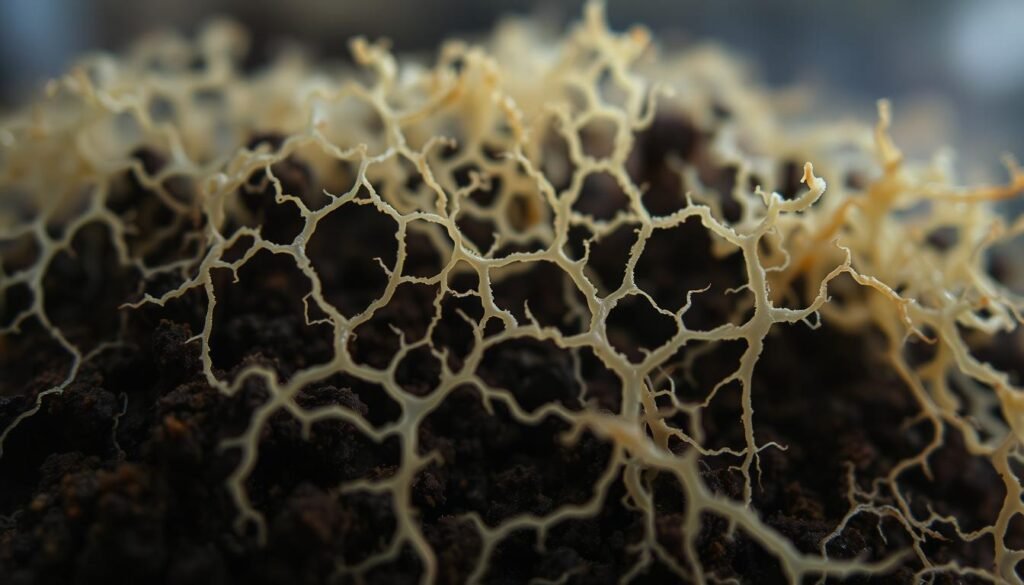
How much spawn and when to handle jars?
Follow supplier spawn ratios; more spawn speeds colonization but costs more. Shake jars at ~70% colonization to redistribute mycelium. After 100% whiteness, wait ~5 extra days so the core finishes.
| Action | Purpose | Quick tip |
|---|---|---|
| Still-air box | Reduce drafts and spores | Use a clear bin with taped entry |
| Syringe technique | Clean inoculation | Flame needles; inject gently |
| Incubation timing | Even colonization | Shake at 70%; wait 5 days past 100% |
- Record time, appearance, and any odors. Sour or green tones mean discard sealed jars.
- Keep the incubation spot dark and steady for best growth.
Fruiting Conditions: Fresh Air, Humidity, Light, Temperature
What triggers pins and healthy caps? Initiate fruiting by raising light, adding gentle air exchange, and keeping humidity high. These cues tell the mushroom to form primordia and move into the fruiting stage.
Initiate pinning by shifting conditions—more air, steady humidity, and mild light.
How do you start pins and primordia?
Remove blackout domes and swap to clear humidity domes. Open vents fully to lower CO2 and cue the next stage.
When room air is stagnant, prop lids slightly or run short fan cycles. Mist dome walls for even moisture without spraying mycelium directly.
How do you dial in humidity and air to avoid aborts?
Maintain 80–95% humidity. Check humidity levels at tray height and top up with misting. If pins lag after a week, raise both airflow and humidity in small steps.
Keep indirect light on a 12/12 cycle and hold temperature near 55–70°F depending on your species. Cooler temps often improve cap shape and density.
- Switch from incubation by increasing light, airflow, and humidity together.
- Open vents fully; avoid direct drafts on clusters.
- Mist dome walls, not pins; avoid water on delicate tissue.
- Space trays so air moves between blocks and prevents stale pockets.
| Control | Target | Tool | Quick tip |
|---|---|---|---|
| Fresh air | Intermittent exchange | Small fan, vents | Short cycles to clear CO2 |
| Humidity | 80–95% | Ultrasonic humidifier, dome | Mist walls; monitor at tray level |
| Light | Indirect, 12/12 | LED panel or shaded window | Diffuse light only; orientation cue |
| Temperature | 55–70°F | Thermometer, heater if needed | Match the needs of each species |
Step-by-Step Guide Growing Gourmet Mushrooms Greenhouse Grow
Follow a clear, compact daily plan to move from inoculation to the first flush with predictable timing. This snippet gives a quick answer: label dates, watch colonization, and switch conditions when the mycelium is ready.
Day-by-day schedule from inoculation to first flush
Day 0: Inoculate cooled jars or bags in a still-air box. Label the date, species, and spawn source. Incubate in darkness with gentle gas exchange.
Days 3–14: Monitor white mycelium. If jars hit ~70% colonized, shake to redistribute spawn then let them finish to 100%.
Day +5 after 100%: Mix colonized grain with prepared substrate in trays or bags. Let a short consolidation under blackout domes before switching to fruiting cues.
Fruiting start: Swap to a clear humidity dome, open vents, add indirect light, raise humidity, and run brief fan cycles 2–3 times daily. Many people see pins within days of these changes.
Room, tent, and tray layout to optimize airflow and growth
Stagger trays and leave a hand-width gap between rows. Keep trays out of direct fan paths. Use shade cloth if light is too harsh; this helps oyster mushrooms and lion mane form even clusters.
“Short, regular air cycles let CO2 clear while humidity rebounds above 92–95%, creating strong primordia without drying caps.”
| Stage | Target | Tool | Quick tip |
|---|---|---|---|
| Incubation | Dark, stable temp | Still-air box, thermometer | Label jars; avoid drafts |
| Consolidation | Short rest after mixing | Blackout dome | 5 days post-100% for stability |
| Fruiting | High humidity, indirect light | Humidifier, small fan, dome | Run fans briefly 2–3x/day |
| Layout | Even airflow | Staggered trays, shade cloth | Hand-width gaps; avoid direct blasts |
Track time to pins and adjust airflow or humidity as needed. For a compact timeline and more details, see the mushroom cultivation timeline.
Harvesting Techniques and Subsequent Flushes
Know when to harvest to protect your spawn and get the best texture. Catching mushrooms at peak maturity keeps flavor bright and the underlying mycelium ready for more fruiting.
How do you read caps and veils?
Look by species. For oyster mushrooms, pick when edges curl slightly and feel like the curve of your ear.
Shiitake is ready when the cap separates cleanly from the stem. Lion’s mane shows readiness as spines reach about 1/4 inch and feel tender.
What is the best knife cut method and handling?
Use a sharp blade and make a precise knife cut flush with the substrate. This protects nearby mycelium and leaves less debris.
Handle clusters gently. Keep them dry and store in a paper bag in the fridge so they breathe and avoid condensation.
How do you trigger second and third flushes?
After a harvest, rest blocks in a cooler, darker spot and reduce venting to conserve moisture. Expect smaller yields on later flushes.
If a block feels light or dry, soak it in clean water for 2–3 hours, then drain well and return it to fruiting conditions.
- Harvest promptly to prevent spore drop and loss of culinary quality.
- Store properly to extend shelf life and maintain texture.
- Recycle spent substrate by crumbling it into your compost—it boosts soil biology and structure.
For timing tips specific to oysters, see this short note on when to harvest oysters and keep your next flush productive.
Troubleshooting Common Issues
Most problems come from imbalanced moisture, poor air exchange, or the wrong temperature. Small, measured adjustments usually fix pins that abort, lanky stems, or slow mycelial advance.
If pins abort or caps look dull, raise humidity a bit and confirm your hygrometer sits at tray level. Increase misting on dome walls rather than spraying pins directly.
Leggy stems point to high CO2. Add brief fresh air cycles and watch humidity afterward. Increase exchange slowly so trays do not dry out.
Stalled white mycelium often means temperature or substrate issues. Nudge the tent a few degrees toward the species’ ideal. Check substrate depth and rehydrate thin or dry spots.
See off-colors or musty smells? Remove affected bags or trays sealed in a plastic bag and discard. This protects the rest of your area and compost supply.
- Use shade cloth to damp heat spikes that stress clusters.
- Top-dress or rehydrate substrate if pockets run dry.
- Rotate trays weekly in your greenhouse so each shelf sees even conditions and note which species or mushroom varieties do best on each level.
- Reuse spent blocks in compost or with wood chips to return nutrients to the garden.
Conclusion
Keep controls simple and consistent: humidity, temperature, light, and fresh air set the pace for success. These core cues turn routine care into reliable results in a tent or small greenhouse.
You now have a repeatable process from inoculation through harvest. Pick friendly species, match them to your space, and keep conditions steady.
Use clear harvest cues and a gentle knife cut to protect quality and invite more flushes. When a batch ends, return spent blocks and scrap to your compost to close the loop.
Keep notes, refine layout, and scale with confidence. With focused care you can expect a truly bountiful harvest and many joyful meals from fresh, home-grown mushrooms.
FAQ
What basic stages do mushroom life cycles follow from spores to harvest?
The life cycle begins with spores that germinate into mycelium. Mycelium colonizes the substrate, forming a dense network. Under the right triggers—humidity, fresh air, and light—it forms primordia (pins) that develop into mature caps ready for harvest. Each stage has distinct needs for temperature, moisture, and gas exchange.
How can I reduce contamination risk when preparing substrate and inoculating spawn?
Cleanliness is essential. Work in a still-air box or near a laminar flow hood, sanitize surfaces with 70% isopropyl alcohol, and flame-sterilize tools. Use pasteurized or sterilized substrates, and handle spawn or syringes carefully to avoid introducing molds or bacteria.
Which mushroom varieties are best for beginners in a tent environment?
Oyster mushrooms and lion’s mane are forgiving and fast. Pioppino (agrocybe) is also approachable but prefers slightly different temperatures. These species colonize quickly and tolerate a range of humidity and light conditions, making them ideal for first runs.
When should I choose spawn versus a ready-made substrate block?
Use spawn when you want control and to expand cultures—it’s ideal for mixing into pasteurized substrates. Ready-made substrate blocks (pre-colonized) save time and lower contamination risk, so they’re great for beginners who prefer a simpler path to fruiting.
What equipment is essential for reliable cultivation in a tent?
At minimum: a pressure cooker for sterilizing, quality spawn or spawn supplier, filter patch bags or jars, trays, a hygrometer, and a thermometer. Add a humidifier or misting setup, small fans for fresh air exchange, and LED grow lights or indirect natural light for fruiting.
How do I set temperature and humidity for colonization versus fruiting?
During colonization, keep temperatures steady (often 65–75°F depending on species) and limit fresh air; humidity is less critical inside sealed bags. For fruiting, lower temperature slightly (50–70°F depending on species), raise relative humidity to 85–95%, and increase fresh air exchange to encourage pinning.
What substrates work best: coir, straw, sawdust, or wood chips?
Choice depends on species. Oyster mushrooms do well on supplemented straw or coir/vermiculite mixes. Sawdust and wood chips suit wood-loving species like shiitake or lion’s mane. Coffee grounds can supplement but are prone to contamination unless well-managed.
How wet should substrate be—the “wrung-out sponge” test explained?
Squeeze a handful of prepared substrate: a few drops should come out, but it shouldn’t drip. It should feel like a damp, wrung-out sponge. That moisture level supports mycelial growth without encouraging anaerobic bacteria.
When should I use a pressure cooker versus atmospheric steam for sterilization?
Use a pressure cooker (15 psi) for fully sterilizing nutrient-rich substrates and jars to kill spores and heat-resistant microbes. Atmospheric steam or pasteurization is suitable for bulk materials like straw or coir when you aim to reduce competitor microbes without absolute sterilization.
What are the key parameters—time, temperature, pressure—when sterilizing in a pressure cooker?
For jars or enriched substrates, sterilize at 15 psi (about 250°F) for 60–90 minutes depending on volume. For larger blocks, adjust time upward. Always follow your cooker manufacturer’s safety instructions and allow pressure to normalize before opening.
How do I inoculate safely and maintain good incubation conditions?
Work in a clean area, flame or alcohol-sterilize tools, and add spawn at recommended ratios (commonly 5–20% spawn by substrate wet weight). Seal bags with breathable filters or polyfill for minimal contamination risk. Keep colonizing containers in the dark at steady temperature and check for white, healthy mycelium.
What spawn rates and mixing techniques give the best colonization speed?
Higher spawn rates (10–20%) speed colonization and reduce contamination risk. Mix spawn evenly through the substrate using clean gloved hands or sanitized tools, then bag or containerize quickly to limit airborne contaminants.
How do I know when to open vents and introduce fresh air for pinning?
When substrate is nearly fully colonized and mycelium is dense and white, begin gradual fresh air exchange. Open vents or run timed fans to lower CO2 and encourage pinning. Too much FAE too early can dry the surface and stall colonization.
What humidity management prevents aborts and drying during fruiting?
Maintain 85–95% relative humidity for most species during fruiting. Use a humidifier or frequent misting combined with indirect ventilation. Avoid direct sprays on developing caps and keep humidity consistent to prevent aborts or cracked caps.
Can you give a simple day-by-day schedule from inoculation to first flush?
Timeline varies by species, but a common pattern: Day 0 inoculate; Days 1–14 colonization begins; Days 14–28 full colonization (may vary); Day 28 initiate fruiting by lowering CO2 and increasing humidity/light; Pins appear in 3–14 days; harvest first flush within days to weeks after pinning depending on species.
How should I layout trays and airflow inside a tent to optimize growth?
Arrange trays to allow even air circulation—leave space between shelves, point low-speed fans for gentle cross-flow, and place vents high and low to encourage passive exchange. Use shade cloth or blackout covers for incubation areas and move to indirect light when fruiting.
When is the right moment to harvest and what tools or cuts work best?
Harvest when caps are fully opened but before spore drop for best flavor. Use a sharp knife or scissors to cut at the base, leaving minimal stem on the block. For clusters, twist gently if stems separate cleanly. Harvesting before spores fall keeps surfaces cleaner for subsequent flushes.
How do I store harvested mushrooms and revive substrate for additional flushes?
Store fresh mushrooms in a paper bag in the refrigerator for up to a week. To trigger further flushes, rehydrate blocks by soaking or dunking in cool water for several hours, then return them to fruiting conditions—maintain humidity and fresh air to encourage new pin sets.
What common problems cause stalled growth or leggy, thin caps?
Stalled growth often stems from low temperatures, poor substrate moisture, or contamination. Leggy fruit (long stems, small caps) usually indicates high CO2 or insufficient fresh air. Adjust ventilation, temperature, and humidity to correct these issues.
How can I identify and respond to contamination like green mold or sour rot?
Green mold (Trichoderma) shows bright green patches; sour rot smells bad and may be slimy. Remove contaminated items immediately, sterilize surrounding areas, and reassess sterilization and pasteurization steps. Dispose of contaminated substrate safely away from clean areas.
What monitoring tools should I use to keep conditions stable and predictable?
Use a reliable hygrometer and thermometer with data logging if possible. Timers for fans and lights, along with adjustable humidifiers, help maintain steady cycles. Regular visual checks and simple notes on progress make troubleshooting faster.
Which mushroom species prefer wood-based substrates like sawdust or wood chips?
Shiitake, lion’s mane, and some oyster species thrive on sawdust or supplemented hardwood chips. These wood lovers form better fruit on lignocellulosic substrates and often need longer colonization times compared with straw or coir mixes.
Is coffee grounds a good addition to substrate, and how should I handle them?
Coffee grounds are rich in nutrients but prone to contamination. If you use them, pasteurize or fully sterilize and mix with bulk substrate at moderate ratios. Keep strict hygiene and expect higher contamination risk without proper processing.
How does light affect pinning and cap development?
Indirect, diffuse light cues directional growth and helps cap formation. During colonization keep darkness. For fruiting, bright indirect light for a few hours a day is enough—LEDs in the cool-white spectrum work well without raising tent temperatures.
What are safe pressure and time settings for a household pressure cooker when sterilizing spawn or jars?
Most spawn jars sterilize effectively at 15 psi (about 250°F). Typical times range from 60 to 90 minutes for pint/quart jars. Adjust for larger volumes and always follow your pressure cooker manufacturer’s instructions for safe operation.
How do I know if a substrate is too wet or too dry during colonization?
Too wet substrate is slimy, emits sour odors, or shows gray/bacterial patches. Too dry substrate has slow mycelial spread and dry edges. Aim for the wrung-out sponge feel at inoculation and keep humidity high but avoid pooling water in containers.
Can I grow multiple species together in the same tent, and what should I consider?
Yes, but group species by similar temperature and humidity needs. Keep fast-colonizing species separate from slow ones to prevent cross-contamination and manage fresh air/lighting schedules so each species gets its preferred fruiting conditions.