
Can you grow more food in less space—without soil—and still keep it easy? This article answers that question with clear, practical steps you can follow in a household greenhouse.
We’ll build a reliable system that helps beginners avoid common mistakes and get healthy plants fast. You’ll learn to choose a method, pick tools and parts, and perform a safe setup that fits small spaces and busy lives.
Why a greenhouse? It moderates temperature, shields from wind, and keeps your garden tools and tracking information close at hand. This makes it an ideal place to start with DWC and to compare an NFT option.
What this guide covers: how to assemble a basic deep water culture unit, transplant seedlings, tune nutrient levels, set lighting, and do quick daily checks to keep plants thriving. For more on greenhouse planning, see a practical greenhouse hydroponics overview, and for herb ideas try this herb garden resource.
Key Takeaways
- Follow step-by-step tasks to reduce errors and build confidence.
- Start with DWC and learn an NFT option to expand later.
- Greenhouses offer better climate control and easier tracking of water and nutrients.
- Short daily checks keep plants healthy with minimal time investment.
- Tools, parts, and safe setup matter more than fancy gear.
Hydroponics in a Greenhouse: How It Works and Why It’s Great for Beginners
Hydroponics lets roots get what they need directly: clean water and a balanced nutrient solution, while a greenhouse keeps the growing climate steady.
When roots receive dissolved nutrients and plenty of dissolved oxygen, a plant uses light to convert them into glucose for energy. The five essentials for strong growth are light, carbon dioxide, oxygen, water, and nutrients.
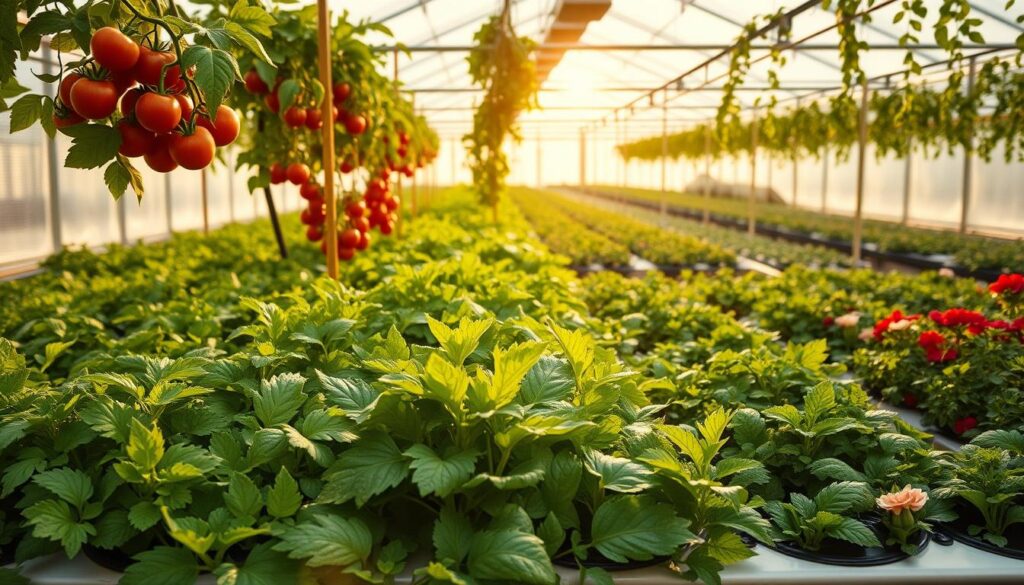
Hydroponics means no soil: a nutrient solution in clean water feeds roots directly. This gives you tighter control of moisture and feeding. That reduces common pests and lets seedlings grow faster when you manage levels carefully.
What plants need:
- Macronutrients: Nitrogen, Phosphorus, Potassium.
- Micronutrients: Boron, Calcium, Copper, Iron, Magnesium, Manganese, Molybdenum, Sulfur, Zinc.
“Balanced feeding and steady oxygen at the roots keep metabolism moving — and make hydroponics surprisingly forgiving for new growers.”
Different types of setups exist, but the rule is the same across systems: deliver clean water, correct nutrients, and airflow to roots. Do that, and your plants will reward you with steady, healthy growth.
Plan Your Space: Choosing a Simple System That Fits Your Greenhouse
Match layout to space, power, and what you want to grow. A clear plan saves time and prevents costly changes later.
Fit the method to your greenhouse dimensions and routine. Measure benches, floor area, and ceiling height. Note where outlets and water access sit. These details decide your best choice of system.
Which method suits your goals?
Compare two common choices: DWC keeps roots in an aerated reservoir. The nutrient film technique runs a shallow nutrient film down sloped channels. Both are workable for limited space, but each favors different crops and layouts.
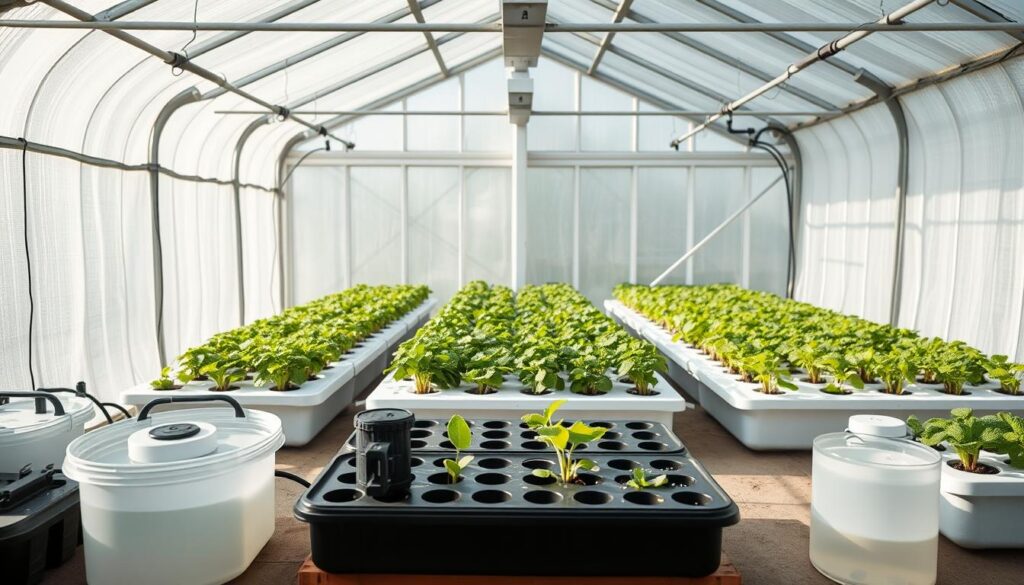
How to match space, plant types, and light
- Example layout: a 4–6 site DWC bench fits a small shelf and needs only an air pump and reservoir.
- Or build a two-channel NFT hydroponic system with PVC runs for continuous harvests of greens.
- For NFT, drill net-cup holes in white PVC, cap ends with potable-safe glue, and space cups by plant size.
- Angle channels gently so solution flows back to the lowest reservoir; ensure the pump has enough head to lift to the highest channel.
- Match crops: tender herbs, lettuces, and compact plants do well in either method; fruiting crops need more room and support.
“Measure first, build second—small adjustments early save major headaches later.”
Beginner’s Guide Setting Up Simple Hydroponic System: Tools, Parts, and Growing Medium
Collect the right parts before you begin. A clear bill of materials and a few media choices make planting and mixing nutrients less confusing.
Collecting the right parts makes your build quicker and less stressful.
What to buy for a basic DWC option
- Core parts: opaque reservoir with lid (about 18-gallon tote), six 5.25″ mesh pots, aquarium pump and air stones with hose, and hydro nutrients.
- Practical sizes: an ~18-gallon tote supports 4–6 sites for leafy plants in a home garden.
- Basic tools: razor knife, pencil, compass for cutting lid holes cleanly.
Which growing medium should you pick?
Choose a growing medium that matches seedling stage and the method you use.
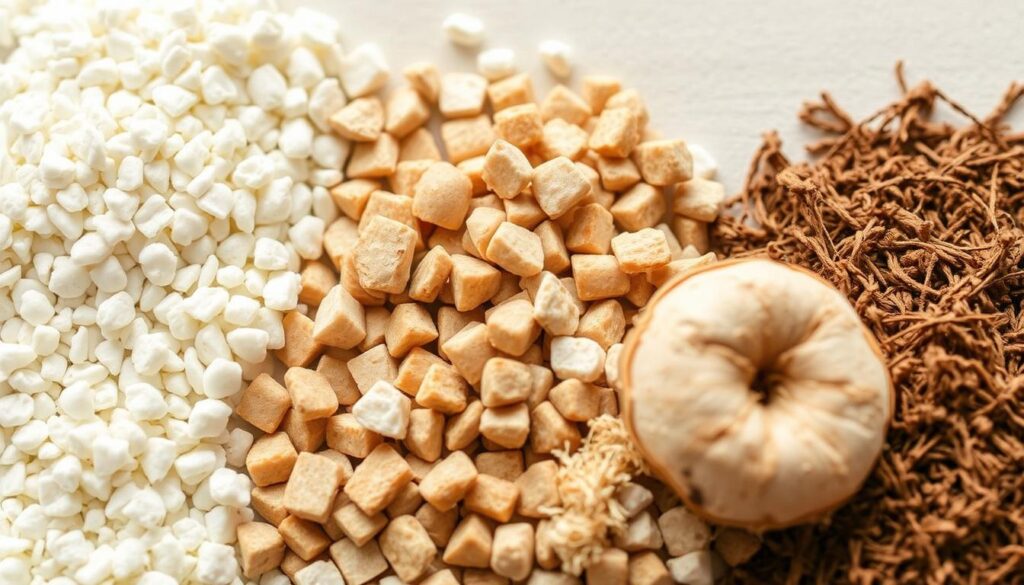
- Rockwool for starts and seed cubes.
- Clay pebbles for support and aeration.
- Perlite when you need light weight and drainage.
| Item | Example | Why it matters |
|---|---|---|
| Reservoir | 18-gallon opaque tote | Keeps light out and holds nutrient solution |
| Mesh pots | Six 5.25″ cups | Good spacing for leafy plants |
| Media types | Rockwool, clay pebbles, perlite | Start, support, and drainage options |
| Extras | Syringe, pH & TDS meters | Helps dose and dial the solution |
“Small choices in parts and media pay off fast—your plants respond to less drama and more steady care.”
Build the Base DWC: Cut the Lid, Add Aeration, and Light-Proof the Reservoir
Turn a plastic tote into a steady, clean root zone with a snug lid, good airflow, and a light-proof seal.
Start by tracing each mesh pot on the lid. Use a compass to mark the base radius. Cut a slightly smaller inner circle, then add short relief cuts so the pot presses in tight. This creates a splash-resistant seal that keeps water and nutrient solution clean.
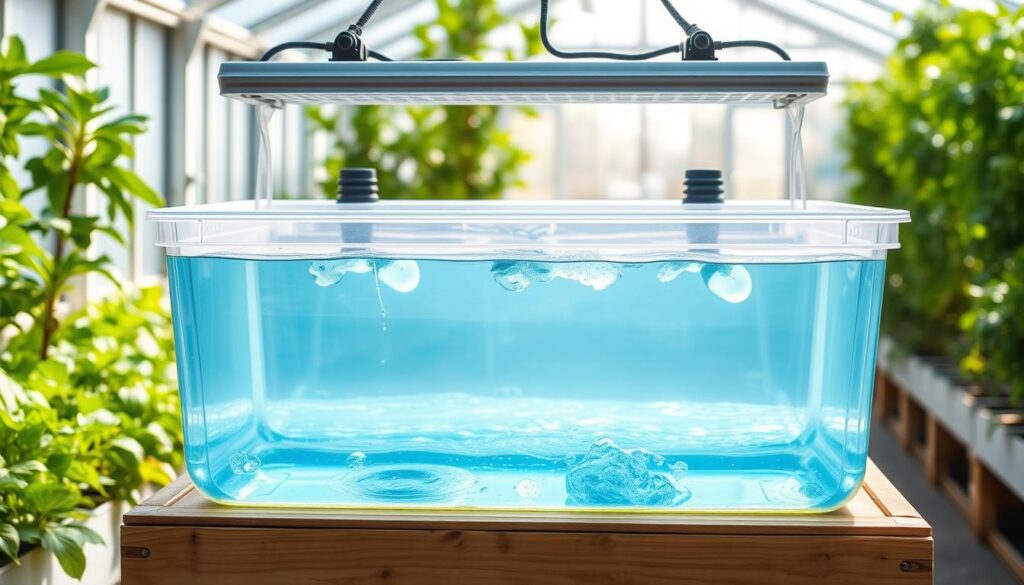
How should you route airlines and block light?
Run the airline through existing handle holes or a small drilled port. Seal gaps with silicone and use a short grommet to stop stray light and rain. A dark, light-proof reservoir cuts algae and keeps your plants happier.
Where do air stones and the pump belong?
Rinse and soak new air stones before use. Place stones evenly under sites so roots get uniform oxygen. Choose an aquarium pump sized for steady bubbling across the whole system. The sound should be even, not sputtering.
- Trace pots, cut inner circles, add relief cuts for a tight fit.
- Route airlines through a sealed port to block light and rain.
- Prep air stones, place them evenly, and test with a short fill.
- Mark a starting level inside the tote for repeat fills.
| Step | Tool | Why it matters |
|---|---|---|
| Cut lid holes | Compass, razor knife | Snug pots keep solution clean and splash out |
| Airline routing | Drill, grommet, silicone | Blocks light and rain to reduce algae |
| Aeration | Air pump, stones | Even oxygen to roots for steady growth |
Do a full test fill with water. Check for leaks, confirm grommets seal, and note the initial level. For more on DWC planning and troubleshooting, see this complete DWC overview.
“A snug lid and steady aeration are the small wins that make a DWC method reliable and low-fuss.”
Safety First: Sterilization, Rockwool Handling, and Initial Fill
A clean start prevents algae and pathogens from staking a claim in your tote. Follow a short sanitation routine and gentle rockwool prep to protect young roots and speed healthy growth.
Aim for calm, controlled steps. Fill the reservoir with water, add one tablespoon of household chlorine bleach, and run aeration for 20–30 minutes. Drain and air-dry completely until no chlorine smell remains.
How should you handle rockwool and safety gear?
Wear a dust mask when you handle rockwool. Pre-soak the medium to bind fibers and make it gentle on roots. This reduces inhalation risk and helps seedlings settle without shock.
How do you mix the first nutrient fill?
Add concentrate while the tote is aerating so the solution blends evenly. Follow the label: about 1 tsp/gallon for bag systems versus 2–3 tsp/gallon for recirculating rigs. For an ~18-gallon tote holding ~15 gallons, the example dose was ~80 cc of concentrate while aerating.
Wait a short time, check clarity and scent, and keep clean towels and buckets for spill things. Starting clean protects your plants and gives your young seedlings the best chance to thrive in home hydroponics.
Transplanting Seedlings or Starting Seeds in Your Hydroponic System
Want your young plants to thrive? Clean roots and a well-wetted medium cut transplant shock and speed recovery.
Gently wash all soil from the roots under cool running water. Hold the root ball at the stem and rinse until potting mix is gone. This keeps your system clean and lowers disease pressure.
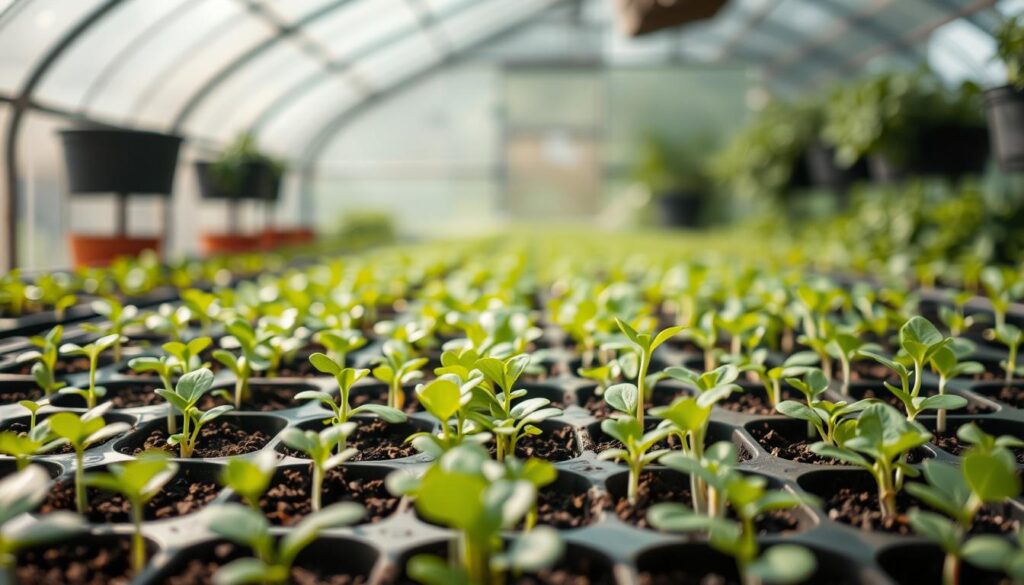
How do you pot a washed plant?
Pre-soak your chosen growing medium with a diluted nutrient mix. Place a small layer of medium in the pot, nestle the plant so the stem sits upright, then fill around roots snugly. Support stems without burying them.
How should you start seeds in cubes?
Soak rockwool seed cubes until they hold moisture. Drop two or three seeds into each cube and set the cube so its top remains visible. Never plant into a dry cube—keep them moist with light hand-watering.
- Rinse roots fully to protect your system.
- Pre-soak the medium to reduce shock.
- Nestle the plant and pack medium around stems for support.
- Use a humidity dome in your garden to aid germination, then vent gradually.
“A careful transplant builds confidence — and stronger plants that repay your patience.”
For compact herb pots and ideas that pair well with this approach, try these best garden herb planters.
Dial In Your Nutrient Solution: pH, TDS, Water Level, and Oxygen
Keep your chemistry steady and your roots happy: dose to a target, test often, and manage the fluid level so plants find moisture without drowning.
A steady mix and correct pH are the quiet steps that keep roots strong and growth reliable. Use a hydroponic fertilizer to reach your target TDS/EC, then adjust with small drops of pH Down or pH Up until the meter reads the recommended range for your crop.

How should you set targets and tune chemistry?
Define your nutrient solution setup: dose nutrients to your target TDS/EC, then tune pH for balanced uptake so each plant can absorb what it needs.
What about water level and oxygen?
Start with the water just touching the base of pots so young roots can find moisture. Once roots extend into the reservoir, lower the level about an inch while keeping strong aeration for ample oxygen.
- Salts and pH drift because of evaporation and feeding—test often for consistent results across crop types.
- Use a pump only for circulation or NFT; in DWC, rely on air stones and a steady solution.
- Top off with plain water between full changes and replace the nutrient mix about every two weeks in small setups.
“Simple, regular checks beat emergency fixes: test pH and TDS, watch level, and your plants reward steady care.”
Lighting and Environmental Tweaks for Greenhouse Hydroponics
Which light and airflow choices help plants grow steady in a greenhouse? Choose the right lamp type and control daily cycles to match crop needs, while managing heat and circulation to protect roots and leaves.
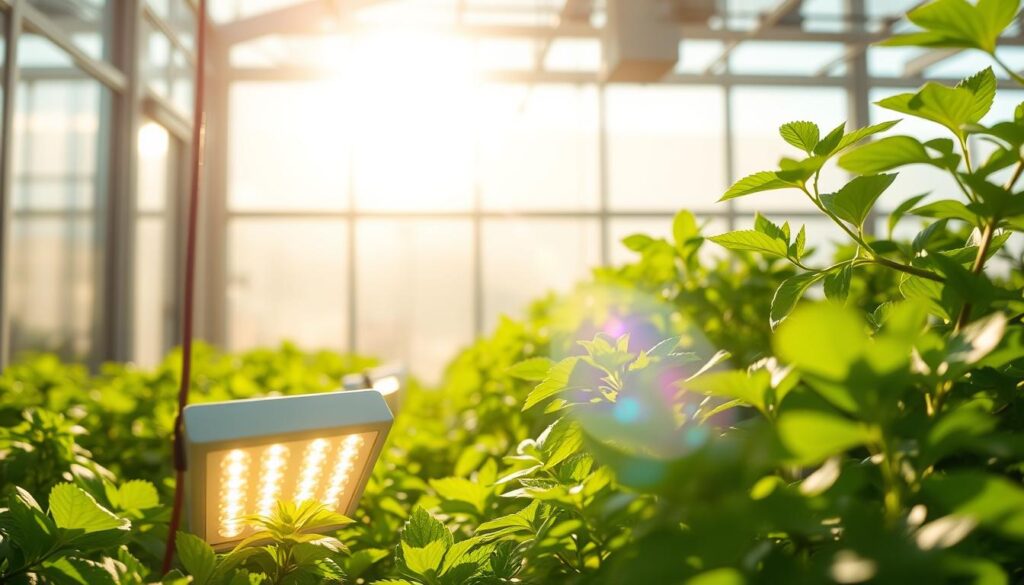
Which supplemental lights work best and how large an area do they cover?
Use T5 High Output fluorescents for seedlings and supplemental illumination because they run cool and sit close to foliage. For heavier demand, choose HID fixtures. Metal halide (MH) favors leafy growth, while high-pressure sodium (HPS) drives flowering and fruiting.
- HID coverage example: 400W ≈ 3’x3′, 600W ≈ 5’x5′, 1000W ≈ 6’x6′.
- T5 coverage example: a 4-lamp 4′ unit ≈ 1’x4′ primary or 2’x4′ supplemental.
- Remember: HIDs need a ballast and proper mounting. Shade hot fixtures from plants when needed.
How do timers, airflow, and temperature keep growth consistent?
Run lights and any circulation on a reliable timer. A fixed photoperiod reduces plant stress and encourages steady growth.
Place a small oscillating fan for gentle airflow. This prevents leaf wetness, cuts mildew risk, and evens temperature across your space.
Protect the reservoir: keep it shaded and out of direct sun to avoid warming the nutrient mix and stressing roots.
What changes help if you use the nutrient film technique?
For NFT, set a gentle slope so the nutrient film flows evenly. Use a slightly thinner inflow hose than the outflow to reduce overflow risk.
Confirm your pump and return height match the channel length and the available space. This keeps the film moving without dry spots or slow returns.
“Right light, steady timing, and calm airflow together keep plants growing predictably through short winter days and warm summers.”
Conclusion
End with a clear routine and steady care to keep plants thriving.
End your build with calm, repeatable habits: correct dosing, aeration, and daily observation. Start by choosing a practical system, collecting parts, and assembling with care.
Check water, nutrient levels, and pH on a regular schedule. Small, consistent checks keep each plant healthy and reduce surprises.
Try different types and crops as you learn. You’ll gain a lot by watching root response and leaf color. Use the lighting, environment, and safety information offered here to adapt across seasons.
When you want grow more, scale slowly, note what works in your climate, and enjoy year-round gardening. For detailed practical steps see this step-by-step setup.
FAQ
What basic things do plants need in a greenhouse hydroponic setup?
Plants need four essentials: light, clean water, oxygen at the roots, and a balanced nutrient solution. In hydroponics the growing medium only supports the plant — the nutrient solution provides minerals. Good light and stable temperature help plants use those nutrients efficiently.
How does soilless growing actually supply nutrients to plants?
In soilless systems, nutrients dissolve in water as a nutrient solution that flows or sits near roots. Roots absorb dissolved minerals directly. You replace or refresh the solution, monitor pH and TDS/EC, and keep oxygen high so roots stay healthy.
Which method should I pick: Deep Water Culture or Nutrient Film Technique?
Choose based on goals and space. Deep Water Culture (DWC) is simple: roots sit in oxygenated nutrient water, great for leafy greens and herbs. Nutrient Film Technique (NFT) uses a thin flowing film over sloped channels — it saves water and suits continuous harvests but needs steady pumps and attention to flow.
What plants work best for a small greenhouse setup?
Start with quick, compact crops: lettuce, basil, cilantro, spinach, chard, and small varieties of kale. These herbs and greens thrive with limited space, modest light, and the steady feed hydroponics delivers.
What key parts do I need to build a basic DWC system?
Basic parts include a light-proof reservoir, a fitted lid with pot holes, mesh pots, an air pump and air stones for oxygen, tubing, and a balanced hydroponic nutrient solution. Add a timer for lights and optional pH/TDS meters for precise control.
Which growing medium should I use in net pots?
Reliable options are expanded clay pebbles, rockwool, or perlite. Clay pebbles drain well and stay airy. Rockwool holds moisture and is popular for seedlings but needs pre-soaking and care. Perlite mixes well but may need support for larger roots.
How do I make my reservoir light-proof and pest-resistant?
Paint the reservoir black, use an opaque container, or wrap it with foil or plastic to block light. Keep lids snug and route airline holes tightly to reduce pest entry. Light-proofing prevents algae growth that can rob oxygen and nutrients.
How do I sterilize parts and handle rockwool safely?
Sanitize trays and lids with a mild diluted bleach solution (follow label instructions), rinse well, and dry. Wear gloves and avoid inhaling rockwool fibers; pre-soak cubes in pH-adjusted water before use. Cleanliness reduces disease risk.
When should I transplant seedlings into the hydro setup?
Transplant when seedlings have several true leaves and a healthy root mass. Gently wash soil from roots, place them in pre-wetted media or seed cubes, and set the net pot so roots touch the nutrient solution initially but aren’t fully submerged for long-term growth.
How do I set and maintain pH and nutrient strength (TDS/EC)?
Target pH around 5.5–6.5 for most greens. Measure TDS/EC and follow the nutrient maker’s range for each crop stage. Use pH down/up solutions and add nutrients slowly while retesting. Small, regular adjustments keep plants stable.
How should I manage water level as roots grow in DWC?
Start with the water touching the net pot bottoms so roots find moisture. As roots thicken, slowly lower the level to encourage deeper rooting and prevent rot. Keep the reservoir topped up and monitor oxygen via air stones.
What lighting options work in a greenhouse with supplemental lights?
For supplemental lighting choose T5 fluorescent fixtures for seedlings and low-light needs or LEDs tailored for horticulture for efficiency. High-intensity options like metal halide (MH) or HPS suit larger setups but need more heat and power. Match light hours to crop needs.
How important is airflow and temperature control in hydroponics?
Very important. Good airflow prevents disease, evens temperature, and strengthens plants. Aim for stable day/night temperatures suited to your crop (many greens prefer 65–75°F). Fans, vents, and shading help maintain steady conditions.
What optional gear is worth investing in early on?
A good pH meter, TDS/EC meter, a small syringe for dosing, timers for lights and pumps, and a water level gauge make maintenance easier and more accurate. These tools help you catch small problems before they become losses.
How often should I change the nutrient solution?
Change or refresh the solution every 1–3 weeks depending on crop use and reservoir size. Top off with clean water between changes and monitor pH and TDS frequently; low oxygen or cloudy water are signs to replace it sooner.
Can I run a hydro setup year-round in a greenhouse?
Yes. With attention to heating, cooling, humidity, and supplemental lighting you can grow through seasons. Winter needs added heat and light; summer may need shading and ventilation to control heat stress.