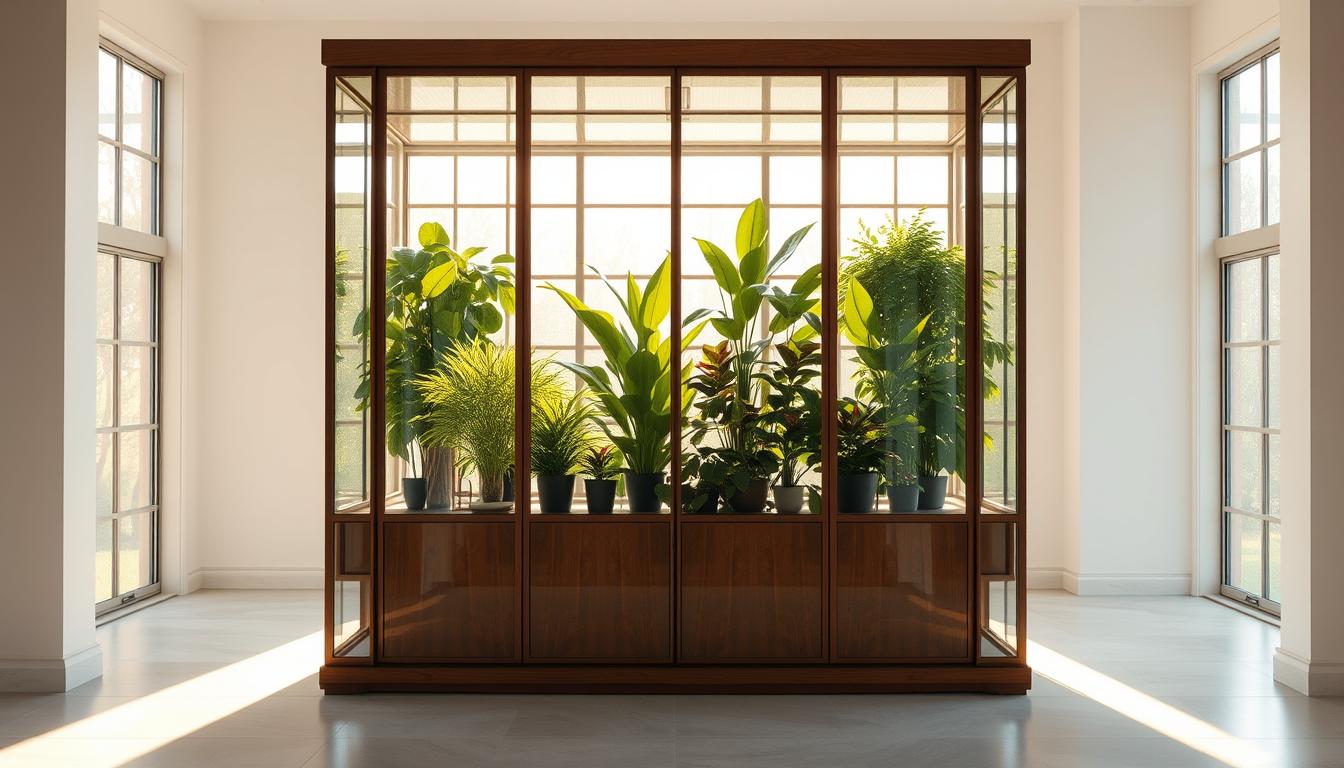
Curious how a simple glass display can become a lush, climate‑controlled haven for your plants? This intro answers that question and shows how a few smart choices turn an IKEA glass-door piece into a reliable microclimate for tropicals, cuttings, and seedlings.
Start with clear goals: decide whether you want year-round growth, faster rooting, or a neat showpiece. Pick a model that fits your space and plant heights—popular picks like IKEA MILSBO, RUDSTA, and FABRIKOR work well.
Plan shelf layout, cable routes, and airflow before you buy parts. Gather essentials: full-spectrum LEDs, USB fans, a digital hygrometer/thermometer, weather stripping, humidifier options, and smart plugs. Small choices keep the environment steady and care simple.
Key Takeaways
- Define your goals to match plant needs and available space.
- Choose a glass-door cabinet to showcase foliage and hold humidity.
- Plan shelves, wiring, and airflow for a clean, functional look.
- Collect reliable gear—lights, fans, hygrometer, humidifier, and grommets—for tidy wiring.
- Automate monitoring and schedules to keep conditions steady and maintenance low.
- For inspiration, check the interactive greenhouse infographic.
Plan Your Indoor Greenhouse: space, size, and the right IKEA cabinet
Pick a location and size first.A well-chosen spot keeps temperatures steady and makes maintenance easy. This short planning step saves time and prevents costly moves later.
Why choose a cabinet for plant care?
Closed glass doors stabilize temperature and humidity, creating a gentle environment for tropical plants and propagation year-round. A framed enclosure also isolates toxic species from pets and reduces drafts that stress roots.
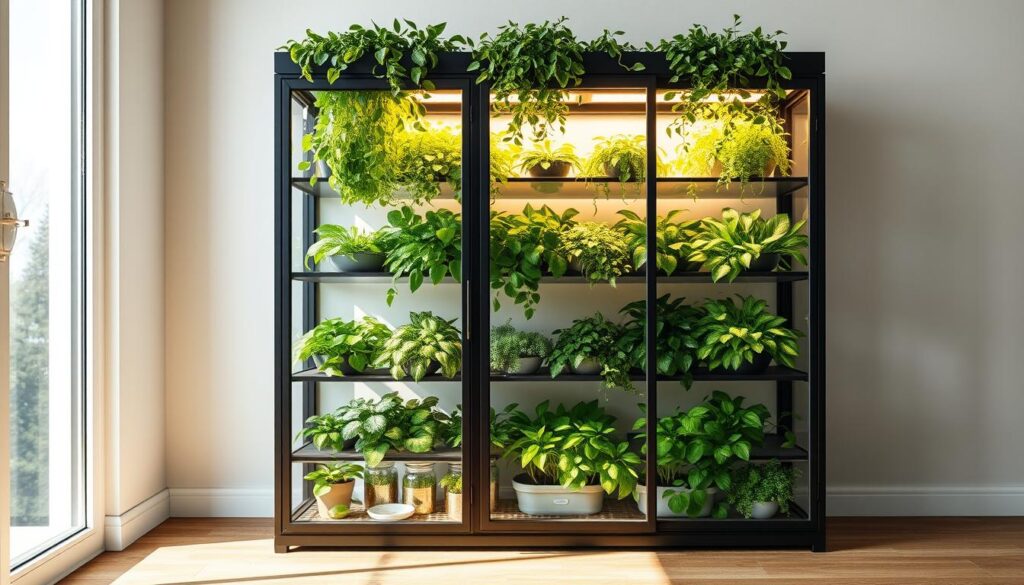
Which IKEA cabinet fits your space?
Match models to needs. The MILSBO Tall suits climbing plants. MILSBO Wide works for sprawling foliage and gives extra top surface. RUDSTA is compact and budget-friendly. FABRIKOR offers a classic glass look with glass shelves.
- Map the space: measure ceiling height, width, and door swing.
- Shelf options: stock glass is fine; acrylic shelves increase light and can be drilled for airflow.
- Power and cables: plan a grommeted opening near a grounded outlet for tidy wiring.
- Seasonal conditions: seal gaps with weather stripping to stabilize temperature-humidity balance.
For an IKEA option with detailed setup ideas, see this MILSBO reference: MILSBO greenhouse example.
Step-by-step guide building stylish indoor greenhouse cabinet
Begin by unpacking panels and checking fasteners—missing pieces slow every diy project. Build the frame per the IKEA instructions, working on a flat surface so doors align easily.
Before closing the back panel, drill a 2” pass-through low on the rear and press in a 2” grommet. Route power through that hole and protect cords from abrasion.
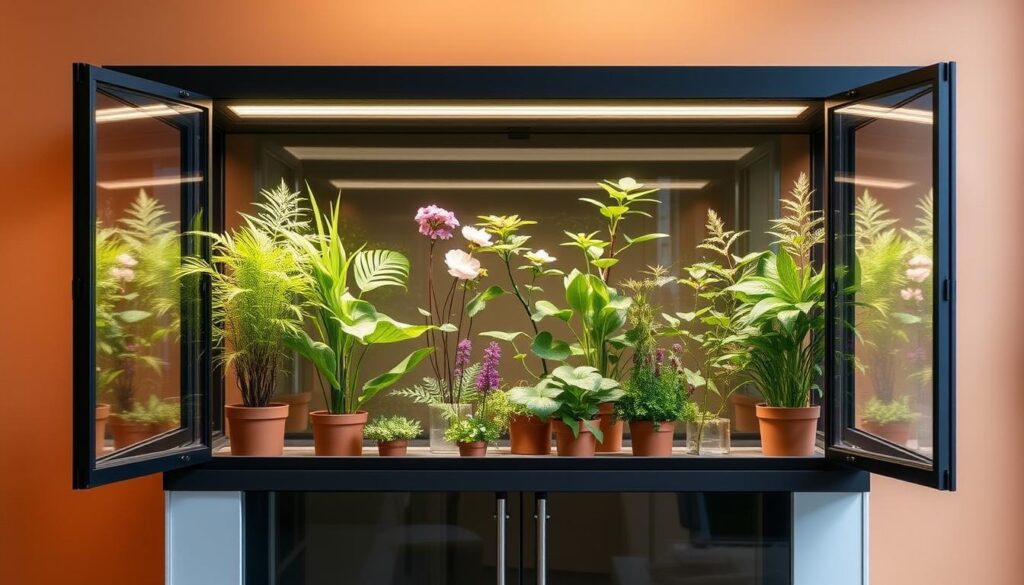
Wipe interior seams with rubbing alcohol, then apply weather stripping along doors. Add silicone caulk to stubborn gaps to stabilize humidity and temperature.
Shelves and layout matter. Keep stock glass or swap to acrylic for more light. Consider custom shelves with ventilation holes to move air around plants and avoid stagnant pockets.
Mount full-spectrum LED bars like Barrina above each tier with magnets for easy repositioning. Plug lights into a smart plug and set 12–16 hour schedules to steady day-night cycles.
- Place one or two USB fans for gentle crossflow; use magnetic hooks or pegboard mounts.
- Maintain moisture with a pebble tray or compact humidifier; in cool rooms, a small heater low in the cabinet helps raise temps safely.
- Install a digital hygrometer/thermometer at eye level and tidy cables through the grommet into an internal power strip.
For extra help with assembly details and an IKEA assembly reference, check these IKEA assembly tips.
Optimize conditions and care: moisture levels, light, air, and maintenance year-round
Keep steady conditions with small, repeatable habits. Use a hygrometer to track humidity and temperature, and set smart plugs for consistent light and fan schedules.
How should I place plants for safety and even light?
Place tall and heavy pots on the bottom shelf to protect glass and stabilize the unit. Put delicate or lightweight plants higher where light is gentler.
Rotate pots weekly so leaves get equal exposure and growth stays even.
What seasonal tweaks keep conditions steady?
Aim for about 65–75°F and 40–80% humidity. Run a small heater during cold snaps and add a humidifier or pebble tray in dry months.
Check the hygrometer daily at first, then adjust light duration and fan timing by season.
How do I prevent pests, mold, and mildew?
Keep low‑speed fans on for gentle circulation. Avoid overwatering and wipe condensation off glass and trays to cut mold risk.
Inspect leaves often, remove dead material, and quarantine any sick plant away from the main environment.
Are there simple safety and pet tips?
- Secure doors and latch panels.
- Tidy and clip cables away from curious pets.
- Store highly toxic plants behind closed panels and out of reach.
- Sanitize tools and clean fans and lights routinely to protect plants year‑round.
Conclusion
You can turn a simple display into a dependable microclimate with a few careful choices. Use shelves, timed lights, gentle fans, and a humidifier or pebble tray to keep temperature and humidity steady for healthy plants.
Pick the right model for your space—MILSBO, RUDSTA, or FABRIKOR—then add full-spectrum LED bars, USB fans, a digital hygrometer, and a tidy 2” grommeted pass-through for neat cables.
Keep it simple and smart. Schedule lights and airflow with smart plugs, monitor with a hygrometer, and make small DIY tweaks as the collection grows. For extra setup tips, see this diy greenhouse cabinet reference.
With these steps you’ll have a functional cabinet that helps plants thrive and enhances your room’s appeal.
FAQ
How do I choose the right IKEA cabinet for a compact greenhouse setup?
Pick a cabinet that fits your available floor space and plant load. The IKEA Milsbo (tall for vertical space), Rudsta (narrow depth), or Fabrikor (wider shelves) are popular choices. Measure height, depth, and door swing, then confirm shelf weight limits. Choose a model with replaceable shelves or room for added brackets so you can adjust layout for pots and lights.
What are the essential tools and materials to prepare before assembling?
Gather the IKEA instructions and basic tools: a drill with a step bit, screwdrivers, level, silicone sealant, weather stripping, 2" grommets, and extension cords. Also have grow lights, a small humidifier or pebble tray, a USB fan, a digital hygrometer/thermometer, and magnetic mounts or brackets for lights and fans.
How should I seal and modify the cabinet to keep humidity and temperature stable?
Seal gaps around doors and joints with weather stripping and silicone to reduce drafts. Install grommets for neat cable passages. Add a glass or acrylic front if you want clearer insulation. Keep a small opening or adjustable vent for controlled airflow so humidity doesn’t become stagnant.
Which type of shelves work best: glass, acrylic, or wood?
Glass and acrylic are easiest to clean and resist moisture; tempered glass supports heavy pots well. Choose shelves with perforations or drill holes to improve airflow and drainage. If using wood, coat it with waterproof sealant and avoid direct soil contact to prevent rot.
What grow lights should I install and how far from plants should they be?
Use full-spectrum LED bars or strips rated for horticulture. Mount them on adjustable brackets or magnetic mounts. For seedlings and low-light plants keep LEDs 12–18 inches away; for more light-loving houseplants, 6–12 inches works. Use timers to mimic day/night cycles—12–16 hours for most plants.
How do I manage airflow without losing humidity?
Use small USB or low-speed fans to create gentle crossflow; position one low and one high on opposite sides. Run fans intermittently (e.g., 15–30 minutes each hour) to avoid drying everything out. Maintain a balance between circulation and humidity by monitoring levels and adjusting fan runtime.
What humidity and temperature levels should I aim for?
Most tropical houseplants prefer 50–70% relative humidity and daytime temps of 65–75°F (18–24°C). Herbs and succulents like lower humidity (30–50%). Use a digital hygrometer/thermometer to track conditions and adjust a small humidifier, pebble tray, or portable heater accordingly.
How can I monitor and automate conditions inside the cabinet?
Use a digital hygrometer/thermometer to watch real-time conditions. Plug grow lights, fans, and humidifiers into smart plugs or programmable timers. Some gardeners use sensor hubs (e.g., Govee or Ecowitt) for remote alerts and automated triggers when humidity or temperature drift outside desired ranges.
What’s the best way to manage moisture and prevent mold or mildew?
Avoid overwatering; use well-draining potting mixes and pots with drainage holes. Ensure regular airflow and wipe down wet surfaces. Keep humidity steady rather than spiking. Clean spills immediately and disinfect trays and shelves with a mild bleach solution or hydrogen peroxide periodically.
How should I arrange plants for even light and healthy growth?
Place taller and heavier plants on the lowest shelves. Put medium and trailing plants mid-level, and delicate or low-light plants higher where light is gentler. Rotate pots weekly for even exposure and adjust light height as plants grow to maintain optimal distance from LEDs.
Are there safety tips for pets and kids around the cabinet?
Secure doors with childproof latches if curious hands are likely. Tidy cables through grommets and use cord covers to avoid chewing. Keep toxic plants out or isolated and store fertilizers and chemicals locked away. Anchor tall cabinets to the wall to prevent tipping.
Can I run a greenhouse cabinet year-round in a small apartment?
Yes. With insulated doors, adjustable LEDs, a small humidifier, and a portable heater for cold snaps, you can maintain year-round conditions. Monitor closely during extreme weather and adjust light cycles and humidity to match seasonal needs for the plants you grow.
How often should I clean and maintain the cabinet and equipment?
Wipe down shelves and glass monthly, clean fan blades and light fixtures every 2–3 months, and deep-clean trays and pots at season changes. Replace or wash humidifier filters per manufacturer guidance. Regular checks reduce pests, salt buildup, and equipment failure.
What common problems should I troubleshoot first?
If leaves yellow, check watering and nutrient levels. Stunted growth often means insufficient light. Mold or fungus points to poor airflow or overwatering. Use your hygrometer and adjust humidity, fan cycles, and watering schedules before switching plants or equipment.
Which monitoring devices and brands are reliable for this setup?
Trusted options include Govee or Inkbird hygrometers, Kasa or TP-Link smart plugs, and full-spectrum LED fixtures from brands like Spider Farmer or Viparspectra for larger rigs. For small cabinets, compact LED bars from Barrina or Roleadro work well. Choose devices rated for accuracy and indoor use.