Can a jar in your kitchen hold the secret to year-round garden brightness? This guide shows simple, proven steps to keep herbs tasting fresh and aromatic. You will learn clear, practical methods that protect essential oils and keep leaves vibrant.
Start with timing and gentle handling. Harvest at peak scent, strip leaves from stems, keep leaves whole, and only crumble at use. Dry in low heat or freeze for cooked dishes; both ways can lock in aroma when done right.
Store dried leaves in airtight, amber jars in a cool, dark spot. Fill jars to the brim, label with name and date, and repurpose spice jars for handy use or gifting. For step-by-step drying and freezing tips, see this freezing and dehydrating guide.
Key Takeaways
- Protect oils: avoid heat, light, and air to keep aroma strong.
- Handle gently: pull leaves, store whole, crumble at use.
- Use airtight, labeled jars—amber if possible—for best results.
- Pick one herb and one method to build confidence.
- Choose methods by herb type; learn which garden varieties dry or freeze best at best garden herbs to try.
How preserve herbs without losing their flavor: quick method chooser
Pick the simplest route by matching each plant to the treatment it likes best.
Sort your garden haul into two simple piles: hardy sprigs that stand up to heat and tender greens that crave cold. This first step makes the rest easy and cuts waste.
Best methods by herb type: sturdy vs. delicate leaves
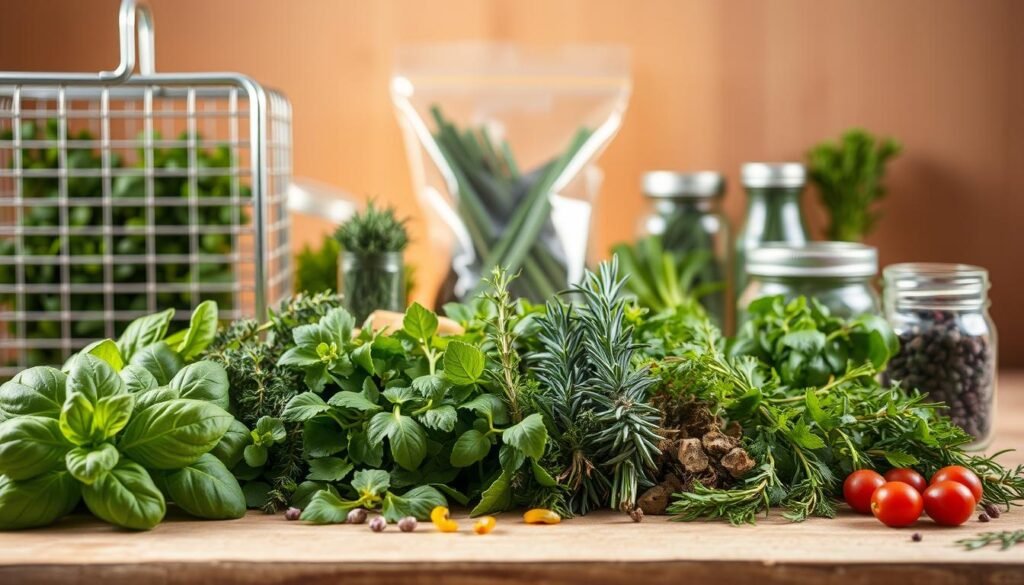
Sturdy leaves—think thyme, rosemary, oregano, and sage—dry very well. They keep aroma when air-dried or dehydrated and make the best herbs for rubs and long-cook dishes.
Delicate greens—basil, cilantro, parsley, chives, sorrel—fare better frozen. Chop, pack into water or oil cubes, and freeze to hold bright color and fresh notes.
Flavor-first decision tree: drying, freezing, or infusing
“Need shelf life and easy pantry access? Dry. Want fresh green pop in sauces? Freeze. Crave finishing depth? Infuse oil.”
- Need long life and shelf space? Choose drying.
- Want immediate, bright impact in sauces? Pick freezing cubes.
- Looking for an aromatic finishing touch? Try infusing oil with rosemary or oregano.
When unsure, test a small bundle: dry half and freeze half, then compare in a favorite recipe. This simple trial reveals the best way preserve each batch for your kitchen routine.
Harvest timing and prep to lock in aroma and essential oils
Pick herbs early in the day and prep them gently to keep essential oils strong and leaves vibrant.
Pick herbs early in the day, once the dew lifts and before heat robs the leaves of scent. Morning harvest captures peak oils and gives you the best aroma for drying or freezing.
When is peak oil concentration in the growing season?
Harvest herbs just before flowering during the growing season to get the most concentrated oils in tender leaves. For woody stems like rosemary and thyme, you can cut through the season, but just-before-bloom snips are best.
How to prep leaves and stems before drying or freezing
Clip stems with sharp shears to avoid bruising. Shake off soil and pat leaves dry; excess moisture invites mold and slows drying.
Strip leaves from thick stems for dehydrator or oven methods. Keep tender sprigs intact for air-drying bundles. Keep leaves whole through processing and crumble them at use to preserve aroma.
- Work in small, uniform bundles so air moves freely.
- If freezing, pulse until coarse — don’t turn delicate leaves to paste.
- Label dried jars with name and date for easy pantry rotation.
| Herb Type | Best Harvest Window | Prep for Drying | Prep for Freezing |
|---|---|---|---|
| Basil, Mint, Sage | Morning, just before bloom | Air-dry small bundles; keep leaves whole | Chop coarsely; freeze in oil or water cubes |
| Rosemary, Thyme, Oregano | Anytime in season; best before bloom | Strip leaves from woody stems; use dehydrator | Freeze sprigs or chop lightly for long-cook use |
| Parsley, Cilantro, Chives | Morning, before heat | Not ideal for long air-drying; quick dehydrator | Pulse coarse; freeze in cubes for sauces |
| General tips | Morning hours after dew | Small bundles, shaded airflow, label jars | Small batches, avoid excess moisture, store flat |
Drying herbs the right way for maximum flavor
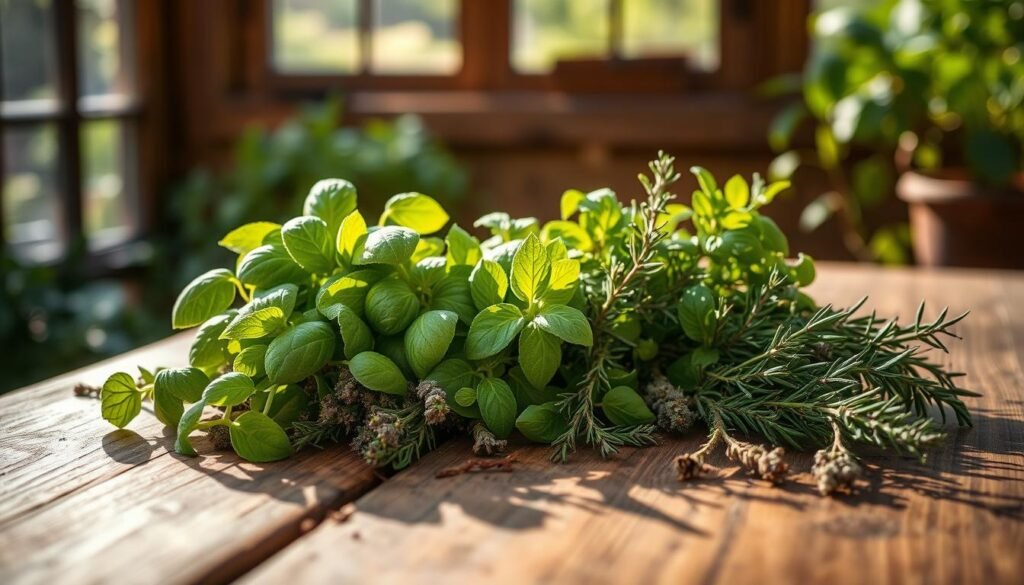
Small, steady steps give you dried leaves that taste bright and true. This section guides simple, low‑heat methods to keep aroma and color.
Air drying bundles in a low-humidity, shaded space
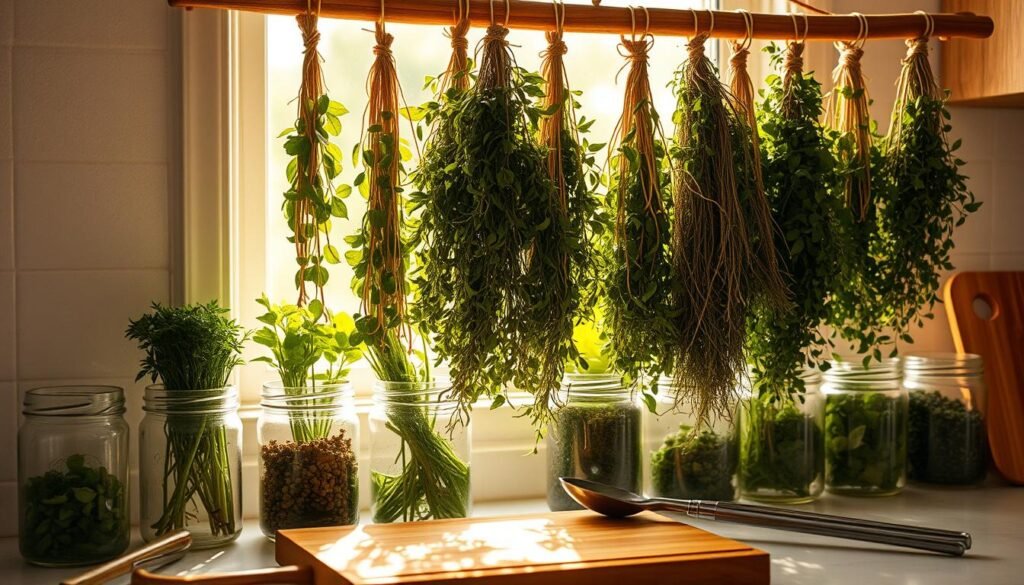
Air drying suits sturdy plants like rosemary, thyme, sage, and oregano. Tie small bundles with twine and hang upside down in a cool, shaded spot for 5–7 days.
Keep the room dry and ventilated so herbs hanging don’t rot. Check bundles every other day.
Dehydrator settings and timing
For even results, set a dehydrator near 95°F. Steady airflow protects oils and speeds drying, producing consistent, flavorful dried herbs.
Oven and microwave options in the kitchen
Use the oven’s lowest setting. Spread single layers on parchment and check every 15 minutes; an hour is common. Prop the door slightly open to vent moisture.
Microwave drying works in a pinch: sandwich leaves between paper towels, run 30‑second bursts, and stop as soon as leaves crisp to avoid scorching.
Knowing when herbs are dry
Test by touch and sound. Leaves should crumble and stems snap brittle. If stems bend or feel cool, they need more time—this is the best way dry plants fully.
Freezing delicate herbs to keep bright, fresh flavor
Freezing is the fastest way to keep delicate leaves tasting green and vivid. Pick a liquid, choose a chop method, and freeze in single-use portions for easy cooking.
Bunches like basil, cilantro, parsley, chives, sorrel, and mint do best when frozen quickly. Fine chopping and portioning into trays keeps color and aroma close to fresh.
Which liquid: water or oil ice cubes?
Water cubes give a lighter note, perfect for soups, stews, and grains. They add moisture without extra fat.
Oil cubes build richness for sautés, dressings, and pan sauces. Use olive oil for Mediterranean uses or neutral oil for delicate dishes.
Food processor vs. hand-chop: texture and use
Hand-chop for a rustic bite. It keeps a leafy texture that shows in salads and spoonable finishes.
Pulse in a food processor for an even mince that melts smoothly into hot recipes. Short bursts avoid a paste and protect color.
Storing frozen cubes and using them daily
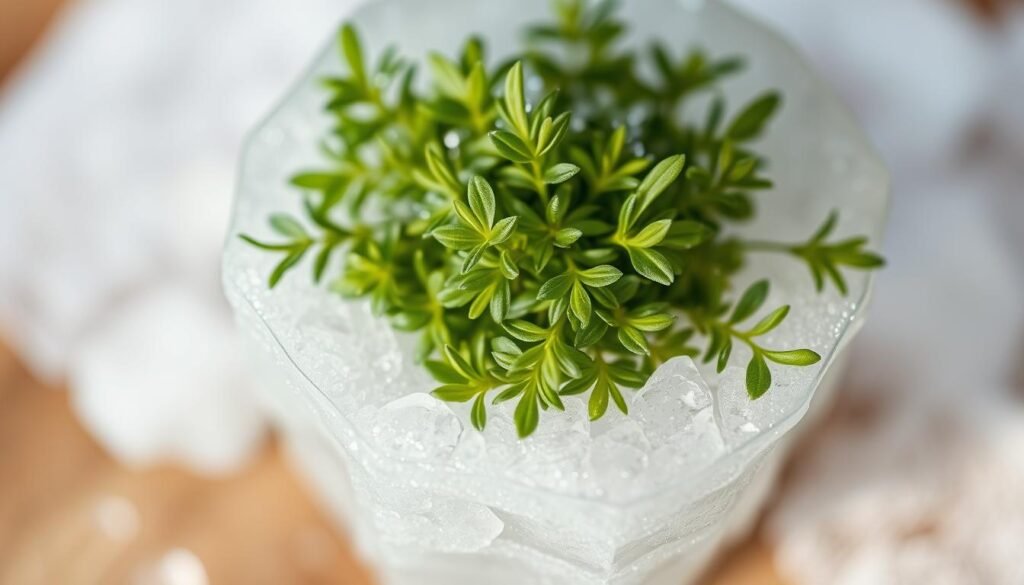
Pack chopped leaves tightly into ice trays, then cover with water or oil. Freeze solid, pop cubes out, and store in labeled resealable bags.
Most cubes shine for several months; use within six months for top quality. One cube equals about 1–2 tablespoons, making kitchen conversions easy.
| Method | Best for | Texture | Notes |
|---|---|---|---|
| Water cubes | Soups, grains, light sauces | Delicate, loose | Lighter flavor; freezes quickly; great for months-long pantry use |
| Oil cubes | Sautés, dressings, pan sauces | Silky, rich | Adds mouthfeel; melt directly into pans; store up to six months |
| Hand-chop | Salads, finishing | Rustic leaf bits | Fresh look; quick prep; avoid over-chopping |
| Food processor | Purees, blended sauces | Fine, uniform | Short pulses protect color; ideal for pesto and quick sauces |
Smart storage to keep herbs potent for months
Store right and you can keep bright, useful dried herbs for many months. Simple jars and a cool pantry stop light, heat, and moisture from stealing scent.
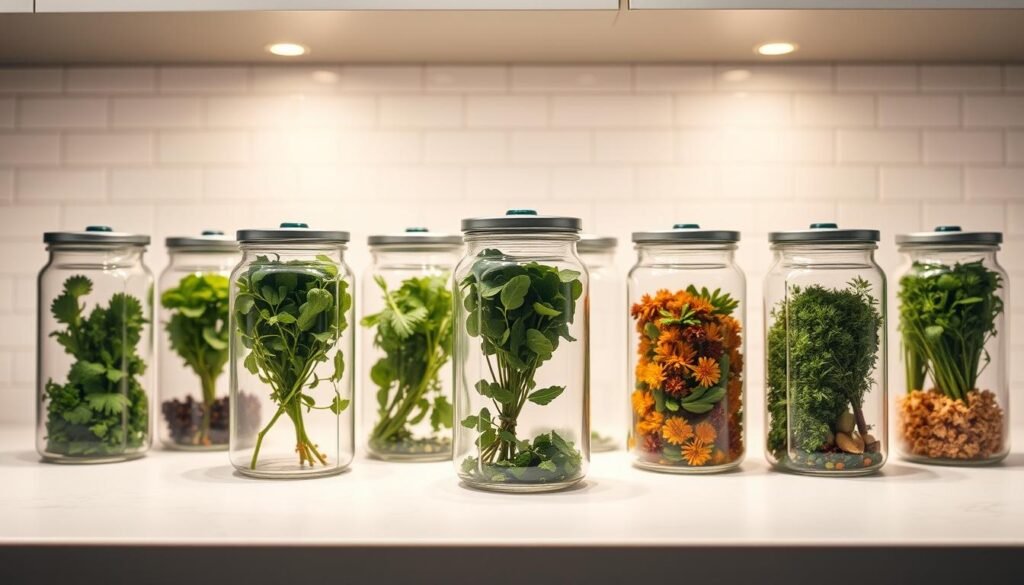
Choose airtight containers first; less air contact means better aroma over time. Amber glass jars shield leaves from light. If you only have a clear glass jar, tuck it on a dark shelf away from heat in the kitchen.
Airtight, light-safe options that work
Fill each jar to the brim to reduce headspace and slow oxidation. Keep whole leaves inside and crumble at use for a fresher hit. Repurposed spice containers make daily use easy and are great for gifting.
Where to store jars for steady results
Place sealed jars in a cool, dark pantry. Avoid the stove, dishwasher steam, and sunny windows. Consistent cool, dry conditions help dried herbs last up to a year.
Labeling, moisture control, and quick checks
Label every glass jar with the herb name and date. In humid climates, add a food‑safe desiccant to limit moisture. Check lids for a tight seal—give a quick shake to spot leaks that invite air.
“Small choices—amber jars, tight lids, cool darkness—make the biggest difference over months.”
| Tip | Why it matters | Quick action |
|---|---|---|
| Airtight containers | Reduces oxygen and slows aroma loss | Use screw-top jars or sealed spice tins |
| Amber glass jar | Blocks light that breaks down oils | Store on a pantry shelf or inside a cabinet |
| Fill to brim | Minimizes headspace and moisture exchange | Gently tap jar to settle contents before sealing |
| Label with date | Helps rotate stock and use within a year | Write name and packed date on lid or jar |
For practical step-by-step storage tips and small-batch ideas, see this best way to store fresh herbs.
Beyond drying and freezing: flavorful preservation methods you’ll use
Turn extra garden greens into ready-to-use flavor boosters that lift simple meals. This section shows easy, reliable ways to make oils, salts, butters, and sauces that keep well and taste fresh.
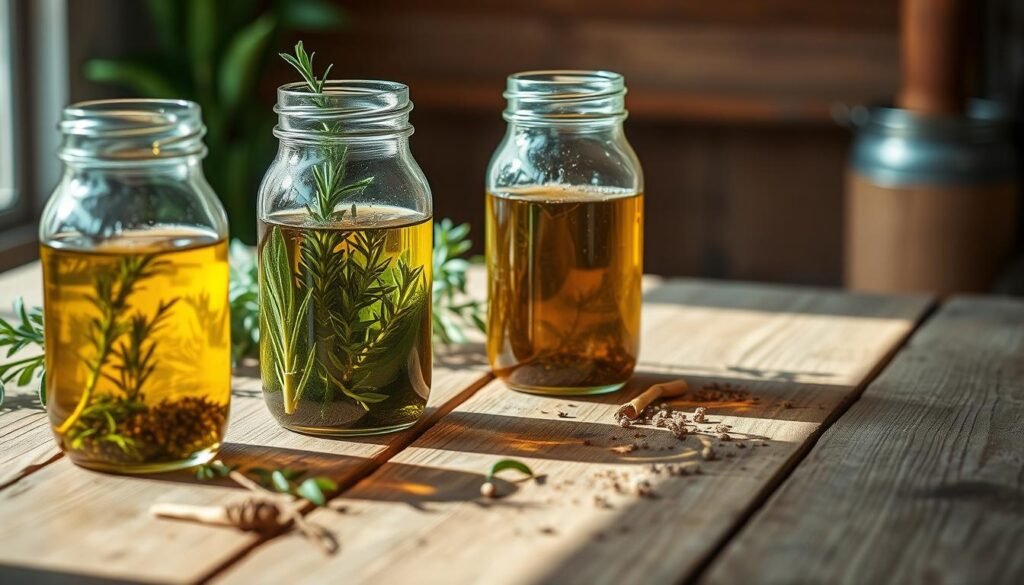
Infused oils offer warmth and aroma for months when made with sturdy sprigs.
What’s the simple process for infused oils?
Chop hearty sprigs — rosemary, sage, thyme, and oregano and warm them gently in olive or neutral oil for 15 minutes. Cool about an hour, strain, and bottle.
- Shelf life: ~two months in the pantry, six months refrigerated.
How do salt blends and compound butters add value?
Herb-salt blends pull moisture and brighten taste. Try parsley and thyme with lemon zest, or oregano with lime zest and chili flakes.
Compound butters mix chopped leaves into softened butter. Chill to firm, use within a week, or freeze up to six months.
Can you batch sauces for long-term use?
Make pesto, chimichurri, or salsa verde in 1/2‑pint jars and freeze. They last up to a year and thaw in small portions for sauces or spreads.
- Use dried herbs in salts and rubs where they shine.
- Label containers with dates so you track months of freshness.
- Rotate flavors by season to keep pantry use joyful.
Conclusion
Use two clear paths: dry sturdy plants like rosemary and thyme, and freeze tender leaves as oil or water cubes. Low heat, the crumble test, or air drying give the best dried herbs for rubs and roasts.
Store dry blends in airtight jars or containers, fill each jar, label date and name, and keep away from light and moisture at home. Infused oils, compound butters, and sauces extend usable time; many shine for up to six months.
Start with one plant, one way, and build confidence. With these simple habits, your garden yield will flavor meals all year and make cooking easier and more joyful.
FAQ
What’s the quickest way to choose a preservation method for different herbs?
Match the technique to leaf texture: sturdy, woody herbs like rosemary and thyme do best air-dried or in a dehydrator; delicate herbs such as basil, cilantro, and parsley keep brightness when frozen in oil or water ice cubes. Use infused oils or herb salts when you want immediate flavor transfer into dishes. Pick based on how you plan to use the herb—cooking heat-tolerant uses suit dried herbs; fresh-forward recipes favor frozen or preserved-in-oil forms.
When is the best time in the growing season to harvest for peak aroma?
Harvest midmorning after dew dries but before the sun gets intense. For most herbs, harvest just before flowering when essential-oil concentration is highest. Pinch or snip stems, focusing on healthy growth; avoid stressed or flowering plants unless you want seed or different flavor notes.
How should I prepare leaves and stems before drying or freezing?
Rinse briefly in cool water, gently pat dry, and let air-dry fully to remove surface moisture. Strip large leaves from thick stems; leave delicate leaves intact on small sprigs for hanging. Remove damaged or yellowed foliage to reduce mold risk.
What’s the best way to air dry herbs to keep aroma strong?
Bundle small bunches with twine, hang upside down in a warm, well-ventilated, shaded spot with low humidity. Allow several days to two weeks depending on herb and climate. Keep bundles loose so air circulates; secure in paper bags with holes if dust or light is a concern.
How do I use a dehydrator for consistent drying?
Set the dehydrator around 95°F (35°C) for most herbs to protect volatile oils. Arrange sprigs single-layer, leaving gaps for airflow. Check after 1–4 hours; most leaves finish in a few hours while thicker stems may take longer. Remove when leaves crumble easily.
Can I dry herbs in the oven without ruining flavor?
Yes—use the oven’s lowest temperature, prop the door open slightly for airflow, and place herbs on parchment-lined trays. Monitor closely and remove at the first sign of brittleness to avoid toasting the leaves and losing aromatic oils.
Is microwave drying a safe option for small batches?
Microwave drying works in a pinch for small amounts. Layer leaves between paper towels and use short bursts (15–30 seconds), checking between cycles to prevent scorching. It’s fast but can reduce aroma compared with slower methods.
How do I tell when herbs are fully dry and ready for storage?
Perform the crumble test: leaves should crush to powder and stems snap cleanly. Any pliability or retained moisture means they need more time—storing damp herbs invites mold and off-flavors.
What’s the best freezing method for delicate herbs like basil and chives?
Freeze finely chopped herbs in water or oil-filled ice cube trays. Water cubes work for soups and stews; oil preserves flavor and is ideal for sautés and finished sauces. Once frozen, transfer cubes to airtight freezer bags and label with name and date.
Should I chop herbs before freezing or freeze whole leaves?
Chop herbs when you want an even texture—sauces and cooked dishes benefit from pre-chopped herbs. Freeze whole leaves if you plan to blend them later or prefer to keep texture intact for garnishes after thawing.
How should I store dried herbs to keep them potent for months?
Use airtight, light-safe containers such as amber glass jars or labeled spice tins. Store jars in a cool, dark pantry away from heat and humidity. Label each jar with the herb name and harvest date to track freshness—most dried herbs stay good for 6–12 months.
What containers and placement protect volatile oils best?
Choose amber or opaque glass to block light and tight-sealing lids to limit oxygen. Keep jars on a cool pantry shelf, not above the stove or in direct sunlight. Vacuum-sealed or oxygen-absorbing packets add extra protection for long-term storage.
Which infused oils are safe for pantry storage and which need refrigeration?
Dry herb-infused oils made and stored properly remain stable in the pantry for short periods, but oils with fresh plant material (especially garlic or fresh rosemary) pose botulism risk if left at room temperature. Store herb oils in the fridge and use within two weeks, or freeze in small portions for months.
How do herb-salt blends extend shelf life and boost aroma?
Mixing chopped herbs with coarse salt draws out moisture and creates a preservative environment. Use herb-salt blends as finishing salts or rubs. Add citrus zest like lemon for brightness, and store in airtight jars—these blends can last several months in a cool pantry.
What’s the best way to store compound butters and herb sauces?
Compound butters freeze well for up to six months—roll into logs, wrap tightly, and label. Sauces like pesto and chimichurri freeze in ice cube trays or jars; cover pesto with a thin layer of oil to limit oxidation, then freeze for up to a year for best flavor retention.