
Ready to challenge the idea that soil is essential for a lush herb pot? This guide asks a simple question: can a tidy countertop system deliver vibrant leaves fast enough to use in tonight’s dinner?
In plain terms: hydroponic systems feed roots directly through nutrient-rich water, which speeds growth and cuts soil issues. You’ll see how a small setup can fit a busy kitchen and yield harvestable leaves in about four weeks under good light and warmth.
This short guide walks you through planning, seed options, and a minimal system that suits a beginner. Expect clear targets for pH, light, and temperature, plus practical tips on pruning and storage so your plant stays vigorous and your space stays neat.
Key Takeaways
- Simple systems work: a compact setup can fit a shelf or kitchen counter.
- Fast results: harvestable leaves often appear in about four weeks under optimized conditions.
- Control matters: monitor pH and light for steady flavor and aroma.
- Seed to shelf: easy seed-starting options make this approachable for beginners.
- Scale later: learn one herb well, then expand to a small hydroponic garden.
Why Basil Is Perfect for Your First Hydroponic Experiment
For new indoor gardeners, basil offers fast rewards and forgiving habits that ease the learning curve. Expect sprouts in about 3–10 days and usable leaves in roughly four weeks under 14–16 hours of light.
Basil thrives because its roots take nutrients directly from water, which speeds growth and cuts common soil problems.

Key advantages include rapid growth, tolerance for long light hours, and easy pruning that promotes bushy plants. A compact system and a small container fit counters and small apartments.
Direct nutrient access reduces time to harvest and lowers the risk of root diseases like pythium. That makes this an ideal way to learn steady system care without complex outdoor timing.
- Quick results: usable leaves near four weeks.
- Low space needs: works in small countertop systems.
- Simple care: routine pruning and stable nutrients boost flavor and foliage.
As you gain confidence, this herb prepares you to expand your hydroponic garden to other culinary plants.
First hydroponic experiment growing basil with just water and nutrients: plan your simple system
Pick a simple setup that fits your counter and your time. Choose passive methods to learn steady care, then step up to active systems if you want faster yields.
Plan a compact system that matches your kitchen space and skill level before you mix any solution.
Which method suits a beginner?
Wick and Kratky are passive and low-maintenance. They keep parts few and chores light.
DWC adds an air pump for stronger root oxygen and faster growth. The nutrient film technique (NFT) uses channels and a thin recirculating film; it’s best for longer runs of plants.
What gear do you need?
- Reservoir: lightproof, sized to your plant count; mark fill levels.
- Net pots, a pH meter and calibration solution, a reliable air pump and stone for DWC.
- Grow lights and a timer, plus a small fan for airflow in a compact hydroponic garden.

Which medium and solution work best?
Choose a clean growing medium: rockwool cubes for easy transplanting, coir plugs for gentle root support, or perlite for drainage.
Mix a balanced nutrient solution anchored by CaNO3 and MgSO4 plus a full NPK. Aim for pH 5.5–6.0 (up to 6.2). Start seedlings at EC 1.0–1.2 and raise toward 1.6 as plants grow.
Pro tip: For a compact build, a single-bucket DWC or Kratky container keeps parts minimal. If you want plans or a compact design, check this Basil Box build.
Starting Basil from Seed: Germination the Hydroponic Way
Pick quality varieties, choose a clean start medium, and keep conditions warm and bright so seedlings pop in days and transplant cleanly when roots and true leaves appear.
Pick culinary-friendly varieties and a steady start routine to give young plants a confident start.
Which seeds should you choose?
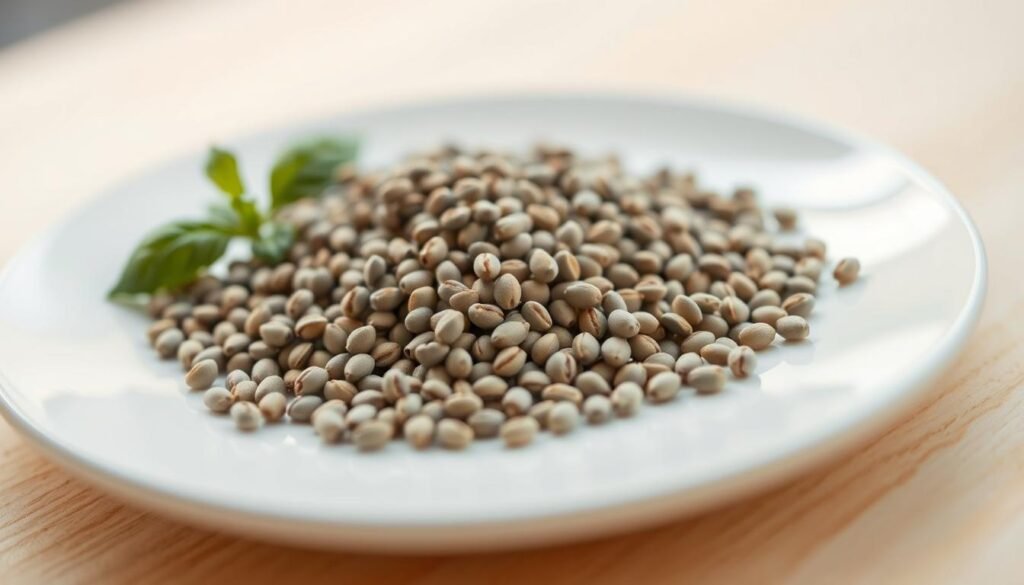
Genovese for pesto, Lemon for citrus notes, Purple Ruffles or Red Rubin for color and aroma. Label each tray so you track flavor and performance in your garden notes.
What medium and method work best?
Start in rockwool cubes or coco coir plugs. You can also use a damp paper towel for fast taproot checks. Pre-soak rockwool in plain water and place one or two seeds per cube.
What conditions speed germination?
Keep temps near 70–77°F and run LEDs for 14–16 hours. Use a light dome early, then vent or remove it once sprouts appear to avoid damping off. Maintain gentle humidity and steady warmth so seeds sprout in about 3–10 days.
When should you transplant?
Move seedlings when tiny roots show through the cube or plug and the first true leaves unfurl. Handle by the medium, not the stem, and start them in a weak, clean nutrient solution to reduce shock.
Complete indoor and outdoor grow guide for deeper setup tips.
Growing Basil Hydroponically: Nutrients, Light, and Daily Care
Set clear targets for solution levels and environment, then check them daily for steady growth. Keep simple records of pH, EC, and light time to spot trends and act quickly.

Key targets: Keep pH at 5.5–6.0 (accept up to 6.2) and EC near 1.0–1.6. Start on the low end and raise EC as foliage increases.
How should I manage nutrients and solution?
Mix a clean nutrient solution and monitor daily. Top off with plain water to counter evaporation. Change the reservoir if the solution drifts or looks cloudy.
What about light, temperature, and spacing?
Provide 14–16 hours of light at 65–80°F and moderate humidity. Space net pots 8–10 inches so canopies breathe and leaves stay dry.
How do I prune and prevent problems?
Prune at about 6 inches by clipping just above a node to encourage two new shoots. Remove flower buds to keep energy in the leaves.
Preventive care: Keep rockwool or any medium moist, not waterlogged. Maintain airflow and watch pH/EC for sudden changes—those often warn of clogged stones, warm reservoirs, or disease risk.
- Daily habit: log pH, EC, and any visible changes in leaves or growth.
- Tip: gentle fan airflow and a cool reservoir cut pythium risk and support steady roots.
Harvesting, Storing, and Using Your Hydroponic Basil
Harvest from the top, store stems at room temperature, and turn fresh leaves into quick sauces or oils for the week.
Harvest in the cooler part of the day to keep aroma and flavor. Clip the top growth and cut just above a node so two shoots form. Use the cut-and-come-again method: take one-third to one-half of the tender top growth, then let the plant recover.

Tip: Always pinch flower buds. That keeps energy in the leaves and speeds regrowth. Handle leaves gently—bruised foliage loses scent fast.
- Storage quick-snippet — Harvest from the top first and clip just above a node to encourage fast regrowth. Store stems at room temperature in a glass of water and never refrigerate below 50°F to prevent blackening.
- Rinse lightly, dry well, and place stems in a clean container of water on the counter. Change water daily and avoid direct sun.
- For short-term use, make pesto, herb oil, or basil vinegar. Blend extra leaves with oil and freeze in small portions for sauces later.
- Rotate harvests between plants so each plant has recovery time. Keep shears clean between cuts to reduce disease risk.
| Action | When | Why it matters |
|---|---|---|
| Top cut above node | Any cool part of the day | Encourages two new shoots and steady production |
| Pinch flowers | As buds appear | Preserves leaf flavor and plant vigor |
| Store stems in water | Immediate post-harvest | Extends freshness; avoid refrigeration below 50°F |
| Freeze blended leaves in oil | If you can’t use all leaves | Locks aroma for later sauces and meals |
Want more on how to grow basil in a compact setup? See this guide on how to grow herb plant for practical tips on container choice and solution care.
Troubleshooting Your Hydroponic Basil System
Read the plant: leaf color and posture point to nutrient or oxygen issues. Use simple checks first and act quickly to protect growth and flavor.

Leaf clues to watch: pale new growth often signals low nitrogen. Crispy or brown edges usually mean EC levels are too high. Drooping leaves can point to poor root oxygen.
- If leaves look pale: gently raise nutrient strength and confirm your nutrient solution includes a balanced N source. Check rockwool or other medium moisture so roots breathe.
- Edge burn present: dilute the reservoir to lower EC, reset solution levels, and verify your meter calibration so readings are accurate.
- Plants droop or slow: boost aeration in DWC setups, clear clogged air stones, and lower water temperature if warm.
System fixes that work: change water on a schedule to correct imbalances. Run a small fan for gentle canopy airflow to deter pathogens like pythium. Check light height and timer schedules weekly to avoid stress from too-bright or too-short cycles.
Quick checklist: replace old nutrient mixes, rinse equipment during changes to cut salt buildup, inspect roots when topping off, and keep a simple log of symptom → adjustment → result. These steps make troubleshooting faster and keep your hydroponic garden healthy.
Conclusion
Conclusion — clear steps make success simple. Keep targets steady and treat system care as a short daily habit to get reliable, flavorful results.
Focus on pH 5.5–6.0, EC near 1.0–1.6, 14–16 hours of light, and 65–80°F temps. Prune above nodes at about 6 inches and store stems above 50°F.
Pick a compact system, log your checks, and refresh the solution on schedule. Clean tools, steady airflow, and small corrections keep growth steady and plants productive.
Want to grow hydroponic basil year-round? Start small, repeat what works, then scale your hydroponic garden when you feel ready.
FAQ
What simple system should I use to start a water-and-nutrient setup for basil?
Use a beginner-friendly system such as Kratky or a small DWC (deep water culture). Both need a covered reservoir, net pots, and an inert medium like rockwool or coco coir plugs. Kratky is passive—no pump—while DWC adds an air pump and air stone for better oxygenation. Choose based on space and how hands-on you want to be.
Which basil varieties are best for an indoor, nutrient-only system?
Pick reliable culinary types like Genovese, Lemon, Purple Ruffles, or Red Rubin. They adapt well to container systems, respond quickly to pruning, and deliver strong flavor and leaf production under steady light and nutrients.
How do I germinate seeds for a water-based setup?
Start seeds in rockwool cubes or coco coir plugs soaked in pH-adjusted water, or use a damp paper towel until tails appear. Keep temperature around 70–77°F and provide 14–16 hours of light once seedlings show true leaves. Transplant gently into net pots when roots reach the bottom of the plug.
What nutrient targets should I aim for in my solution?
Aim for a pH between 5.5 and 6.0 (acceptable up to 6.2) and an EC of about 1.0–1.6 mS/cm for established plants. Start with a weaker solution for seedlings and gradually increase strength. Include calcium nitrate (CaNO3) and magnesium sulfate (MgSO4) to prevent common deficiencies.
How much light and what environment does basil need indoors?
Provide 14–16 hours of quality light daily. Keep temperatures around 65–80°F and moderate humidity. Use full-spectrum LED grow lights positioned to avoid leaf burn—raise lights as plants grow—and ensure good airflow with a small fan to strengthen stems and prevent disease.
How should I space and prune plants for bushy growth?
Space plants so leaves don’t touch—roughly 6–8 inches for small pots. Prune by pinching above a node when plants reach about 6 inches to encourage branching. Regular clip-and-come-again harvesting keeps growth vigorous and delays flowering.
What common problems should I watch for and how do I fix them?
Look for pale leaves (nitrogen shortage), brown leaf edges (EC too high), and wilting (low oxygen or root issues). Fix by checking pH/EC, doing partial water changes, improving aeration with an air pump or fan, and adjusting nutrient strength. Address damping-off by improving hygiene and avoiding overwatering in early stages.
How often should I change the reservoir and refresh nutrients?
For small systems, change the reservoir every 1–2 weeks or sooner if pH/EC drifts. Top up with plain pH-adjusted water between full changes and monitor EC to avoid salt buildup. Fresh solution keeps nutrient balance steady and reduces disease risk.
When is the best time to harvest and how do I store leaves?
Harvest before plants flower for the best flavor—use the cut-and-come-again method by trimming tops and pinching flowers. Store cut stems in a glass of room-temperature water or loosely wrapped in a damp paper towel at no less than 50°F. Use fresh leaves quickly for best aroma.
Can I run several basil varieties in one system?
You can, but match plants by size and growth habit to avoid shading and uneven nutrient uptake. Monitor individual plants and prune as needed. If varieties have very different vigor, consider separate reservoirs or staggered planting times.
How do I prevent root diseases like Pythium in a water system?
Keep water temperatures below 72°F, maintain good dissolved oxygen with an air pump, practice sterile handling of tools and media, and perform regular reservoir changes. Avoid stagnant water and overcrowded roots to reduce disease pressure.
What growing media work best in net pots for this method?
Rockwool cubes, coco coir plugs, and perlite are excellent choices. Rockwool holds moisture and supports roots well. Coco coir offers a renewable option with good moisture retention. Perlite provides drainage when mixed with other media. Use what fits your system and sanitation routine.
How do I adjust nutrient strength as plants develop?
Start seedlings on a quarter to half-strength solution and step up weekly to the target EC (1.0–1.6 mS/cm) as roots establish. Watch plant responses—slow growth or pale leaves may need more nutrients; burned leaf edges mean reduce strength. Make changes gradually to avoid shock.
Are timers and automation necessary for success?
Timers for lights and pumps add consistency and reduce mistakes, especially for 14–16 hour lighting schedules. Automation isn’t required but helps beginners maintain stable conditions and frees you from daily micromanagement.
What brands or products do experts recommend for small setups?
Look for reputable LED grow lights from brands like Spider Farmer or Mars Hydro for small gardens. For nutrients, use proven hydroponic formulas from General Hydroponics or Botanicare. Choose air pumps and stones from brands like EcoPlus for reliable aeration. Pick quality items to reduce troubleshooting later.