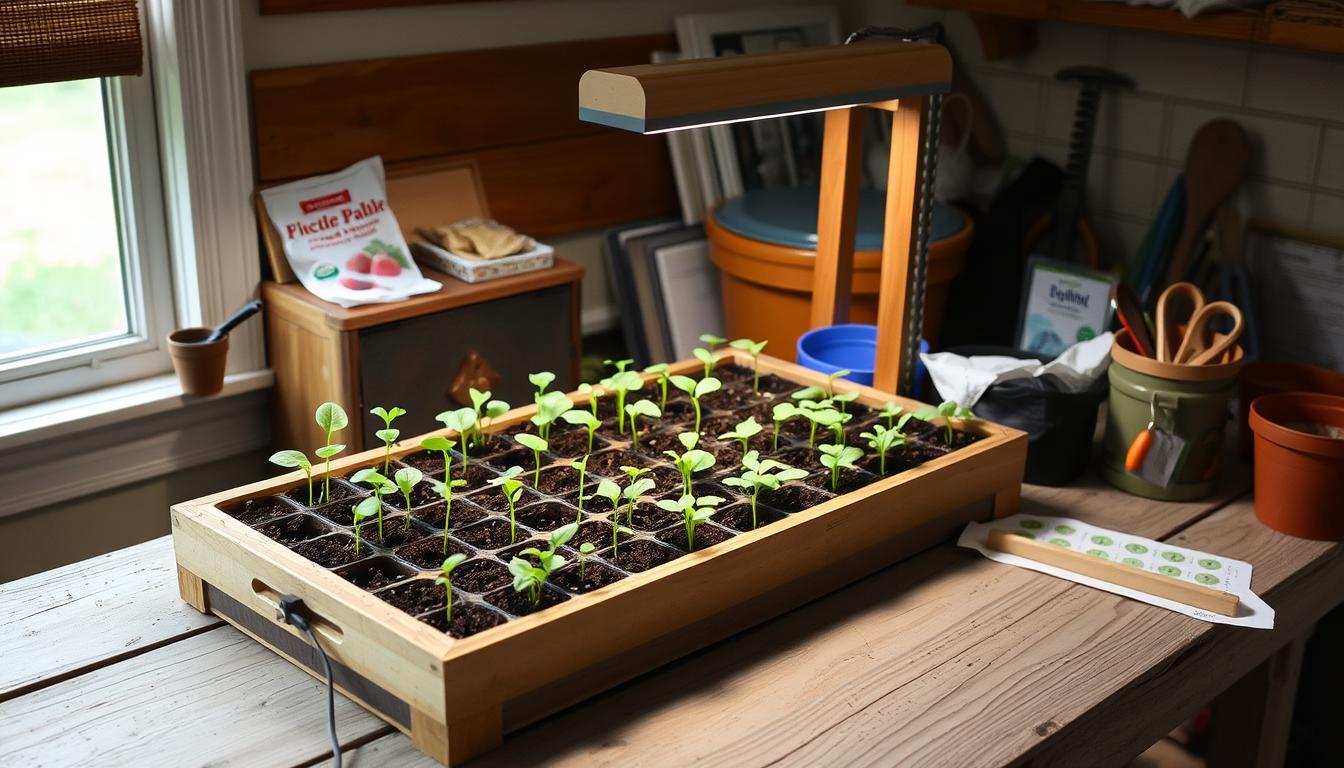
Can a compact home setup beat a ready-made kit for strong, stocky transplants? Many gardeners assume store kits offer the easiest path. Yet controlling light, heat, airflow, and watering often makes the biggest difference.
Start with stable warmth — most vegetable seeds germinate best at about 65–75°F. After sprouts appear, give them 14–16 hours of full-spectrum LED light and a timer to prevent legginess.
Use a sterile seed-starting mix and bottom watering to cut disease risk and build deep roots. Turn off heat mats once most seeds have sprouted, and add gentle airflow to toughen stems.
This modular setup is repeatable each year, saves money, and lets you start more varieties than local stores stock. Read a practical comparison on grow kits versus homemade methods here.
Key Takeaways
- Warm, consistent soil speeds and evens germination.
- 14–16 hours of LED light prevents leggy growth.
- Bottom watering reduces disease and strengthens roots.
- Timers and airflow create a reliable routine for busy gardeners.
- The modular setup is repeatable every year and expands as your plans grow.
Why a DIY seed station outperforms store-bought kits for stronger seedlings
Control over light, temperature, and airflow makes a measurable difference. With the right components you get consistent germination, sturdier stems, and less waste.
A home build lets you tune light intensity, spectrum, and distance so young plants get enough light every day. Proper coverage prevents legginess and keeps stems thick.
Set soil temps around 65–75°F to speed germination without stressing roots. Use a mat with a thermostat and turn off bottom heat once most sprouts emerge to avoid spindly growth.
Move air gently with clip-on fans. That small breeze cuts mold and damping off and trains stems to grow stronger the same way outdoor wind does.
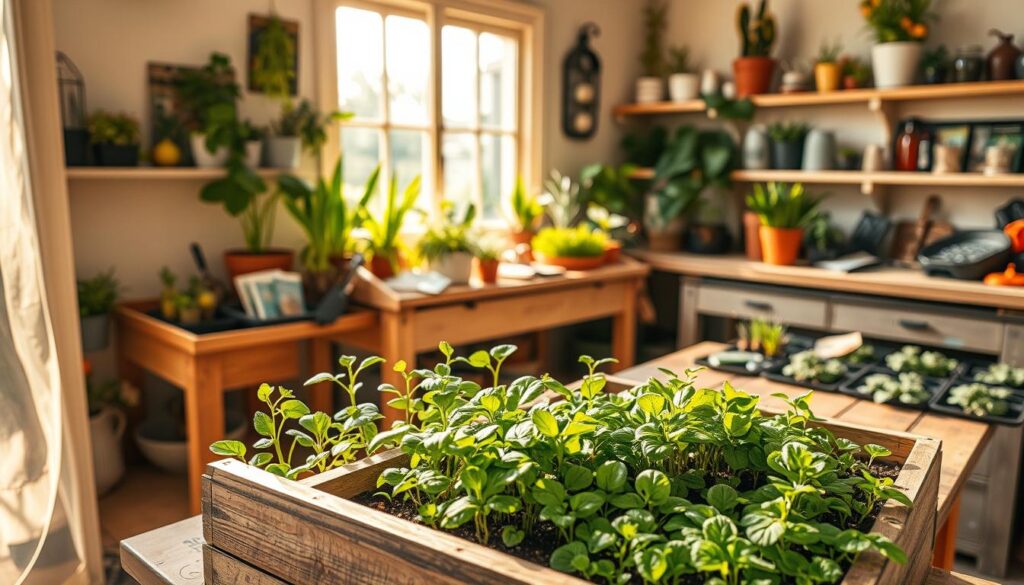
Reusable molded trays and sturdy bottom pans beat thin plastic inserts that crack after a season. Standardized parts let gardeners replace or upgrade lights and shelves as you grow.
- Add shelves or lights to expand capacity instead of buying another bulky kit.
- Invest once in durable gear to save money and reduce waste over many cycles.
| Feature | Store kit | Home setup |
|---|---|---|
| Light control | Fixed, limited | Adjustable intensity & distance |
| Soil warmth | Basic mat or none | Thermostat-regulated mats |
| Airflow | Rarely included | Clip-on fans for gentle breeze |
| Durability | Thin plastic inserts | Reusable trays & pans |
Small controls—timers, fan placement, and full coverage lights—compound into reliably stronger starts and higher transplant success rates.
Plan your space: shelving, layout, and capacity for 1020 trays
Measure first and match components to the 10″ x 20″ tray size for a tidy, efficient setup. This saves time and keeps trays easy to lift. A clear plan avoids surprises with cords, lights, and watering.
Start by mapping how much floor and vertical space you can spare, then fit shelves that match 10×20 trays.
How deep should a shelf be to fit 10×20 trays?
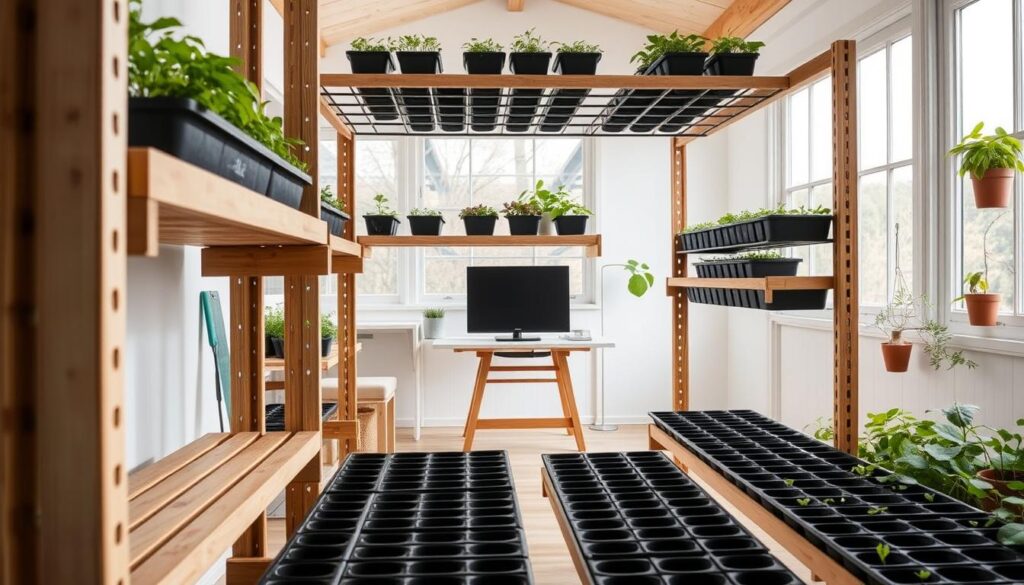
Run 1020 trays lengthwise on a shelf about 11″ deep. If you want them side-by-side short way, pick depth ≥21″. Match the shelf depth to the tray size and your workflow.
What vertical spacing works for lights and plant height?
Use adjustable tiers so tall tomatoes get more room while herbs stay tight. Aim for clearances around 25″, 25″, and 22″ between tiers. That fits LED fixtures plus plant growth without crowding.
How many trays will a unit hold?
Start with one tray on a single shelf, then scale. Orient trays long or short to pack 8, 12, or 24+ trays by adding tiers and using wider shelf sizes. A compact rolling unit suits a garage corner or tight nook. A wider shelf boosts capacity for larger sowing plans.
- Choose a sturdy wire shelving unit with adjustable tiers for easy rearrangement.
- Measure wall-to-edge so cords, timers, and a fan mount cleanly without blocking airflow.
- Level and secure the rack, plan a watering route, and leave reach space to access domes and move trays.
Get the light right: full-spectrum LEDs to prevent leggy seedlings
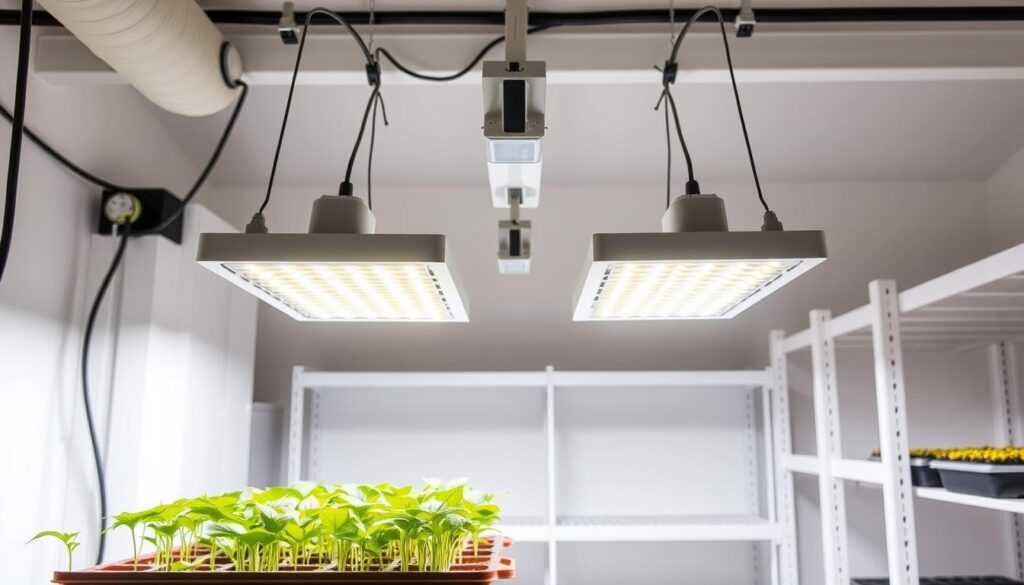
Good overhead lighting keeps young plants compact and sturdy. Aim for full-spectrum LEDs that mimic the sun and deliver steady, even coverage across every tray.
What Kelvin and brightness should I aim for?
Aim 4500–6000K for a natural balance that supports leaf and stem development. This range closely mimics daylight and helps plants stay stocky.
How many fixtures do I need?
Coverage beats raw brightness. Run two fixtures along a shelf if trays lie lengthwise, or four if they sit short-way. Link bars end-to-end to avoid dim edges.
How close should lights sit above plants?
Keep LEDs about 6–8 inches above leaf tips and raise them as canopies grow. Start low in the starting phase, then raise gradually to maintain that gap.
Should I automate daily light cycles?
Yes. Use a timer for 14–16 hours per day. Consistent time each day prevents stretch and removes guesswork.
“Uniform coverage is the simplest fix for leggy growth—more lamps or better placement stop plants from leaning toward one side.”
- Tip: Rotate trays periodically if one side gets a hair more sun from the room layout.
- Note: Cool-running LEDs cut unwanted heat but still need correct distance to avoid leaf stress.
Temperature control: heat mats and thermostats for fast, reliable germination
Targeted warmth under trays shortens the weak germination window and boosts uniform sprouting. Keep soil near 65–75°F to speed and even out germination for many vegetables.
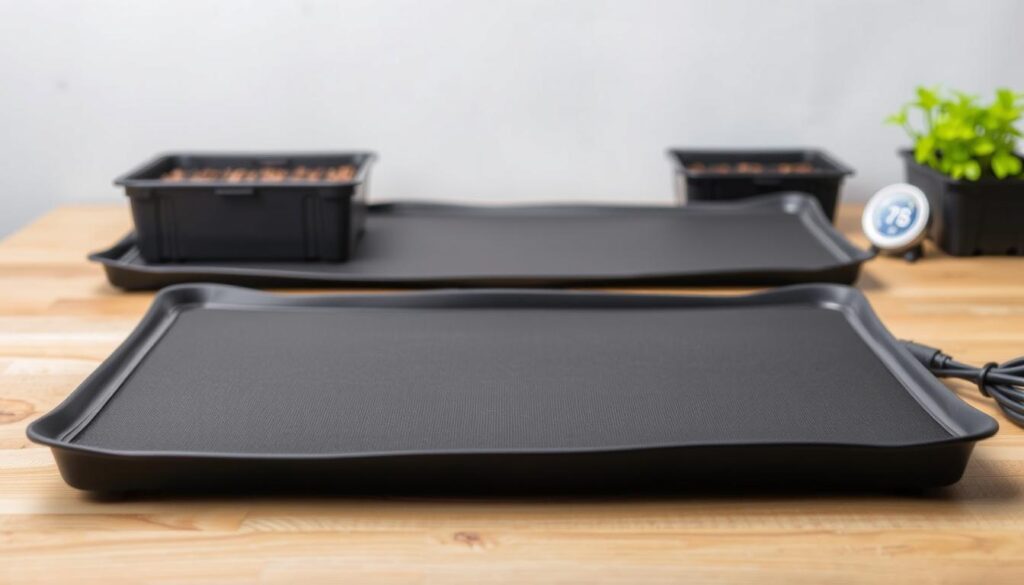
Choose mat sizes to fit your shelves. A 48″×20″ mat lines standard wire shelving and matches 1020 trays so mats don’t overlap. Proper fit helps even heat across every cell.
Use a multi-mat thermostat to control several mats from one controller. Place the probe in the media, not the air, so the readout shows true soil warmth. Label each circuit by shelf to tune settings for different crops.
- Turn off mats once most sprouts appear—continued bottom heat can cause rapid, weak growth.
- Check with a simple thermometer to confirm the thermostat reaches the set point.
- Local mat heat saves energy versus warming the whole room, useful in cool garages or basements.
Note: Steady warmth shortens the vulnerable window and reduces damping-off risk. Warm-season seeds benefit most; many cool-season varieties germinate fine without added heat.
Trays, cells, and seed-starting mix: build roots, not waste
Choose the right cell count and a sterile mix so roots grow quickly and transplants arrive ready. Small choices—cell size, media, and domes—cut waste and boost survival.
Pick tray and cell sizes that match how fast each crop grows. A 50-cell insert suits larger crops like tomatoes. Use 72-cell for general purpose starts. Choose 128-cell for tiny or slow varieties.
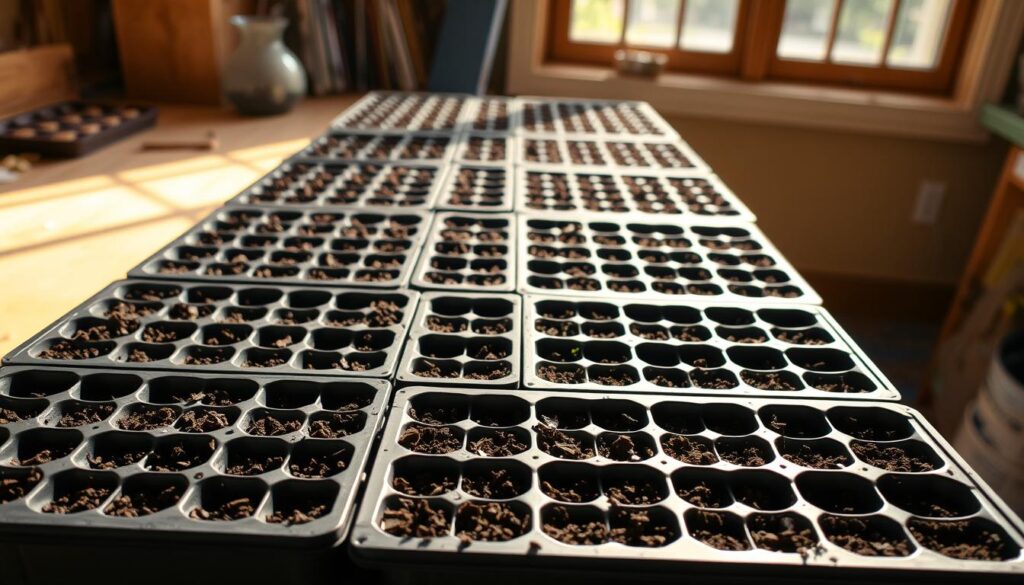
Which cell counts fit my crops?
Match cell size to crop vigor so roots fill cells on schedule without becoming pot-bound.
- 50-cell: larger pots, more root room for vigorous plants.
- 72-cell: versatile for most herbs and vegetables.
- 128-cell: high density for small or slow-growing varieties.
What mix should I use?
Use a sterile seed-starting mix of peat or coir with vermiculite and perlite. Pre-moisten the media before sowing. Avoid outdoor garden soil—it can carry damping-off pathogens.
When should I use humidity domes?
Domes lock in humidity during germination. Remove them promptly once most sprouts appear. That small step improves airflow and cuts mold risk.
| Component | Why it matters | Practical tip |
|---|---|---|
| Cell count | Controls root volume and transplant timing | Keep 50, 72, and 128 inserts on hand |
| Sterile mix | Promotes clean, even germination | Use peat/coir + vermiculite + perlite, pre-moistened |
| Plastic inserts | Reusable with aeration to help roots | Pair with sturdy bottom tray for bottom watering |
| Humidity dome | Maintains moisture early, then removed | Take off after most seeds sprout to reduce mold |
Label each tray and cell block, wash inserts after every cycle, and store durable trays away from sunlight. These small habits save time and reduce losses season after season.
Water like a pro: bottom watering and moisture management
Bottom-up soaking keeps media evenly wet without disturbing fragile young roots. Use slow, controlled fills and remove extra water so mold and gnats don’t get a foothold.
Bottom-up soaking helps young roots find water without jostling fragile stems. Place a no-hole tray under your inserts and pour slowly until media starts to wick.
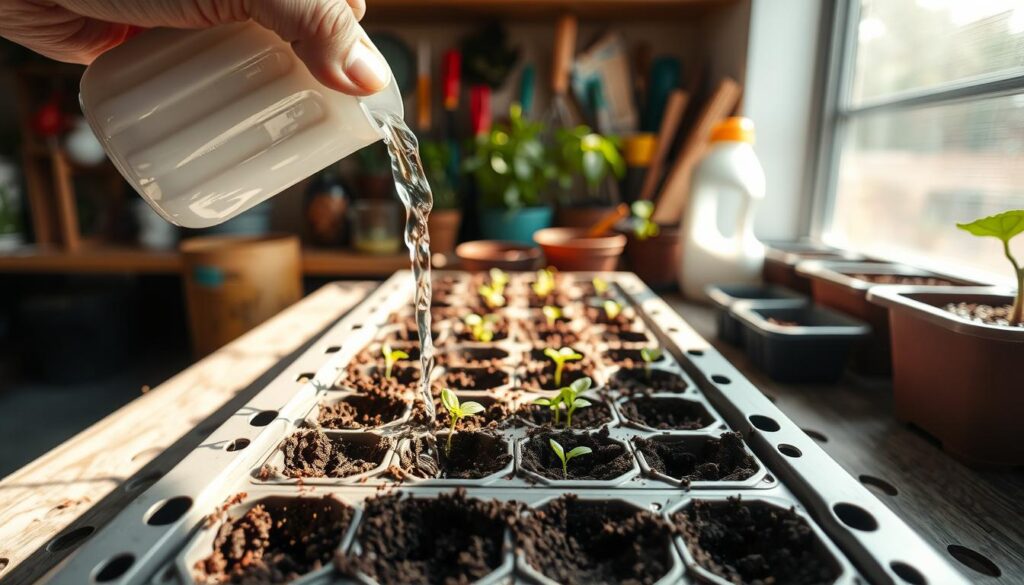
How do I use a no-hole tray for even wetting?
Fill the bottom trays slowly and give the mix time to draw the water up. After 10–20 minutes, dump or vacuum any standing water to stop stagnant pools.
What moisture targets should I aim for?
Keep media consistently moist through germination. Once true leaves appear, shift to a wet/dry rhythm—let the surface dry a little between waterings.
Use a finger test or a moisture meter to check deep in the cell, not just the top. Pre-moisten mix before filling cells to avoid dry pockets that repel water.
Water in the morning and use room-temperature water so you don’t chill warm soil. Rotate trays periodically to confirm all corners wick evenly.
Thoughtful, steady watering builds resilient roots and stronger transplants over time. For more on compact growing setups and continuous fresh herbs, see this guide.
Airflow and strength: add fans for sturdier stems and fewer diseases
Keep air moving to create a healthier, stronger growing environment. A steady, gentle breeze cuts humidity pockets, reduces mold risk, and teaches young stems to thicken naturally.
Where should I place clip-on fans and how should they run?
Place a small clip-on fan at the end of each shelf so air travels across the canopy without blasting leaves. Aim the flow slightly above tray height so leaves only flutter.
How does wind simulation help my plants?
A light, continuous breeze simulates outdoor wind and encourages stems to grow thicker. Run fans on low most of the day to build strength without drying media too fast.
- Angle fans to sweep across trays, not blow straight on seedlings.
- Coordinate fans with light using a timer so plants receive consistent cues for growth.
- Check clips and cords weekly as you shift shelves and fixtures.
- Good circulation also deters algae, fungus gnats, and damping-off by lowering local humidity.
Gentle air movement is a low-cost upgrade that pays off with thicker stems and fewer problems down the line.
diy seed station gives me healthier seedlings: my step-by-step assembly
Assemble a single, stable shelf first—this backbone holds lights, mats, trays, and the rest of your setup. A quick, ordered plan saves time and prevents mistakes.
Set up the wire shelf and level it so trays sit flat. This helps water wick evenly and avoids uneven germination.
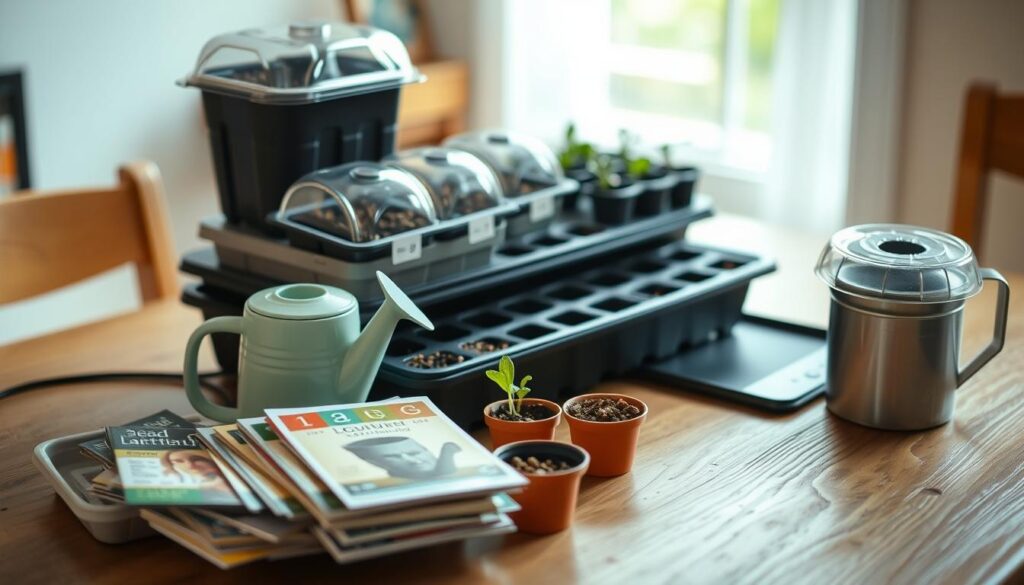
Quick build checklist
- Hang linked LED lights along each tier using eye hooks or chains for easy height changes.
- Place heat mats where you plan for germination and plug them into a thermostat with the probe in the media.
- Set bottom trays then insert cell trays so you can bottom-water without drips.
- Plug the lights into a timer for 14–16 hours; run the clip-on fan on a day schedule synced to light time.
- Route cables neatly along the frame and label each shelf position on a simple map of the unit.
Test-run everything for a day before sowing. This checks light coverage, mat cycling, and fan airflow so your starting session goes smoothly and in the right way.
Grow schedule and care: from sowing to transplant
Plan starts around your last frost date so young plants finish in their cells and go outside without shock. Keep a simple calendar and adjust by crop pace to avoid crowding and wasted time.
A practical routine makes the difference between weak and resilient seedlings. Below are the key steps to follow as you move from sowing to planting in the garden.
When should I begin fertilizing?
Begin feeding after the first true leaves appear. Use a low-dose balanced feed (1-1-1 or 2-2-2) mixed into your regular watering once weekly.
How do I know when to pot up?
Watch root development. Pot up before roots circle the cell to prevent stunting. Use peat/coir-based soil for an easy transition and steady moisture.
How do I harden off and transplant with less shock?
Start hardening off 1–2 weeks before transplant. Move trays into shade first on calm days, then add sun and a bit of breeze each day.
- Outline sowing windows from your last frost date—most indoor starts are 6–8 weeks early.
- Keep notes on each crop’s pace to refine future timing.
- Transplant on cloudy afternoons and water in to settle the soil.
| Stage | Action | Timing |
|---|---|---|
| Sowing | Plan by last frost date | 6–8 weeks before |
| Feeding | Weekly low-dose fertilizer | After true leaves |
| Potting up | When roots reach cell edge | As needed |
| Hardening off | Gradual outdoor exposure | 1–2 weeks |
Keep a short log of dates and growth so each round of starting seeds gets easier and more predictable. For a compact herb plan and further tips, see learn how to grow herbs.
Common problems and safe fixes
Simple checks and focused fixes stop most issues in a compact growing unit. Follow a short checklist to catch stretch, mold, and electrical hazards early. These small steps save time and plants.
How do I fix leggy growth quickly?
Leggy plants need more direct light and closer fixtures. Lower LED bars to about 6–8 inches above the canopy and extend daily light to 16 hours if needed.
Add a second fixture or move lights to eliminate dim spots. Rotate trays so every side gets even coverage and avoid crowding that blocks light.
What stops damping off and mold?
Control humidity and keep air moving to reduce fungal pressure. Remove domes once most sprouts appear.
Run a small clip-on fan on low so air sweeps over trays. Switch to bottom water only and drain standing water promptly to deny mold a foothold.
How do I keep the unit electrically safe?
Use timers, protective plugs, and tidy cords. Place plugs in waterproof boxes and clip cables along the frame so they don’t snag when moving trays or adjusting lights and mats.
Inspect cords weekly and replace cracked plastic domes or trays that trap moisture. Calibrate the thermostat probe so mats cycle correctly and avoid overheating cells.
| Problem | Quick fix | Preventive tip |
|---|---|---|
| Leggy growth | Lower lights to 6–8″ and add a fixture | Schedule 14–16 hours of consistent light |
| Damping off / mold | Remove domes, increase fan flow, bottom water | Space trays for better air movement and avoid over-watering |
| Electrical hazard | Use timers, plug protectors, and cable clips | Check cords weekly and isolate plugs from splashes |
Keep a short checklist on the shelf for light height, fan status, tray drainage, and safety spot checks. These habits prevent small problems from growing into big ones.
Budget, scalability, and year-round use
Investing in sturdy racks and linked lights turns a one-time buy into years of reliable starts.
Why this matters: Durable shelves, reusable trays, and thermostatted heat mats are initial costs that pay back across each year. You save by buying quality once instead of replacing flimsy parts every season.
Start small with one shelf and two trays. Add tiers or another shelf as your garden plan expands. Rolling or wall-mounted options let you scale without a full overhaul.
Use the setup off-season for cuttings, microgreens, or houseplant rehab. That keeps gear active through the cold months and spreads value beyond spring starting.
| Up-front item | Typical cost | Why it pays off |
|---|---|---|
| Sturdy shelves | $80–$200 | Scales capacity; lasts many years |
| Linked LED fixtures | $60–$150 | Adjustable light for many trays and crops |
| Reusable trays & mats | $20–$80 | Lower per-plant cost when reused each year |
Keep a small inventory of media, labels, and fertilizer. Clean and store trays after each run. Track what you grow most to decide how many trays and lights to keep active in any given year.
Conclusion
A compact, predictable rack can turn chaotic sprouting into a steady stream of robust young plants.
Match the basics: 4500–6000K grow lights for 14–16 hours, thermostatted heat mats at 65–75°F, steady bottom watering in sturdy trays, and a gentle fan for airflow.
Start with one shelf and a couple of trays. Use timers, reusable seed trays, and a simple log of sow dates, germination, and pot-up timing.
Hardening off for 1–2 weeks eases the jump to the garden. Adjust fixture height, check moisture, and keep the setup clean to avoid setbacks.
Want a deeper how-to? See this indoor seed starting guide for practical tips that help you raise a lot of confident, vigorous seedlings from seeds.