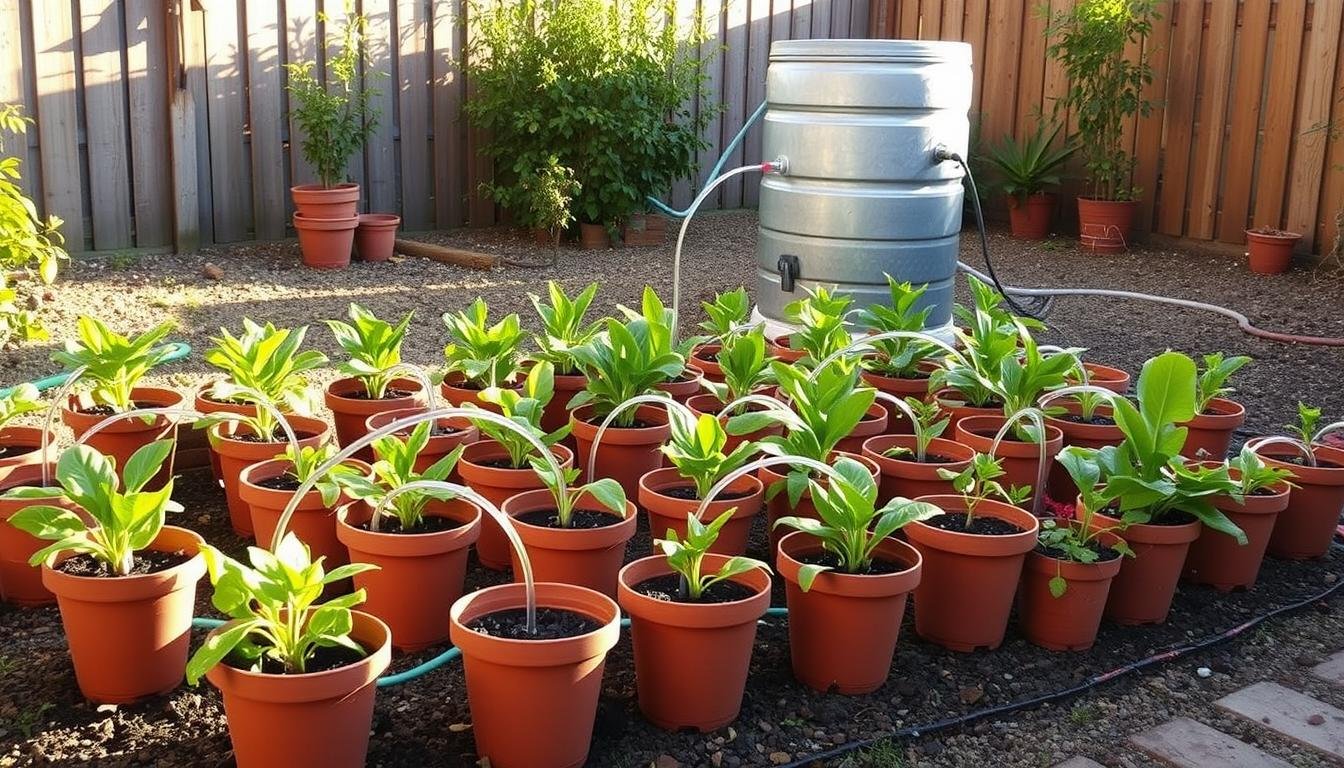
Could a tiny budget build save you hours of daily watering and keep twenty containers thriving?
This guide shows how a low-cost setup uses simple parts to deliver steady moisture while you sleep. You will see a clear parts list and realistic prices for core items like 100 ft of poly tubing, emitters, and a filter/pressure regulator combo.
Plan runs under 100 feet and limit each line to 50 emitters to keep even pressure. Use early-morning cycles (about 4:00–7:00 AM) and monthly flushing to prevent clogs.
Buy the main poly line at big-box stores and pick micro fittings online to save money on shipping. With a small timer upgrade, this easy irrigation approach frees you from daily hose duty and helps your garden flourish.
Key Takeaways
- Affordable build: Core parts total roughly $25–$30 when sourced wisely.
- Simple rules: Keep main line
- Best time: Water early (4–7 AM) for minimal evaporation and healthier leaves.
- Low maintenance: Monthly flushes and quick checks prevent clogs and mineral buildup.
- Smart shopping: Big-box stores for tubing; online bulk for small parts to cut product costs and shipping.
- User tips: Track feedback from neighbors or forums before buying large batches of items.
Why Drip Irrigation Wins: Save Up to 60% Water and Time
A targeted low-flow setup delivers water right where pots need it, cutting waste and chore time. Drip irrigation reduces evaporation and sends more moisture straight to roots, so you spend less time hauling hoses and less money on monthly bills.
How big are the gains? Research and real-world tests show up to a 60% cut in water use versus sprinklers. Running deep, infrequent cycles—say 30 minutes three times a week—encourages roots to go deep and stay resilient.
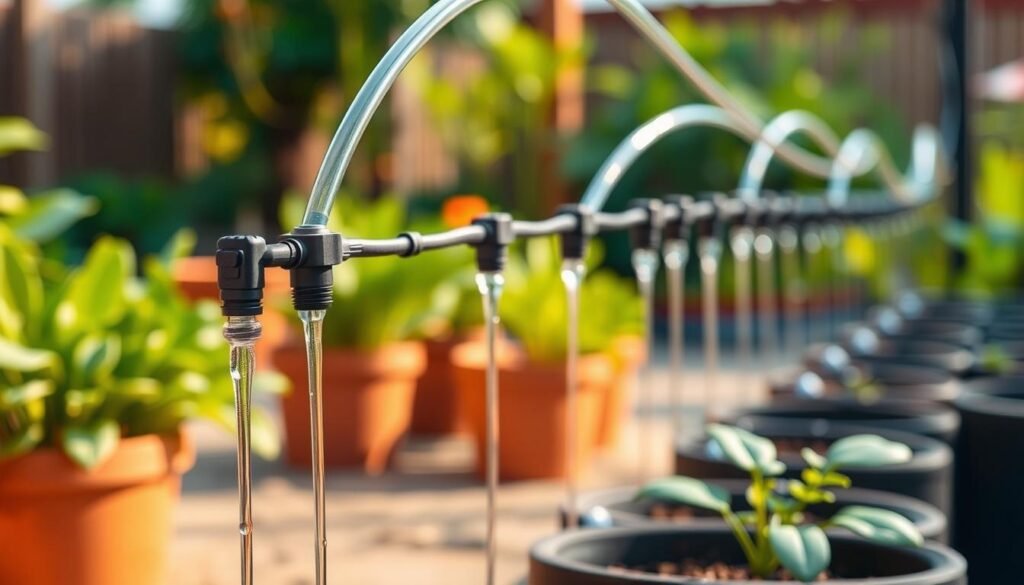
- Key takeaway: Delivering water at the soil line reduces evaporation and splash, so more of each gallon feeds roots and lowers disease risk.
- Emitters release moisture slowly so soil absorbs rather than sheds. This means each gallon works harder for your plants.
- A targeted watering system promotes deep roots that survive heat and bounce back faster after dry spells.
- Use pre-dawn runs (4:00–7:00 AM) to cut evaporation by about 30% and reduce mildew risk.
- Simple setups scale easily; add a few lines later instead of redoing the whole layout. Reviews give basic components better stars than complex add-ons.
Water use drops, maintenance stays light, and you reclaim household minutes for pruning, harvesting, or enjoying the garden. That efficiency is why garden irrigation keeps gaining fans.
What You’ll Build and How It Works
A compact, low-pressure setup moves measured moisture from your faucet to each pot. It uses a simple backbone and short feeder lines so roots get steady, slow soaking.
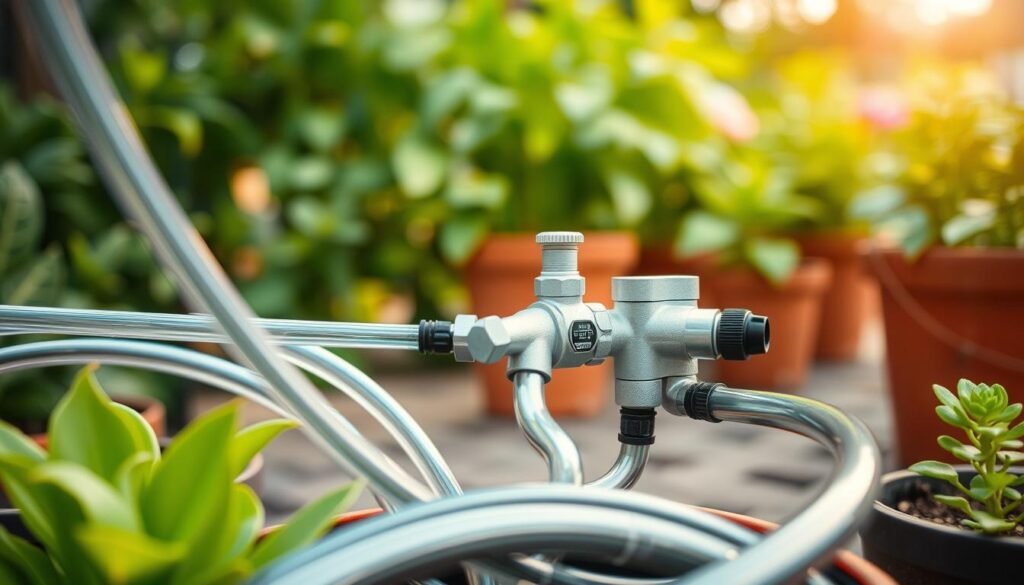
From faucet to emitters: a simple flow
The flow is clear: faucet → filter/pressure regulator → 1/2-inch mainline → 1/4-inch branches → emitters at the soil surface.
Attach the filter/regulator directly to the outdoor spigot and hand-tighten. Too much torque can crack threads. The 1/2-inch poly line acts as a backbone and the 1/4-inch micro lines act like capillaries to each pot.
Why slow, targeted watering grows stronger roots
Low pressure and small passages let water seep into the root zone. That reduces runoff and leaf wetting. Healthy roots dig deeper and recover faster in heat.
- Space emitters ~12 inches for vegetables and ~18 inches for larger plants so moisture spreads underground.
- Start with one emitter per small pot, two for larger planters or thirsty crops like tomatoes.
- Choose simple fittings and trusted product brands; field feedback favors basic tees and barbs over novelty gadgets.
| Component | Role | Tip |
|---|---|---|
| Filter/Pressure Regulator | Protects emitters, controls pressure | Hand-tighten to avoid damage |
| 1/2″ Mainline | Backbone for flow | Lay in a loop for even pressure |
| 1/4″ Micro Lines & Emitters | Deliver measured water to pots | Place emitters at soil surface |
Budget Materials List Under $30 (With Current Price Ranges)
Here’s a compact shopping plan and price guide so you can build a reliable home irrigation setup without overspending.
A tidy parts list keeps costs low and assembly quick for a practical patio irrigation setup.
Core components: 100 ft of 1/2 inch poly tubing (~$12), 25 ft of 1/4 inch micro line (~$2), 50 emitters (~$5 for a 50-pcs pack), and a filter/pressure regulator combo (~$8).
- Faucet adapter (~$3) and a small fittings pack (tees, elbows, end caps) (~$5).
- Buy mainline at a big-box store like Home Depot or Lowe’s; online sellers save up to ~40% on micro parts.
- Tools you own: cutter or sharp scissors, punch, hammer for stakes, and a screwdriver—simple items.
| Component | Typical price | Qty/notes |
|---|---|---|
| 1/2 inch poly tubing | $12 | 100 feet |
| 1/4 inch micro tubing & emitters | $7 | 25 ft + 50-pcs |
| Filter / pressure regulator + adapter | $11 | combo + faucet item |
Tip: Match barbs to your inch tubing sizes—mixing parts causes leaks fastest. Consider a small starter irrigation kit if you prefer a bundled kit, but check the included parts before you buy.
Planning Your Layout for Even Pressure and Coverage
A quick map keeps pressure steady and makes installation smooth. Sketching first helps you place loops, tees, and branches so flow stays even to every pot.
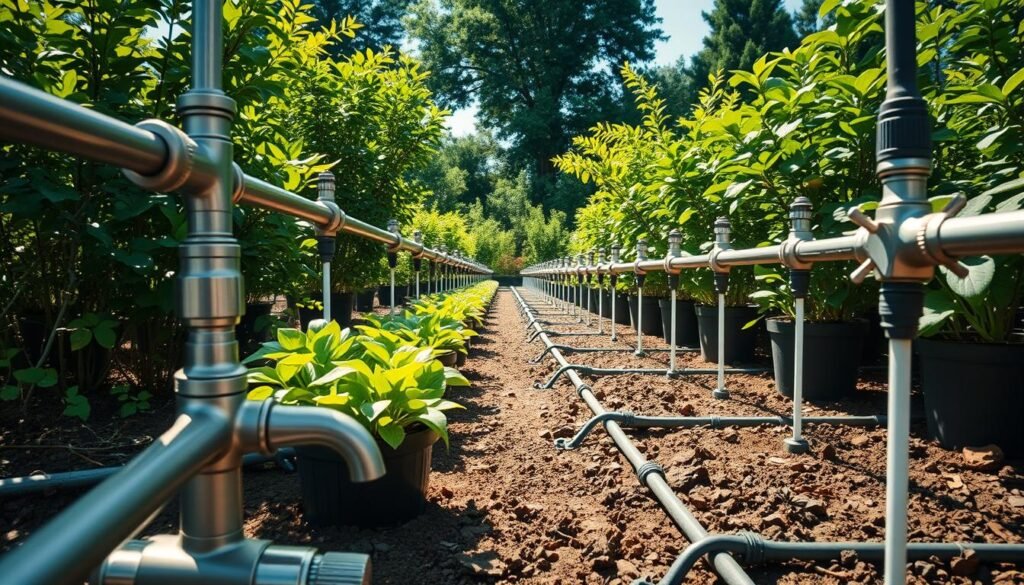
How do I sketch the space?
Start on graph paper and mark the faucet and each container. Label shaded spots and windy corners so you can adjust emitter placement.
What length and emitter rules should I follow?
- Keep each main run under 100 feet and use no more than 50 emitters per run to avoid weak flow at the tail.
- Loop the mainline around pot groupings and tee off short 1/4 inch branches to cut friction losses.
- Place the faucet assembly close to the spigot to shield the filter and maintain steady water pressure.
| Metric | Recommendation | Why |
|---|---|---|
| Main run | <100 feet | Preserves even pressure |
| Emitters per run | ≤50 | Avoids starved flow |
| Branches | Short 1/4 inch lines | Lower friction, easy changes |
Tip: If you buy a bundled kit, check community feedback and product notes—packages with extra mainline earn the best stars. A tidy plan becomes the strong foundation for a reliable irrigation layout in your system garden.
Step-by-Step Installation Guide
Start at the tap and work outward for a fast, reliable install. Secure the faucet fittings first, then lay lines so pressure stays even across your irrigation system.
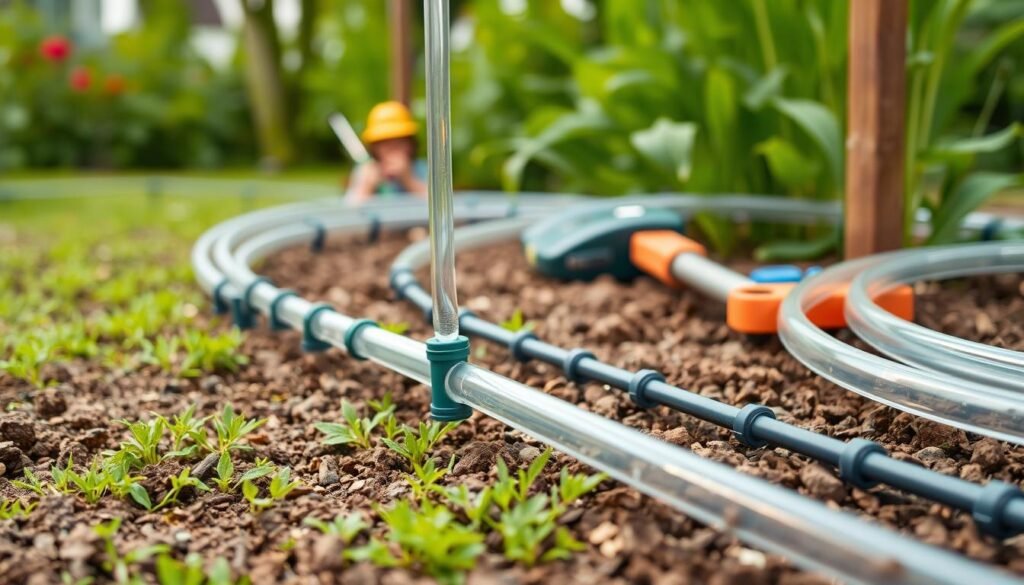
Begin with the spigot assembly: attach the faucet adapter, then the filter/pressure regulator combo. Tighten by hand to avoid cracking plastic threads and to ensure steady flow.
- Warm and lay the mainline: uncoil the 1/2 inch poly tubing and set it in the sun for ~30 minutes. Warm line resists kinks and follows curves along the ground.
- Stake the line: loosely stake the mainline, then refine the path so bends stay gentle and friction stays low for even irrigation.
- Punch and branch: use a punch to add tees and run short 1/4 inch branches to each pot. Push barbs firmly into warmed inch tubing for a snug seal.
- Place emitters: start near the faucet and work outward. Space ~12 inches for vegetables or ~18 inches for larger plants; set emitters 2–4 inches from stems.
- End caps & flush: cap the mainline with removable end caps, then remove them and run water for ~5 minutes to flush debris. Reinstall caps and perform a full test run.
Expect install time to be about 1–2 hours. Adjust emitter counts after testing to balance flow across your irrigation system.
$30 diy drip system that waters all
A budget-friendly setup any home gardener can build in an afternoon. A simple layout plus matched parts gives steady, predictable flow to container groupings.
Pair a short 1/2-inch backbone with brief 1/4-inch branches and matched emitters. This keeps pressure even and makes tuning easy. Stick to runs under 100 feet and cap emitter counts per line to prevent weak flow.
The compact build suits patios, balconies, and small garden spaces where hoses are bulky and wasteful. Add a filter/pressure regulator at the faucet to stop clogs and tame spikes in pressure. Small safeguards protect your effort and plants.
What you get: dependable care without daily labor. More time to prune, harvest, and enjoy the outdoors while pots receive steady watering.
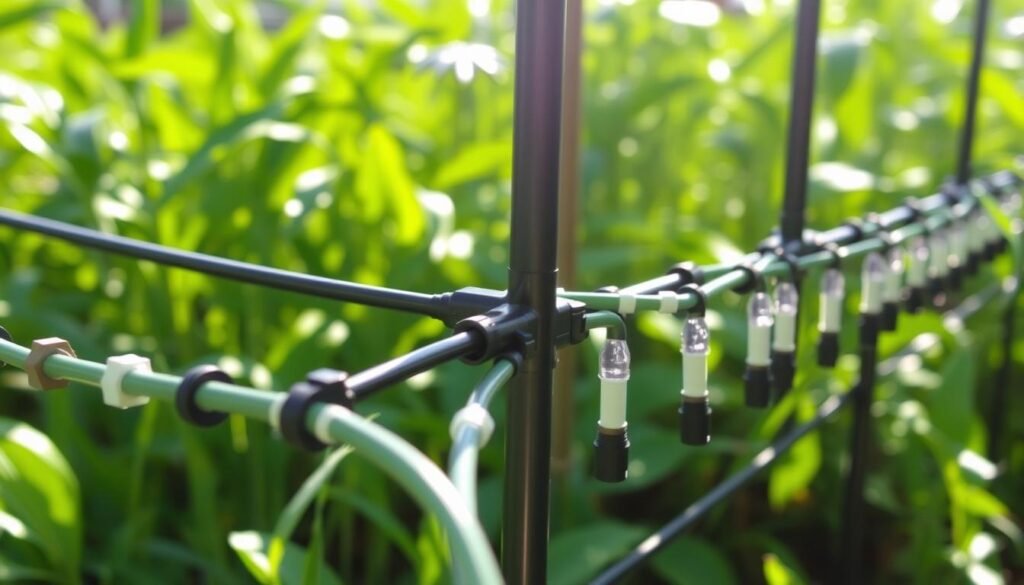
- Quick build: assemble in one afternoon with basic tools.
- Low maintenance: monthly flushes and a filter keep lines clear.
- Scalable: add short branches as your container collection grows.
Where to Buy Smart: Home Depot, Lowe’s, and Online Kits
Want reliable parts without surprises? Finding parts in person saves time and helps you match barbs and threads before you buy. Use a mix of local aisles and online bulk orders to balance speed and savings.
How do I find kits and parts in stock?
Check your local store shelves for 1/2-inch tubing and faucet adapters. Home Depot and Lowe’s often have competitive prices and seasonal stock for spring sales.
Should I buy online or in-store for emitters?
Buy emitters and micro lines in bulk online to save roughly 40% on per-unit cost. Fast shipping and clear seller pages make large purchases easy.
“Look for bundles with clear lists of included items and steady 4+ stars from real feedback.”
| Buy Location | Best for | Notes |
|---|---|---|
| Home Depot / Lowe’s | Mainline, adapters | Immediate pickup; inspect threads; competitive prices |
| Online marketplaces | Emitters, micro tubing | Lower unit cost; watch shipping and returns |
| Branded kits | Quick start | Compare mainline length, regulator, and seller feedback |
- Tip: Prefer kits with clear item lists and consistent stars in reviews.
- Check: shipping speed and a 30-day return window to swap mismatched parts.
Optional Upgrades: Timers and Solar-Powered Alternatives
Want hands-off watering and lower bills? Adding a timer or a small solar pump turns your setup into an automatic watering system that runs before dawn and saves you time and money.
How can a timer help? A small digital controller can trim your bills while keeping pots evenly moist. Set it for 30 minutes, three times weekly as a starting point. Many gardeners notice lower water use and a quick payback on their purchase.
Which automatic option fits my space?
Plug-in timers are simple and reliable. They create a predictable automatic watering routine and pair well with the faucet assembly already on your layout.
When does solar make sense?
Solar kits work well on balconies or rentals without outlets. Expect compact off-grid products in the mid-$30s. Check shipping, returns, and whether a seller lists actual run hours and flow rates.
- Read stars and buyer feedback to vet durability and runtime.
- Buy a kit with adjustable flow and clear parts lists for easy tuning.
- Keep spares like filters and barbs—small items fix most hiccups fast.
| Upgrade | Typical cost | Best use |
|---|---|---|
| Digital timer | $15–$40 | Reliable scheduling, payback via water savings |
| Solar pump kit | $30–$45 | Off-grid setups; balconies and rentals |
| Hybrid (timer + manual override) | $20–$50 | Flexible control for heat waves or extra runs |
| Spare parts pack | $5–$12 | Filters, barbs, caps to reduce downtime |
Dialing It In for 20 Pots and Containers
Group pots by moisture habits and match emitters to those needs. This makes fine-tuning faster and helps each plant get the right soak without waste.
How should I space emitters for mixed plant needs?
Group pots by similar water needs—herbs with herbs, fruiting plants with other thirsty ones. Start near the faucet and work outward so pressure loss is predictable.
- Use ~12 inch spacing for high-demand vegetables and ~18 inches for larger perennials.
- Assign one emitter per small pot; use two for large or thirsty containers.
- Place emitters a couple inches from stems and rotate positions seasonally so roots spread.
How do I loop the mainline and run branches?
Loop the 1/2-inch mainline around each cluster and tee short tubing branches to pots. Loops keep pressure even across the irrigation run and reduce weak tails.
Monitor pot weight after a cycle. Heavy pots signal good saturation. Light ones may need a second emitter or a higher-flow drip head.
| Tip | Why | When to act |
|---|---|---|
| Keep runs <100 feet | Even pressure | Before install |
| ≤50 emitters per run | Prevents starved flow | During layout |
| Trim excess line | Safer, tidier | After testing |
| Check product & seller notes | Spare parts and warranty | Mid-season |
Quick note: If you expand, add tees near clusters so your system garden stays modular. For balcony growers, confirm shipping lengths before ordering spare parts or replacements to avoid extra trips and mismatched product returns. A short mid-season check of emitters and barbs keeps high stars on performance.
Watering Schedules That Work (United States, future seasons)
Want simple, reliable runs that match the seasons and keep pots healthy? Aim for pre-dawn cycles, start with deep sessions, and tune by feel and weather.
Set your schedule to match plant needs and local sunrise so pots drink before heat builds.
Bold takeaway: Run schedules in the early hours—ideally 4–7 AM—to cut evaporation, reduce wind drift, and keep foliage dry as the day warms.
Begin with 30-minute cycles three days per week as a baseline. This deep, infrequent approach encourages roots to grow down, not just at the surface.
In hot stretches, add one extra run. In cool, cloudy weeks, skip a day. Watch midday posture: if pots sag by afternoon, you may need more water or a second emitter.
How do I fine-tune schedule and run length?
- Keep each cycle long enough for deep penetration; short pulses wet only the top inch.
- Stagger multi-run start time by 10–15 minutes to prevent pressure dips at the faucet.
- Use a simple timer if you prefer an automatic watering system; it keeps reliable time while you travel.
- If you bought a starter kit, revisit defaults—factory runs often run too briefly for containers.
- Record settings and check monthly; sunrise shifts by many hours across seasons and small tweaks preserve efficiency.
Follow these rules and your garden irrigation will stay consistent. Small notes let you refine a resilient routine for your system garden.
Maintenance Made Easy: Keep It Clog-Free All Season
A few simple habits keep flow steady and reduce surprises. Monthly checks, occasional vinegar flushes, and a winter drain protect parts and plants.
A quick walk along your lines catches small problems before they grow into big ones. Look for dry emitters, wet spots, and any popped barbs. Re-seat fittings and swap worn product parts right away.
Monthly walk-through: leaks, popped fittings, and flushing
Walk the line monthly: inspect emitters, stakes, and tubing. Flush by removing end caps and run water for 5 minutes to clear debris and restore steady flow.
Vinegar flush to prevent mineral buildup
Every other month, add a cap of white vinegar to the mainline and run for ~15 minutes. This mild treatment reduces mineral scale inside emitters and tubing without harsh chemicals.
Winterizing to avoid cracked tubing
Before the first frost, open end caps, drain lines, and store the faucet item indoors. Frozen water can crack housings and harden tubing.
“Keep spare barbs, tees, and end caps in a small organizer—three pcs can save an afternoon of repairs.”
- Check lines on the ground; lift where foot traffic or mowers could damage them.
- Rinse filter screens mid-season if your irrigation kit included one.
- Note brands and product lines that earned good stars when you buy replacements.
| Task | How Often | Why |
|---|---|---|
| Line walk & fittings check | Monthly | Spot leaks, reseat popped barbs |
| Flush end caps | Monthly | Clear debris, steady water flow |
| Vinegar flush | Every 2 months | Reduce mineral buildup in tubing and emitters |
| Drain & store faucet item | Before frost | Prevent cracked housings and frozen lines |
Keep a small parts kit and a trusted starter irrigation kit on hand for quick fixes. A steady routine protects the irrigation set-up and keeps plant watering reliable from the first pot to the last.
Troubleshooting Common Issues
Quick answer: A brief inspection usually pinpoints uneven flow or leaks. Check run length, fittings, and flush lines first to restore steady pressure and even watering.
A few quick checks usually reveal why the last pots get less water. Start at the faucet and work outward while the line runs. That way you can spot loss points and clogged parts.
Why is flow weak at the end?
Keep each main run under 100 feet and limit emitters to ≤50 per run. Splitting a long run or reducing emitter count restores balance.
- Check for kinks or crushed tubing at tight corners; warm and re-route with wider arcs.
- If one branch lags, split the line nearer the faucet to shorten the tail.
- Flush the main by removing end caps and running water for five minutes to clear grit.
What causes leaky or mismatched joints?
Drips at joints usually mean size mismatch or worn parts. Swap to true-size barbs and couplers rather than “universal” claims.
- Replace suspect parts with brand-matched barbs or tees; consistent tolerances reduce leaks.
- For clogged emitters, swap the emitter instead of over-tightening the barb; forcing parts can crack a plastic item.
- Inspect the faucet assembly if problems persist; a clogged screen or failing regulator can starve the whole plant watering system.
“Keep a small repair pouch with spare barbs, end caps, and a punch—fast fixes reduce downtime.”
| Issue | Quick fix | When to check |
|---|---|---|
| End-of-line weakness | Split run or cut emitters to ≤50 | After setup or expansion |
| Kinked tubing | Warm, re-route, stake with wide arcs | During a walk-through |
| Leaky joints | Swap to true-size barbs; keep spares | After winter or heavy use |
If you ordered parts online, read seller feedback and contact support; improved packing often follows repeated breakage reports. After corrections, run the irrigation and watch the last pots—steady, equal drips confirm you solved the bottleneck.
Conclusion
Conclusion — quick, practical payoff.
Finish with a tidy plan and matched parts so your drip irrigation layout runs predictably. Test runs, loop mainlines under 100 feet, and use a filter/regulator to protect emitters.
Source the mainline at a local store and buy small items in online bulk for savings. Keep a handful of spare barbs, end caps, and short tubing to fix hiccups fast and save time.
Later, add a simple timer or an automatic watering option from clear, well-reviewed irrigation kits. Watch product descriptions, seller feedback, and shipping before you buy.
The result: a compact, modular irrigation system that protects roots, trims bills, and gives you quiet minutes back for gardening.