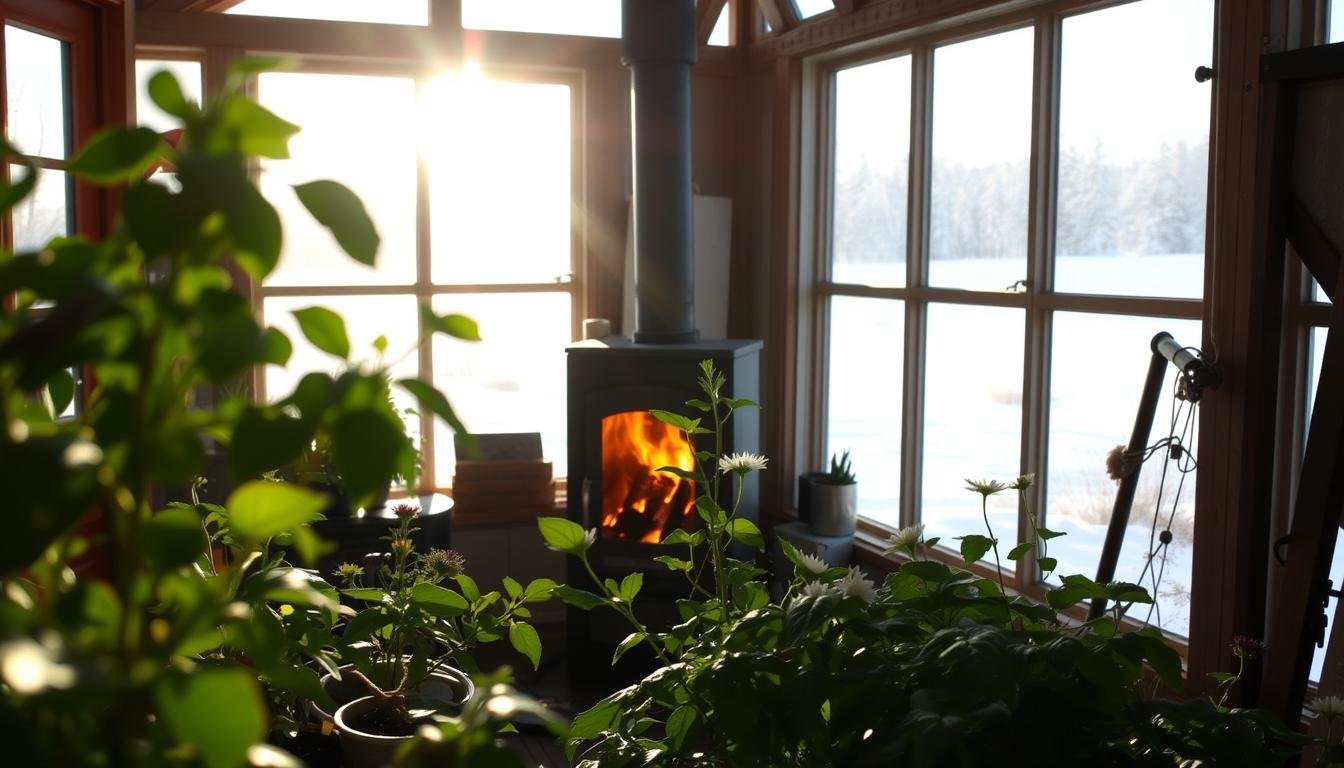
Winter in the garden can feel brutal, but you don’t have to surrender your growing space. This guide shows practical, low-cost approaches to heat a small greenhouse using compost beds, solar-assisted loops, buried pipes, and biomass stoves.
Our goal is modest and clear: keep the interior above about 37°F so tender crops survive, and aim for 45–50°F for steady growth when possible. We favor passive gains first — extra glazing, bubble wrap, and water barrels — so daytime warmth lasts into night.
Throughout the season you will learn how to focus warmth where it helps most: root zones, hotbeds, and bench areas. We also cover when a small solar-battery boost for fans or pumps makes an off-grid plan reliable and safe.
Key Takeaways
- Target temperatures: aim for 37–50°F depending on crop needs.
- Passive first: double glazing and thermal mass cut night losses.
- Root-zone focus: warm the soil rather than the whole air volume.
- Mix methods: compost, ground-to-air exchange, and solar pumps work well together.
- Safety and budget: each method includes materials, steps, and cautions for small gardens.
Why heat a greenhouse off-grid in winter and what success looks like
A practical winter plan focuses on protecting roots and steadying night temperatures rather than chasing summer warmth. Success means keeping tender crops above freeze, minimizing inputs, and stretching harvests through the cold months.
Many growers aim for a minimum of 37°F so tender plants survive, with 45–50°F ideal for steady growth. An unheated structure often sits about 5°F warmer than outdoors, which can still allow frost.
Heating demand hinges on your USDA zone, crop choices, and how well the greenhouse is sealed and insulated. Passive steps—double layers, thermal mass, and row covers—cut energy needs and often reduce active heating to occasional assist.
Humidity and airflow matter. Keep air moving to avoid condensation and fungal problems while conserving warmth with targeted covers and mass near beds.
| Target temperature | Typical outcome | Recommended action |
|---|---|---|
| 37°F (survival) | Protects tender plants from freeze | Seal gaps, use row covers |
| 45–50°F (growth) | Supports slow active growth | Add thermal mass, small supplemental heat |
| Below 32°F | Frost risk and crop loss | Plan supplemental systems and staging |
Priorities ladder: seal and insulate; add thermal mass; orient for sun; then add the smallest, safest heating assist needed. This keeps your greenhouse efficient and resilient through the year.
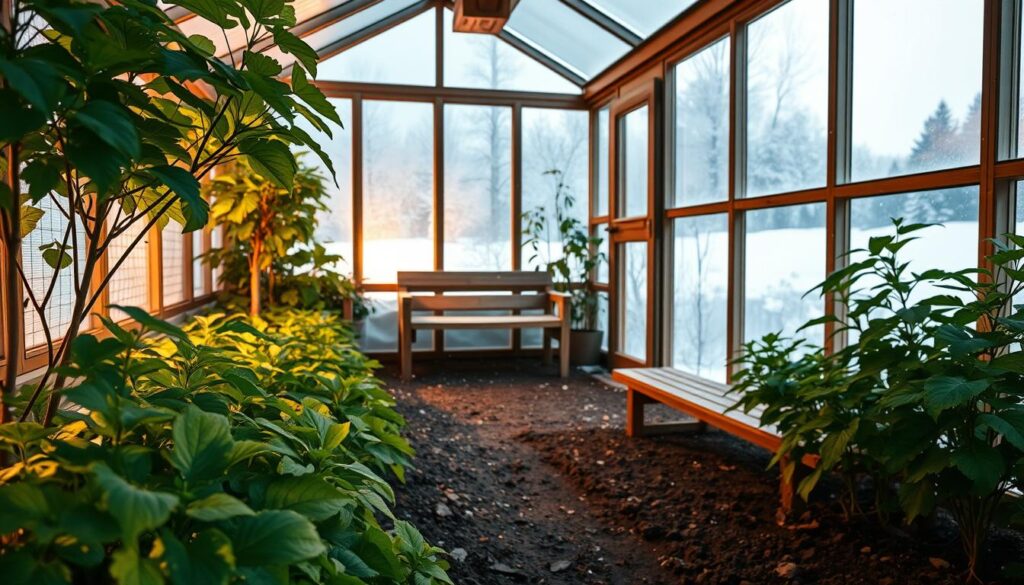
5 ingenious ways we’re heating greenhouse off-grid
Cold nights demand clever staging: warm the soil first, and the rest follows. Each method below focuses on the root zone because the growing medium holds and delivers heat most efficiently.
Hotbeds and compost heat: turning decomposing materials into a steady soil-warming engine
Build a raised hotbed with a 3:1 compost core to growing layer. Top with 20–30 cm of soil or compost. Temperatures at the root zone can reach ~75°F as microbes work.
Cover beds with cloches or row covers to trap warmth on cold nights.
Solar water and hydronic beds: sun-warmed pipes that keep the growing medium cozy at night
Run PEX or black poly pipes through beds and feed them with solar water panels or compost-heated coils. Insulate under pipes and add purge points so heat moves up into the soil, not down toward the ground or a boiler.
Ground-to-air heat exchange
Push warm daytime air through buried pipes with a thermostat-controlled fan. The soil stores that energy and releases it after sunset, smoothing temperature swings.
Biomass and rocket mass stoves
Site stoves on noncombustible pads, vent properly, and couple to a thermal mass bench to store and radiate heat through the night.
Renewable electricity assists
A small PV array plus battery can run fans, pumps, thermostats, or efficient heaters to focus heat where plants need it most.
Practical summary: Layer compost, hydronic pipes, and stored soil warmth so nights stay steady even after cloudy days.
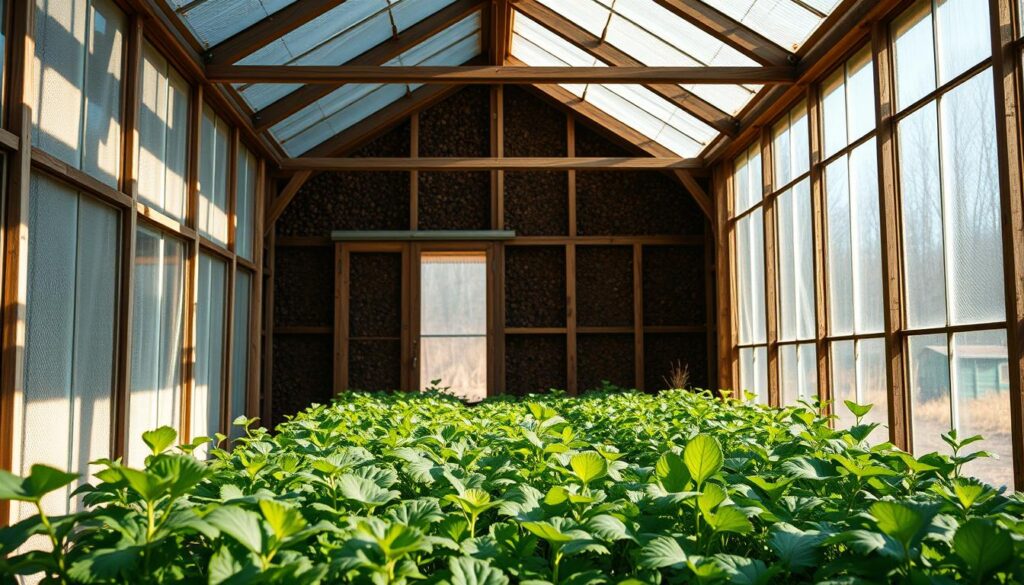
Insulation and thermal mass that help keep a greenhouse warm without extra electricity
Stop heat from escaping first. Simple insulation and added thermal mass stabilize temps so you need less active heat. These low-cost materials help keep night lows higher and daily swings smaller.
Line glazing with a second interior layer to trap warm air. A sheet of bubble wrap makes an insulating air gap and cuts radiant loss. Use tape to seal seams and keep vents operable so daytime moisture can escape.
Use stored heat from water and masonry. Place black water barrels along the north wall to soak up sun by day and radiate heat at night. Brick paths, stone bed edges, or stacked pavers add useful thermal mass without much cost.
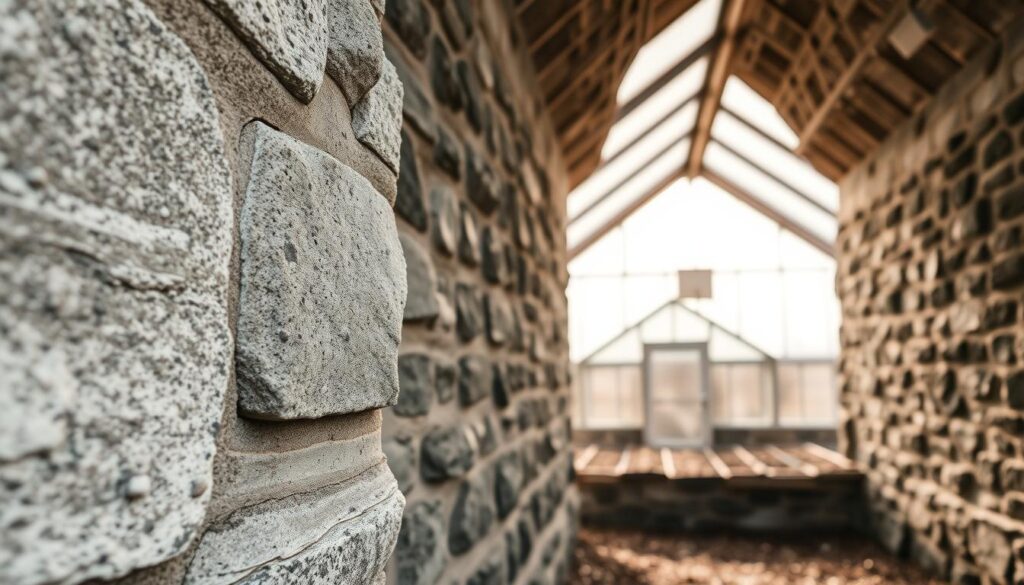
When cash is tight, stack leaf bags against exterior walls as a temporary wind buffer. Keep extra soil or compost sacks inside to act as mass in shoulder seasons.
Protect plants overnight with covers
Plastic cloches, fleece row covers, and mini-tunnels create warm microclimates for tender crops on cold nights. They focus the heat that mass stores and reduce frost risk.
“Insulation and mass work together: insulation keeps the sun’s gain inside, and mass stores it for night release.”
| Item | Function | Practical tip |
|---|---|---|
| Bubble wrap liner | Insulation — reduces convective and radiant loss | Apply to interior glazing; seal seams with tape; keep vents usable |
| Black water barrels | Thermal mass — stores solar heat | Place on north wall; avoid shading beds; paint matte black |
| Brick/stone paths | Mass — evens night temperatures | Use reclaimed pavers along bed edges to store daytime sun |
| Leaf bags/compost sacks | Temporary insulation/mass | Stack against exterior walls or inside to add buffer |
- Target losses: seal doors and base gaps with weatherstripping to cut drafts.
- Balance venting: open briefly on sunny days to release humidity without dumping all stored heat.
- Measure results: a min-max thermometer shows how nights improve after these upgrades.
Choosing the right heating system for your space, materials, and safety
Choose a system that matches your structure, crops, and how often you can tend to it. This keeps setups simple, safe, and cost-effective.
Start by deciding what you must protect: roots, benches, or the whole volume. Root-zone solutions can be smaller and more efficient. Larger spaces need more robust air or radiant options.
When to opt for hydronic pipes, unit or radiant heaters, or DIY setups
Hydronic pipes work best when you want even bed warmth and can pair them with solar water or a small boiler. They deliver steady heat to the soil with low air disturbance.
Radiant heaters are quiet and excellent for targeted benches or propagation trays. Use a thermostat and keep the unit close to the plants it serves.
Unit heaters suit bigger volumes but need careful ventilation and oxygen management. Only add one after upgrading insulation and thermal mass.
Ventilation, moisture control, and safe operation
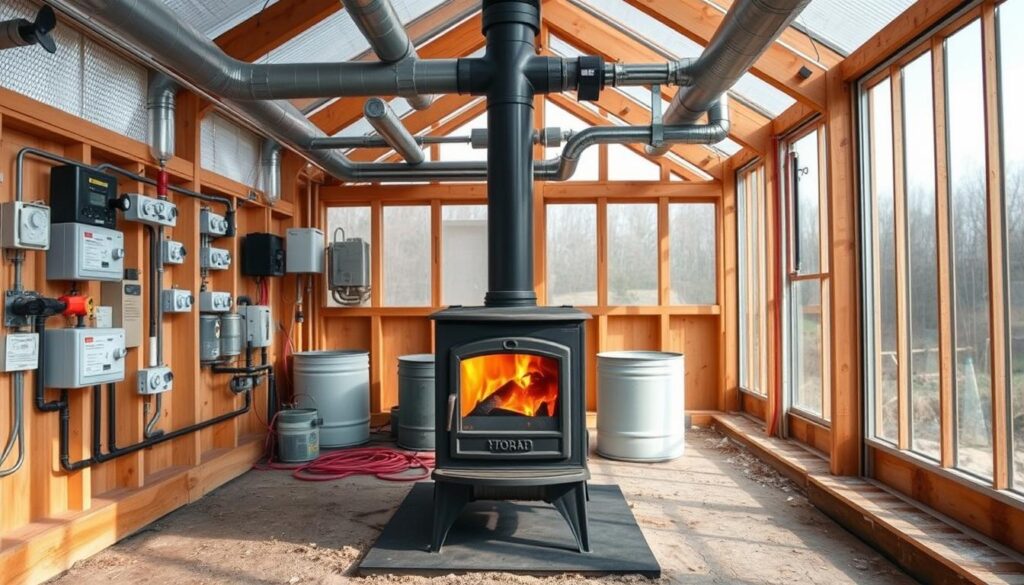
Air movement avoids cold pockets and reduces condensation that causes mold. Run fans on a low cycle or use thermostatic control so warm air mixes gently.
If you use wood or biomass stoves, place them on noncombustible pads, maintain clearances, and install a CO monitor. Keep a thermometer and a fire extinguisher nearby.
| System | Best use | Key safety/maintenance |
|---|---|---|
| Hydronic pipes | Even root-zone warmth; pairs with solar or compost coils | Insulate lines, bleed air, winterize and check for leaks |
| Radiant heater | Zoned warmth for benches and propagation | Thermostat control, clearances, routine cleaning |
| Unit heater | Large-volume air heating after insulation upgrades | Ventilation for combustion, CO monitor, regular service |
| Wood/biomass stove | High heat and thermal-mass charging | Proper venting, flue inspection, safe pad and clearances |
- Match the system to your coldest week, not average nights, and favor root heat when possible.
- Use PV-charged batteries to run pumps, fans, or a small heater for short, cold stretches.
- Automate with a thermostat and min-max sensors to protect against overnight drops and reduce hands-on time.
Plan by climate zone and crops to reduce how much heat you need
Grow what suits your climate and set the space to drink in winter sun. With hardy varietals, smart placement, and layered protection, you’ll need far less active heat.
Match crops to your zone and place them where the sun and stored heat meet.
Choose hardy varietals and site the structure for winter sun
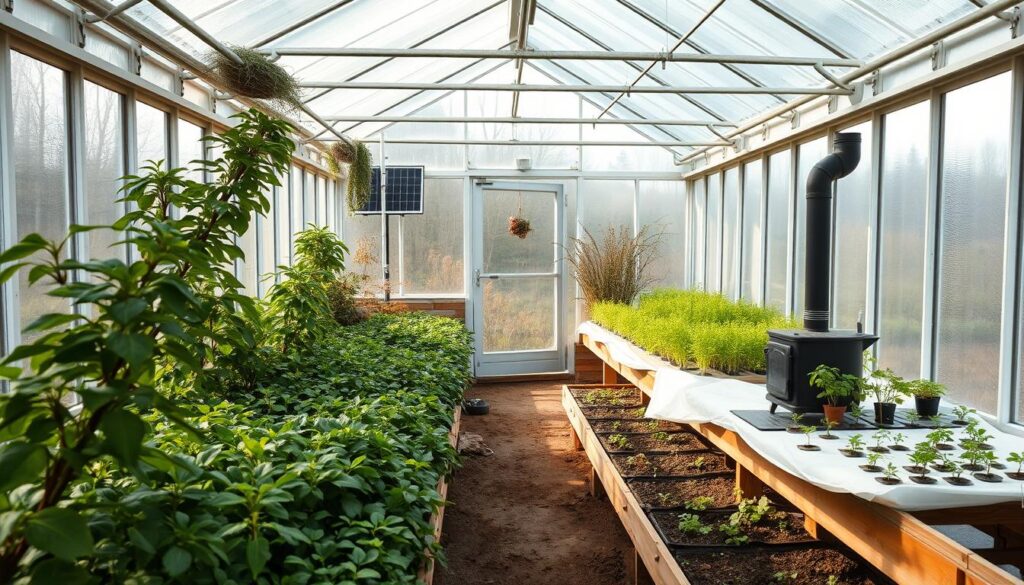
Site your greenhouse to face south so low winter sun hits thermal mass each day.
Avoid shade from trees or buildings that steal light on short days.
Place crops by microclimate and use layered protection
Stagger tender and tough plants: put transplants by warm benches or hydronic beds.
Use interior row covers, cloches, and mulches each night to lift minimum temperature at the canopy.
- Use sowing calendars by USDA zone so seedlings establish before deep cold.
- Track nighttime lows to learn which beds run warmest and reserve them for sensitive starts.
- Combine wind protection outside with interior insulation to cut convective loss.
| Site choice | Best crops | Protection |
|---|---|---|
| South-facing, unshaded | Kale, spinach, mâche | Black barrels, row covers |
| Near thermal mass / warm bench | Tender transplants, tomatoes (early starts) | Cloche, raised beds |
| Cooler edges | Leeks, hardy lettuces | Mulch, fleece |
| Wind-sheltered zone | All winter salad greens | Hedges/fence + double skin |
Practical note: Reassess crop mix monthly and shift to hardier beds during cold snaps. For more detail on how to heat greenhouse winter with low-input methods, see how to heat a greenhouse.
Practical setup: inside greenhouse layouts, pipes, and air flow that actually move heat
Layout drives performance. The right bed heights, pipe spacing, and airflow patterns inside greenhouse walls move warmth where your roots need it most—quietly and efficiently. Plan beds, fans, and pipe runs so the system directs the day’s gains into the growing medium and keeps soil temperatures even at night.
Bed design, pipe runs, and fan placement to distribute warm air and protect roots
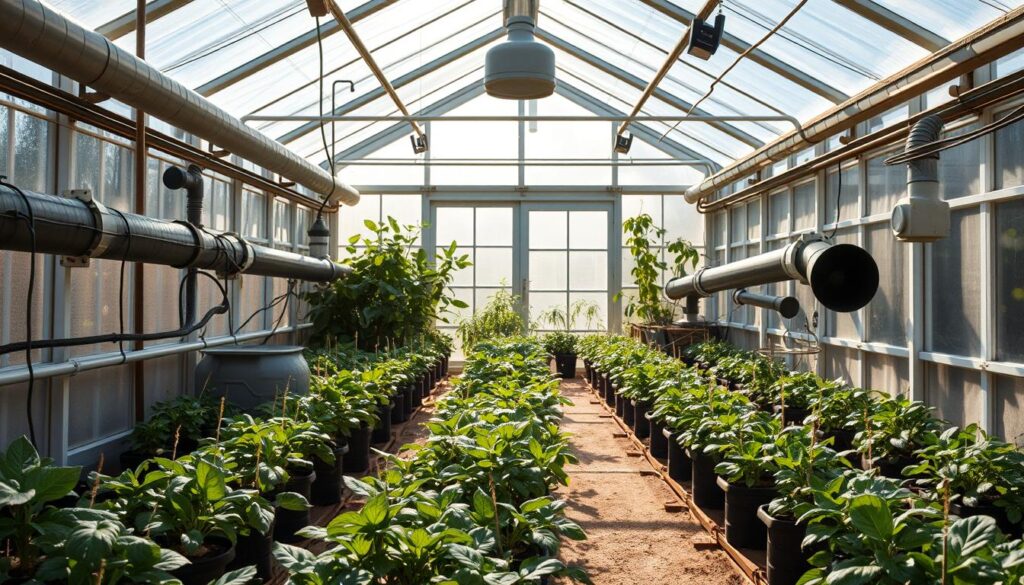
Design beds deep enough for pipe runs and thermal mass. Space hydronic pipes evenly so soil warms uniformly and roots avoid hot or cold bands.
Insulate beneath loops to push heat up into the soil, not down into the subsoil. Use short, direct pipe runs with accessible manifolds and purge valves to simplify maintenance and remove trapped air.
Air movement matters. Stage a main circulation fan high to destratify warm air and add small bench-level fans to sweep moisture from foliage and glazing. Thermostats should control fan start and cutoff points so the air system responds only when needed.
Smart use of reflective materials and insulated north walls to direct solar energy
Insulate the north exposure to reduce overnight losses and add light-colored or metal panels to bounce sun back onto beds. Reflective surfaces help keep energy in useable places without shading growth.
- Group tender crops near manifolds or mass benches where heat is strongest.
- Slope buried pipes for drainage and screen intakes on ground-to-air systems.
- Keep aisles clear so air paths stay open and cold corners disappear.
“Run a weekly check: feel for cold spots at soil level, verify fan operation, and confirm return temperatures from hydronic loops to tune flow rates.”
Cost-savvy upgrades that pay off through the winter
Begin with low-cost fixes that lock in daytime warmth, then add systems only as needed. These steps cut losses fast and scale up to a full boiler or rocket mass stove when your site demands it.
Use reused bubble wrap to line glazing and seal gaps; the bubble layer adds simple insulation without big expense. Stack bagged fall leaves against exterior walls as a wind buffer. Upcycle clear plastic into inner row covers and cloches to protect prized beds during hard freezes.
From candle kits to boilers: choose the right way heat grows
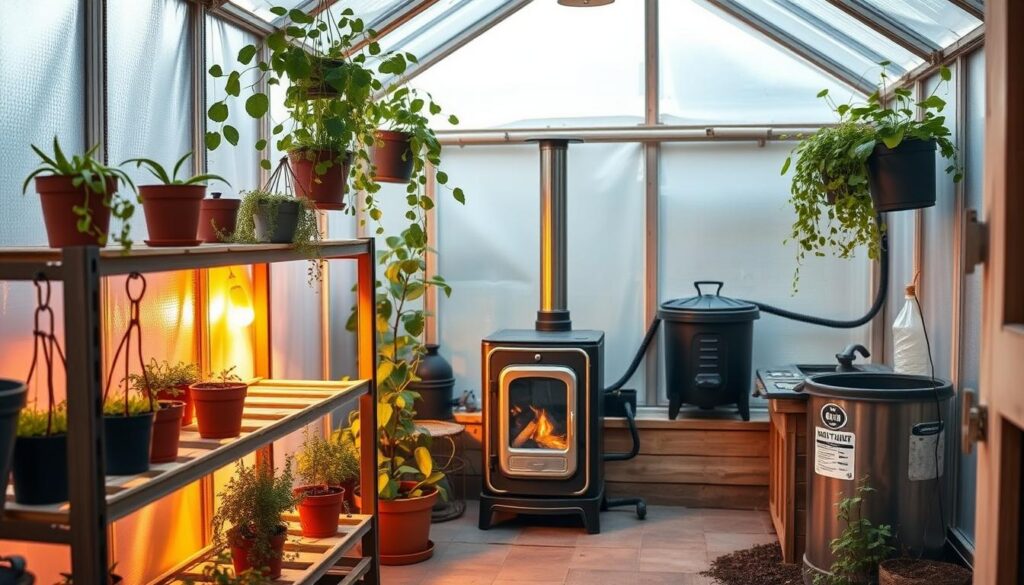
For tiny spaces, a candle-and-terracotta mini heater can save seedlings when watched closely. Use stable, nonflammable bases and never leave a heater unattended.
Add a compact PV and battery to run a circulation fan or small pump so modest electricity keeps systems reliable. Build a solar water preheater to feed hydronic beds; lukewarm supply reduces boiler run time and saves fuel.
| Level | Typical upgrade | Benefit |
|---|---|---|
| Low cost | Bubble wrap, leaf bags, plastic cloches | Cut night loss quickly |
| Mid | PV + pump, solar water preheater | Stable temps, less fuel |
| High | Biomass boiler / rocket mass stove | Sustained overnight heat |
“Invest first in durable insulation, mass, and quality piping — they pay back every year.”
- Track ROI: log night lows and fuel or electricity use to see which upgrades save the most.
- Keep a winter toolkit: spare fittings, pump fuses, extra plastic, and thermometers for fast fixes.
Conclusion
Heat smarter, not harder: combine insulation, thermal mass, and small, targeted systems to protect plants through cold nights. Start with sealing, add mass like water barrels, and then choose a minimal, safe heating system only as needed.
Focus warmth at root level with hotbeds, compost cores, or hydronic pipes so soil holds daytime gains. Line glazing with bubble wrap and use inner covers to lift night lows and cut demand on any heater.
Keep air moving to stop condensation and spread stored heat inside greenhouse beds. Track soil and air temps, pick one upgrade, and tune it with a thermostat so your system works when plants need it most.
Walk your space tonight, list quick insulation wins, and set a min-max thermometer—small changes now mean steadier growth all winter.