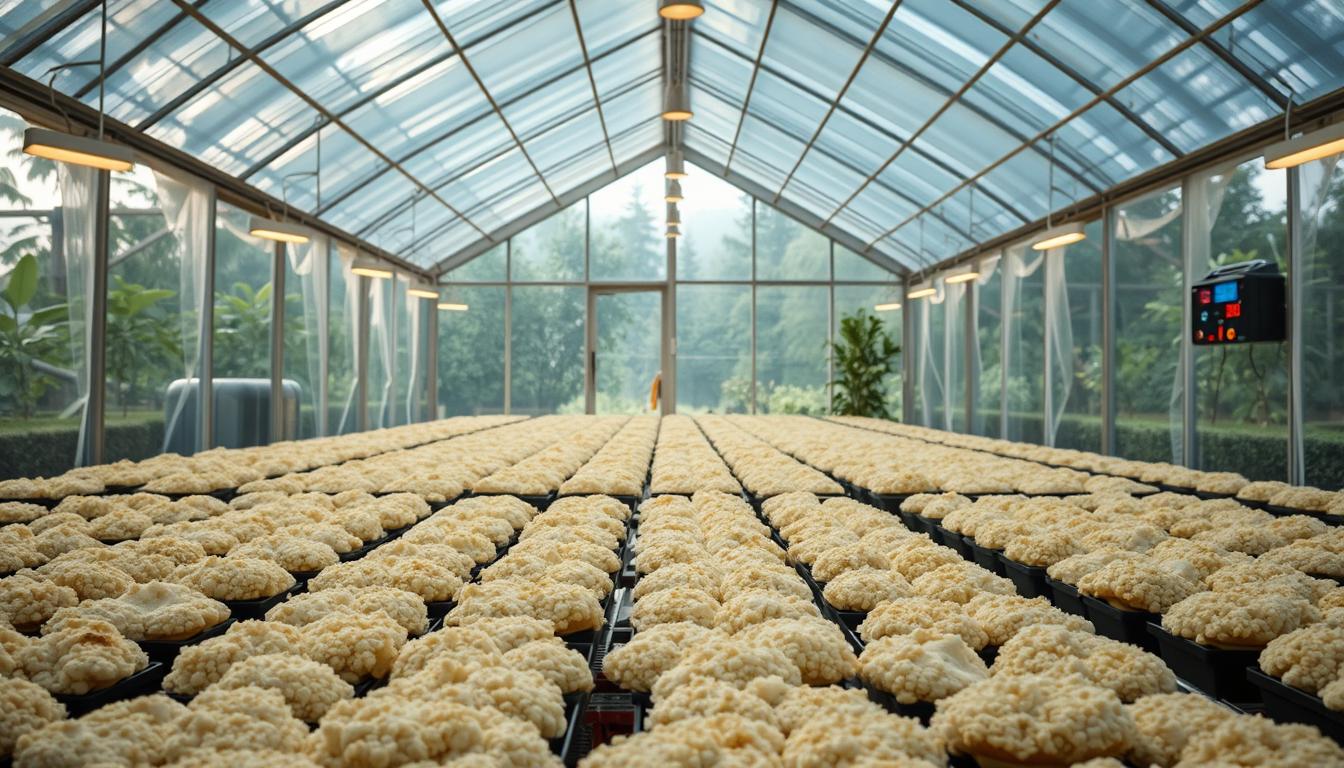
Ready to challenge the idea that fungi need mystery to thrive? Imagine a shaded corner where steady mist, gentle airflow, and the right temperature turn simple substrate into a steady harvest.
This guide explains clear steps you can use at home, from choosing spawn and substrate to balancing moisture and air so fruiting happens on schedule.
Many species prefer 80–95% relative humidity and 55–75°F (13–24°C). Small fans, ultrasonic humidifiers, trays or filter patch bags, and a good hygrometer help you hold those levels without breeding problems.
Learn practical ways to set expectations, pick the right substrate for oysters or shiitake, and keep a tidy, shaded tent or corner that makes control simple. For a full step‑by‑step primer, see this greenhouse guide.
Key Takeaways
- Target steady moisture and moderate temperature for reliable fruiting.
- Match spawn to substrate: straw for oysters, hardwood for shiitake.
- Use humidifiers, hygrometers, and small fans to balance air and moisture.
- Create a dedicated shaded corner or tent for cleanliness and control.
- Start with beginner species and kits to shorten the learning curve.
Why a controlled humidity greenhouse is ideal for mushroom cultivation
A steady, shaded space keeps delicate pins from drying and saves you from constant misting. It also makes balancing moisture and fresh air simple, so fruiting runs more predictably.
Creating a stable environment matters because most mushrooms prefer about 80–95% RH and 55–75°F. A covered room makes holding those humidity levels and temperature ranges far easier than open setups.
Gentle vents and small fans give measured airflow that prevents CO2 buildup and encourages sturdy stems. Keeping air moving while retaining moisture is one of the key benefits of a sheltered space.
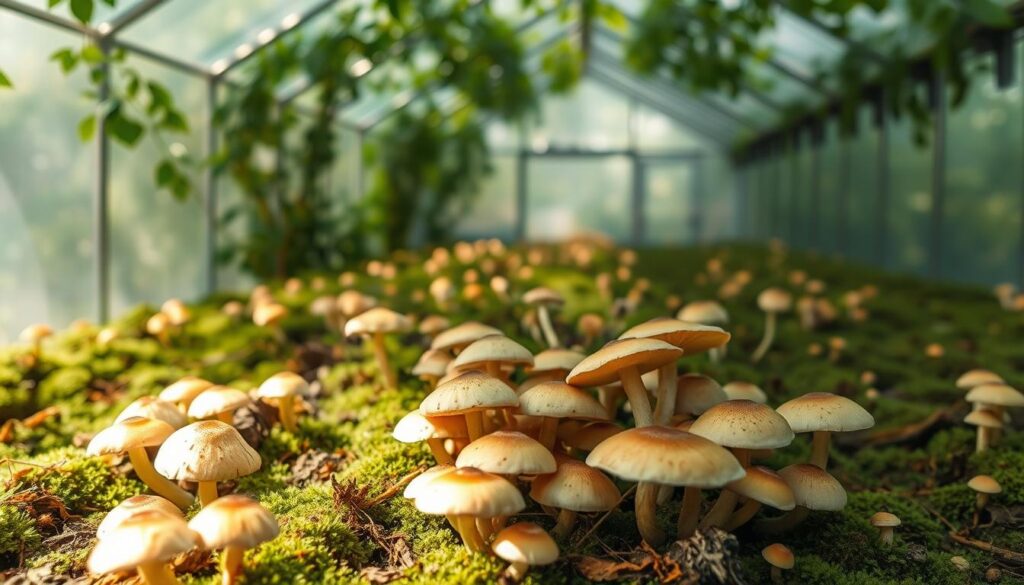
Shade cloth, darker corners, or interior curtains cut stray light and radiant heat. Micro‑tents or partitioned corners help isolate spores and odors and keep maintenance tidy.
- Sensors and small systems like ultrasonic units and automated vents let growers fine‑tune conditions throughout the day.
- Protection from weather swings preserves steady levels during hot afternoons, cool nights, or dry winds.
Start small to learn how light, air, and moisture interact before scaling up.
Choosing your mushroom species and substrate for success
Pick one friendly species to start, then match it to the right substrate. This reduces mistakes and helps you learn moisture, air, and temperature cues faster.
Beginner-friendly options
- Oyster: Fast and resilient; performs well on straw or fine wood particles and fruits in weeks.
- Shiitake: Best on hardwood logs or sawdust; ideal for longer-term log projects.
- Lion’s mane: Loves supplemented hardwood mixes and makes impressive pom‑pom fruit bodies.
- Portobello: Thrives in composted manure for classic caps and kitchen-ready harvests.
Matching spawn and substrate
Use wood-based spawn with wood substrates and straw-based spawn for pasteurized straw. Proper pairing speeds colonization and cuts contamination risk.
Containers and pace
Filter patch bags keep projects clean and compact. Trays (about two feet long and 10–12 inches deep) suit bed-style grows and easy harvesting. Note that oysters colonize quickly; shiitake on logs may take months for the first flush.
Choose one variety at a time, buy reputable spawn, and accept strain differences—then expand as confidence grows.
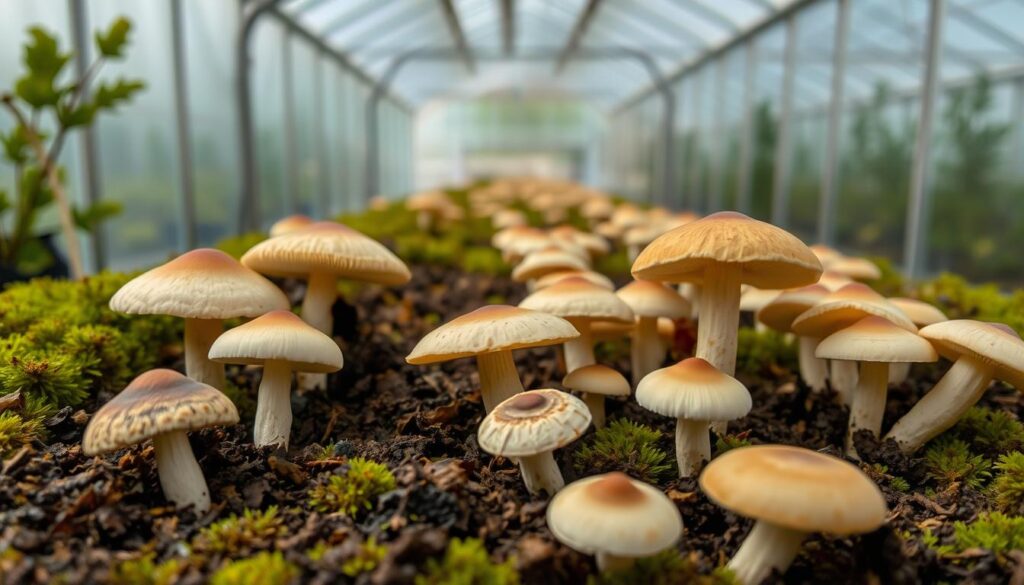
For a detailed step-by-step primer, see this mushroom greenhouse guide.
How grow mushrooms inside controlled humidity greenhouse
Create a dim, stable corner so delicate caps form without stress from direct light. This section shows simple steps to section, shade, and lay out an efficient growing area.
Shading and light control: creating low-light, fungi-friendly zones
Use shade cloth, curtains, or under‑bench spaces to block direct sun and reduce heat. This keeps fruit bodies from drying and lowers surface stress.
Sectioning and sealing: converting part of a greenhouse into a mushroom room
Partition a corner with a mini tent or clear plastic enclosure to trap moisture and block drafts. Seal seams and add a small vent to avoid stagnant air.
Filter patch bags work well inside the enclosure to maintain sterility while allowing gas exchange.
Containers and layout: trays, filter patch bags, vertical racks, and space-saving tiers
Use 4‑tier shelves or vertical racks to save floor space and make watering simple. Keep containers off the floor on racks above catch pans for drainage and easy cleaning.
- Place small fans to move air gently across shelves without drying surfaces.
- Pair an ultrasonic humidifier with passive vents or timed fans to stabilize moisture levels and air circulation.
- Label each shelf with species and inoculation date to track progress and harvest windows.
Dialing in the environment: humidity, temperature, fresh air, and light
Precise control of wetness, temperature, and exchange of air gives you predictable fruiting and fewer contaminants. Small adjustments to misting, vents, or warmth often change results dramatically.
What humidity targets and tools should you use?
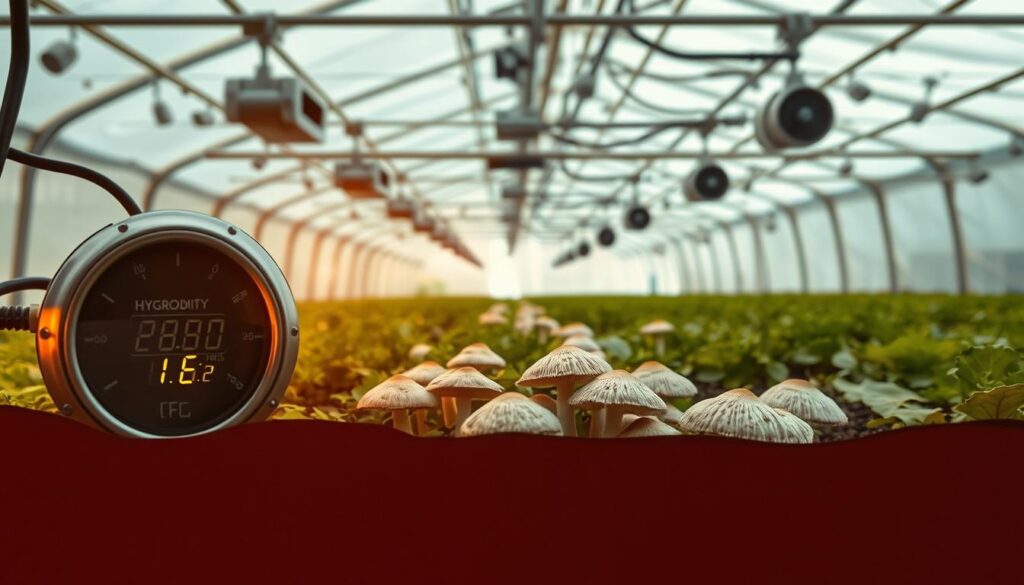
Aim for 80–95% RH at substrate height. Use ultrasonic units, pond misters, or a perlite reservoir to keep levels steady. Place a reliable sensor at the substrate surface for accurate readings.
Too low will stall growth and crack caps; too high raises mold risk. Consider an automated humidifier with a hygrometer or a timed mister cycle to avoid swings.
How to keep temperature in the sweet spot
Target 55–75°F for most species. Use thermal mats or small heaters in cool months and vents or shade during warm spells.
Adjust slightly by species: some prefer cooler ends, others like the warm side. Track performance over a couple of flushes and tweak accordingly.
Balancing fresh air exchange and gentle airflow
Introduce periodic fresh air to prevent CO2 buildup that makes stems long and caps small. Use small fans or timed vents to swap air without overdrying surfaces.
Set short fan intervals and monitor humidity sensors; increase cycles on warmer days to maintain oxygen while holding moisture.
Light and water management tips
Mild, cool light acts as a fruiting cue—use low‑intensity LEDs or indirect daylight and avoid heat‑emitting fixtures that dry blocks.
Mist finely during pinning, but avoid standing droplets on caps to reduce blotch or bacterial problems. Gentle, frequent misting wins over heavy sprays.
Practical takeaway: tune humidifier cycles, vents, and fans together; measure at substrate height; and adjust temperature and light to match the species you selected.
Step-by-step: from sterilizing substrate to incubation and fruiting
Start with careful prep and a simple routine to protect spawn and speed colonization. Clean technique and steady conditions let mycelium take over the block with fewer surprises.

Prep and sterilization
Hydrate and test moisture so the substrate feels like a wrung sponge. Use a pressure cooker or atmospheric steamer to sterilize or pasteurize straw, sawdust, or supplemented mixes.
Inoculation and incubation
Work on a wiped surface with clean hands or gloves. Mix spawn evenly into cooled substrate at typical rates (10–30% by weight depending on bags or trays). Seal filter patch bags or jars and place in a dark, steady room at about 68–75°F until fully colonized.
Fruiting triggers and sanitation
To trigger fruiting, increase water levels at the surface, nudge temperature slightly, and introduce short bursts of fresh air. Wipe tools and benches with an approved cleaner and isolate any suspect jars or bags immediately.
Harvest timing and technique
Harvest when pins mature to target cap shape—often within a day or two of ideal maturity. Twist gently or cut at the base for clean removal. Keep a log of room conditions each day to refine timing for future cycles.
| Step | Action | Typical Timeframe |
|---|---|---|
| Prep | Hydrate substrate; load into cookers or steamers | 1–2 hours |
| Sterilize/Pasteurize | Pressure cook at 15 PSI or steam per protocol | 1–3 hours |
| Inoculate | Mix spawn into substrate; bag or jar | 30–60 minutes |
| Incubate | Dark, stable room at target temperature until white | 7–45 days (species dependent) |
| Fruiting | Raise surface moisture, adjust temp, add fresh air | Days to weeks |
Greenhouse layouts and systems that simplify mushroom growing
Design your layout to save steps and protect each batch. Simple racks and small tents let you split the space into clear zones for incubation, fruiting, and cleanup.
A compact vertical rack turns a small area into a high‑yield staging ground for blocks and trays. Use 4‑tier shelves to stack trays and keep work at eye level.
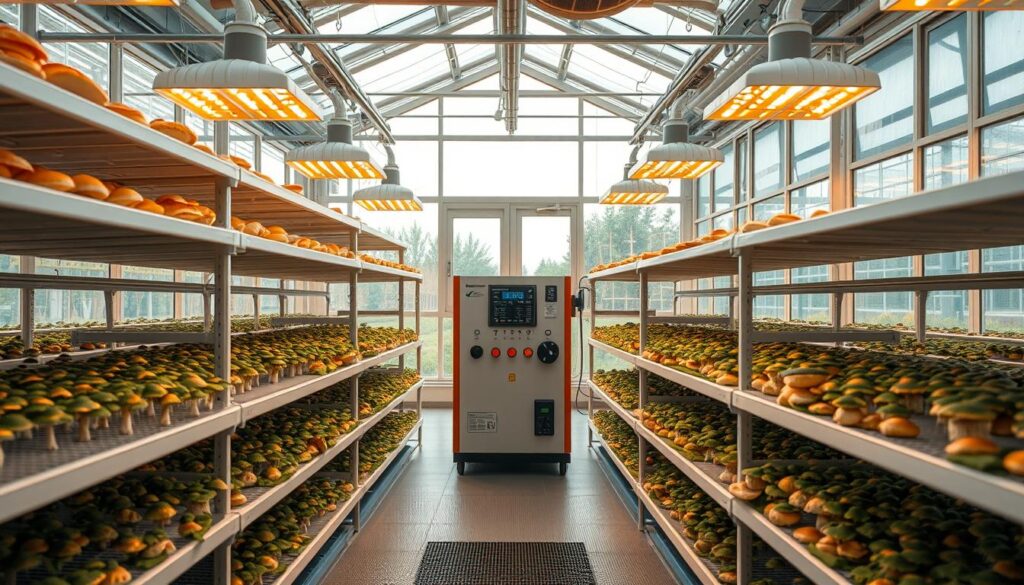
Rack setups and integrated systems
Choose sturdy metal or plastic shelving and keep shelves off the floor with catch pans below. Route humidifier output with flexible tubing and place small fans to move mist across tiers for even moisture and airflow.
Microclimates with small tents
Use compact grow tents to form tight microclimates for sensitive species or different stages. Tents simplify sanitation, reduce drafts, and let you control levels without changing the whole area.
“Group blocks by stage and label each shelf—this one trick shortens checks and cuts contamination risk.”
- Modular racks make rotation and deep cleaning fast.
- Group by stage: incubation shelves separate from fruiting rows to limit cross‑drafts.
- Plan cords and hoses along wall channels to keep aisles clear and safe.
- Logs and heavy projects need low, sturdy supports and drip trays for waste management.
Practical takeaway: pair compact systems with a single humidifier and a few fans for balanced air circulation, then refine shelf placement as you track performance.
Monitoring, maintenance, and disease prevention
Reliable sensors and tidy routines keep your room healthy and your projects productive. Good monitoring spots and daily checks catch small shifts in temperature and moisture before they become full problems.
Where to place hygrometers and sensors for best readings
Position hygrometers and humidity sensors at substrate height so readings reflect the microclimate your blocks and spawn actually experience. Place one at the center of a shelf and another near the far corner to spot gradients.
Calibrate sensors periodically and check them after moving racks or adding trays. A well‑placed humidifier and reliable sensors save time and prevent overcorrection.

Sanitation and isolation: clean-in/clean-out best practices
Build daily maintenance into your routine: wipe benches, empty drip pans, and inspect hoses and nozzles so water delivery stays consistent. Keep fresh bags, spare gloves, and tools sealed until use.
Quarantine suspect bags or jars immediately. Dispose of heavily contaminated material outside the room and sanitize surrounding surfaces to cut cross‑contamination risks.
Pest and mold management: airflow and biological controls
Keep air circulation gentle and steady to avoid damp dead zones where molds thrive, but avoid strong drafts that parch caps. Short fan cycles can trade fresh air without dropping moisture too far.
For pests like fungus gnats, favor biological controls—beneficial nematodes or predatory mites—rather than sprays that linger in an enclosed space. Track temperature and humidity levels over time; trends often signal issues before visible signs appear.
- Daily checks: quick surface wipe, sensor read, and drip pan empty.
- Sanitize: pasteurize substrates and keep a clean‑in/clean‑out policy.
- Isolate fast: remove contaminated bags and clean the area thoroughly.
Need a simple way to keep tools and pots organized? Try an indoor pot guide for neat storage and easy access at best indoor herb garden pots.
Troubleshooting common problems and safety considerations
Small shifts in moisture or airflow can turn a healthy patch into a problem in just a few days. Quick, calm diagnosis and timely action protect yields and keep your room safe for everyone.
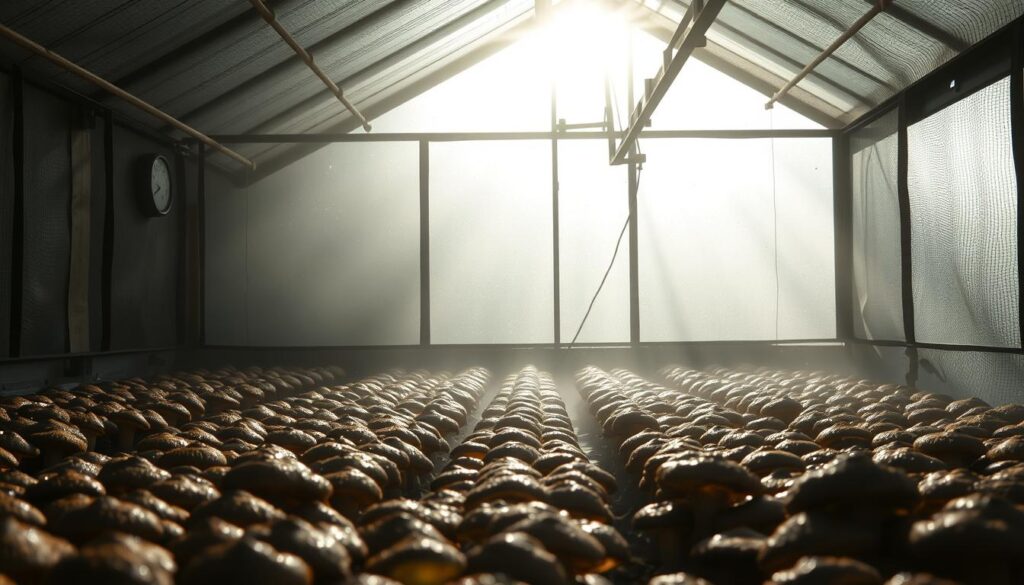
Signs and fixes for moisture, pinning, and mold
Diagnose low moisture by dry caps or stalled pinning. Increase ultrasonic output, add a short mister cycle, or expand the perlite surface area to raise local humidity levels.
Cracked caps or long stems usually mean poor fresh air and unstable temperature. Improve gentle airflow and steady the room temperature to firm caps and shorten stems.
Mold indicates too‑wet surfaces or stagnant air. Isolate affected bags, lower surface wetness, boost gentle air movement, and sanitize tools and benches.
Safety, species choice, and harvest timing
Stick with known cultivated species and buy spawn from reputable suppliers to avoid toxic lookalikes. Respect local rules about possession and sale.
Wear a mask during heavy flushes if you have spore sensitivities and vent the area at harvest time. Pick on schedule to avoid overripe caps that drop spores and stress nearby blocks.
“Catch small shifts early—simple fixes often stop bigger losses.”
| Problem | Likely Cause | Immediate Action |
|---|---|---|
| Stalled pinning | Low moisture or high CO2 | Raise misting; add fresh air bursts |
| Cracked caps | Rapid moisture swings | Stabilize humidifier cycles; steady temp |
| Mold outbreak | Too wet surfaces, poor airflow | Isolate, remove contaminated blocks, sanitize |
Conclusion
Clear routines, accurate sensors, and tidy shelves make mushroom cultivation repeatable and approachable. Start with one variety and a simple substrate, use clean bags or trays, a small humidifier, and soft airflow to learn the rhythm.
Focus on a few key materials: quality spawn, a clean substrate, reliable sensors, and sturdy plastic racks keep sanitation simple and fast.
Use basic systems that scale—timers on fans and humidifier, short daily checks, and careful water management to keep surfaces moist without pooling. Note colonization times and harvest windows to plan your next cycle.
Begin small at home, refine airflow and circulation in your chosen area, then expand with confidence. Experiment safely—try straw or logs as you gain skill—and always keep cleanliness at the top of your list for steady results and tasty harvests.