Could a tiny patch of pots and marbles become the best thing in a child’s day? This question drove us to build a simple, joyful outdoor world that invites daily discovery.
We started with one container, a few plants, and easy DIY houses. Using upcycled bins and a flipped flowerpot toadstool, the project stayed affordable and kid-led.
Small touches—blue marbles for a stream, painted milk cartons for cottages, and rocks for paths—made the space feel alive and ready for play.
Guided choices keep the setup durable: acrylic paint for outdoor pieces, E-6000 for plastic bond, and white glue for wood crafts when kids handle the brush.
The goal wasn’t perfection. It was a living mini-world where a child can touch, water, rearrange, and invite friends for a sunny afternoon.
Key Takeaways
- Start small: one container and a single house spark ownership and play.
- Use upcycled items for quick, budget-friendly builds that scale for groups.
- Pick a loose theme or mix favorites—mermaids, dinos, farms, or classic fairies all work.
- Choose weatherproof materials and reserve delicate pieces for indoor displays.
- Simple details—marbles, sticks, and painted pots—encourage daily imagination and care.
Why a child’s fairy garden is the perfect present-day project for imaginative outdoor play
A compact plant scene invites children to move pieces, test ideas, and notice small changes every day.
This miniature world builds skills and curiosity while keeping projects low-stakes and repeatable. It nudges kids outdoors, where hands-on tasks teach cause and effect and spark stories.
A child fairy garden helps develop fine motor control and creativity. Filling tiny pots, arranging pebbles, and planting small blooms all demand careful hands. Those simple chores—watering, deadheading, tidying—also teach responsibility in a playful way.
Multi-day builds encourage planning. Families often browse picture books and plant tags for ideas, even pulling inspiration from classic illustrations like Cecily Mary Barker’s Flower Fairies. Research becomes part of the fun.
“Kids check in daily, water a sprig, and invent who visited at night.”
- Hands-on learning: moving pebbles and tiny houses strengthens skills and imagination.
- Flexible themes: siblings can craft different scenes side-by-side and still share the space.
- Low stakes: a small plot invites constant change and confidence-building experiments.
In short, making fairy worlds turns screen time into outside exploration and simple science that feels like pure fun.
Plan the magic: supplies, safety, and kid-led creativity
Start simple and let curiosity lead. Start with a short kit so kids can experiment and stay involved. Clear supplies help the build move from idea to finished scene in one session.
Gather basics
Begin with one planter that drains, potting soil, and a few small plants or moss. Add tactile pieces like rocks, pebbles, and sticks so kids can arrange paths and hideaways.
Include a scoop and sorting tray. Blue marbles or a thin base of dough will help you make fairy streams that stay put during play.
Glues and tools
Choose adhesives by material and age. Use white glue for popsicle stick furniture and wood crafts; it is kid-friendly and easy to wash. Reserve hot glue for adult-only quick fixes.
For plastic houses and bottles, E-600 bonds outdoors well—have an adult apply and let it cure. Supervise cutting tools, keep hot glue away from little hands, and pick rounded stones and soft plants for younger kids.
- Core supplies: one planter, soil, small plants, scoop.
- Textures: rocks, pebbles, sticks, marbles, dough base.
- Safety: white glue for kids, adult for hot glue and E-600 on plastic.
Choose containers and themes that kids love (and that hold up outside)
Pick a sturdy base and a playful theme so little hands can reach, rearrange, and return.
Match container size and drainage to the climate and who will play most often.
A good container sets the project up for success. Old wagons and raised water tables give kid-height access and move easily. For bigger group builds, a Rubbermaid bin with drilled drainage holes and a rock layer keeps soil healthy during messy play.
Tupperware works for table-top scenes and indoor/outdoor mixes. Terra cotta planters offer a classic look and double as paintable pot houses. Avoid sharp cacti; choose slow-growing, soft plants so children can touch and rearrange safely.
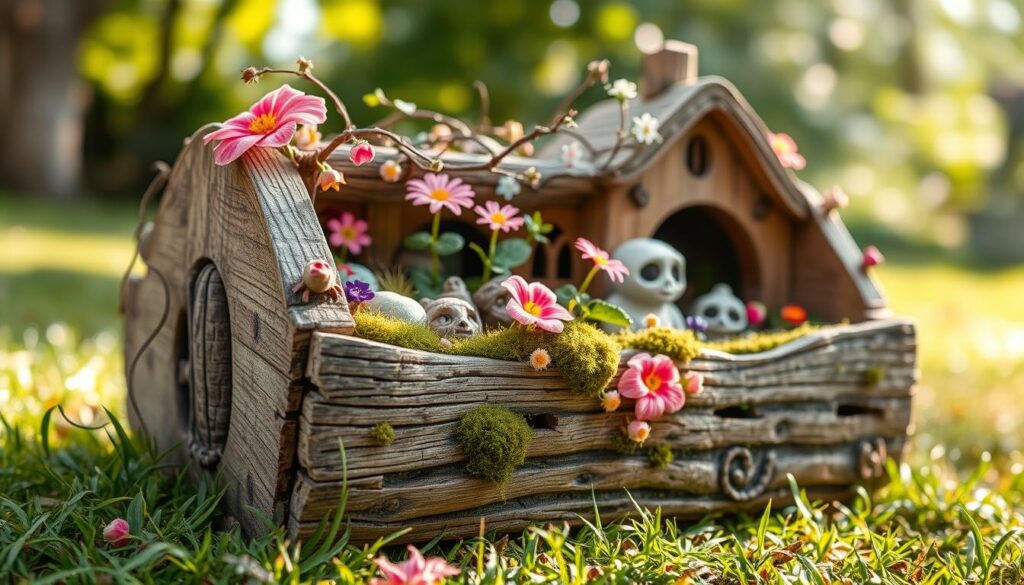
- Themes to try: classic fairies, mermaid lagoon with shells, dinosaur digs with marble “rivers,” or cozy farm scenes.
- Kid-friendly plants: marigolds, petunias, alyssum, Johnny-jump-ups, mosses, and drought-tolerant succulents.
- Budget tips: dollar store birdhouses and bowls make quick bases that kids can customize.
| Container | Best For | Drainage Tip |
|---|---|---|
| Old wagon | Stand-up play, portability | Use liner and drill holes if needed |
| Raised water table | Comfortable height, group play | Ensure bottom drain or shallow soil layer |
| Rubbermaid bin | Large collaborative builds | Drill holes + rock reservoir |
| Tupperware | Indoor/tabletop, low mess | No holes; add rocks and water carefully |
| Terra cotta planter | Classic look, paintable | Natural drainage; saucer for drip |
Build the fairy houses together: easy DIYs from “found” to fabulous
Simple materials turn into memorable houses when kids help make each step. This part shows quick, durable projects that invite paint, glue, and imagination.
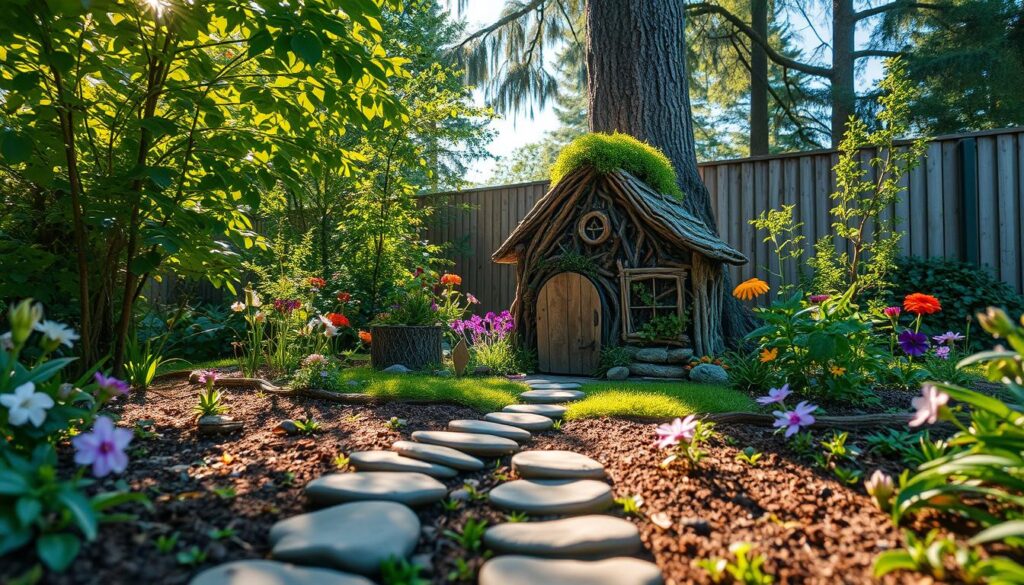
Flip a terra cotta pot to make a toadstool roof or a snug pot house. Paint with acrylics, add a pebble stoop, and tuck moss around the door for texture.
Dollar store wooden birdhouses are a fast upgrade. Let kids paint the outside, then an adult anchors twigs or buttons with hot glue for heavier bits.
Kid-built popsicle and upcycle projects
Have kids sketch a floor plan, then build walls and roofs from popsicle sticks using white glue. Adults can spot-fix joints and trim edges.
Upcycle milk cartons, syrup bottles, and takeout trays into cottages. An adult cuts doors and windows; kids paint and jewel the exteriors. For plastic pieces, use E-6000 when adults apply decorations that need stronger hold.
Small details, clay minis, and a STEM twist
Paper mâché and polymer clay create tiny doors, mushrooms, and stepping stones. Bake polymer clay for weather resistance, then press into soil near the house.
For older kids, add a simple LED lantern in a birdhouse to teach basic wiring and switches. Keep hot glue as the adult-only tool when anchoring heavier parts.
| Project | Best for | Key tip |
|---|---|---|
| Painted terra cotta pot | Durable, kid-painted house | Use acrylics and seal for outdoor longevity |
| Dollar store birdhouse | Quick, customizable base | Paint first; adults apply hot glue for heavy trims |
| Popsicle stick house | Design thinking and teamwork | White glue works; pre-cut pieces speed builds |
| Upcycled carton cottage | Budget-friendly, creative upcycle | Adults cut openings; E-6000 bonds decorations to plastic |
| LED lantern house | STEM project for older kids | Use low-voltage LEDs and adult supervision |
Decorate the village: DIY fairy garden accessories kids can make
Little projects—made from sticks, clay, and paint—become the village’s characters.
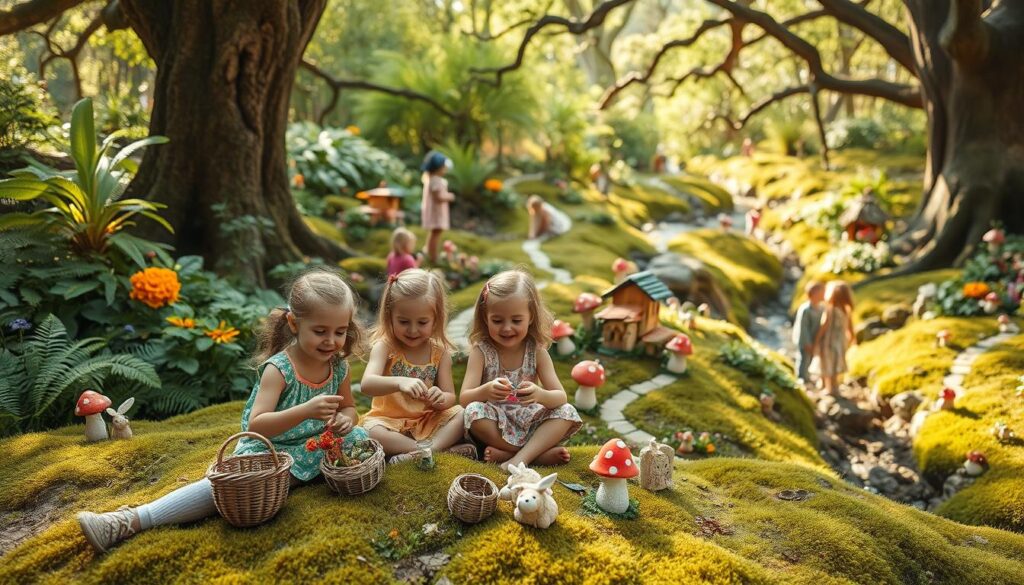
These quick crafts boost fine motor skills and keep garden kids inventing new stories. Use safe glues and simple materials so kids can lead most of the work.
Build popsicle furniture and signposts
Make benches, swings, and friendly signposts from sticks and popsicle pieces. Use white glue so kids can assemble parts with minimal adult help.
Painted rocks and salt dough charms
Turn smooth rocks into bugs, doors, or tiny houses. Mix salt dough or use air-dry clay for mushrooms and birdbaths. Bake or cure, then paint.
Paths, waterways, and wishing wells
Press blue marbles into a thin playdough base to form streams that stay put. Layer pebbles for paths.
Create a pebble wishing well on cardboard; adults handle hot glue when stacking stones, then kids add string buckets or moss.
Nature finds and clay minis
Collect twigs, pinecones, and leaves to make fences, tool racks, and plates. Try clay critters and doors for lasting charm.
- Quick idea: rotate pieces weekly so kids return eager to rearrange.
- Tip: store extras in a labeled bin so garden kids can “shop” for new props.
How we made our daughter’s fairy garden her favorite place playhere’s—and how to keep the fun going
We set a weekly ritual that turns tiny tasks—staging, watering, and swapping pieces—into a joyful routine.
Small resets and themed events keep the space lively and social. That structure helped us make fairy garden time part of the week and turned casual care into much fun for the kids loved to check in.
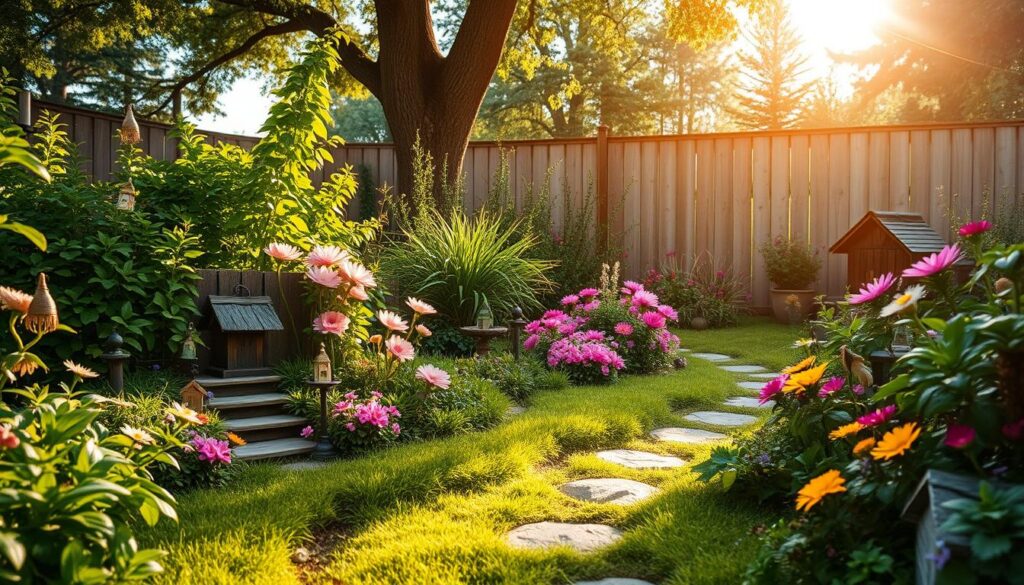
Our assemble day is simple: kids stage the container, set houses, pour pebbles for paths, water gently, and then play right away. Weekly resets include deadheading blooms, sweeping paths with a twig, and adding one surprise like a painted rock or clay gnome.
Assemble, water, and play: weekly resets, birthday party stations, and rotating themes
“We set up Meri Cherry-style stations so each child could pick colors, marbles, and moss for a take-home planter saucer.”
- Birthday party idea: use planter saucers, toilet paper rolls for chimneys, and planting cups kids decorate and take home.
- Yogurt cup pools: sink small containers in soil and refresh water often for pretend play.
- High-traffic tip: use dough bases to hold marbles and pebbles during group sessions.
- Plant choices: succulents for sunny, dry spots; marigolds or alyssum if the garden kids may want to water daily.
| Activity | What to Provide | Key Tip |
|---|---|---|
| Weekly Reset | Pebbles, twig broom, one new charm | Keep it under 15 minutes to stay fun |
| Birthday Party Station | Planter saucers, toilet paper rolls, planting cups | Pre-cut pieces so kids can decorate quickly |
| Group Build | Mini zones, shared main street, playdough bases | Assign a mini zone per child to create involved teamwork |
| Plant Care | Succulents, marigolds, grass seed for lawns | Match plants to sun exposure and watering habits |
Rotate themes monthly—dino, mermaid, farm—so fairy gardens feel new without extra cost. Take a photo after each reset so kids loved seeing progress and telling stories about night visitors.
Conclusion
A small planter, a single house, and a handful of accessories can kickstart weeks of outdoor stories. Start small, let kids lead, and refresh pieces week by week to keep the scene alive.
Use durable choices—terra cotta, wood birdhouses, and polymer clay details—for long-lasting outdoor charm.
Choose a sturdy container and a few kid-friendly plants like marigolds or succulents. Add one fairy house, painted rocks, twig furniture, and clay mushrooms. Keep adhesives age-appropriate: white glue for wood crafts, E-6000 or hot glue for adult-only fixes.
Let houses evolve as interests change, document resets with photos, and invite kids to name paths and swap ideas. With a little guidance and simple supplies, your child’s mini world becomes a lively spot for learning, imagination, and regular outdoor play.