
Ever wondered if a few minutes of care now can save hours of trouble next spring? Many gardeners skip end-of-season work and then fight pests, salt buildup, and squashed seedlings come planting time. A small routine today protects your soil mixes, containers, and future plants.
This short, practical introduction shows why the end of the growing season matters and what a simple workflow looks like. You’ll empty containers, remove diseased material, scrub away algae, wash and rinse, optionally disinfect, and sun-dry before storage.
Use common household tools and safe solutions to keep things easy and sustainable. Different materials—plastic, clay, ceramic, and fabric—need slightly different care, and we’ll cover quick checklists and timing so this work fits a busy schedule.
For a full timetable and seasonal tips, see this helpful resource from the Old Farmer’s Almanac: time to clean and store your.
Key Takeaways
- Do end-of-season care to cut pests, disease spores, and mineral buildup.
- Follow a clear flow: empty, scrub, wash, rinse, dry, disinfect if needed, then store.
- Use simple household tools and safe solutions for effective, low-cost results.
- Store materials smartly: cover plastic, keep clay/ceramic indoors, machine-wash fabric bags.
- Small effort now protects soil and plants and extends the life of your containers.
Why Cleaning Garden Pots at the End of the Season Matters
A small routine now stops hidden problems from coming back next spring. Used containers can harbor pest eggs, disease spores, and mineral crusts that weaken new plants.
Left on their own, old pots hide risks you can’t see. Insect eggs and disease spores cling to drainage holes and crevices. White residue is often mineral salts and calcium from hard water and fertilizer. That crust can block root access to water and air and stress seedlings next year.
Timing helps. Cleaning at the end of the season tackles fresh residue before it hardens, making removal faster and gentler. Even healthy-looking containers may carry diseases, so a quick wash and targeted disinfection for used pots lowers risk across your garden.
“A simple rinse and sun-dry reduces disease carryover and makes spring planting smoother.”
A basic water-and-detergent solution loosens grime; a short vinegar soak dissolves salt buildup for easier scrubbing. Rinse thoroughly so loosened residue won’t re-deposit, and choose the level of care based on how much wear each container saw.
| Hidden Risk | What It Is | Simple Action |
|---|---|---|
| Pest eggs | Microscopic eggs in cracks | Empty, scrub, and sun-dry |
| Disease spores | Fungal or bacterial residue | Wash, disinfect for used pots |
| Mineral residue | Salts from water/fertilizer | Soak in vinegar, rinse well with water |
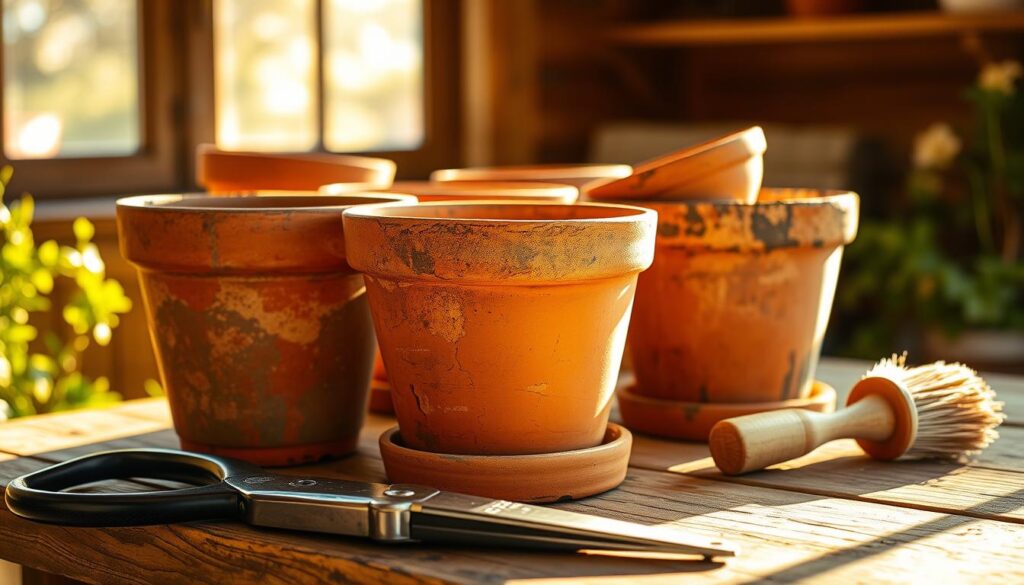
Tools, Supplies, and Safety Basics for Pot Care
Start with a simple kit: the right tools save time and prevent damage. Gather a few reliable items so each pot gets the right attention without fuss.
Every gardener benefits from a compact, well-organized station. Keep one tub for hot soapy wash and another for clear rinse. That setup makes work faster and reduces cross-contamination.
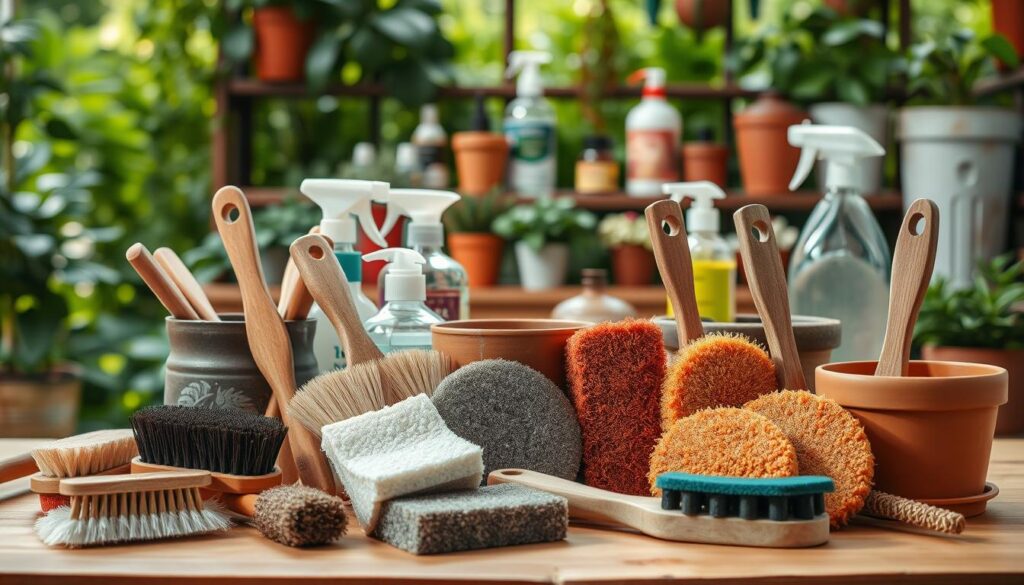
- Gather basics: a stiff-bristled brush or softer brush for glazed finishes, a plastic putty scraper, buckets, dish detergent, and clean water.
- Specialty helpers: white vinegar for mineral residue and a measuring cup to mix any solution precisely.
- Rinsing power: use a hose on a jet setting to blast away grime and clear drainage holes.
- Safety items: sturdy gloves, eye protection, and good ventilation when handling bleach or vinegar.
Know the chemical basics: use bleach only after washing; organic matter reduces its effect, and older bleach weakens over time. Vinegar works as a gentler alternative but needs a longer soak.
Final tips: label mixed solutions, choose soap and elbow grease whenever possible, and set up a clean drying surface so containers dry fully before any further treatment.
Step-by-Step: How to Clean Used Pots Before Storage
Start by removing plants and sorting soil so you keep healthy material and discard anything that could spread disease. This initial choice saves time and protects next season’s growth.
Empty and sort
Set two bags: one for compostable, healthy material and one for trash if plants or soil look diseased.
Tip each pot and shake loose soil. Pull roots and remove all organic debris from rims and corners so nothing hides in crevices.
Dry scrape and brush
Use a stiff brush to knock off loose dirt, algae, and mildew. For mineral crust, a plastic scraper or knife lifts deposits without damaging surfaces.
Wash and rinse
Mix a mild dish detergent and water solution and wash the inside and outside. Pay attention to rims and bases where residue gathers.
Rinse thoroughly with a hose on a jet setting to blast away grime and clear drainage holes so water flows freely next season.
Air dry in sun
Place items in full sun to air dry completely before any disinfecting or storage. Dry surfaces reduce microbes and make later treatments more effective.
| Task | Why it matters | Tools |
|---|---|---|
| Empty & sort | Prevents disease spread | Bags, gloves |
| Dry scrape | Removes crust and algae | Brush, scraper |
| Wash & rinse | Cleans residue for disinfection | Detergent solution, hose |
| Air dry | Stops moisture-loving microbes | Sunny spot, rack |
Disinfecting Options: Bleach, Vinegar, or Hot Soapy Water
Decide when risk is high and choose the right treatment. If a container held diseased plants, was acquired used, or will start seeds, disinfection matters.
When should you disinfect?
Focus effort where disease or seed starting could spread trouble. Prioritize containers from sick plantings, newly acquired used pots, and any vessel for seed or cuttings.
Bleach soaks and safety
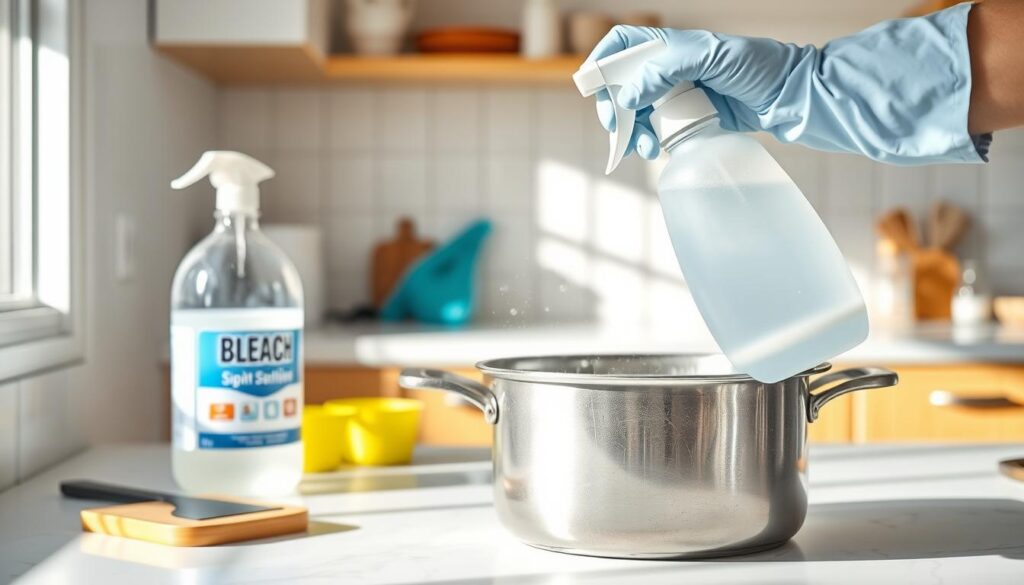
After washing, mix a common 10:1 water-to-bleach solution and submerge clean items for 10–60 minutes. This bleach soak kills many spores when applied to residue-free surfaces.
- Wash first: remove all soil and organic debris—leftover matter inactivates disinfectants.
- Handle with care: wear gloves and eye protection, work outdoors or in a ventilated area, and never mix bleach with other cleaners.
- Check freshness: bleach weakens over months; a recent bottle gives reliable results.
Vinegar and hot soapy water
Vinegar needs a longer soak but loosens mineral salts and can reduce spores while being gentler than bleach.
In many low-risk cases, thorough hot soapy water plus full drying is enough. Rinse well so no residue remains before potting or planting again.
Material-Specific Care: Plastic, Clay/Terracotta, Ceramic, and Fabric Pots
Material matters: how you handle a plastic item differs from clay or fabric. Small, targeted actions keep containers sound and ready for next season.
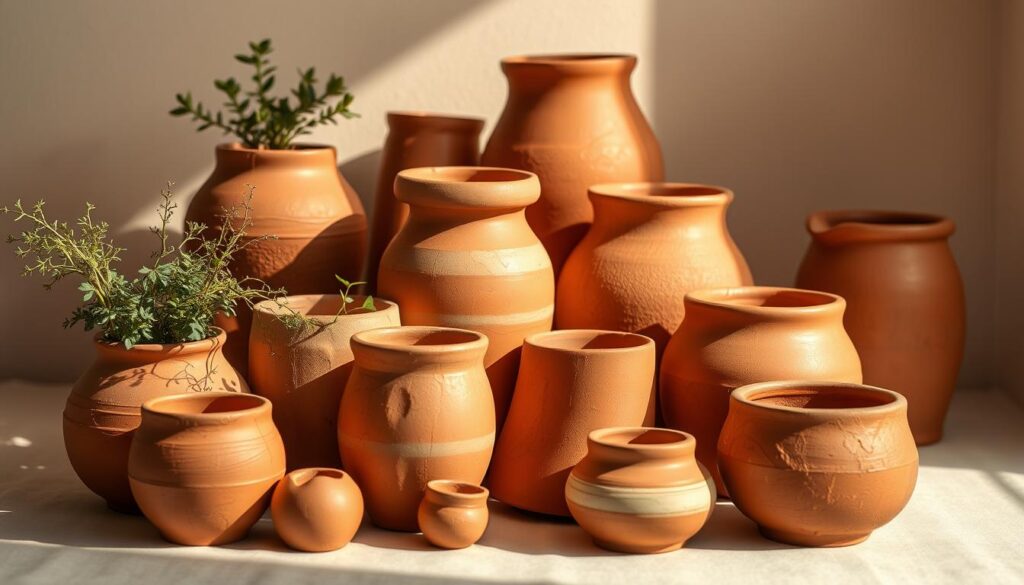
Start by sorting items by material so you use the right methods for each group.
Plastic
Wash with warm, soapy water and rinse well. Avoid abrasive brushes that can scratch surfaces. Store covered and out of direct sun to prevent UV brittleness and fading.
Clay and terracotta
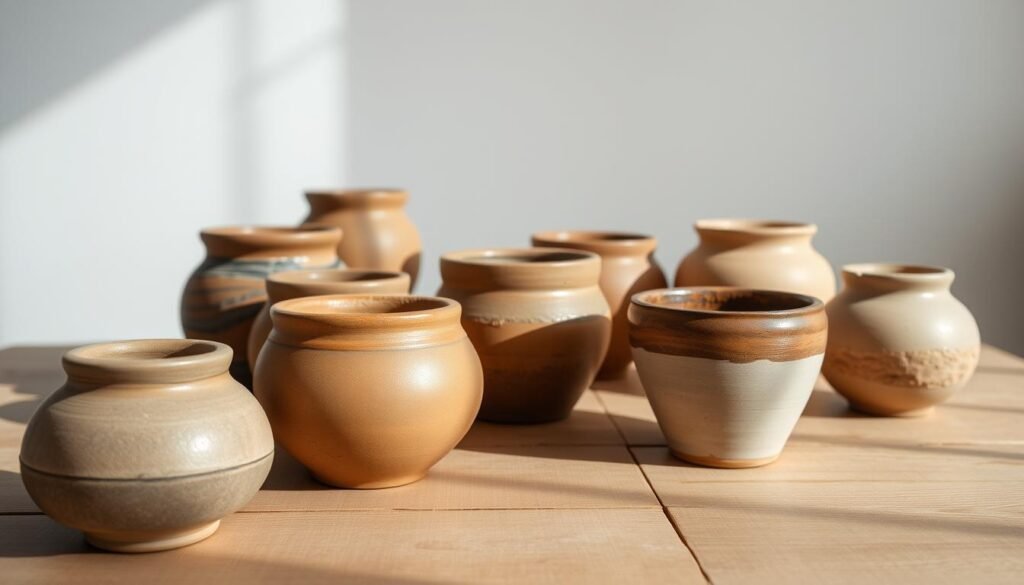
Unglazed clay soaks up moisture and salts. Scrub gently to remove mineral rings without gouging the surface. Some stains may stay on older clay pots; that’s normal.
Tip: keep clay indoors where freeze/thaw cycles won’t crack the material, and make sure each piece is fully dry before stacking.
Ceramic
Handle glazed finishes gently. When nesting, place newspaper or soft pads between pieces to prevent chips and hairline cracks. Store inside in freezing climates.
Fabric grow bags
Empty soil, then machine-wash on gentle with mild detergent or soak and hand-rinse. Rinse thoroughly and always air dry—never tumble dry. Air dry flat or hung to keep shape.
“Retire items that show structural cracks, persistent residue that won’t lift, or a history of pests or disease.”
| Material | Key care action | Storage note |
|---|---|---|
| Plastic | Soapy wash, gentle brush | Covered, out of sun |
| Clay / terracotta | Gentle scrubbing, dry fully | Indoors to avoid freeze damage |
| Ceramic pots | Protect glaze; wrap when stacking | Indoor storage in cold regions |
| Fabric grow bags | Machine wash or soak; rinse | Air dry only, flat or hung |
Keep like with like: group containers by material to limit cross-contamination and make future maintenance easier. For product ideas, see this best herb garden planter.
Drying and Off-Season Storage Strategies to Prevent Damage
Dry pots fully and choose storage that protects materials through freezing months. Proper drying and placement reduce moisture, salt buildup, and freeze–thaw damage so your garden gear lasts for many seasons.
Pick a spot that stays above freezing whenever possible. Attached garages, basements, or an insulated shed work well for clay pots and ceramic pots because they cut the risk of cracking during cold snaps.
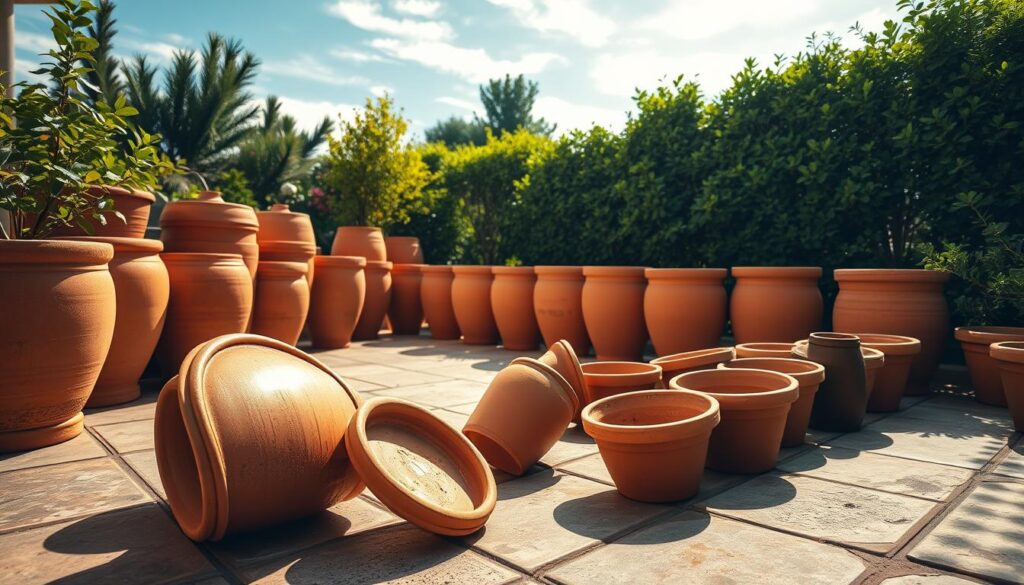
Indoor vs outdoor storage: what to consider
Indoor areas like garages and basements protect fragile clay pots from freeze damage for months. If you must leave items outside, use a shed or covered porch. Keep plastic containers covered and shaded to prevent UV fading.
Stacking best practices
Stack by size and weight so pieces nest securely. Wrap ceramic rims with newspaper or soft padding to prevent chips. Keep heavy clay items separate from delicate glazed pieces to avoid pressure damage.
Moisture control
Turn pots upside down to keep rain and snow out and allow airflow under stacks. Wipe away any salt rings before packing; salt left behind can harden and harm finishes over the season.
| Risk | Action | Storage Tip |
|---|---|---|
| Freeze–thaw cracking | Move clay pots indoors | Basement or attached garage above freezing |
| Chips and scuffs | Wrap ceramic rims with newspaper | Stack by size; separate delicate pieces |
| Trapped moisture | Turn items upside down; allow airflow | Elevate stacks off bare ground |
| UV and fading | Cover plastic and keep shaded | Store outside only under cover |
- Label stacks by material or size so spring setup is quick.
- Recheck after large temperature swings to ensure covers and stacks remain secure.
Cleaning Storing Pots Off-Season Step-by-Step Guide: Quick Checklist and Timing
Tackle a few focused tasks now, and you’ll enjoy an easier start when planting time arrives. Use this compact workflow to save hours during spring potting and to protect soil and young plants.
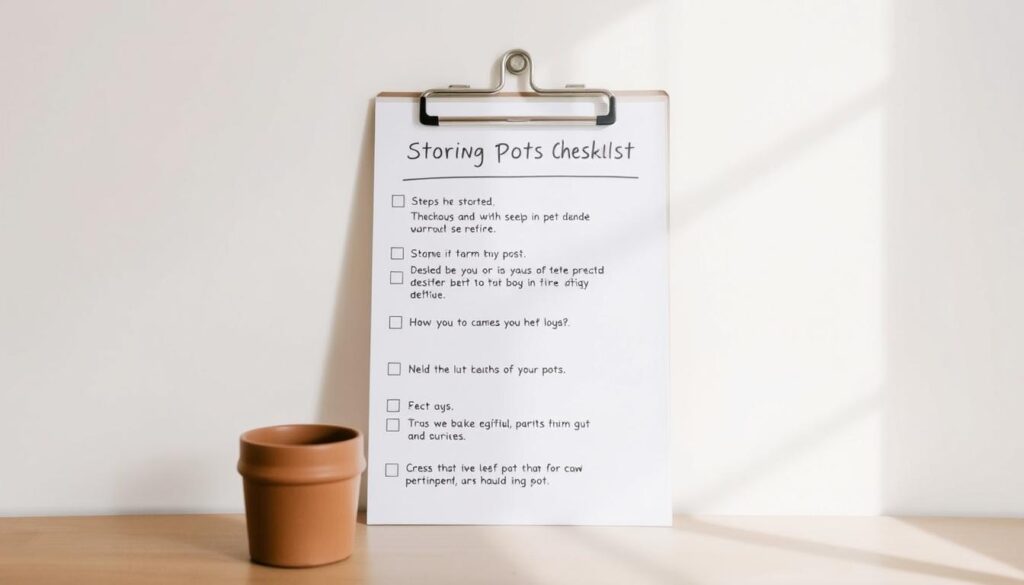
Fast checklist you can follow at the end of the season
Fast checklist
- Empty each container and separate diseased material from healthy soil and compost.
- Brush or scrape away residue; wash in a mild dish soap solution and rinse with a hose on jet.
- Air-dry in sun; disinfect only when items held sick plants or will start seeds.
- Store clay and ceramic indoors; cover plastic outside or move to shaded storage.
Why fall timing helps
Fall cleanup tackles fresh residue before it hardens and cuts spring workload. Cooler air makes outdoor scrubbing easier and lets you batch tasks in a single afternoon.
Practical tips: keep a small tote with brushes, a scraper, mild soap, and gloves. Wash several items at once, rotate them into the drying area, and mark a calendar reminder a few months before spring to recheck stored stacks.
| Task | Benefit | When |
|---|---|---|
| Empty & sort | Stops disease spread | End of season |
| Wash & rinse | Removes residue | Sunny hours |
| Dry & store | Prevents freeze damage | Before months of cold |
Final tip: note which sizes you have, list needed replacements, and pre-order potting supplies so spring gardening feels calm and ready.
Conclusion
A focused fall routine—clean, rinse, dry, and store—protects soil, containers, and young plants for the year ahead. Small, material‑specific care for clay and plastic keeps damage and residue from costing you time in spring.
Remove dirt and soil, wash with mild soap and water, rinse well, and let items dry fully before any disinfection. Use a 10:1 water‑to‑bleach soak only after thorough washing, or opt for a longer vinegar soak when you prefer gentler sanitation.
Keep clay and ceramic inside to avoid freeze and moisture damage, and store plastic covered and shaded. If a pot was a problem this season, retire it to prevent repeat issues with future plants.
Organize containers by size and type in your shed so potting next spring feels easy. A little work now saves a lot later—your future self and your garden will thank you.