Wonder if a quick kit can beat premium gear? Many people assume you need shelves of gadgets to get a razor edge. That idea stops a lot of hobbyists before they start.
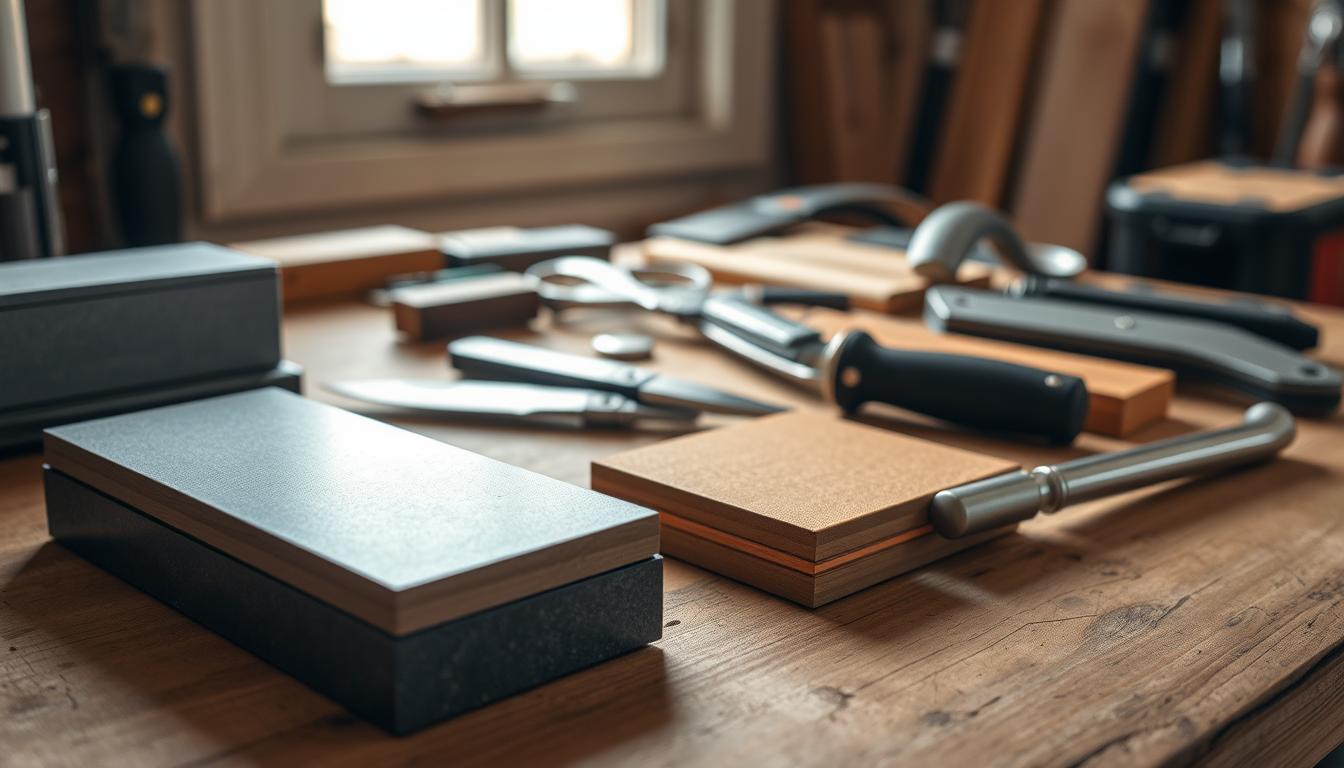
Here’s a warm, clear guide that strips the process down to essentials. With an $11 1000/6000 water stone, a basic three-chisel set, a flat piece of plate glass and a marker, you can raise and remove a burr, then polish to a true edge.
Why it works: the right grit sequence and a steady routine focus effort where it matters. Spend about ten minutes prepping the stone, five minutes on the 1000 side, then a short polish on 6000 and you’ll feel the difference.
Key Takeaways
- Low-cost kit delivers professional-feeling results for everyday woodworking.
- Follow grit order: flatten the fine side first, coarse next to avoid contamination.
- A short, repeatable process trims time and removes confusion.
- Simple supplies—stone, water, marker, and a flat piece—are all you need to start.
- Use gentle pressure to raise a burr, then remove and polish for a lasting edge.
Why sharpening feels confusing—and how this Beginner’s Guide simplifies it
A simple path clears the clutter and gets you back to actual woodwork fast. Focus on four basics—abrasive, angle, burr, and consistency—and you cut the noise.
Many people face a maze of opinions and gear. The answer lies in one clear flow: use a medium grit to build the edge, then a fine grit to polish it. Label a stone with a pencil grid and flatten it to reveal high and low spots fast.
Keep two stones and a marker on the bench and you remove variables. Match the existing bevel with a quick marker pass to set the angle. That small test saves time and avoids angle anxiety.
Quick checklist:
- Abrasive: medium grit first, fine grit second.
- Angle: mirror the factory bevel with the marker trick.
- Burr: feel it and then remove it.
- Consistency: steady strokes and even pressure.
These simple tips make the sharpening process repeatable and friendly for any beginner. Save the notes and share the steps in your posts for easy reference during future woodworking work.
Quick, affordable sharpening setup for beginners
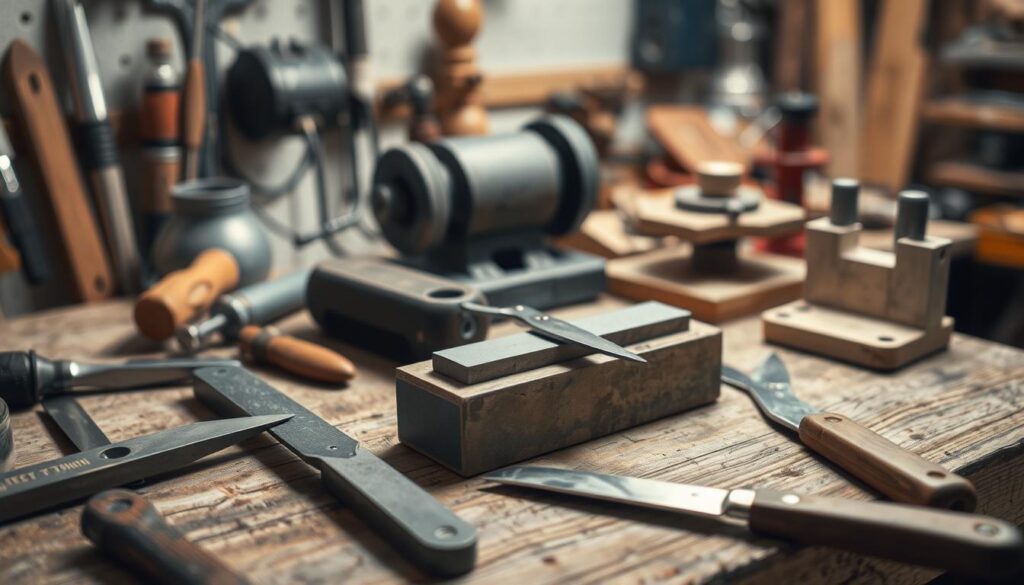
A compact, low-cost setup will keep your bench chisels sharp and ready. With one 1000/6000 combo stone, a flat plate of glass or a diamond plate, and a marker, you can maintain edges for most woodworking tasks.
Must-have basics—kept small and practical—save time and frustration.
What are the must-have items?
Build a lean, reliable sharpening setup: one 1000/6000 stone, a stable plate of glass with 250‑grit paper or a small diamond plate, a pencil for grids, and a marker.

What else helps?
- Nice-to-have: spray bottle for water, a microfiber towel, jojoba or walnut oil, and spray adhesive for paper on glass.
- Soak the stone about 10 minutes until bubbles stop; that primes the binder for steady cutting over a long time.
- Flatten using a pencil grid and scrub on 250-grit over glass, or use a 300/1000 diamond plate for faster results.
How should you sequence grit?
Use medium grit (~1000) to shape and raise the burr, then switch to fine (~6000) to polish. Keep the fine face flat first to prevent contamination, then flatten the coarser side.
The budget snapshot: an $11 1000/6000 combo stone, a three-chisel pack, glass or diamond plate, and a few small extras total about $55—less than a single premium chisel and ready for regular woodworking use.
Sharpening fundamentals that matter: abrasive, angle, burr, consistency
Mastering four simple factors makes any edge easier to achieve than you expect. These basics—abrasive selection, angle control, burr work, and repeatable strokes—are the backbone of a fast, reliable routine.
Abrasive and grit: how 1000 builds the edge and 6000 polishes it
Use a 1000 grit to form the cutting edge, then a 6000 to refine it. Medium grit removes material and sets the apex. Fine grit reduces scratch depth and yields a smooth, slicing finish.
Angle control made easy: the “magic marker” trick
Color the bevel with a marker, take a pass, and read the contact. Where the ink disappears shows true contact along the bevel. Adjust until the whole bevel registers evenly.
Burr formation and removal: the real sign you’re getting sharp
Work one side on 1000 until a burr appears along the full blade. Feel it gently with a fingertip or thumbnail.
Flip and repeat to fatigue that burr, then remove it with light passes on the fine side. A clean apex means both sides met and material settled into a true edge.
Consistency over perfection: simple strokes that work
- Pressure control: moderate on 1000, lighten as the apex forms, feather on polish passes.
- Repeatable motion: steady speed and angle beat random force.
- Sound and swarf: uniform noise and even slurry on the side show steady contact.
“A steady way and clear checks win more often than chasing a perfect shine.”
Why it works: even scratch patterns and a continuous edge are easier when you simplify the process. Good water stones in these ranges handle most woodworking blades and knives with minimal fuss.
Think sharpening tools difficult this beginner’s method: the 5‑minute workflow
Follow five crisp steps and you’ll prep, build, refine, and test a true edge in minutes. The routine centers on sensible water stone care, clear grit order, and a quick proof cut.
A five-minute flow trims the noise and gets your chisel cutting again fast.
Prep in seconds: soak, flatten, decontaminate
Soak the stone about 10 minutes until bubbles stop. Pencil‑grid both sides and flatten the 6000 face first to avoid contamination.
Use 250‑grit on a plate or a small diamond plate for fast flattening. A clean flat stone saves long time frustration.
Build on 1000 grit: set pressure, make a full burr
Flatten the back on 1000, then color the bevel. With moderate pressure, hone until a full‑length burr forms along the blade.
Refine on 6000 grit and optional stropping
Lighten pressure on 6000 to remove 1000 scratches and polish both sides. Raise and remove a fine burr.
Optional: a light pass on a leather strop polishes micro‑inconsistencies. Keep angles steady to avoid rounding.
Proof: end‑grain shavings vs. dust
Test on end grain. Whisper‑thin shavings mean sharp; dust means more work. Repeat the same step sequence on any chisel or knife that needs touch‑up.
Troubleshooting, time‑savers, and safety for sharp tools now
A few focused checks and simple habits stop most errors before they cost time. Fix the flat surface, steady your strokes, and edge problems vanish faster.
Avoid the common mistakes that steal minutes and dull the edge.
What common mistakes short‑circuit success?
- Unflat stones: skipping flattening leaves hollows. Use pencil grids to spot low spots and flatten often.
- Angle drift: inconsistent angles make uneven scratch patterns. Mark the bevel and watch where ink disappears.
- Rushing polish: chasing shine too soon masks shape errors. Final polish comes after the apex is true.

Which quick time‑savers help most?
- Stick 250‑grit to a plate of glass for inexpensive flattening.
- Flip the stone lengthwise after a few passes to even wear across the surface.
- Use a diamond plate as a faster, durable alternative when you need to save time.
How can you stay safe at the bench?
- Keep your hand behind the blade and control stroke direction.
- Clamp the work in a vise so it cannot slip during a cut or test pass.
- Lighten pressure as you refine; heavy force increases slip risk and rounds the edge.
Most problems trace to unflat stones, angle wander, and rushing to polish. Fix the surface, steady your strokes, and your tools will get sharp faster.
| Flattening option | Speed | Cost | Durability |
|---|---|---|---|
| Plate glass + 250‑grit paper | Moderate | Low | Moderate |
| Diamond plate | Fast | Higher | High |
| Quick rinse & grid checks | Very fast | Minimal | Low (for long use) |
“A quick grid and a tidy flat stone save more time than endless polishing.”
Apply these cues to chisel or knife work alike. A true edge will shave end grain cleanly. Dust or a matte surface means more passes are needed.
Conclusion
A focused routine and a small kit deliver a reliable sharp edge on demand. Build on medium grit, polish on fine, verify with clean cuts, and repeat.
A small set — a 1000/6000 water stone, a plate or diamond, and a marker — plus clear habits yields pro results in little time.
Flatten your stones, match the bevel, raise and remove a faint burr, then finish with light pressure. A quick pass on a leather strop or careful stropping keeps a fine edge without rounding the sides.
Apply the same path to a chisel or a knife. For extra reading, see our practical how to sharpen your wood carving guide for step‑by‑step honing tips.