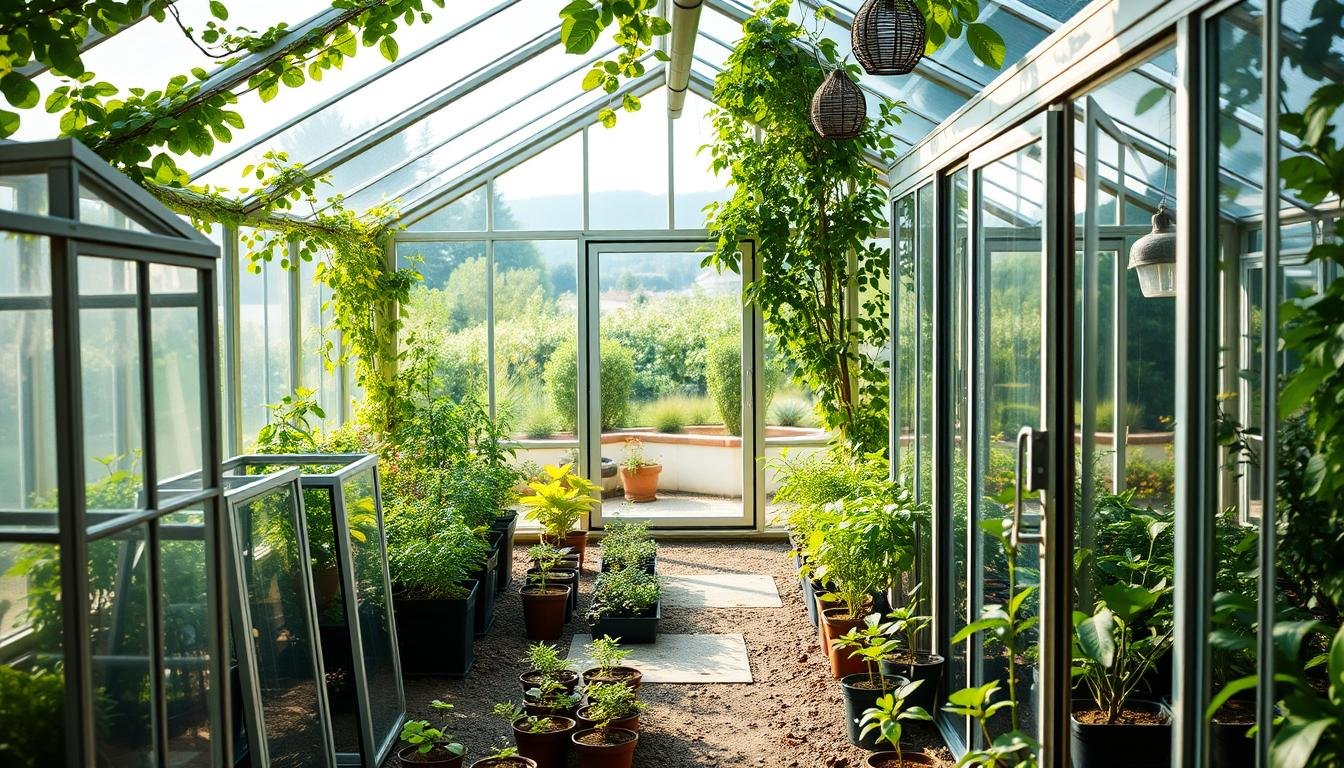
Curious how a simple structure can stretch your growing season and turn a small yard into a productive plant lab? This guide gives U.S. gardeners clear steps to pick the right option for their climate, budget, and available space.
Start small, plan smart. Many new gardeners begin with an 8×12 ft walk-in and later scale to a 10×20 ft build; always measure interior growing area, not just exterior footprint.
We preview the choices you’ll face: climate fit, size and space, frame and cover material like aluminum and twin-wall polycarbonate, ventilation and temperature control, plus realistic setup time and total ownership costs.
Expect practical, plain-language tips and a shortlist of patio models, starter walk-ins, winter-ready builds, and high-wind options. For a deeper look at foundations, anchoring and seasonal operation, see our detailed post on choosing a build selection and setup.
Key Takeaways
- Pick a manageable size first; interior area matters more than exterior dimensions.
- Orient the long side south in most U.S. regions; shift to southeast/southwest in very hot climates.
- Factor total cost of ownership: foundation, anchoring, ventilation, heating, and irrigation add up.
- Decide seasonality: spring/fall, three-season with vents, or year-round with heating.
- Choose simple, reliable ventilation to prevent overheating and protect plants.
Start Here: How to Match a Greenhouse Kit to Your Climate, Space, and Goals
The right choice begins with your climate, daily sunlight, and what you want to grow. Match those three and you’ll avoid common regrets like too little room or too much heat.
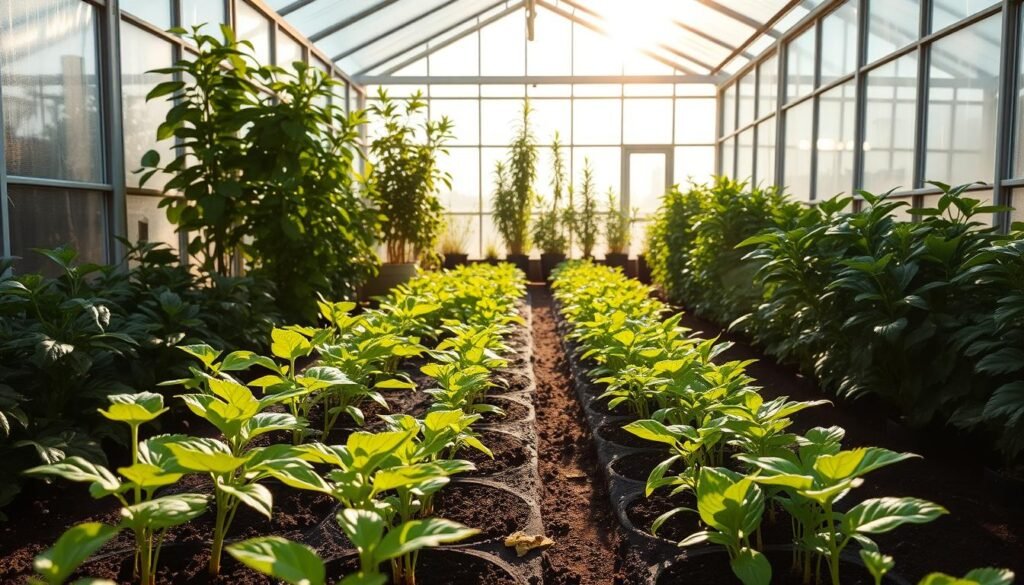
Which growing season fits your needs?
Spring/fall extender: Use this to start seeds, harden off seedlings, and extend harvests. It needs minimal insulation.
Three-season: Add shade cloth, vents, and fans to handle warm months and cool nights.
Year-round: Expect to install reliable heating and cooling and add extra insulation in cold climates.
What will you grow inside?
List priorities: cool-season greens, warm tomatoes and peppers, cut flowers, or overwintering ornamentals. Each choice affects light, ventilation, and heating needs.
Size, placement, and future room
Start around 8×12 ft for a compact workspace; consider 10×20 ft+ if you want more production. Always measure usable interior growing area after benches and walkways.
Most gardeners place the long side toward the south. In very hot southern locations, orient southeast or southwest to soften afternoon light.
| Factor | Quick action | Why it matters |
|---|---|---|
| Climate | Add insulation or shade | Controls heating and cooling needs |
| Size (usable) | Measure bench space | Determines plant capacity and workflow |
| Siting | Check HOA, setbacks, power | Affects permits, water, and wind exposure |
- Need consider: HOA rules, tree shade, storm exposure, and proximity to water and power.
- Small add-ons: Shelves, a potting bench, or a fan can improve daily work depending size and plant types.
Quick checklist: climate match, sunlight hours, plant list, usable interior size, and realistic maintenance time through the year.
U.S.-Specific Factors That Beginners Need to Consider
Local weather patterns, neighborhood rules, and daily sunlight angles all decide which options work on your lot. Consider climate zone first, then handle permits, siting, and utilities so you avoid surprises.

How sun, wind, and temperature shape placement
Sun orientation matters by latitude and season. In most U.S. regions face the longest side south for steady sunlight. In very hot southern areas, rotate slightly southeast or southwest to cut late-afternoon heat.
Wind and storm exposure affect stability. Open plains, coasts, and canyons need lower-profile models and stronger anchors. If your site sees gusts, choose a design rated for higher wind and plan windbreak plantings or a fence.
Water, drainage, and utility access
Pick a well-drained garden spot to avoid standing water around the foundation. Route gutters and eaves to move runoff away from doorways and footings.
Place the structure where you can tap a non-freezing water line and a safe power source. For permanent circuits, hire an electrician rather than relying on extension cords.
Permits, HOA rules, and practical maintenance
Count on local permits or HOA limits for setbacks, height, and materials. Get written approval and save documentation to prevent costly rework.
“Confirm rules before purchase; a signed approval keeps future repairs and disputes simple.”
- Snow-prone regions may need steeper roofs and higher snow-load ratings.
- Hot, arid areas benefit from shade cloth, cross-ventilation, and exhaust fans.
- Seasonal tasks: clear snow after storms, check anchors each season, and clean glazing to keep sunlight high.
Small upgrades pay off: add a roof vent or a compact exhaust fan for better ventilation, use ground anchors, and install guttered eaves to protect the foundation. For more siting details and permit tips, see a detailed local planning resource or explore low-cost design options for small builds.
Frames and Covers: Choosing Durable Materials that Control Light, Heat, and Weather
Pick frame and cover materials that match your local climate and how you want to manage light, heat, and upkeep. This helps you choose the right size and durability so plants thrive with the least extra work.
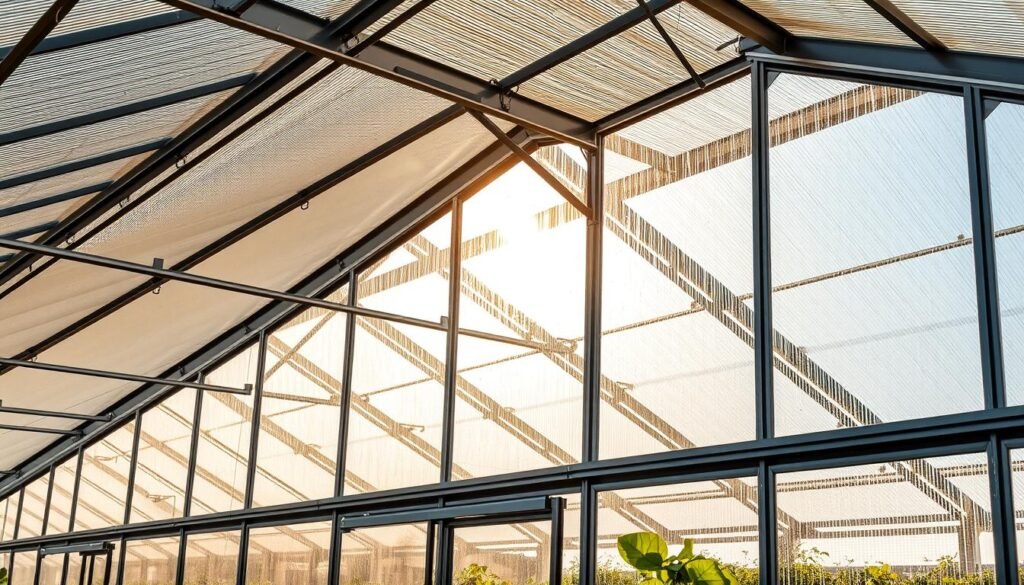
Which frame fits your plot?
Aluminum is lightweight, corrosion-resistant, and low-maintenance—good for smaller greenhouses and easier installs.
Steel lowers initial cost and spans larger sizes, but plan rust protection for lifetime performance.
Wood offers a warm look and easy customization, yet needs routine sealing to resist moisture and pests.
How to choose a cover
Glass transmits the most light but is heavy and fragile. Polycarbonate offers impact resistance, insulation, and light diffusion. Thin plastic films (polyethylene/PVC) work as seasonal covers for tight budgets.
Panels, roofs, and maintenance
- 8–10 mm twin-wall polycarbonate panels balance insulation and cost; 16 mm adds winter R-value for year-round use.
- Choose UV-stabilized glazing to prevent yellowing and loss of light over time.
- Arched or steep roofs shed snow; gabled roofs may need manual clearing in heavy snow areas.
- Check that your chosen materials accept auto-vents and sealing gaskets for winter heat retention.
“Match frame strength and cover insulation to your climate, then keep seals and panels clean for steady light and heat control.”
Ventilation, Temperature, and Humidity Control for Healthy Plants
A well-ventilated, temperature-stable interior lets plants focus on growth, not stress. Good airflow and clear temperature targets reduce disease and make everyday care easier.
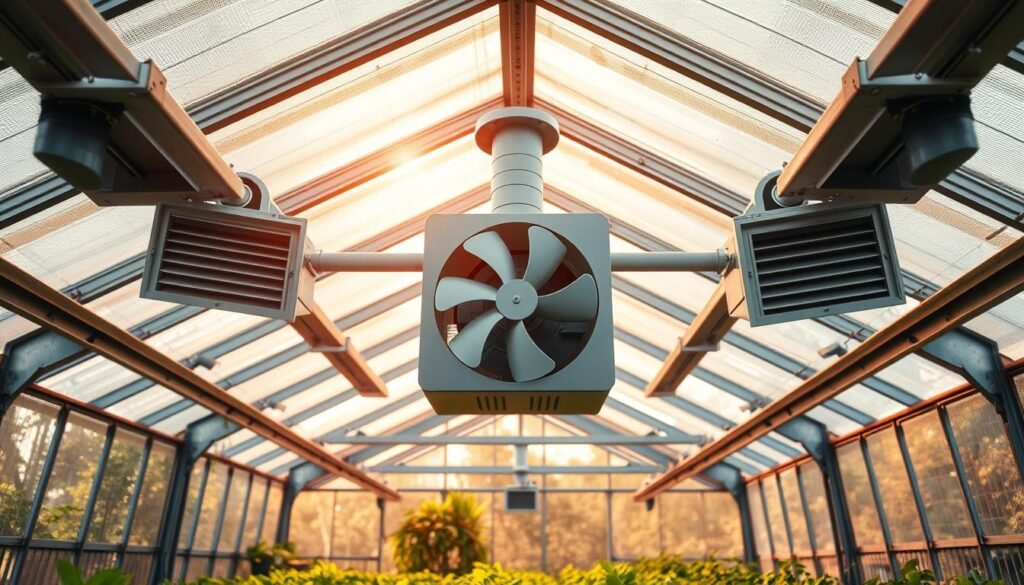
How to move air and avoid heat spikes
Pair roof vents with low intake openings to create crossflow. Add a small exhaust fan so hot air exits on bright days.
Trusted day/night temperature targets
Set interior ranges by season so seedlings and produce stay productive.
| Season | Day °F | Night °F | Notes |
|---|---|---|---|
| Spring | 65–75 | 55–65 | Start seeds, vent on sunny days |
| Summer | 70–80 | 60–70 | Use shade cloth and fans |
| Fall | 65–75 | 50–60 | Reduce watering, watch for molds |
| Winter | 60–70 | 45–55 | Seal vents and add heat if needed |
Light, humidity, and water management
Shade cloth and diffused glazing tame midday sunlight while keeping usable light. Avoid wet foliage; water at soil level and harvest rain with gutters for irrigation.
“Cross-breezes and timed fans cut humidity and lower fungal risk.”
Simple automation—auto-vents, thermostatic fan switches, and a digital thermometer/hygrometer—keeps conditions steady. Use bench heights to create microclimates and place plants accordingly.
For detailed vent setups, see this ventilation guide.
Kit Types for Beginners: From Pop-Ups to Walk-In Hobby Greenhouses
Quick-deploy pop-up tents save time and money, while walk-in hobby structures trade speed for long-term performance. Choose the fast option to protect trays for a season or step up for a roomy, insulated space that supports taller plants and year-round work.
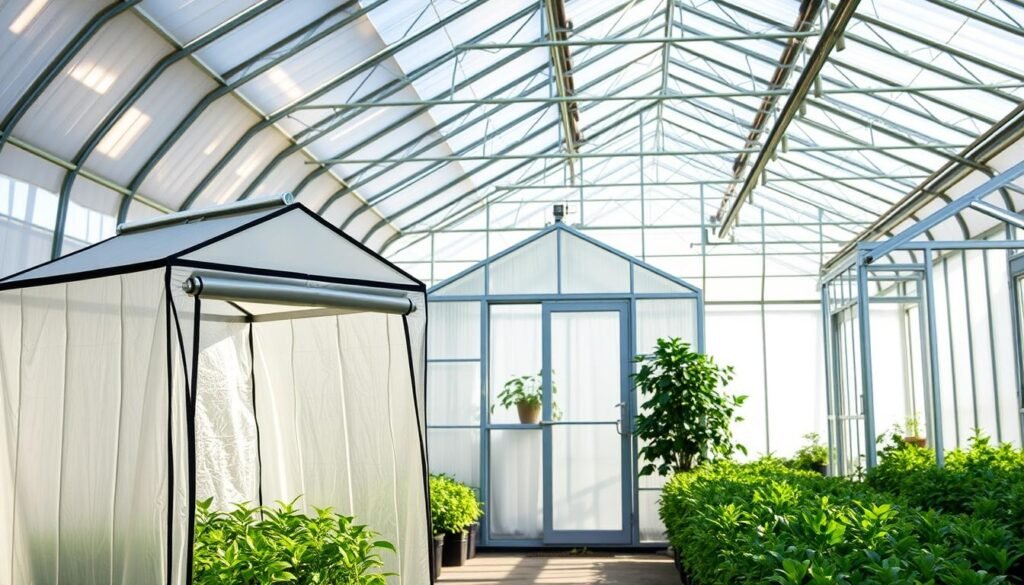
Pop-up and mini cold frames: budget-friendly season extenders
Pop-up tents and mini cold frames use lightweight frames and a plastic cover to shelter seedlings and extend shoulder seasons.
They are low cost and fast to set up. Dismantle them before heavy snow, as many covers cannot handle deep loads.
Hybrid and walk-in hobby greenhouse kits: more room and durability
Walk-in models range from simple PE covers over steel frames to aluminum frames with twin-wall polycarbonate panels.
Veikous offers entry polycarbonate kits that add insulation and a stronger roof. Grezone shows the lower-cost PE-cover option. The trade-off is clear: save up front or gain wind and snow performance.
Attached vs freestanding: convenience, costs, and aesthetics
Attached units give easy access to water, power, and passive solar gain but can transfer heat or humidity to a home.
Freestanding options install faster, usually cost less, and keep household systems separate. Consider door width, headroom, and aisle size so carts, trellises, and maintenance stay comfortable.
| Type | Typical Frame/Cover | Best use | Notes |
|---|---|---|---|
| Pop-up / Mini cold frame | Light steel or plastic frame + plastic cover | Seed starting, short season extension | Low cost; remove before heavy snow |
| Walk-in hybrid | Aluminum frame + twin-wall polycarbonate | All-season hobby gardening | Better insulation and roof strength; more room |
| Budget walk-in (PE cover) | Steel frame + PE cover | Seasonal use with larger room | Cheap initial cost; lower wind/snow rating |
| Attached | Varied frames and covers | Easy utilities and passive solar | Watch for home humidity and overheating |
“A model with lockable doors, vents, or gutters saves setup time and improves season-long performance.”
best greenhouse kits beginners us buyer’s guide: Shortlist Framework by Use Case
Begin with the job you need—balcony seed starting, a roomy walk-in, or a winter-ready shelter—and then narrow choices by specs. Compare frame strength, roof load ratings, panel thickness, and features like vents and gutters to match your climate.
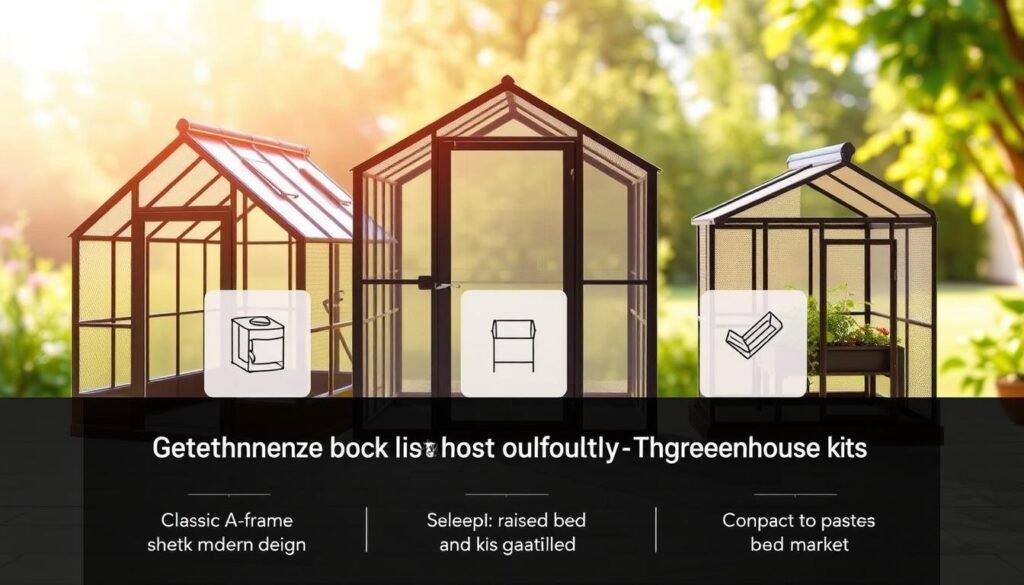
Small spaces and patios: tiered minis and raised bed covers
Use tiered minis (ShelterLogic 4-Tier) or raised bed covers (Quictent) for tight patios. They assemble fast and extend the season for seedlings and tender plants.
These options use PVC or light steel frames and a simple cover. They work well when floor space is limited.
Starter walk-ins: aluminum frame with polycarbonate panels
Look for aluminum frames with 8–10 mm polycarbonate panels for a durable hobby greenhouse. Veikous and Palram Canopia Hybrid offer good wind (30–56 mph) and roof PSF ratings (15–20 PSF) and often include gutters.
Winter-ready builds: twin-wall polycarbonate, auto vents, and gutters
Choose 10–16 mm twin-wall polycarbonate panels, heat-activated vents, and sealed doors. Palram Canopia Glory and Riga rate high for winter use (62–80+ mph; 20–30 PSF) and add auto vent openers for safer winter control.
High-wind or snow-prone areas: reinforced frames and sloped roofs
Prioritize reinforced frames, tight gaskets, and sloped or arched roofs that shed snow quickly. Riga’s sloped “onion” roof and heavy-duty frame handle extreme wind and snow loads.
- Quick checks: confirm door clearance, interior size for potting soil and trellises, and available upgrades like anchoring kits, lockable doors, and plant hanger kits.
- Compare specs: wind mph, PSF roof load, and polycarbonate thickness depending size and climate demands.
“Match the model to your use case first; then compare wind, roof, and panel specs to pick the right option.”
Budget, DIY Effort, and Setup Tips for First-Time Gardeners
Plan for real costs beyond the sticker price, and decide if you want a quick prefab or a hands-on diy path. Your choice affects time, tools, and how much you can tailor layout, materials, and controls.
Total cost of ownership includes the base or foundation, ground anchors, and any installation labor. Add shelves and benches, vents and small fans for ventilation, a simple heater for cold snaps, and LED lights for short winter days.
Prefab vs. kit: time, tools, and support
Prefab options speed setup and reduce decisions. They work well if you want less assembly and limited customization.
Kit or diy routes need more time and tools but let you upgrade materials, change layout, or add stronger anchors. Supplier tech support is valuable when you choose a kit.
Anchoring, sealing, and preventing leaks
Use anchors rated for your soil type—screw anchors for loose soil, concrete anchors for compact sites. Recheck bolts after storms and tighten yearly.
Seal panel joints with compatible gaskets and silicone to stop drips. Caulk around base plates and route gutters so water moves away from footings.
| Expense | Typical cost range | Why it matters |
|---|---|---|
| Foundation or base | $100–$1,200 | Stability, level surface, and drainage |
| Anchors & fasteners | $30–$200 | Wind resistance and safety |
| Ventilation & fans | $50–$400 | Humidity and heat control |
| Heating & lights | $100–$800 | Extends season and supports seedlings |
Control, space planning, and plant choices
Keep a clear center aisle and stagger bench heights to make work easy. Put heat-loving crops at higher, brighter spots and shade or greens on lower benches.
Start with quick leafy greens, basil, and compact tomato varieties. Avoid sprawling crops until you know your space and control systems.
“Schedule seasonal checks, avoid using temporary extension cords for permanent power, and track utility use to refine settings.”
Quick safety and time tips: hire an electrician for permanent power, plan non-freezing water access, and set a simple maintenance routine. If you want a fuller primer on hobby setups, see hobby greenhouse basics at hobby greenhouse basics.
Conclusion
When design, materials, and site align, the space becomes a dependable place to grow through each season. Match your climate and goals to frame and cover choices, then plan vents and temperature targets before you buy.
Start with a comfortable size and budget now, and leave room to upgrade later. Confirm siting, utilities, and a level foundation. Pick an aluminum or steel frame and twin-wall polycarbonate panels for longer life if you want year use.
Small habits matter: clear snow from the roof, rinse panels to keep light high, and seal gaps before winter. Use the shortlist—small spaces, starter walk-ins, winter-ready, or wind/snow-tough models—to choose the greenhouse kit that helps you grow plants you love with confident control.