![Why Are Far-End Emitters Dry on Two Beds? [Troubleshooting]](https://thegardenhaven.com/wp-content/uploads/2026/02/why-are-far-end-emitters-dry-on-two-beds-troubleshooting.jpeg)
Many gardeners wake to stressed plants at the tail of a line and wonder what went wrong. This short guide shows a calm, step-by-step way to find the cause and fix it for good.
I remember walking my beds at dusk, seeing lush growth near the faucet and dusty soil at the far end — that knot in the stomach felt familiar. You are not imagining the water; the system simply loses pressure and flow as it travels. Small blockages, weak filters, and tiny pressure slips add up until the last emitters get starved.
This piece lays out a clear troubleshooting flow: quick valve checks, confirm pressure and flow, then clean, flush, or repair parts. I’ll help you match each fix to the actual symptom so you avoid random part swapping and keep your drip irrigation reliable.
Key Takeaways
- Run the system while you watch to spot weak spots quickly.
- Start with valves and pressure, then move to filters and lines.
- Flush and clean regularly to prevent most clogs.
- Match repairs to symptoms instead of replacing parts at random.
- Use filters and simple seasonal checks to keep the system steady.
- For deeper help, see this practical guide from a trusted supplier: troubleshooting driplines and emitters.
What does “dry far-end emitters” usually mean in a drip irrigation system?
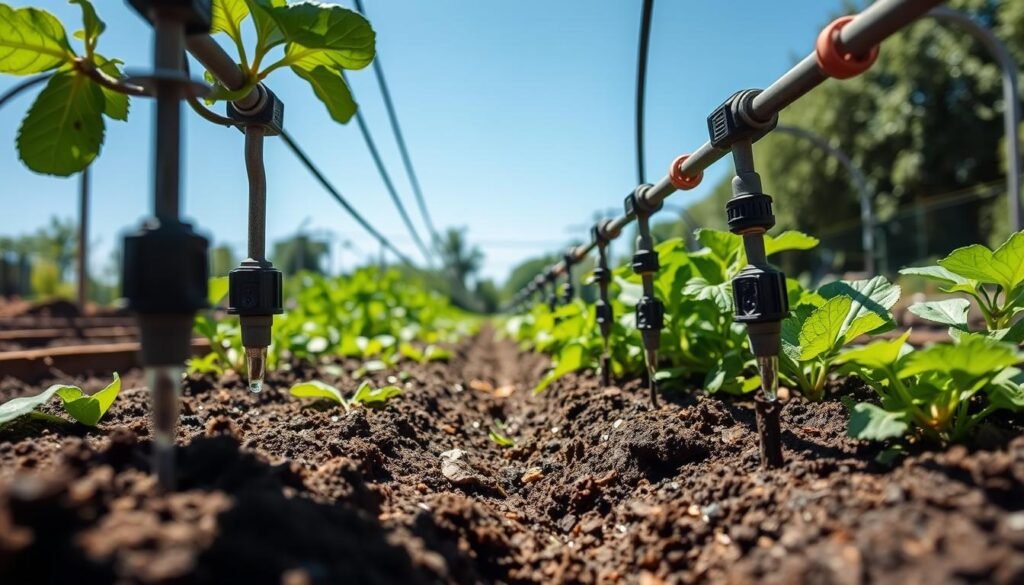
A simple walk-and-watch of the run clarifies if the issue is a single point or a whole-line problem. This quick check helps you decide whether to clean one emitter or adjust the whole zone.
Symptoms to confirm before you change parts
Look first, replace later. If plants near the supply look green while those at the end wilt, that signals low flow at the line end.
Check the upstream points: if most emitters drip normally and only the last few are weak or silent, you likely have a localized clog or kink.
Make sure the zone runs long enough to let water travel the full length. Also confirm sure water at the supply valve before assuming hardware failure.
Why the last emitter on the line often fails first
Debris and tiny particles travel with the flow and settle where velocity drops. Over time, small partial clogs at the tail become complete blockages.
If several drip lines show the same pattern, suspect pressure loss, a partial valve, or regulator problems. If a single emitter is quiet, cut back the tubing and add a fresh emitter or replace that segment.
| Symptom | Likely Cause | Quick Fix |
|---|---|---|
| Only last emitter fails | Local clog, kink, or faulty emitter | Clean or replace emitter; trim tubing and test |
| Several ends weak | Low pressure, valve partly closed, or filter issue | Check valves, flush filter, verify supply flow |
| Plants look thirsty but line drips | Soil type or shallow emitter placement | Dig to confirm moisture; reposition emitter or increase run time |
Before buying parts, decide if this is a single-emitter problem or a whole-run drip system capacity issue. For a deeper step-by-step, see troubleshooting driplines and emitters.
What quick checks make sure water can reach both beds?
Start with simple checks that reveal whether settings or hardware are limiting flow. A short, visible test often finds the issue faster than parts swapping.
Timer, controller, or manual valve settings that mimic a clog
Confirm the irrigation system is scheduled and the zone has enough time. Check start time, correct station, and seasonal adjust not set to zero.
If the controller looks odd, swap batteries or test manual start before assuming a mechanical fault.
Closed inline shut-off valves and partially opened hose bibs
Make sure water at the spigot is fully open. A half-throttled hose bib feels like a clog because it limits flow to the whole run.
Trace inline valves and label each one so you know which controls each bed. Open anything that is partly closed.
Backflow devices and splitters that reduce flow to one side
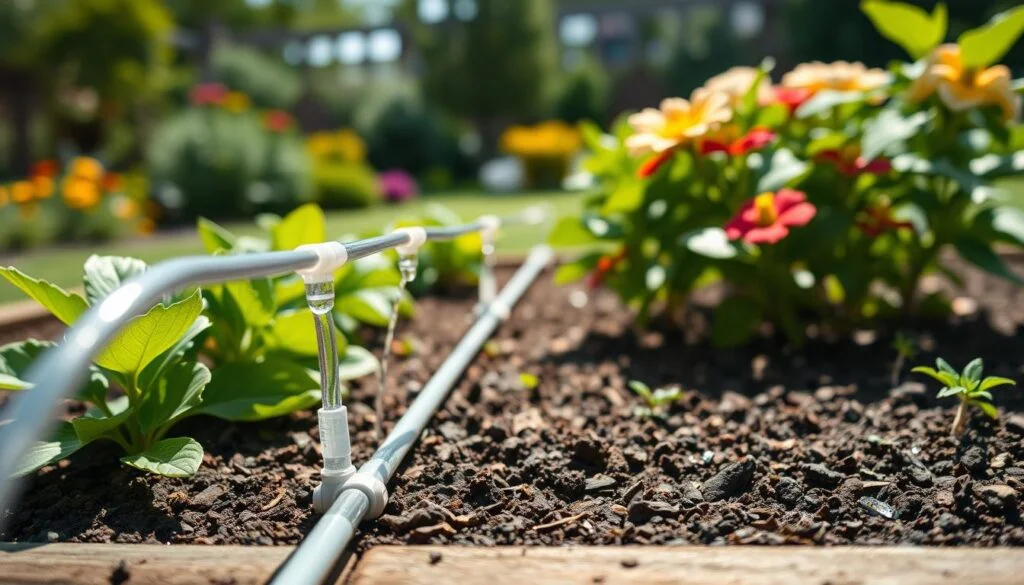
Splitters, backflow preventers, and a single weak component can starve one leg while the other looks fine.
Swap legs at the splitter to see if the restriction moves. If it does, replace or clean that component.
Quick test to run now: run system in daylight and watch both beds for a full cycle. If settings and hardware positions check out, move to pressure and flow checks next.
For a practical layout and hands-on setup, see this helpful DIY drip layout that illustrates balancing multiple lines and components.
What common root causes make the far end lose flow?
Start by picturing the water path from the spigot to the last drip, and note where flow visibly weakens. Most problems trace to loss of pressure, blockages, or hidden damage along that path.
![why are far-end emitters dry on two beds [troubleshooting]](https://thegardenhaven.com/wp-content/uploads/2026/02/why-are-far-end-emitters-dry-on-two-beds-troubleshooting-1-1024x585.jpeg "why are far-end emitters dry on two beds [troubleshooting]")
Low pressure from long runs and friction loss
Long tubing runs and many branches steal energy from the flow. The longer the line and the more turns, the more pressure drops. The far side shows the first symptoms.
Too many emitters on one zone
Overloading a single zone forces near emitters to take most water. Far emitters get weak drips or none at all. Balance emitter count or split into another zone.
Clogs, tubing damage, and failed regulation
Debris, algae, and mineral scale narrow passages. Tiny blockages start as slow drips and then stop. Kinks, pinholes, or UV-cracked tubing leak pressure before it reaches the end.
A clogged filter screen or a fouled pressure regulator can throttle flow or set pressure too low. Check and clean these parts first.
| Cause | Signs | Quick checks | Immediate fix |
|---|---|---|---|
| Friction loss (long run) | Strong at supply, weak at end | Measure pressure at supply and midline | Shorten run or add zone |
| Overloaded zone | Many emitters, low flow everywhere | Count emitters per zone; compare flow | Reduce emitters or split zone |
| Clogs / debris | Partial drips, white scale, slow start | Inspect emitters and flush line | Clean or replace emitters; flush tubing |
| Kinks, leaks, bad fittings | Wet spots, sudden dry end | Walk line for damage and loose fittings | Repair tubing, add elbows, replace fittings |
| Filter / regulator failure | Low overall pressure or surges | Open filter, test regulator setting | Clean screen; service or replace regulator |
Guiding principle: work from supply to endpoints—check pressure at the spigot, after the filter, after the regulator, then along the mainline and branches. This order reveals the true root cause quickly and saves parts and time.
How do you measure pressure and flow rate the right way (so you don’t guess)?
Grab a gauge and a bucket — simple tests tell you if the supply or the line is at fault. This short guide shows where to read pressure and how to check real flow so you stop guessing.
Using a pressure gauge to verify typical drip range
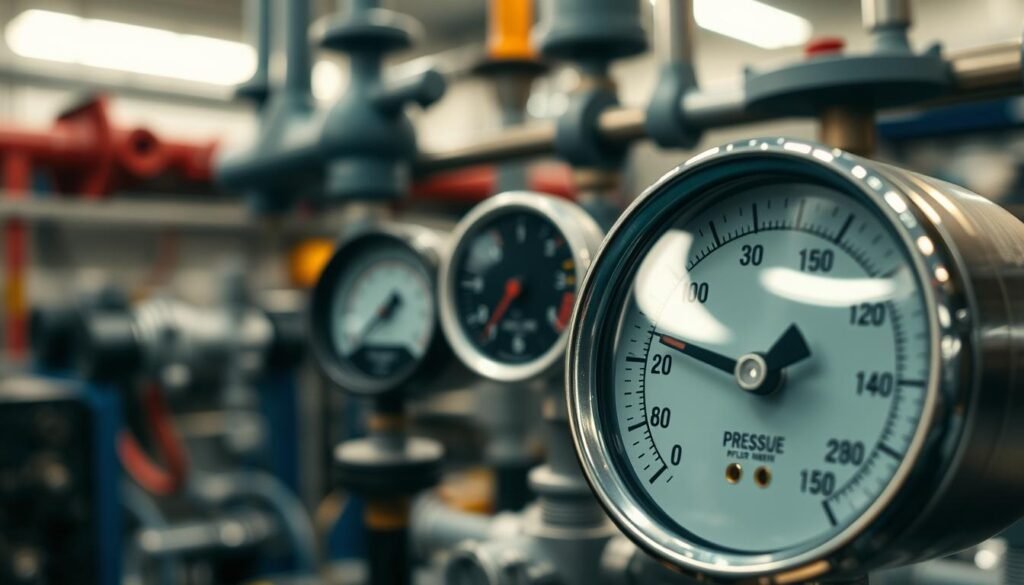
Install a pressure gauge at the spigot and, if possible, again downstream after the filter or regulator. Read both to see where pressure drops.
Target values: many gardens do best near 25–40 PSI, with many systems aiming under ~30 PSI. Keep the drip side ≤ 40 PSI.
How a pressure regulator protects emitters and prevents blowoffs
A pressure regulator stabilizes output so emitters drip instead of squirt. A steady setting stops popped fittings and sudden blowoffs.
Flow-rate reality check: match emitter GPH to your water source
Add up emitter GPH. Example: 100 × 1 GPH needs 100 GPH supply. If supply falls short, the far end will go dry even with clean lines.
Do a bucket test or use a meter to measure real water flow. If demand is too high, reduce emitters, use lower GPH parts, shorten runs, or split the zone.
Practical note: measuring both pressure and flow turns troubleshooting into a quick yes/no task. For a two-bed layout, confirm both to avoid repeat problems in your irrigation system.
How do you fix uneven watering caused by clogs in emitters and drip lines?
Start simple and work toward bigger fixes. Check the last few drippers first; small clogs at the tail tell the story fast. Quick cleaning, a short flush, or a single replacement will usually restore even flow to both beds.
Clean adjustable caps until water runs clear
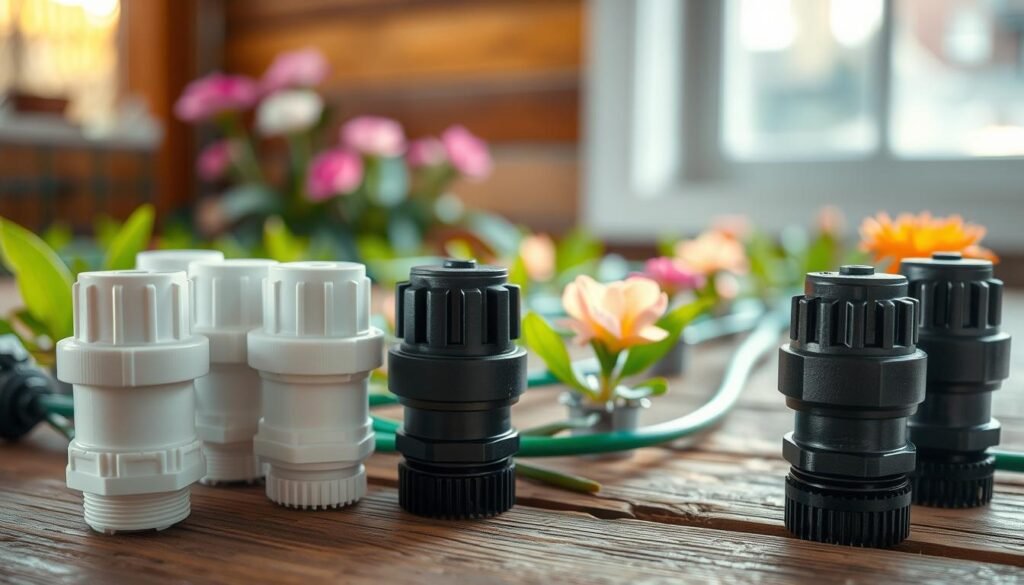
Check clean the final units first. With the zone running, pop off the adjustable cap and watch the barb.
Let water run until it clears. Use a small brush to remove grit and mineral film, then reassemble and fine-tune the drip setting.
Flush lines at the end cap after repairs or additions
Any repair or new branch can send debris downstream. Open the end cap and flush lines until the flow runs clear.
Close the cap, then re-check the far side. Repeat the flush on the other branch if needed.
Replace the last unit or cut back to fresh tubing
If one emitter still fails after cleaning, cut back 2–6 inches and seat a new one or swap the part. A fresh barb gives a solid seal and steady drip.
| Action | When to use | Result |
|---|---|---|
| Check clean adjustable cap | Slow or sputtering output | Restores clear flow; quick fix |
| Flush lines at end cap | After repairs, additions, or cuts | Purges debris downstream |
| Cut back & replace | Persistent silence at tail | Reliable seal and uniform drip |
Practical note: keep a few spare caps and end caps nearby so you can fix issues the same day. After cleaning and flushing, re-run the zone and confirm steady dripping at the far end for several minutes.
Restoring even output helps water plants consistently, so near beds stop drowning while distant plants catch up. For deeper steps, see a trusted guide on troubleshooting driplines and emitters.
How do you inspect tubing across the system for kinks, leaks, and restrictions?
Put your boots on and follow the mainline while it runs; visible issues show up fast. Walk each run with the zone active so leaks appear as fresh wet spots and pressure changes become obvious.
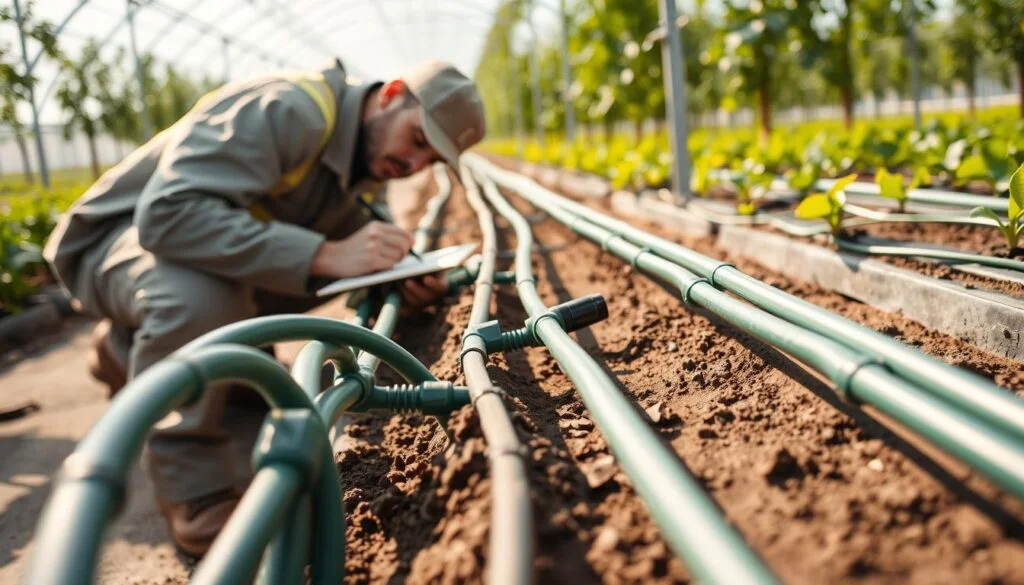
Walk-the-line inspection: wet spots, splits, and punctures
Look across system with the water flowing. Check for soggy patches, shiny misting sprays, tiny pinholes, split seams, and chew marks.
Small leaks steal water before it reaches the far end. Listen for hisses and watch for slow pressure loss while you move down the run.
“A quick walk with the zone on finds most faults faster than guessing.”
Corner turns and tight bends: prevent collapse with elbow fittings
Tight bends in quarter-inch distribution tubing can collapse or kink inward. Add elbow fittings to keep turns smooth and maintain steady drip flow.
Stake lines after adding an elbow so the turn stays gentle and external pressure won’t pinch the tubing again.
When to upsize from quarter-inch to half-inch tubing
If runs are long, emitter count is high, or clogs repeat, move the main run to 1/2″ and keep 1/4″ only for short feeders.
A shared 1/2″ mainline feeding each bed lowers friction loss in a typical U.S. garden and cuts clog frequency. Warm the drip tubing in the sun or handle it on a warm day so it seats fully over barbs and reduces future leaks at connections.
- Repair fast: cut out damaged tubing, rejoin with correct fittings, then re-stake the line.
- After fixes, re-run the zone and confirm steady flow across system; flush end caps to clear repair debris.
How do filters and regulators become the “silent” reason end emitters dry out?
A quiet blockage at the filter or a sticky pressure regulator can steal flow from the line end. These components fail subtly, so the system looks fine until the last drippers show stress.
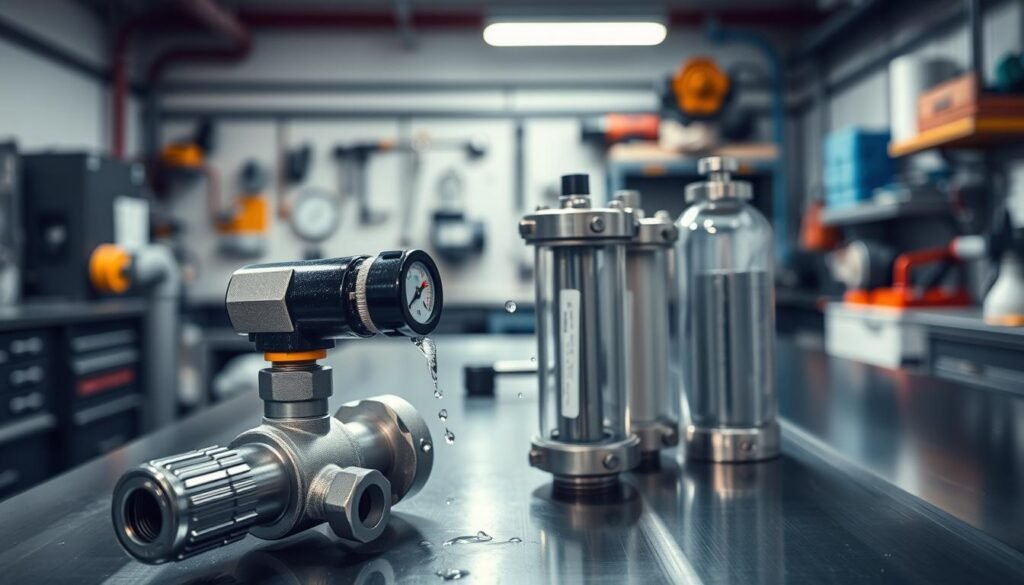
Filter basics: even municipal water brings grit
Municipal supply or well water can carry tiny particles, mineral flakes, and fertilizer residue. Without an effective filter, that debris builds scale inside small passageways and clogs outlets.
Cleaning cadence and signs of a clogged screen
Check and clean filter screens every 2–4 weeks during peak season. A fouled screen shows visible grit, slower flow across the zone, and a pressure drop after the filter.
Common US garden targets for filtration and pressure
Most gardeners use 150–200 mesh filters for reliable protection and a pressure regulator set near 25–40 PSI. A sedimented regulator can set pressure too low and starve the line, or fail high and cause surges.
- Quick test: read pressure before and after the filter/regulator—large drops mean cleaning or replacement.
- Treat filtration and pressure control as core components of your irrigation system to keep endpoints consistent.
What design issues matter most when two beds share one supply?
A single water source serving two planting zones exposes small design flaws quickly. Good layout and honest zoning stop one side from stealing pressure and flow from the other.
Split zones if demand exceeds supply
If one drip system can’t deliver steady output to both areas, split into separate zones. Overloading a zone leads to uneven watering and stressed plants. Run each zone long enough so emitters settle into steady flow.
Keep mainline length reasonable
Friction loss grows with distance and small tubing. Aim for mainline runs under ~200 ft per zone when possible. Use 1/2″ mains to reduce pressure drop, then short 1/4″ whips to each plant.
Use consistent brands and correct fittings
Stick with compatible brands and matching sizes. Mixed parts can cause slow leaks or blowoffs as pressure cycles. Use the right fittings for the tubing to avoid “almost fits” that fail over time.
Schedule checks and observe performance
Run system while you’re home so you can see both areas drip evenly. A quick visual check saves hours later and helps you make sure small fixes hold.
Small design changes — one extra zone or a larger mainline — often fix persistent issues for good.
What bed and soil factors make distant plants look thirsty even when the system runs?
Soil texture and emitter placement shape the wetting pattern more than you might expect. Short checks of root depth and run time usually find the real cause.
Soil mix and root habits often explain why garden hardware can run perfectly while plants still look parched.
Raised beds and sandy mixes: spacing matters
In light, sandy soil water drops straight down. That can form vertical “chimneys” and leave gaps between wetted zones.
Tip: keep emitters no farther than about 12 inches apart in sandy raised beds so the wetting fronts overlap.
Place drips over the plant root zone
New transplants drink from the rootball. Position a drip right over that zone at first.
As roots expand, move emitters outward to match where the plant actually takes water.
Match run time to soil and emitter output
The most common error is short cycles. Short runs wet the surface but not the root depth.
Run longer or add cycles. Check soil 30–60 minutes after a run to see how deep moisture reached.
Dig to confirm moisture — don’t guess
A small probe or a trowel beats watching leaves. Dig to plant root depth and feel the soil.
If the root zone is dry, hand water new plants until the drip wetting pattern catches up. Dialing spacing, placement, and time fixes uneven watering for most gardens using drip.
Conclusion
Finish with a compact plan that keeps water flowing and saves time.This short checklist turns urgent fixes into routine care and reduces recurring issues.
Step flow: confirm settings and valves, verify pressure and flow, clean adjustable caps and flush line ends, inspect tubing and leaks, then service the filter, regulator, and layout limits.
Key takeaway: end-of-line wetting problems usually point to a capacity or restriction in the whole system, not a mysterious single failure in the last drop.
Maintenance rhythm: flush lines each season, walk the layout monthly, and clean screens every 2–4 weeks during heavy use. Keep a small spare kit (end caps, couplers, a few emitters, a screen) so a parched patch becomes a ten-minute fix.
With steady pressure, clean parts, and a simple check routine, your drip system will deliver even water and this guide will save you time.