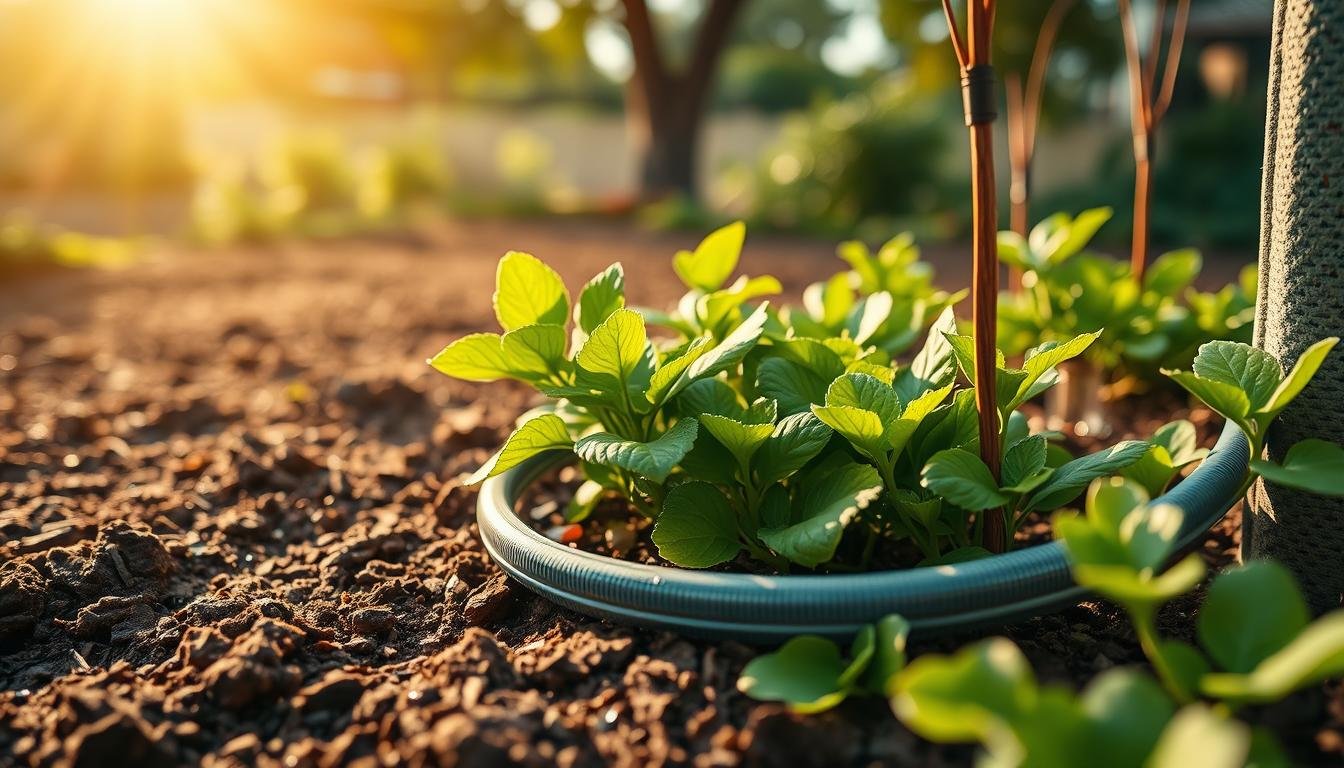
You walk the bed edge and notice one corner stays dusty while another puddles. That quiet mismatch tugs at any gardener’s heart — plants on one side thirsty, others overwatered.
I’ve stood in that same spot, hands full of soil, and felt the urge to fix it fast. Kinks in tubing block flow, steal pressure from emitters, and make a healthy layout look sloppy.
This short guide shows what to watch for, why corners fail, and a simple corner strategy you can use right away: gentle curves or elbow fittings + secure the line + correct pressure and filtration.
Start by checking pressure — most home systems should stay at or below 40 PSI to avoid blowoffs and stress. Then follow a quick inspection path: spot symptoms, pick the right fix, and verify flow at the line end.
For a compact system plan that covers pots and borders, see this practical setup at my DIY drip system.
Key Takeaways
- Uneven watering often signals a kink or pressure issue in the line.
- Gentle bends or elbow fittings protect vulnerable corners.
- Keep garden system pressure at or below 40 PSI for safety and reliability.
- Secure tubing and allow slack to prevent abrupt bends.
- A quick inspection → fix → end-of-line check keeps plants happy.
Spot the Signs of a Kinked Drip Line Before Plants Suffer
A simple eye-and-touch check along the line is the fastest way to read your irrigation runs. Corners and the line end often reveal restrictions: soggy bends next to dry rows point at a local problem that needs quick attention.
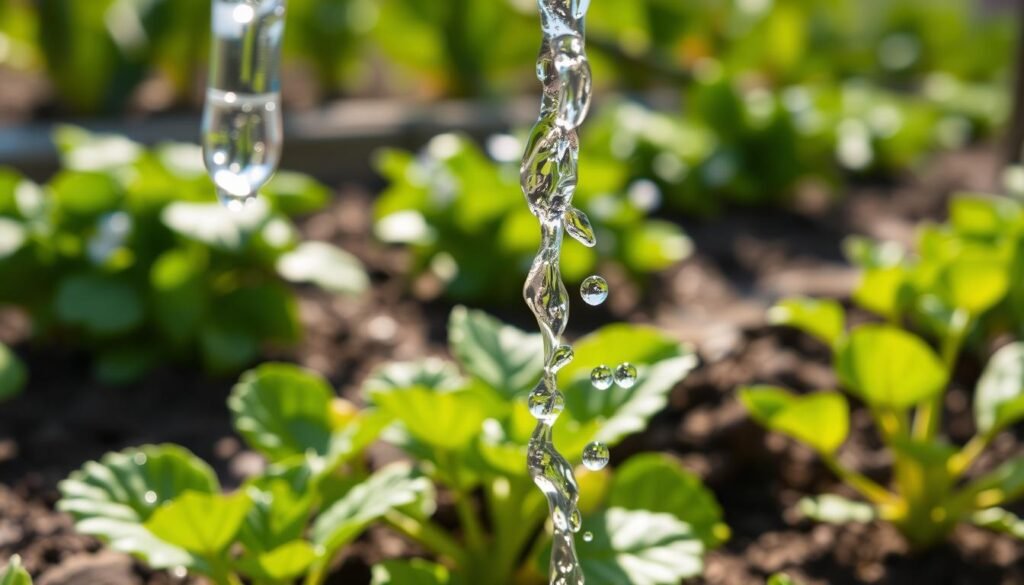
Water flow symptoms at corners and line ends
Look for puddles by a bend while plants downstream stay parched. Emitters after the turn may drip slower than earlier ones. That pattern usually means the flow is being pinched at or near the corner.
Pressure red flags that point to a restriction in the tubing
Listen and feel: a hissing fitting, firm tubing before a bend but limp hose after it, or sputtering emitters when the system runs all suggest a pressure loss. A kink acts like a partial clamp, cutting pressure to the rest of the run.
Quick walkthrough inspection for wet spots, dry zones, and uneven watering
Run the system, then slowly follow the line with your eyes and fingers. Feel for flattened tubing, sharp folds, twists, and loose connections. Wet spot near a corner plus dry beyond often signals a kink, a small leak, or an unseated barb.
- Final check: after any fix, confirm steady watering at the end so plants get water to their root zone.
- See a list of common fixes in this guide to common drip mistakes.
Why Drip Tape Kinks at Bed Corners in the First Place
A tight angle on a run invites a collapse that cuts flow and wastes time. Most corner kinks happen when a length of tubing is asked to bend sharper than its natural curve. Add pull tension, sun damage, and gritty contact with soil, and that corner becomes the weak point in the supply.
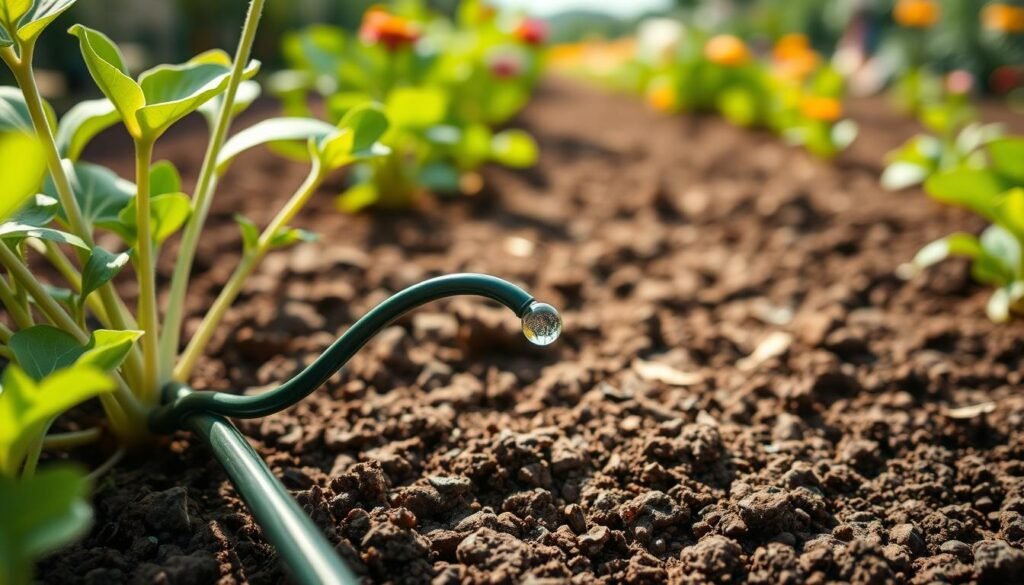
Sharp bends vs. natural bend radius
Bend radius is how much a tube wants to curve. If a turn is smaller than that radius, the tube flattens and throttles flow. Raised beds with crisp 90-degree angles invite this unless you use an elbow fitting or a soft sweep.
Tension and layout stress
Pulling lines tight makes the corner a hinge. The tube keeps trying to straighten and that constant strain brings twists and kinks over time.
Material, size, and role in durability
Larger ID tubing often kinks more when sharply bent or twisted. Choosing the right size and kink-resistant material raises long-term quality and efficiency.
Wear, soil contact, and tool damage
UV makes plastic brittle, soil abrasion wears walls thin, and garden tools nick lines near edges. These stressors raise the risk of punctures and kinks and hurt system performance.
“A small kink today is a repeat repair tomorrow — plan gentle turns and proper fittings for steady watering.”
| Feature | Smaller distribution tube | Mainline tubing | Risk |
|---|---|---|---|
| Flexibility | Higher | Lower (stiffer) | Sharp bends collapse small internal flow |
| Best corner fix | Gentle curve, stakes | Elbow fittings | Improper method causes kinks |
| Damage points | Soil abrasion, tools | UV cracking, barb stress | Reduced flow and leaks |
| Effect on system | Loss of uniform wetting | Pressure loss across run | Lower irrigation system efficiency |
Summary: Most corner failures trace back to forcing a tube past its natural curve. Match tubing size and material to the layout, allow slack, and protect edges to keep systems running longer with less repair time.
how to stop drip tape kinking at bed corners [troubleshooting]
Treat each corner as a tiny junction: the right piece and a firm mount change everything. Control shape and movement, then lock the layout so the run stays steady under pressure.
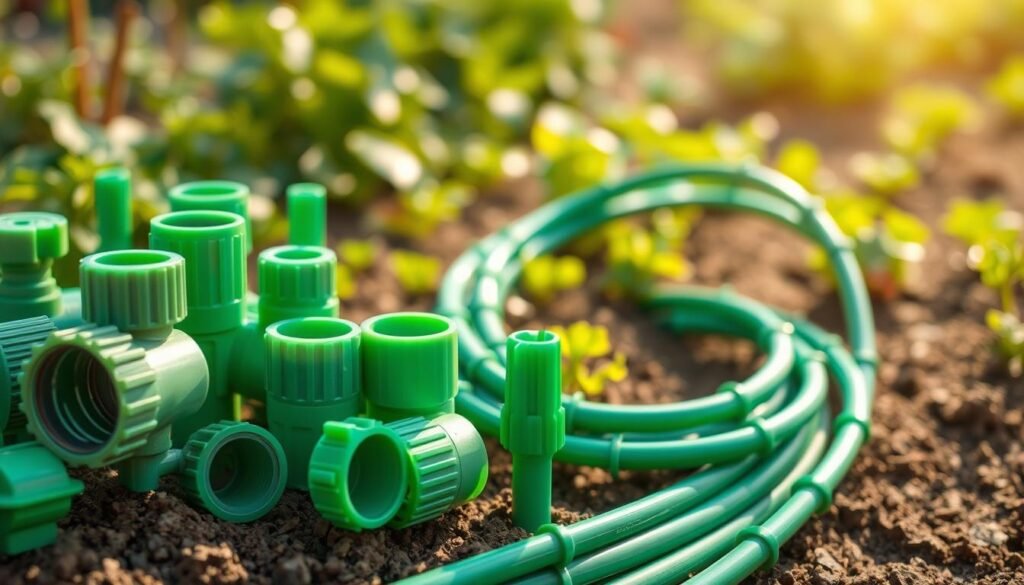
Use elbow fittings for clean 90-degree turns
Elbows create a true right-angle without squashing the tube. In tight beds they keep flow steady and protect emitters near the turn. Match the fitting size and style to your tubing — barbed or push-fit — and avoid mixing systems on one joint.
Secure lines with hold-down stakes or clamps
Place stakes just before and after a turn so lines can’t twist when they warm or cool. A stable run reduces movement, friction, and the chance a joint will loosen under system pressure.
Route corners with gentle curves
Give the line a soft arc by adding a little extra length. A rounded route keeps water moving and prevents sharp folds that mimic clogs when debris builds up.
Make sure connections stay fully seated
Make sure tubing covers the barb completely. Half-seated fittings leak, pop off, or fail under higher pressure. If corners keep failing, confirm regulator and filter function and verify pressure stays at or below 40 PSI.
“Preventing corner kinks is mostly about controlling shape and movement: make the turn correctly, then lock it in place.”
- Quick checklist: match fittings, secure lines, use gentle curves, check barb seating, and watch pressure and supply filters for debris.
- For a detailed fitting guide, see this practical note on prevent kinks.
Easy Fixes When a Corner Kink Is Already Restricting Flow
A soft twist and some patient kneading can reopen a flattened run in minutes. When a corner crease steals water, try quick reshaping steps first; cut and couple only if the tubing keeps a permanent fold.
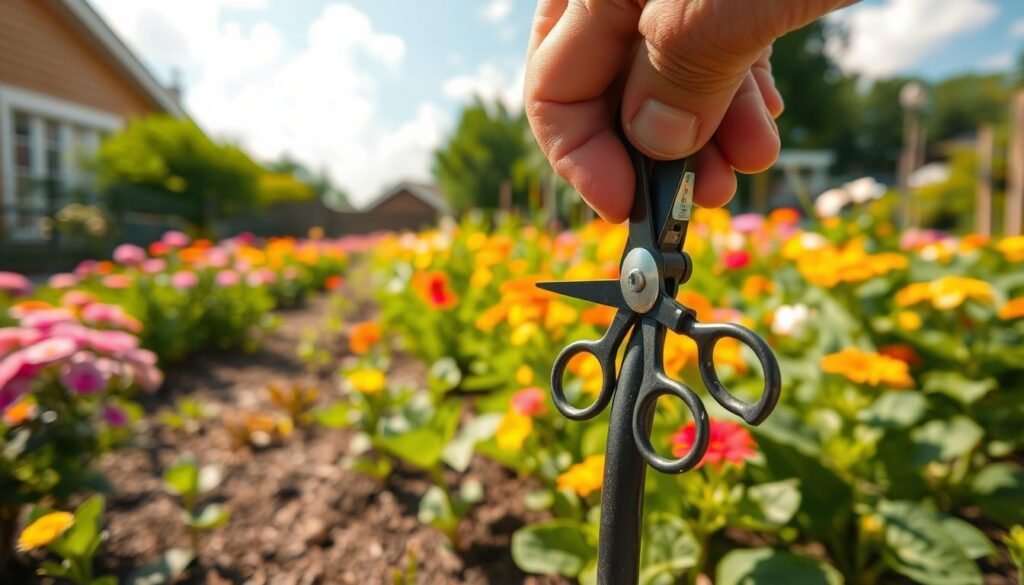
Gently twist and massage minor kinks
Turn the supply off, hold the kinked spot, and rotate slightly while massaging the flattened area back toward round. Work slowly so you don’t tear the tube.
Sunlight and warm-water straightening
Lay the tubing in sun for a few minutes so plastic relaxes, then re-route with a gentler curve. For stubborn dimples, dip just the crease in warm (not boiling) water, reshape while pliable, and let it cool in the new position.
Use water pressure and cutting repairs
After realigning, run the system and watch emitters at the end. Pressurized water often smooths small bends and restores flow.
If the tubing stays creased, cut out the damaged section with a clean cutter and insert a size-matched coupler. Secure the joins and check for leaks.
“Turn the supply off, fix the shape, then run water and verify the end now flows well.”
- Quick rhythm: shut water, reshape or cut, then test flow at the end.
- After repair, inspect for leaks and confirm steady pressure so plants receive even water.
- For a complete irrigation install reference see Rain Bird drip irrigation installation.
Prevent Repeat Kinks by Dialing In Pressure, Filtration, and System Layout
A steady system starts with stable pressure, clean filters, and a tidy layout. Corner kinks are often the symptom — pressure, filtration, and route choices decide how forgiving the run will be.
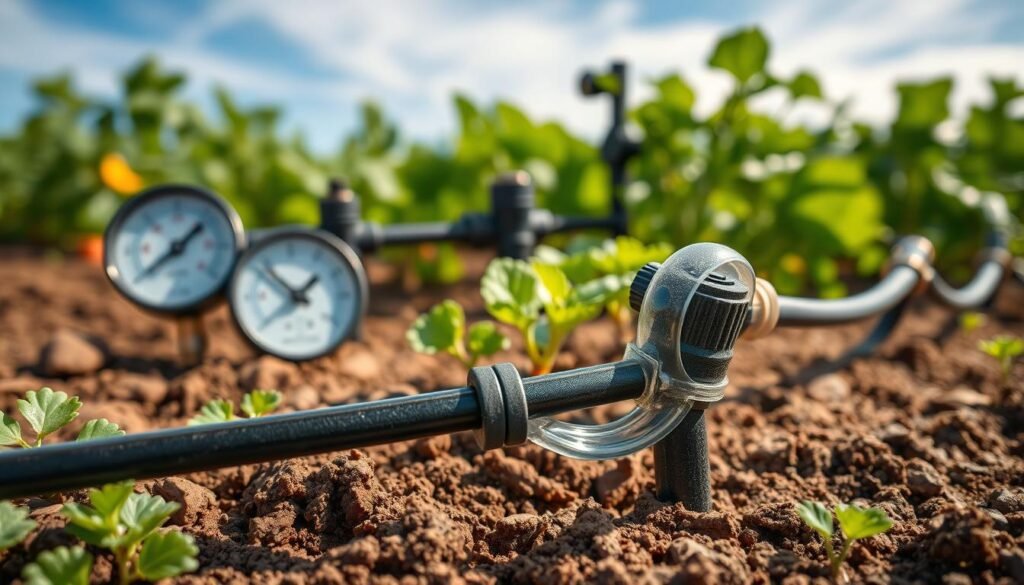
Keep pressure in check
Fit a regulator and add a simple gauge so you can confirm pressure stays at or below 40 PSI. High pressure stiffens tubing at bends and makes fittings more likely to blow off.
Maintain filters and flush lines
Rinse screens every 2–4 weeks during peak season to reduce debris and clogs that mimic kink symptoms. Once a season, open the end cap and run water to purge sediment that hurts emitters and overall flow.
Match fittings and secure layout
Use size-matched fittings for the mainline and drip tubing. Keep connection styles consistent (barbed with barbed, push-fit with push-fit) so joints stay seated under supply pressure.
Anchor vulnerable turns, avoid tight pulls, and leave a little slack for thermal movement and garden work.
“Stable pressure + clean filtration + flushed lines = fewer repeats of the same corner problem.”
For related garden care tips see natural pest control hacks.
Conclusion
A quick walk along your runs often reveals the small faults that cause big watering gaps. Use gentle curves or an elbow and stake the line so it cannot twist; that keeps water flowing and drips steady.
Corners kink when the line is forced into a sharp turn. The basic fix is simple: bend gently, add a fitting, and secure the run so lines hold their shape.
Follow a clear order when you find uneven wetting: spot the dry end or slow drips, correct the corner, then run the system and make sure flow reaches the far end.
Walk your garden during a cycle for two minutes each week. That small habit saves time and protects roots by keeping moisture where it belongs.
Fewer leaks and restrictions raise water efficiency and plant quality. Finally, make sure pressure stays reasonable, filters stay clean, and corners stay supported so the system works quietly in the background.