
You walk out after a watering cycle and find the last bed damp, a tiny drip that nags at you. That small puddle feels like a puzzle, and it can make healthy plants look patchy overnight.
Drain-down after a cycle is normal in many irrigation setups. But a steady leak under pressure can waste water and steal flow from the last outlets in your system.
This short guide helps you decide if the wet spot is harmless or a real problem. We’ll show how to observe the pattern, note which cycle matches the leaking, and isolate one branch at a time. Start simple: watch wet areas, check common fittings, and inspect the head assembly and valves for seal or backflow issues.
Safety first — if the line stays pressurized and wet, turn water off to avoid erosion. For a full layout idea and practical setup tips, see this DIY drip system that waters many pots project.
Key Takeaways
- Small post-cycle drainage is usually normal; constant leaking is not.
- Isolate sectors to find where flow escapes.
- Check valves, fittings, head assemblies, and hose connections first.
- Turn off water if the line holds pressure and keeps leaking.
- Simple tests with a towel and flashlight reveal most common issues.
How to Tell If a Slow Drip Is Normal Drainage or a Real Leak in Your Irrigation System
Not every post-watering puddle needs repair; timing reveals most issues quickly. Match when the wet spot appears to your cycles and you’ll know if it’s simple drain-down, a valve problem, or a pressurized line leak.
Low-head drainage is plain: after a cycle ends, trapped water in the zone’s pipe slides down and puddles at the lowest head or manifold. That drip usually fades as lines empty and is a normal part of many irrigation setups.

Quick observation test
Note the times. Does the wet spot show up right after the cycle and then stop? If yes, that pattern points to gravity drain-down rather than a failing part.
Valve vs drainage signs
If a valve is leaking, water keeps coming long after a reasonable drain window. The same area will re-wet between cycles and the damp patch won’t fully dry.
Main line vs lateral leaks
Understand the types of lines: a constant pressure main can leak whether the system is off or on. Lateral or zone leaks appear only when that zone runs. Persistent wet areas when irrigation hasn’t run suggest a supply-side leak—so turn water off to avoid erosion or a growing hole.
Another cause could be slope: the lowest head becomes the drain point even when nothing has failed. Use targeted troubleshooting before replacing parts.
what causes slow drip at far bed manifold [troubleshooting] in Drip Irrigation Systems
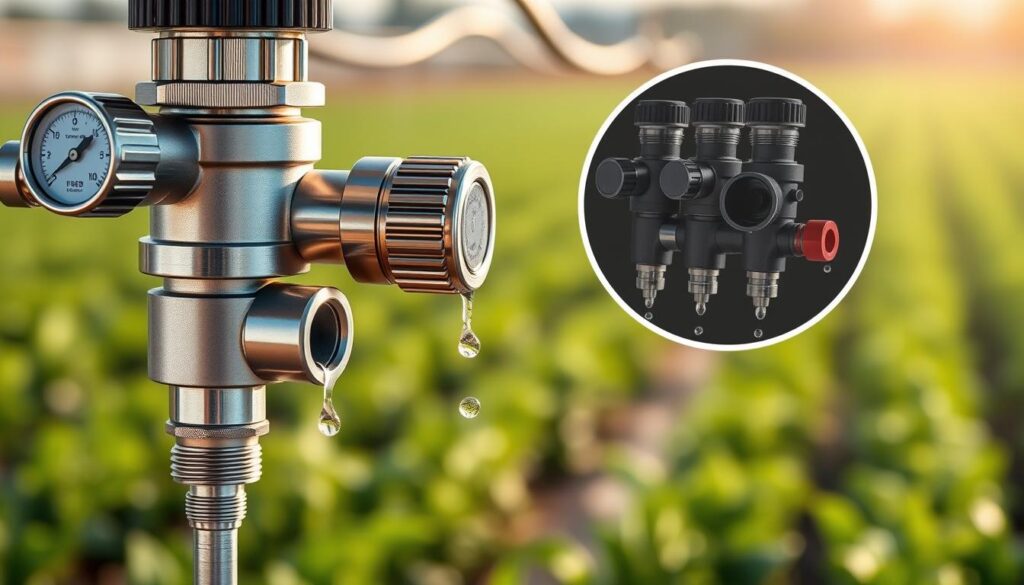
Most far-bed drips trace back to two themes: uneven pressure at the end of the line, or a small leak in the head assembly or fittings that shows up where water finally “settles.” We’ll isolate each part so you can stop guessing and pinpoint the exact cause.
A tiny wet spot often points to pressure loss or a small leak in the last connection of your irrigation loop.
Pressure loss and why the last valve shows first
As pressure and flow drop down long tubing, tiny faults become obvious at the final head. In drip irrigation, even small losses change how the system behaves.
Isolate the head assembly, one part at a time
Treat the head assembly like a chain. Remove the backflow preventer and run the zone. If the wet spot stays, reinstall it and remove the filter. Next, test without the pressure regulator. Note when the symptom stops.
Backflow, filter, regulator checks and thread tips
- Backflow: brief shutdown dripping is normal; constant wetting suggests an O-ring, seating, or crack. Verify placement after the timer to avoid trapped pressure.
- Filter: check inlet O-rings and the canister seal; clean screens if buildup restricts water flow.
- Regulator: small relief seepage can be normal; steady streams mean seating or direction issues. Seat the diaphragm by briefly sealing and releasing the relief port.
- Fittings: hose thread needs a washer; pipe thread does not. Don’t use Teflon tape on hose-thread parts and avoid overtightening plastic.
| Component | Normal behavior | Signs to replace or repair |
|---|---|---|
| Backflow preventer | Small drip at shutdown | Continuous drip, damaged O-ring, cracks |
| Filter | No leak; clear screen | Leaks at canister, missing O-ring, restricted flow |
| Pressure regulator | Minor relief seepage on some models | Steady stream, reversed flow, diaphragm seating fault |
Tip: Fix the specific part that changes the pattern. For broader water savings and system ideas, try this greenhouse rain barrel setup: greenhouse rain barrel setup.
Fixes That Stop the Drip and Restore Consistent Water Flow to the Far Bed
Once you’ve found where the drip starts, the fix is usually simple: reseal a connection, correct a part orientation, or repair a small line break. The reward is steady water flow to the far bed and fewer soggy surprises between cycles.

Correcting fittings and connections
Match tubing to the correct fitting type and size. Hose-thread fittings need a washer; pipe-thread adapters do not.
Tip: Hand-tighten first, then add a small extra snug. Over-tightening can deform seals or crack plastic and create new leaks.
Use clamps on barb/insert fittings to stop tiny escapes that show up as a lingering drip after a cycle.
Repairing dripper and tubing leaks
Many barbed emitters are installed backwards. If an emitter leaks at its junction, flip it and push it fully home.
If punched holes have stretched, move the emitter to a fresh hole and seal the old one with a goof plug. This fixes most persistent leaks without replacing the run.
Addressing valve seepage and line breaks
A weeping valve will keep the line damp even when the zone is idle. Do a visual check and feel the outlet for tiny flow.
Main line breaks leak continuously; lateral breaks may appear only during watering. Pause the affected zone until you repair small breaks to prevent erosion.
After any repair, run the zone and re-check the head and far side immediately, at 10 minutes, and after shutdown to confirm steady flow.
Conclusion
Pause, observe, and isolate: a short inspection often shows if the wet spot is normal or needs work. Use timing and a few focused checks to tell whether you face simple drain-down or an active repair.
Quick rule: if the damp appears only after a cycle, it’s likely normal drain-down; if it shows up anytime, suspect a pressurized supply or part fault. Fix the single faulty connection, washer, or component you found rather than swapping parts at random.
Safety note: if you suspect a main-line problem, turn water off immediately to stop waste and protect the yard. For help narrowing a leak by circuit, consider valve-per-circuit isolation — it speeds diagnosis (see a practical example about isolating circuits).
Take small steps, test what changes the pattern, and you’ll restore steady flow and calm. For broader garden care and pest-free plant health, check these natural pest control tips.