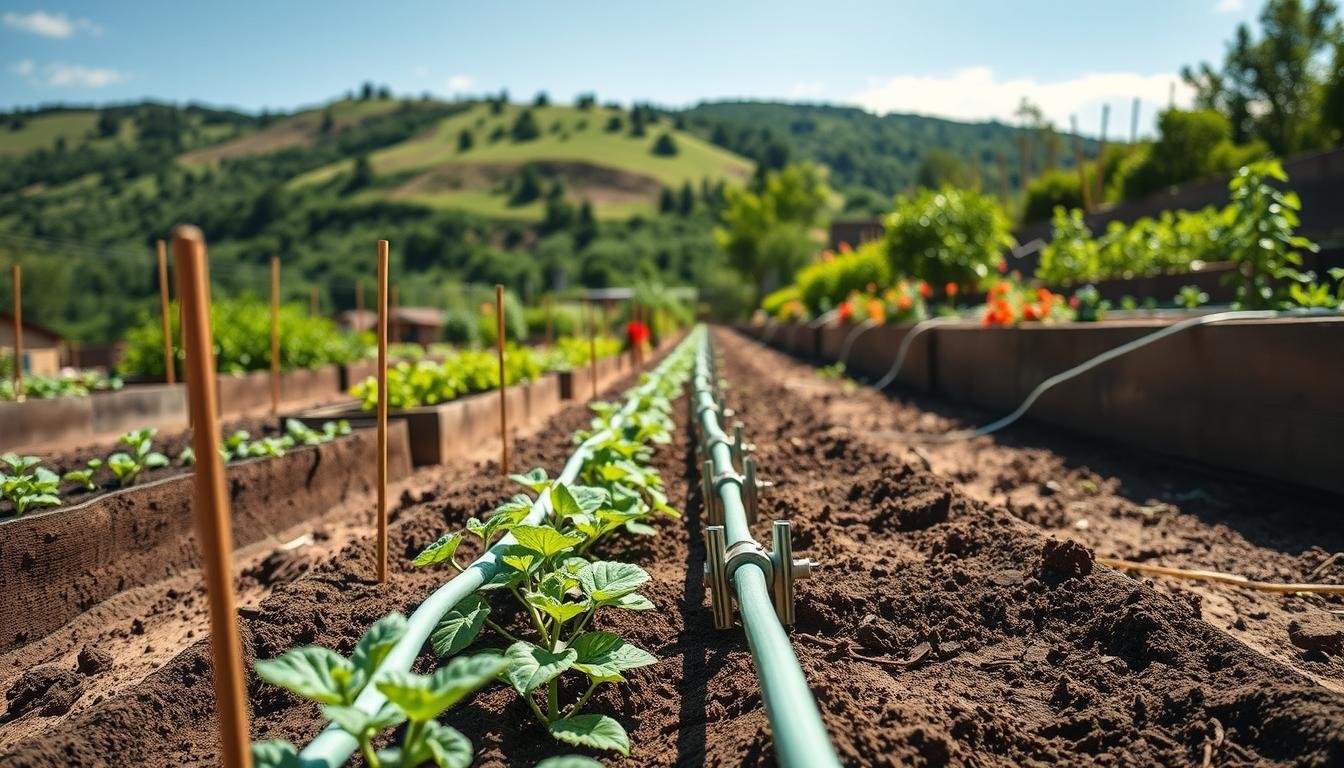
I remember the first summer I fought runoff and thirsty plants on a slope. The mornings smelled of warm soil and worry, until a simple plan turned the patch into a confident, productive space. You can feel that relief too.
This guide shows a hands-on, confidence-building DIY to feed each planting area evenly on sloped turf. You’ll build a reliable drip irrigation system that stays put thanks to secure stakes and a level layout.
We preview the workflow: plan the layout, confirm level beds to cut erosion, gather supplies, connect the water source, run mainline tubing, lay lines, anchor them, then test and tune. For practical help and installation details, see a thorough irrigation reference at backyard garden irrigation guide and ideas for compact herb plots at best raised herb garden.
Key Takeaways
- Expect a practical DIY install that works on sloped yards and builds gardener confidence.
- Focus on level beds to reduce erosion and make watering uniform.
- A slow, precise drip approach cuts runoff and saves water at the root zone.
- Use stakes to keep tubing from creeping downhill and prevent kinks.
- Design the layout to be easy to expand later—extra zones or emitters.
Why is drip irrigation ideal for raised beds on a hillside?
Slow, low watering keeps moisture where roots can use it and cuts waste. On slopes, sprinklers lose nearly half their water to evaporation and wind. A targeted irrigation approach applies measured flow at the soil line so water soaks in instead of rushing downhill.
How it cuts evaporation and runoff
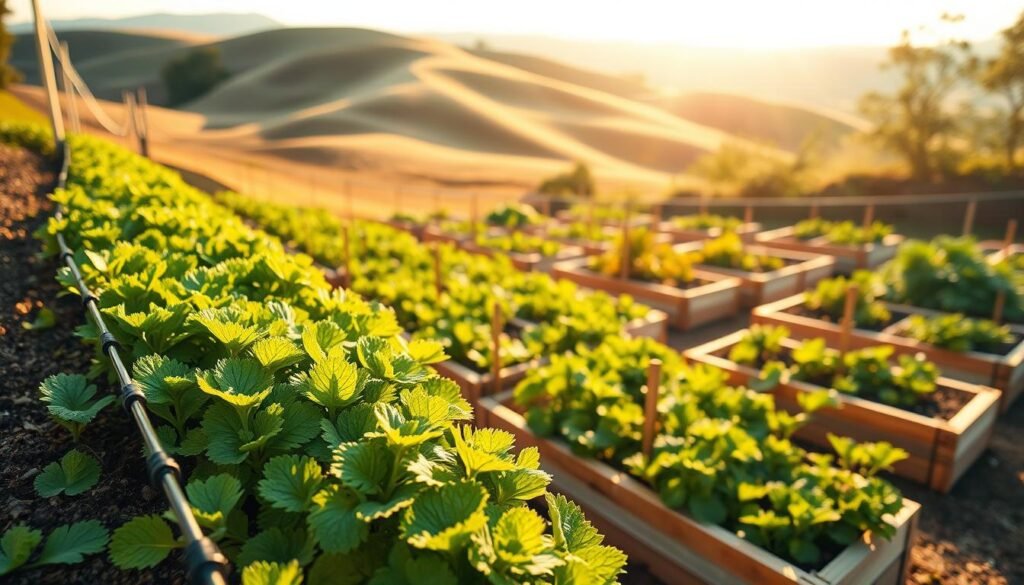
Drip irrigation places water near roots, not in the air. That reduces evaporation and prevents the top row from drying while the lower rows flood. If you want detailed step guidance for slopes, see this slope setup tutorial.
Better plant health from root-focused watering
Keeping foliage dry lowers fungal risk and boosts steady growth. Water at the root zone so plants develop deeper, more resilient roots and stay healthier through heat spells.
Why flexible lines suit rough, sloped terrain
Flexible tubing bends around rocks and corners and stays close to the soil. It limits wet pathways that invite weeds and makes harvesting cleaner. For compact installations that handle tight spaces, see this example of a small DIY drip setup.
How should you plan your hillside garden layout before installing irrigation?
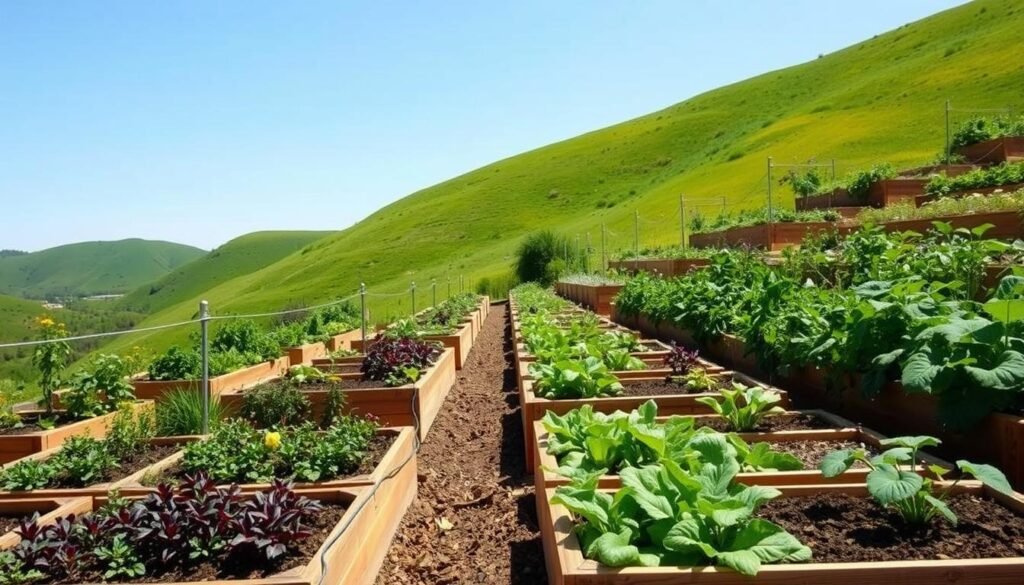
Start planning your slope layout by matching sun, access, and water paths before you touch any tubing. Pick a spot that gets about six to eight hours of direct sun for most vegetables, and try to be near a spigot to simplify runs.
Good layout protects soil and makes watering efficient. Keeping beds level instead of following the slope helps stop erosion and keeps nutrients where plants can use them. Sketch the slope direction, mark each bed, and label the high side and low side so you know where tubing might drift.
Choosing a sunny location and mapping beds to the slope
Walk the landscape at different times of day. Note shade patterns and choose the best place for your raised garden. Draw simple lines showing access paths and where water will run.
Preventing erosion by keeping beds level instead of following the hillside contour
- Level beds reduce runoff and even out moisture across garden beds.
- Leave clear paths wide enough for a wheelbarrow and easy inspections.
- Decide if one mainline will serve all beds or whether zones are needed to keep pressure steady.
Plan layout with maintenance in mind so you can reach fittings and flush lines later—future you will thank you.
How do you build (or verify) level raised beds on a slope for better water efficiency?
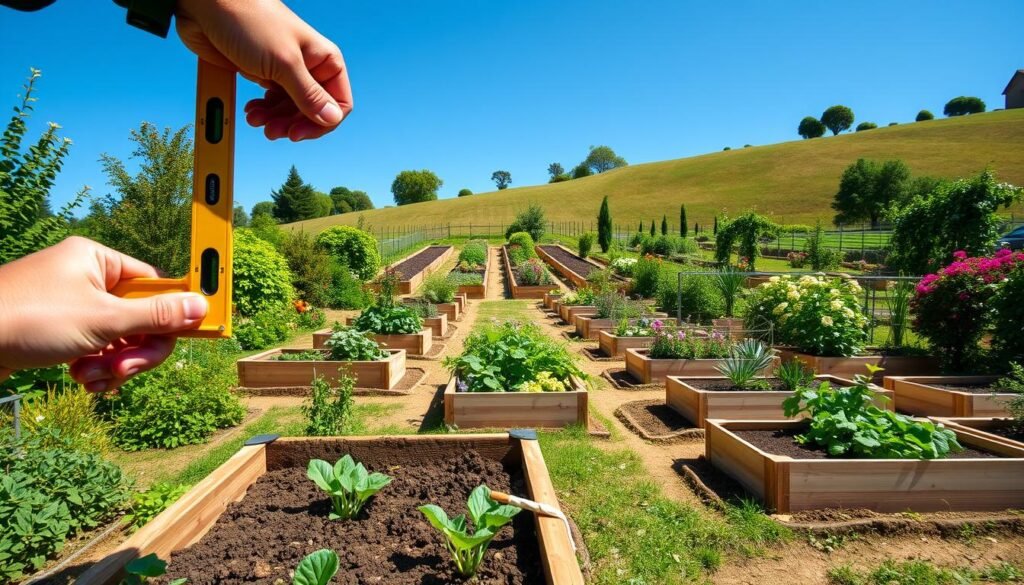
On a slope, a level frame makes water behave instead of racing downhill. Level boxes reduce erosion and let your irrigation deliver even moisture across the soil. Start by placing the frame where it gets full sun and is near your water source; that saves long runs and pressure loss later.
Recommended size for easy access and less compaction
Keep each bed no wider than about 4 feet so you can reach the center without stepping in and compacting the soil. Aim for 8–12 inches deep for most vegetables; that depth supports root growth without excess fill. Shorter runs are easier to level on slopes, so choose multiple manageable beds rather than one long frame.
Preparing the area: no-dig cardboard vs. removing turf and debris
The no-dig method: mow low, overlap cardboard seams, then add compost and topsoil. It suppresses weeds and disturbs soil less.
The traditional method: remove grass, rocks, and roots and loosen the base so water can move underneath. This helps drainage and anchors the frame.
Materials and food-safety choices
Choose rot-resistant woods like cedar for longer life. Pine is cheaper but will decay sooner. If you prefer not to use pressure-treated lumber, line the inside with polyethylene for peace of mind.
- Level check: use a spirit level across top rails in both directions and adjust now—irrigation depends on it.
- Irrigation entry planning: decide where tubing will enter to avoid awkward drilling and extra holes later.
For a simple build guide and sizing ideas, see an overview on raised garden beds and a compact design method at the classic filler-spiller visual guide.
What supplies do you need for a raised bed drip irrigation system on a hillside?
Gathering all hose and tubing parts before you begin saves time and stress. A quick prep trip prevents mid-install runs and keeps your project to an afternoon instead of a weekend.
Water source essentials: grab a sturdy hose Y connector so you can still hand-water, a reliable timer for automation, and a pressure regulator (plus any adapters). These control flow and protect fittings from high water pressure.
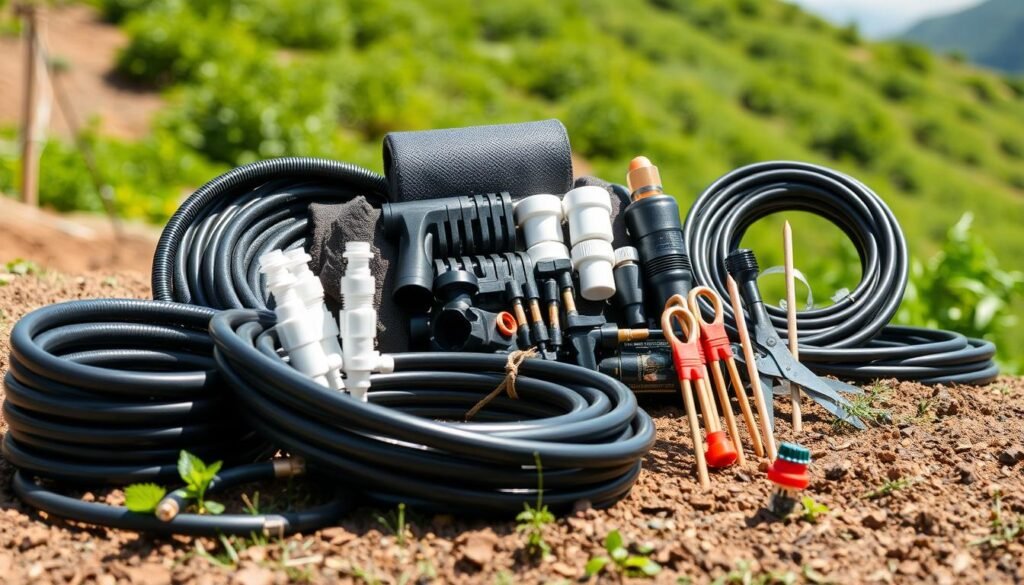
Delivery & anchoring parts
Bring mainline tubing (poly) to feed each bed, then add drip line or individual emitters depending on your planting pattern. Pack lots of stakes or landscape staples to pin tubing so lines don’t creep downhill.
Tools and smart buys
Include a cutter, hole punch, plumber’s tape, and goof plugs for quick fixes. Starter kits often bundle compatible fittings and are great if you’re new—then expand parts as you grow. Check tubing sizes before you install drip to avoid mismatched fittings and wasted trips to the store.
How do you install a raised bed drip system for hillside garden with stakes (step-by-step)?
Start at the tap and work outward: control the flow first, then lay out delivery lines down the slope. This order keeps pressure steady and cuts the chance of leaks while you walk the run.
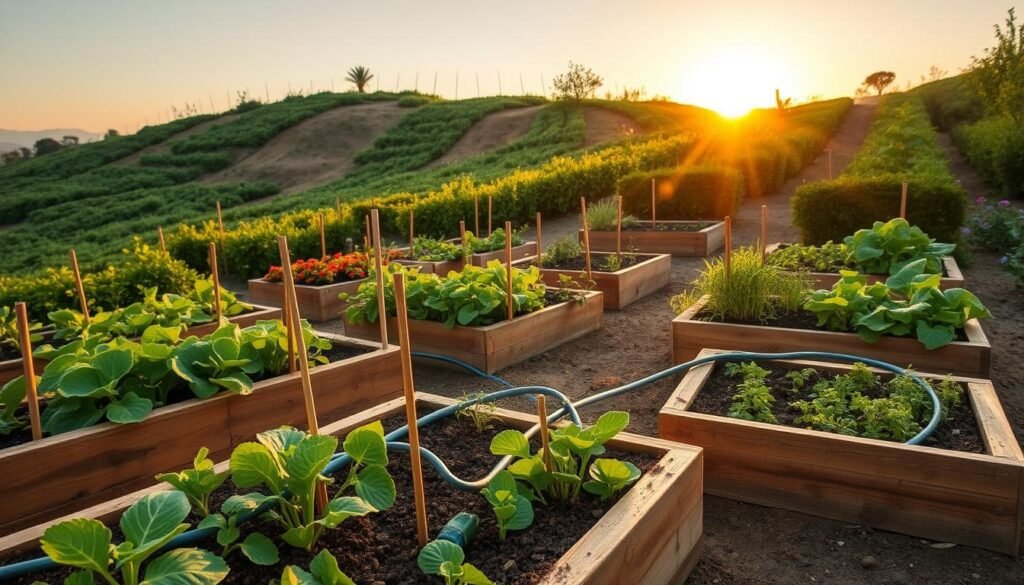
Attach the Y connector and pick your zone
Fit the Y connector to the spigot and use plumber’s tape on threads if needed. Keep one side free for a regular hose so you can hand-water seedlings while the main zone runs.
Add the timer and automation
Thread the timer onto the connector and leave it off while you build. Set basic schedules later so early-morning watering happens automatically.
Install the pressure regulator
Install the pressure regulator below the timer (use the adapter included in many kits). Stable pressure protects emitters and gives even output across lines.
Connect mainline tubing and route neatly
Run mainline tubing along protected paths, securing it periodically. Leave light slack so temperature shifts or soil movement won’t stress fittings.
Bring tubing into the bed cleanly
Use elbow fittings at the wall: bring the line up, turn 90°, and enter horizontally to avoid kinks. Straight, supported runs mean fewer leaks and easier maintenance.
Tip: Neatness equals reliability—straight runs and firm supports reduce fuss. For framing and slope tips, see how to build a raised garden bed on sloping.
How do you design drip line coverage inside each raised bed for even watering?
Imagine each plant’s roots as small cups; arrange tubing so every cup gets a steady sip. Match line placement to the pattern of your crops and the bed width. That keeps moisture even and lowers competition between plants.
How many lines should you run and where?
Use a simple rule: a 4 ft x 8 ft area usually needs about three to four drip lines across the width to cover most crops. Tight greens get closer spacing; larger plants need fewer lines or targeted emitters near each root ball.
How to straighten tubing and place it neatly
Lay coiled tubing in the sun for 15–30 minutes to relax coils. Straight, warm tubing is easier to stake and less likely to kink. Run lines parallel so each section receives the same flow.
How to connect and close the ends
Punch into the main and attach via a transfer barb, then run the line down the bed. Turn carefully at the far end and cap the end with a goof plug or end cap. Keep a spare plug handy for quick repairs.
Quick check: stand over the plot and confirm every plant row has nearby coverage before you mulch. For compact herb layouts and ideas, see this helpful herb garden layout guide.
How do you stake and secure drip lines on sloped ground?
On slopes, anchoring lines well is the difference between steady watering and constant repairs. A firm layout keeps tubing in contact with soil so every plant gets its share of moisture.
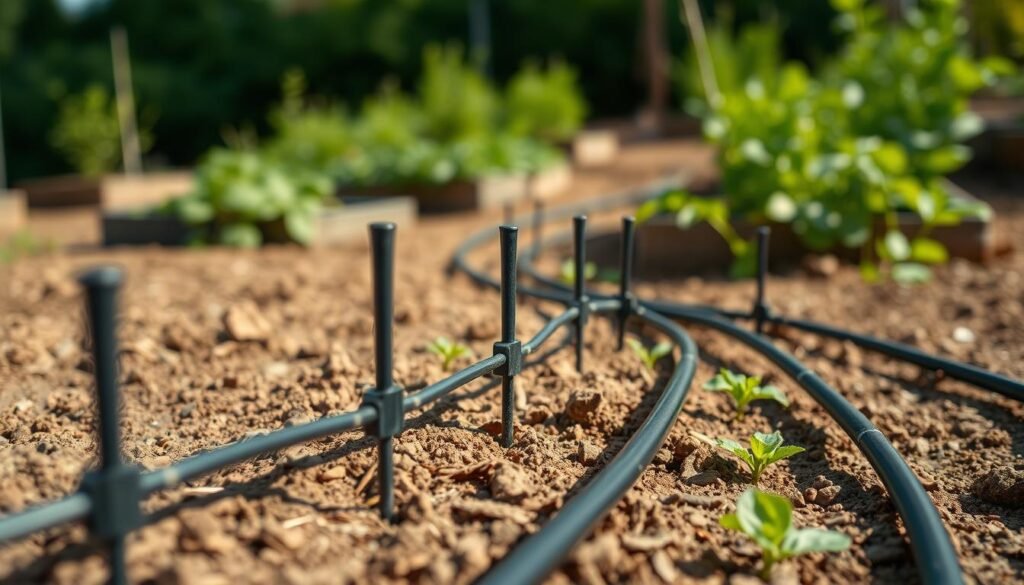
Where to place pins and staples
Pin each major turn and every connector. These are the points that pull loose first.
Stake spans over soft or uneven ground—both high and low spots—so the lines stay flat and avoid sagging.
Mulch and access: balance protection and inspections
Cover lines lightly with mulch to shield them from sun and foot traffic. Leave junctions, ends, and barbs easy to uncover.
Tip: snap a quick photo or jot a sketch of each bed’s pattern before mulching. That makes repairs fast and accurate.
- Anchor mainline tubing where it enters the bed wall to reduce stress on fittings.
- Use rust-resistant landscape staples that hold in loose soil.
- Keep your pin pattern consistent across beds so future work feels familiar.
If you want a deeper installation reference, see this helpful guide on securing lines at slope anchoring ideas.
How do you set watering time and frequency for your climate, season, and soil?
Start with modest run times and watch how the soil responds before locking in a schedule. This keeps you flexible and prevents overwatering while you learn how your plot behaves across heat and cool periods.
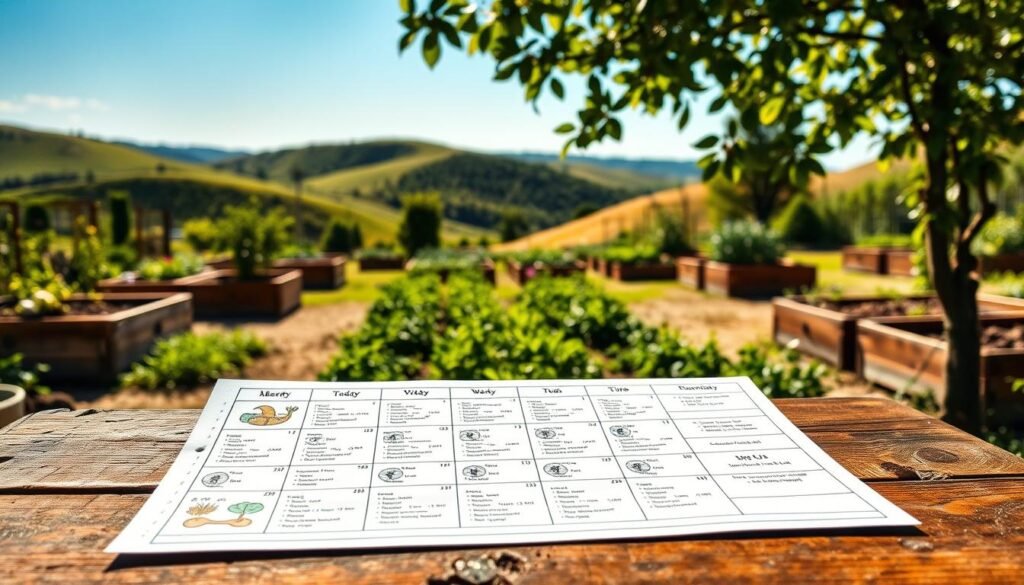
Baseline schedule and simple checks
Use a basic starting rhythm: aim for watering twice a week in spring and fall, every other day in hot summer, and about once weekly in winter. Check soil moisture 2–4 inches down before changing the plan.
Why deeper, less frequent runs win
Deep runs encourage roots to grow down. Set longer run time early in the morning so most water soaks in and plants wake hydrated. Short daily sprays keep roots shallow and raise disease risk.
Adjusting for soil, plant stage, mulch, and slope
Sandy mixes dry fast and need shorter intervals; heavier mixes hold moisture longer. Seedlings need gentler, more frequent water until established, while mature plants do better with deep soaks. Add about 2 inches of mulch to slow evaporation and cut weeds. On sun-exposed or wind-prone upper beds, use zones or extra cycles in your drip irrigation system to match demand.
How do you test, flush, and fine-tune your drip system after installation?
Testing turns a good install into a reliable system. Do a short flush, walk every run, and catch leaks or weak spots before you mulch. These checks save weeks of troubleshooting later.
“Run water for about two minutes through open ends to clear grit and avoid clogged emitters.”
Flush lines and check connections
First, open the far end points or remove end caps. Run the water long enough—about two minutes—to push debris out of mainlines and tubing.
Inspect every threaded fitting, timer, and regulator. Tiny leaks at barbs or joins worsen quickly on slopes, so tighten or reseat any suspect connection.
Confirm pressure and output across beds
Verify your pressure regulator faces the correct direction and holds steady. Look for bulging or fittings that pop loose under pressure.
Stand at each bed and watch the drip output. If one row is weaker, search for kinks, crushed tubing, or a clogged emitter and fix it.
Spot-check far ends and fine-tune layout
- Check the last end of long runs first—pressure loss and clogs show up there.
- Move a line closer to thirsty plants or add a stake where a loop lifts.
- Shorten slack that forms kinks and test again after adjusting.
Do a final walk after mulching. Make sure nothing shifted and that each run still wets the soil evenly. For a detailed build and testing reference, see this helpful installation guide.
How do you maintain your drip irrigation system for long-term reliability?
A small, steady maintenance habit keeps your irrigation running quietly and your plants happy all season. Monthly walks catch leaks early, and simple swaps stop mid-season failures. Follow a few chores and your lines will repay you with steady water and fewer surprises.
- Walk every run and look for wet spots (leaks), dry spots (clogs), and chewed or cracked tubing.
- Flush lines if output looks uneven; clean or replace clogged emitters so coverage stays even.
- Tighten loose barbs and reseat any fittings that show seepage.
Battery and quick-fix routine: Check the timer every few weeks and swap batteries before trips or heat waves. Keep a small repair kit—spare barbs, couplers, end plugs, and a cutter—so a nicked hose or tubing gets fixed in minutes, not days.
Seasonal habits to save water: Increase run time in hot months, reduce it in cool seasons, and shut the system off during meaningful rain. Before freezes, drain lines, protect exposed tubing with mulch, and store the timer, regulator, and filter indoors.
If you began with kits, add zones rather than stretching long runs beyond your pressure limits; it keeps the irrigation system balanced and dependable.
Conclusion
A modest handful of careful choices turns a tricky slope into a calm, productive planting area. Level frames, targeted water at the roots, and firm anchoring make hillside projects work reliably.
Keep the core build simple: control at the spigot (Y + timer + regulator), run the mainline, enter the box cleanly, space emitters evenly, and secure the lines so they stay put.
Slow, targeted delivery means less runoff, deeper roots, and smarter use of water. Do one walk-through after a week to confirm the length of runs and that far ends still wet evenly.
Light mulch protects soil and tubing, and small checks—look for kinks, loose connectors, or clogged emitters—fix most issues fast.
Finish installing drip, and you’ll spend more mornings harvesting in the garden and fewer afternoons dragging hoses uphill. For compact planting ideas, see this hanging herb garden.