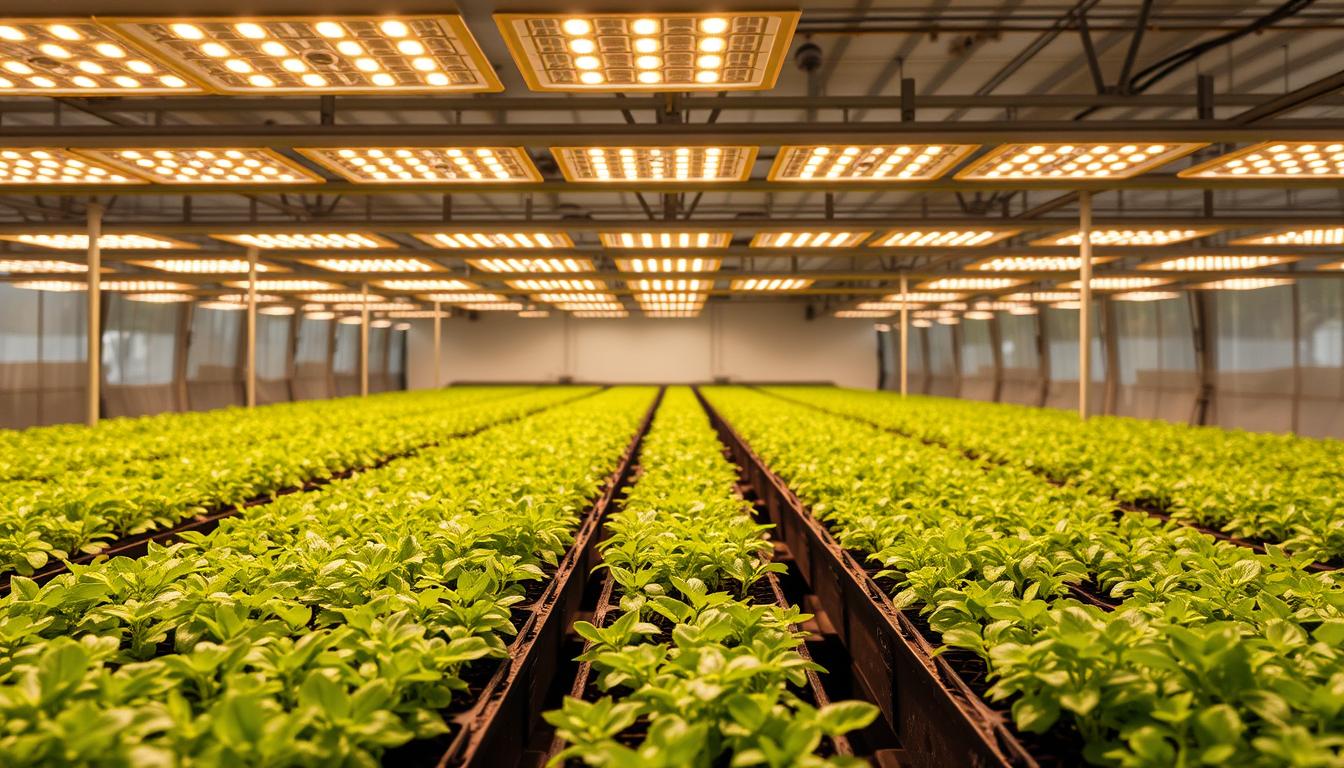
Can one light change how your seeds start and save you hours of guesswork? Imagine uniform trays, compact stems, and no scrambling to fix leggy plants. That’s the goal we set in our 2025 lab overview.
We tested modern LEDs like Spider Farmer and HLG to map PPFD at seedling heights and check the blue-weighted full spectrum. We measured coverage, heat, and dimming so you can match kits to trays, shelves, or a small tent.
Expect practical advice on intensity, hanging height, and a 14–16 hour photoperiod. We show safe mounting distances, typical PPFD targets for cotyledon and true leaf stages, and why passive-cooled fixtures beat old blurple units.
By the end, you’ll know which compact boards or bar kits offer reliable quality, gentle intensity control, and the value that protects both plants and people.
Key Takeaways
- Modern LEDs with full spectrum and dimming give uniform coverage for strong starts.
- Target PPFD: ~50–150 µmol/m²/s for cotyledons, 150–300 for true leaves.
- Hang lights 6–12 inches initially and run 14–16 hour photoperiods.
- Choose passive-cooled units to limit heat and protect tender tissues.
- Match fixture size to tray or tent area to avoid hotspots and uneven growth.
- Dimmable, stable output delivers long-term value and better transplant results.
How We Tested and What “Lab‑Tested” Means for Seedlings in 2025
We measured real canopy-level PPFD, spectrum balance, and thermal behavior to give gardeners a clear, repeatable baseline. That means tests mirror common home setups so results translate to shelf, rack, or tent configurations.
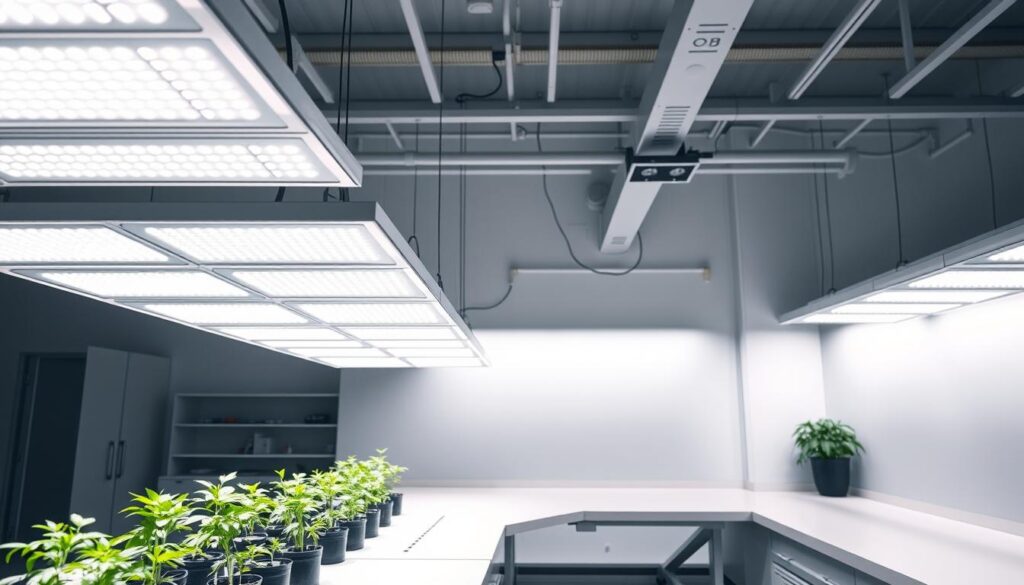
PPFD mapping, uniformity, and heat profiling at seedling heights
We mapped PPFD at 6–12 inches to confirm intensity matches seed-start targets: ~50–150 µmol/m²/s for cotyledons, then 150–300 for true leaves.
Uniformity is key. We expect tray variance within 10–15% so every cell receives even light and avoids hot spots or dark corners.
Thermal logs compare leaf surface rise: T5s can push temps ~9°F above ambient, while premium LEDs typically stay within ~2–3°F.
Spectrum validation and control
Using meters we confirm a blue-leaning full spectrum for compact morphology with modest red to support photosynthesis without stress.
We test dimming down to 10% and up to 100% to track power draw and stable output during common 14–16 hour cycles.
- Energy and stability: Kill‑A‑Watt style checks verify true efficiency across dimming levels.
- Fit and finish: Passive-cooled boards (like Spider Farmer SF-1000) and uniform designs (HLG Blackbird) scored well for quiet, cool operation.
- Compatibility: Fixtures must fit standard racks and tents for an easy setup and predictable plant results.
Solid, repeatable lab methods give you dependable data to pick the right fixture and dial in intensity and spectrum for healthy starts. For a practical buying guide that matches these tests, see our linked overview on led grow lights for orchids and small.
Seedling‑First Buying Criteria: Spectrum, Intensity, Distance, and Heat
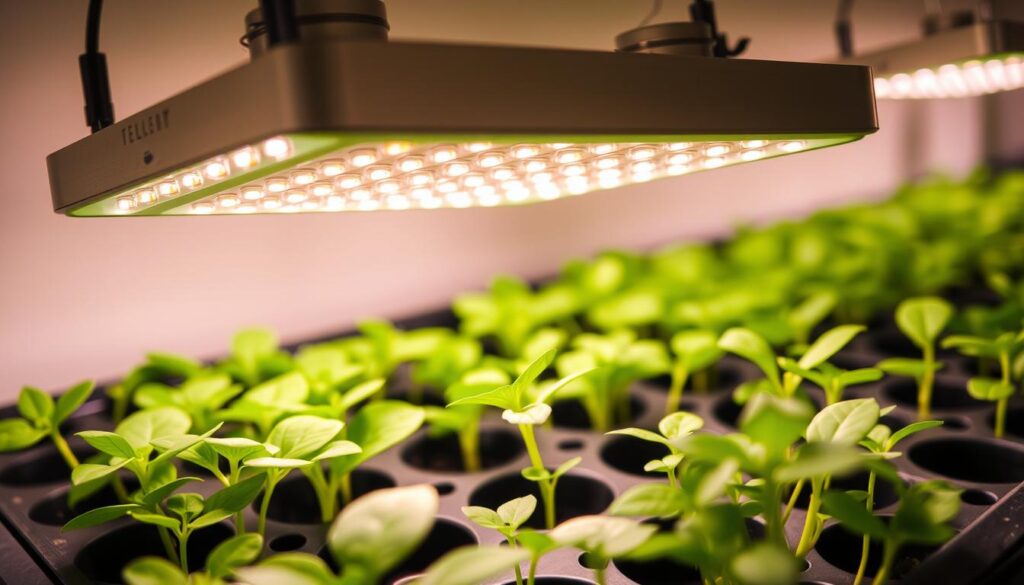
Choose a blue‑leaning full spectrum, target low PPFD for cotyledons then raise intensity as leaves develop, keep fixtures 6–12 inches above the canopy, and prefer passive cooling to limit temperature rise. These steps protect fragile plants and give predictable growth.
What spectrum helps compact early growth?
Blue‑leaning full spectrum encourages short internodes and sturdier stems. Blue light signals seedlings to stay compact and build stronger tissue. That helps roots establish and makes plants easier to handle when you harden off.
How much intensity should you aim for by stage?
Start at 50–150 µmol/m²/s for cotyledons. Increase to 150–300 µmol/m²/s as true leaves form. Raise intensity slowly over days to avoid shock.
Why dim rather than just raise the fixture?
Dimming keeps even coverage across trays. Raising a fixture can create hot centers and dark edges. Adjust in small steps: ~5–10% dimmer or 1–2 inches of height, then watch responses for 24–48 hours.
How do you manage heat and temperature?
Prefer passive‑cooled LEDs. Premium boards generally add less than 3°F above ambient. That keeps media moisture steady and lowers leaf stress. Avoid red‑heavy output at high intensity — it can cause edge curl or bleaching. If you see that, dim or add distance.
- Match fixture coverage to tray footprint for uniform light.
- Use honest PPFD maps and spec sheets when comparing options.
- Run a steady photoperiod: 14–16 hours to support steady growth.
| Factor | Recommendation | Why it matters |
|---|---|---|
| Spectrum | Blue‑leaning full spectrum | Promotes compact stems and balanced leaf development |
| PPFD | 50–150 → 150–300 µmol/m²/s | Stage‑based intensity avoids stretch and light stress |
| Distance / Dimming | 6–12 inches; prefer dimming in 5–10% steps | Maintains even coverage and lets you fine‑tune quickly |
| Heat | Passive cooling; | Protects moisture balance and prevents leaf damage |
Best Overall Picks: best grow lights seedlings (2025 lab-tested picks)
Uniform canopy output and smooth intensity control make the biggest difference during early stages. Choose fixtures that deliver steady PPFD across trays, offer precise dimming, and run cool so young plants stay compact and healthy.
Top performer for uniform coverage and control
HLG Blackbird is built for a 4’x4′ footprint with 600W of dimmable, passive‑cooled power. It maps very evenly across larger racks and is ideal for a small grow tent or multi‑tray shelf.
Editor’s value choice for compact seedling racks
Spider Farmer SF-1000 covers roughly 2’x2′ with a fanless design that stays quiet and cool. It gives smooth dimming and reliable diode quality for one or two starter trays on a shelf.
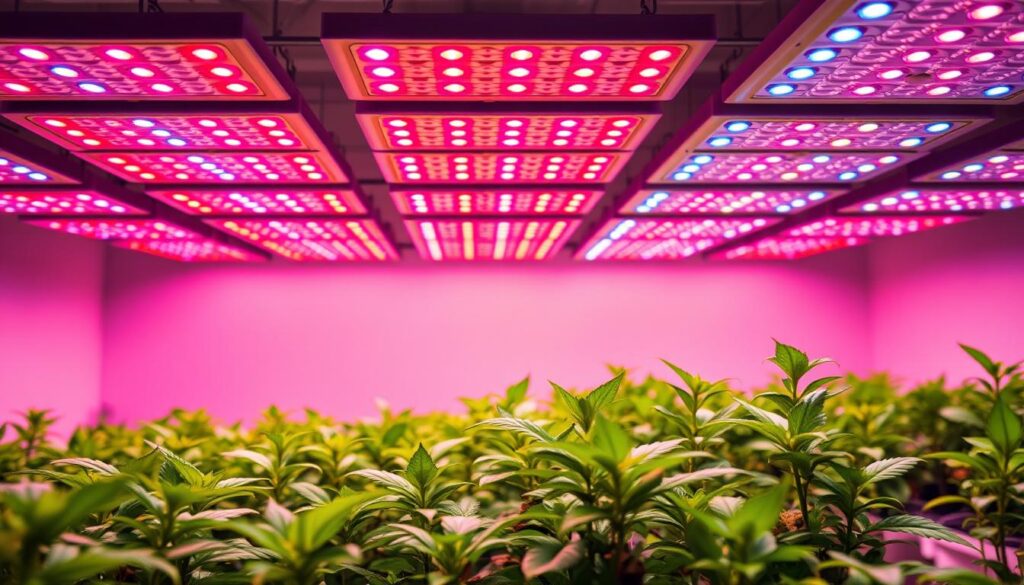
- Why even coverage matters: steady PPFD prevents hot centers and weak edges on 10×20 flats.
- Control benefits: fine dimming lands you in the 100–200 µmol/m²/s sweet spot and can ramp to 300 µmol/m²/s as true leaves form.
- Fit and value: match power to area (2’x2′ vs 4’x4′) to avoid wasted power, higher temps, or shadowing from bars vs boards.
| Model | Coverage | Key feature |
|---|---|---|
| HLG Blackbird | 4’x4′ | 600W, dimmable, passive cooling |
| Spider Farmer SF-1000 | 2’x2′ | Fanless, quiet, value-oriented |
| Fit notes | Tray/shelf/tent | Choose board for spread, bars for flexible layouts |
Best Budget Grow Lights for Seedlings
Want reliable shelf lighting without a big price tag? Entry-level bars and strips provide even full-spectrum output and simple expansion for home setups.
If you want a low-cost option, linkable LED bars are a smart start. They sit cool, use little power, and spread light evenly over trays.
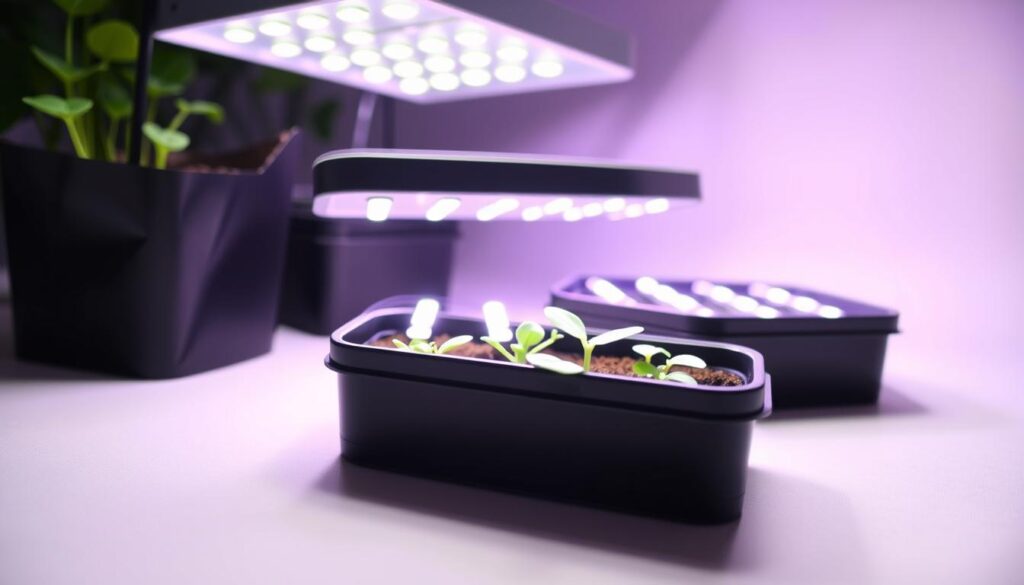
Which entry systems work well?
Bar and strip fixtures like T5-style LED strips give a blue-leaning full spectrum. Avoid older blurple units that make hot spots.
Many budget models lack dimming. Compensate with height changes and timers to aim for ~100–200 µmol/m²/s during early stages. Place bars 8–12 inches above domes if passive-cooled.
- Start small: fit one or two linkable lights to a single shelf and add as you add trays.
- Check PPFD specs, not just wattage.
- Choose metal housings for better heat handling and longer life.
| Feature | Typical Benefit | What to check |
|---|---|---|
| Linkable bars | Easy expansion for more trays | Published PPFD at working distance |
| Passive cooling | Close placement without heat stress | Metal housing and low ambient rise |
| No dimmer | Lower price, simpler setup | Use timers and height adjustments |
These budget options give good value for home seed starting and let you upgrade later as needs change.
Best Mid‑Range LED Grow Lights: Efficiency, Control, and Coverage
Dimmable mid‑range boards give you balanced output, reliable PAR uniformity, and low heat for small tents and racks. This tier suits growers who want more control than entry bars without the cost of premium automation.
Dimmable mid-range panels deliver even PAR and low heat for steady early‑stage development. Models like the Spider Farmer SF-2000 fit 2’x4′ or 3’x3′ footprints and offer smooth dimming for young plants.

The HLG 350R covers 2’x4′ with a widely distributed diode layout. Distributed diodes cut hot spots and improve corner PAR at 6–12 inches above the canopy.
How to pick 2×2 vs 2×4: match fixture size to the number of 10×20 trays and shelf spacing. Two 2×2 boards give flexibility for split shelves. A single 2×4 gives simpler wiring and fewer mounts.
Mounting tips: center the board over trays, keep the driver accessible, and avoid blocking shelf airflow. Compare published PPFD maps to confirm consistent coverage.
| Feature | Mid‑Range Benefit | Practical note |
|---|---|---|
| Dimming | Preserves compact internodes | Start low and ramp as true leaves form |
| Distributed diodes | Better PAR uniformity | Reduces tray edge dark spots |
| Passive cooling | Low noise, low heat | Fits neatly in a small tent or shelf rack |
| Power / efficiency | Lower operating cost on 14–16 hr cycles | Check real watt draw at dim levels |
Premium LEDs for Pro‑Grade Seed Starting
Premium fixtures give precise control and predictable results for serious production runs. Multi‑channel boards and smart drivers let you tune spectrum, schedule ramps, and keep PPFD steady across trays. That reduces manual work and protects young plants through each stage.
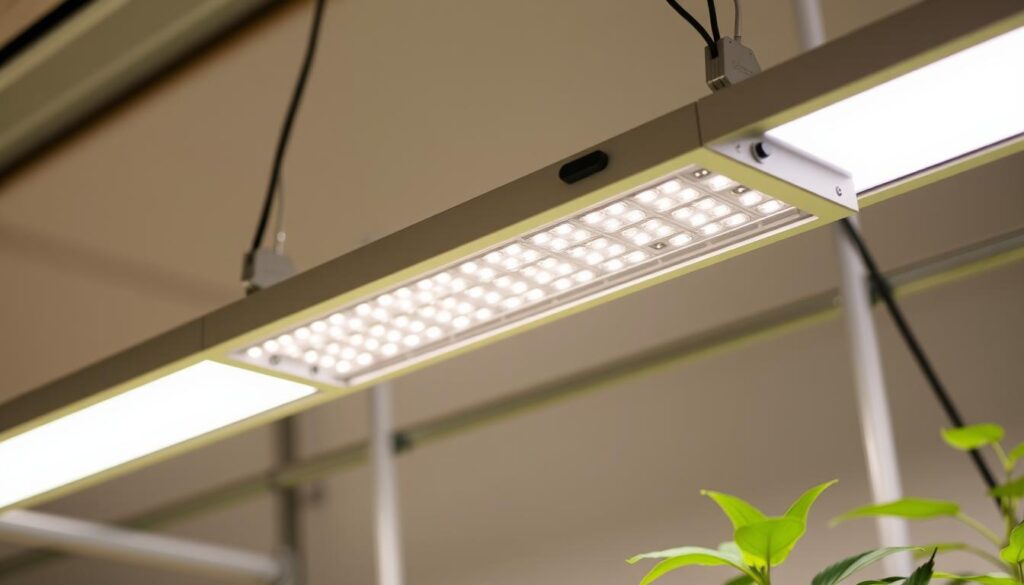
How does advanced spectrum control help?
Multi‑channel spectrum lets you start with a blue‑forward profile to keep stems compact. Then you slowly open red and far‑red channels as true leaves form for stronger photosynthesis and cleaner transplant timing.
What automation features matter for scaling?
Wireless scheduling, stage‑based recipes, and sunrise/sunset sim make routines repeatable. That means uniform PPFD across 2’x4′ to 3’x4′ trays with minimal heat rise. Premium drivers and passive cooling keep power stable and housings quiet during long photoperiods.
- Precision PPFD targeting: synchronizes batches and eases staggered production.
- Scalability: daisy‑chain control and grouped scenes manage many shelves from one app.
- Durability: stable color output over seasons protects plant quality and value.
“Save profiles for cotyledon and true‑leaf stages — switch quickly and keep trays uniform.”
Pro tip: Use app logs to correlate light recipes with emergence and leaf size. The higher upfront cost often pays back through lower energy, less waste, and more consistent transplant windows.
| Feature | Benefit | Notes |
|---|---|---|
| Tri‑channel spectrum | Stage tuning for compact starts and strong leaves | Start blue‑heavy, add red as needed |
| Automation & app control | Less manual work, repeatable recipes | Schedules, ramps, grouped scenes |
| Passive cooling & premium drivers | Stable power, low heat, quiet operation | Good for long 14–16 hr cycles |
Brand Spotlights: Spider Farmer, HLG, and Mars Hydro for Seedlings
Which brand fits your shelf, rack, or tent best? This quick guide shows who offers quiet, dimmable boards, who focuses on diffusion and efficiency, and who gives broad coverage for tight budgets.
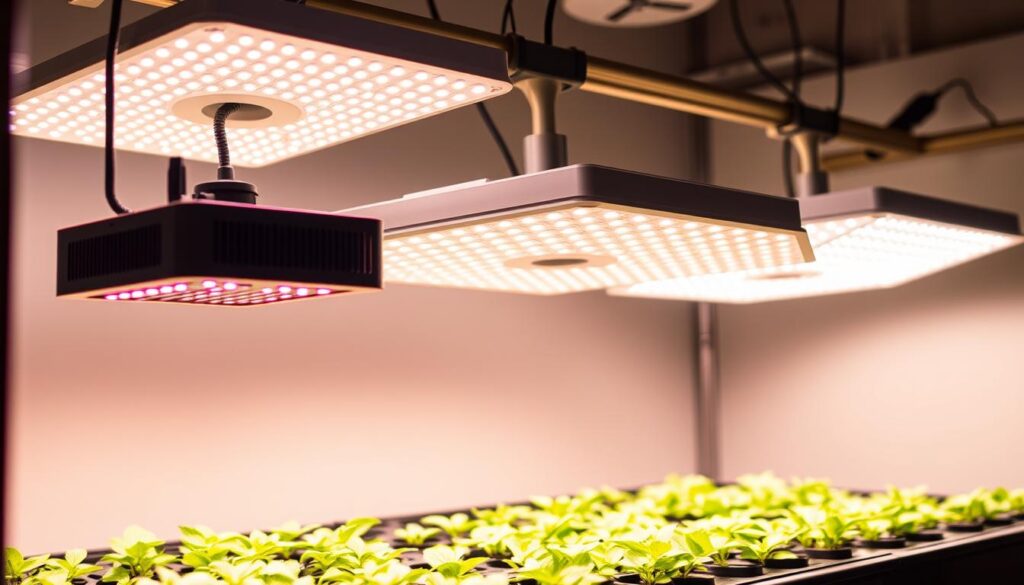
Why pick Spider Farmer for small racks or tents?
Spider Farmer models like the SF-1000 and SF-2000 give low heat, smooth dimming, and sizes that match common shelf footprints.
The SF-1000 fits a 2’x2′ shelf. The SF-2000 covers 2’x4′ or 3’x3′. Both run quietly and keep media moisture steady under long photoperiods.
What makes HLG boards stand out?
HLG focuses on high efficiency and excellent diffusion. The Blackbird suits a 4’x4′ tent, while the 350R handles 2’x4′ benches with very even PAR spread.
That diffusion helps you hit precise intensity targets without hot centers.
When is Mars Hydro a smart budget choice?
Mars Hydro panels like the TSL 2000W give wide, economical coverage for multiple trays when hung at the right height.
They deliver solid value and broad PAR spread for home setups on a tighter budget.
- Fit guide: SF-1000 → 2’x2′ shelf; SF-2000 → 2’x4′ rack; HLG Blackbird → 4’x4′ tent; TSL 2000W → wide economical coverage.
- Control: All three offer dimmable options to reach ~100–300 µmol/m²/s without overexposure.
- Build cues: Look for robust drivers, aluminum sinks, and tidy cable runs for long life and safety.
Practical tip: verify PPFD maps at seedling distance and pair dimmable boards with an external timer to lock in photoperiod. Check warranty and service availability for long‑term value when lights run 14–16 hours daily.
Setup Guide: Height, Distance, and Photoperiod for Strong Starts
Place fixtures 6–12 inches above the canopy and use dimming to hit stage targets. Run a steady 14–16 hour day for most vegetables and herbs to keep growth even and predictable.
How high and why dim instead of raise?
Position your LED so the canopy is 6–12 inches from the panel. This range gives workable PPFD without hotspots.
Dimming preserves uniformity. Lowering intensity keeps corners lit. Raising the fixture can create bright centers and dark edges. Aim for about 100–150 µmol/m²/s for cotyledons at first.
What photoperiod and how to step intensity?
Use 14–16 hours on, 8–10 hours off for most seeds and young plants. Keep the schedule consistent with a reliable timer.
When true leaves appear, increase intensity slowly. Move in 5–10% dim steps or 1–2 inch height changes. Target 200–300 µmol/m²/s for sturdier stems as leaves develop.
- Watch posture: reaching or tilting toward the light means you need more intensity or less distance.
- Humidity tip: vent domes slightly as leaves expand to balance RH and airflow.
- Small moves win: change dim by 5–10% or height by 1–2 inches, then recheck the next day.
| Item | Initial Target | Action |
|---|---|---|
| Height / distance | 6–12 inches | Center fixture over trays; prefer dimming to preserve even coverage |
| Intensity / levels | 100–150 → 200–300 µmol/m²/s | Ramp in small steps; monitor leaf posture and color |
| Photoperiod | 14–16 hours on | Use a timer; consistent day length reduces stress |
| Environment | 65–75°F, 60–70% RH | Passive-cooled led units keep ambient rises low; adjust for drafts |
Note:Keep a log of height, dim %, and plant response. That simple record will make future setup decisions faster and more reliable for your home trays.
Coverage and Grow Tent Planning for Seed Trays
Plan the footprint first, then match lights to trays and domes. A simple layout prevents hotspots, protects media moisture, and saves power over long 14–16 hour cycles.
Match tray count to common footprints. A 2’x2′ shelf fits one to two 10×20 flats under a compact dimmable board like the SF-1000. A 2’x4′ area suits three to four trays and works well with boards such as the SF-2000 or HLG 350R.
For a 3’x3′ layout, plan space for two to three flats plus a small humidifier. Keep fixtures at a height that gives even coverage while leaving headroom for domes; raise lights slightly if condensation builds.
How should I shape my setup for even coverage?
Choose fixture shape to match layout. Rectangular boards often spread light more evenly across 2’x4′ shelves than square panels. For small tents, center the light and leave sidewalls tidy to boost reflective gain.
- Plan power and circuits: multiple shelves add load across long photoperiods, so check breaker capacity before expanding.
- Group by stage: keep similar seeds together so one intensity suits the whole shelf.
- Flexible zones: add a second small board rather than one oversized unit to create separate light zones for different stages.
- Airflow & tidiness: keep vents clear and secure cords with clips to protect the system and plants.
| Footprint | Trays | Recommended fixture |
|---|---|---|
| 2’x2′ | 1–2 | SF-1000 (compact board) |
| 2’x4′ | 3–4 | SF-2000 or HLG 350R (rectangular board) |
| 3’x3′ | 2–3 + humidifier | Distributed boards; consider multiple small units |
Quick tip: Reassess coverage each season. Small changes in tray count or plant types often call for a different arrangement to keep PPFD uniform and deliver real value for your setup.
Spectrum and Stage Timing: From Cotyledons to True Leaves
A blue‑heavy start keeps stems compact; a gradual shift to a fuller spectrum supports leaf expansion and root mass without stress.
A blue‑dominant spectral mix early on helps young plants build sturdy, compact structure. Keep red output modest during the cotyledon stage to avoid signaling flowering in sensitive ornamentals.
How should you change spectrum as leaves appear?
Begin with a blue‑forward profile to shorten internodes and strengthen stems. Run the same photoperiod while you slowly raise intensity.
When true leaves form, blend toward a balanced full spectrum. This supports expanding leaf area and boosts photosynthetic capacity without shocking the plants.
How do you avoid premature flowering in ornamentals?
Keep red modest early on. If you spot tiny buds or early flowering cues, pull back red‑rich intensity, move the panel a bit higher, and bias the mix back toward blue.
- Use dimming and small spectrum tweaks rather than big height moves.
- Monitor leaf color: steady medium green signals correct balance; bleaching or purple tones signal issues.
- Pair light with gentle nutrition — dilute feed as true leaves expand to match light‑driven demands.
| Stage | Spectrum aim | Action |
|---|---|---|
| Cotyledon | Blue‑forward (moderate red) | Run 14–16 hr photoperiod; keep red low; start low PPFD |
| Early true leaves | Blend to balanced full spectrum | Increase intensity in 5–10% steps; maintain photoperiod |
| Pre‑transplant | Full spectrum with modest red support | Match light to species; sun‑loving types accept earlier red increase |
| Ornamentals risk | Limit red cues | Reduce red intensity, raise distance, record responses |
“Small spectrum shifts plus subtle dimming guide stage timing smoothly and reduce stress during transitions.”
For deeper context on spectral effects on early growth, see this research overview on spectral effects in plant production.
Environmental Control: Temperature, Humidity, and Airflow Under LEDs
Keep a stable microclimate so young plants develop predictably under artificial light. Aim for steady air and moisture conditions to protect delicate leaves and speed healthy root growth.
Target ranges: Set the room to 65–75°F and relative humidity to 60–70% RH. These conditions suit most vegetable and herb seedlings and reduce stress during long light cycles.
Premium led fixtures usually add less than 3°F to ambient temperature. That small rise helps keep trays warm without drying media. In contrast, older fluorescent systems can raise leaf temperature much more, so monitor closely if using mixed sources.
How do I manage gentle heat gain and prevent leaf stress?
Use a small oscillating fan to move air above domes and trays. Gentle circulation prevents condensation and reduces disease risk. Avoid blasting air directly at tender leaves; aim for soft, sideways flow that dries surfaces slowly.
Place thermometers and hygrometers at canopy height so readings match the actual conditions plants feel. If RH runs high, crack dome vents or add airflow. If RH falls, add a shallow water tray or a compact humidifier near the air intake.
Practical checklist for a safe, tidy system
- Baseline: 65–75°F and 60–70% RH at canopy level.
- Use gentle fans to prevent stagnant pockets and condensation.
- Monitor leaf edges for curling or tip dryness—these signal imbalance.
- Secure cords and keep electrical components off wet surfaces for safety.
- Balance energy by slightly dimming during warm afternoons and nudging intensity up on cooler mornings.
| Item | Recommendation | Why it matters |
|---|---|---|
| Temperature | 65–75°F at canopy | Supports steady metabolic rates and root activity |
| Relative Humidity | 60–70% RH | Prevents excessive transpiration and dome condensation |
| Airflow | Small oscillating fan, soft circulation | Reduces disease risk and evens microclimate |
| Monitoring | Thermometer & hygrometer at canopy | Gives accurate feedback for adjustments |
| Safety | Keep electrics dry and cords secured | Prevents shorts and accidental drips on equipment |
“Small adjustments to air and moisture often fix stress faster than big changes to light.”
Troubleshooting Results: Leggy vs Light‑Stressed Seedlings
A quick diagnostic separates leggy growth from true light damage and suggests a clear action plan you can try tonight.
A quick diagnostic can separate true stretch from light stress and point to an easy fix. Start by looking at stems and leaves. Tall, thin stems that lean toward the lamp usually mean low canopy intensity or too short a daily schedule.
How do I fix stretch?
Diagnose: tall, floppy stems and leaning points to a light shortfall. Check leaf posture — flat, open leaves mean enough light; reaching or tilting means more is needed.
Action: increase intensity slowly with your dimmer or bring the fixture 1–2 inches closer. Aim for about 150–250 µmol/m²/s at canopy level.
If plants still stretch, extend the photoperiod to 16 hours for a few days. Use consistent timing so plants get a steady daily rhythm.
How do I prevent bleaching or crisping?
Signs: pale, bleached patches or crispy edges mean excess intensity or local heat spikes.
Fix: reduce intensity 10–20% or raise the fixture 1–2 inches and recheck after 24 hours. Confirm canopy temps with a simple IR thermometer — leaves should feel close to room temp, not hot.
Spectrum note: keep a blue‑leaning profile in early stages. Avoid sudden red spikes that can confuse stage cues and stress young leaves.
Small changes yield big results. Reassess tray spacing and airflow; overcrowded flats mimic both low light and heat problems. Secure mounts so accidental drops or tilts don’t create sudden intensity jumps.
| Problem | Quick check | Immediate fix |
|---|---|---|
| Leggy, leaning stems | Leaf posture and distance to fixture | Raise PPFD to 150–250 µmol/m²/s; move light 1–2″ closer or extend to 16 hr |
| Bleaching / crispy edges | Pale spots; leaf feels warm | Lower intensity 10–20% or raise 1–2″; check canopy temp with IR gun |
| Uneven tray growth | Corner vs center PAR variance | Adjust fixture position or add a second small board for uniform coverage |
| Confusing symptoms | Cupping, droop, or mixed signs | Log changes, check airflow, separate trays by stage, and revisit spectrum balance |
Keep a short log of adjustments and results. That simple record helps you repeat successful settings and avoid past mistakes. For related setup tips and compact systems that pair well with this troubleshooting approach, see this practical guide on hydroponic herb setups.
Conclusion
A clear light plan turns uncertain starts into steady, transplant‑ready trays.
Keep the basics: use a blue‑leaning full spectrum, aim for ~50–150 µmol/m²/s early, then 150–300 µmol/m²/s as true leaves form. Run a steady 14–16 hour day and hold temperatures near 65–75°F with 60–70% RH for predictable results.
Choose dimmable, passively cooled fixtures with verified coverage so trays get even, gentle illumination hour after hour. Budget bars work well when placed correctly; mid‑range boards add control, and premium systems buy automation for larger setups.
Favor trusted brands and published PPFD maps. Keep short notes, adjust in small steps, and read your plants. With a thoughtful setup you’ll see thicker stems, healthy color, and uniform flats. For a practical equipment overview, see our LED grow lights guide.
FAQ
What does “lab-tested” mean for seedling lighting performance?
“Lab-tested” means manufacturers’ claims were checked with instrumented measurements. We measured PPFD at seedling heights, checked spectral output for a blue-leaning full spectrum, mapped coverage uniformity across flats, and logged heat at canopy level. That ensures lights deliver the intensity, spectrum, and thermal behaviour seedlings need without relying on marketing alone.
What spectrum should I use for newly sprouted seedlings?
Start with a blue-leaning full spectrum. Blue light supports compact, sturdy stems and healthy cotyledon development. Keep a touch of red for balanced morphology, but avoid heavy red at this stage to prevent premature stretch or flowering signals.
What PPFD range is ideal for seedlings and how should it change?
Aim for about 50–150 µmol/m²/s right after emergence, then increase toward 150–300 µmol/m²/s as true leaves develop. Use a dimmable fixture or raise the bar gradually to match the crop’s needs and prevent stress.
How far should I hang an LED above seed trays?
Start around 6–12 inches depending on the fixture’s intensity and diffusion. If the light is very intense or focused, hang higher and dim more. Watch seedlings for stretch or bleaching and adjust distance or intensity accordingly.
How do I avoid leggy seedlings or light stress?
Fix stretch by raising PPFD (lower the light or dim less), reducing hanging distance, and maintaining 14–16 hours photoperiod. Prevent bleaching by increasing distance, dimming, or improving diffusion. Monitor canopy temperature and leaf colour for early signs.
How much heat do LEDs add to a tent or shelf setup?
Most modern LEDs run cooler than traditional lamps, but they still raise ambient temperature. Expect a few degrees of rise in small enclosed spaces. Choose passive-cooled fixtures for low heat or add ventilation and slight airflow to manage canopy temps.
Should I use full panels, bars, or strips for seed trays?
Use panels for wide, even coverage on flats and domes. Bars or strips suit narrow racks or multi-shelf systems where you can position light closer to plants for uniform PPFD. Match layout to tray size: 2×2 or 2×4 coverage is common for seed flats.
How do I plan coverage in a grow tent for multiple trays?
Map your tent with the expected canopy footprint. Use 2×2 or 2×4 modules for standard flats; overlap slightly for even PAR. For vertical racks, stagger bars per shelf and confirm PPFD uniformity at each tray height before planting.
When should I change spectrum from blue-heavy to balanced light?
Shift toward a balanced spectrum once true leaves expand and the seedlings show steady, compact growth. This transition supports leaf expansion and prepares plants for stronger vegetative development and later flowering stages if applicable.
What photoperiod works best for vegetables and herbs?
Keep seedlings on 14–16 hours of light daily. That range promotes steady growth without causing photoperiod stress. Reduce to 12 hours only if you observe stretch or species-specific cues that indicate a shorter day is needed.
Are dimming and spectrum control worth the extra cost?
Yes. Dimming lets you match PPFD precisely and protect young plants. Spectrum control adds flexibility as seedlings mature and can prevent unwanted flowering cues in ornamentals. For small budgets, choose a reliable dimmable model rather than fixed high-intensity units.
How do I measure PPFD and canopy temperature accurately?
Use a PAR meter to read PPFD at multiple points across a tray at seedling height. Use an infrared thermometer or thermocouple to check canopy temperature. Log readings at different distances and settings to create a safe operating range.
Which brands are known for reliable seed-starting LED options?
Spider Farmer, HLG (Horticulture Lighting Group), and Mars Hydro are widely respected for seedling-friendly options. They offer a range from budget panels to high-efficiency boards with dimming and good diffusion—helpful across tents and racks.
Can I use full-spectrum commercial fixtures for tiny seedlings without damage?
Yes, if the fixture is dimmable or can be mounted high enough to reduce PPFD. Many full-spectrum commercial LEDs have gentle diffusion that suits seedlings, but avoid cranking intensity at close range until seedlings can take higher light levels.
What environmental ranges should I maintain under LEDs for best results?
Target 65–75°F with relative humidity around 60–70% for steady seedling growth. Keep gentle airflow to prevent fungal issues and to strengthen stems. Monitor both air and canopy temps, especially in enclosed tents.
How do I scale from a single shelf to a multi-tray system?
Start by standardizing light modules per shelf and mapping PPFD at each height. Use bars or narrow panels for uniformity on racks. Add ventilation and consider automated timers and dimming to manage consistent photoperiods across trays.
What’s the minimum investment for reliable seed starting on a budget?
A modest budget gets you entry-level full-spectrum bars or small panels with dimming. Prioritize even PAR distribution and dimming over raw wattage. Pair with simple timers and a dome or humidity tray for the best early-stage results.