![How to Fix Drip Emitters Clogged by Calcium Scale [Troubleshooting]](https://thegardenhaven.com/wp-content/uploads/2026/02/how-to-fix-drip-emitters-clogged-by-calcium-scale-troubleshooting.jpeg)
There’s a quiet frustration that visits every gardener: the system looks active, yet beds droop as if thirsty. I felt that tug at dawn, walking rows that once thrived, and I promised myself a simple, careful repair that would bring steady life back.
Small holes in emitters can narrow from mineral buildup in hard water. That change cuts flow, upsets pressure, and wastes water while plants suffer. The good news is this is often reversible with gentle cleaning and a few common tools.
We’ll guide you through identifying symptoms, isolating problem zones, soaking and brushing clogged parts, flushing lines, checking pressure, and returning plants to steady moisture. Work in small sections, keep spills minimal, and treat components with care.
Before you start, gather a bucket, vinegar or hydrogen peroxide, a small brush, a paper clip, and a pressure gauge. If some pieces won’t recover, replacing them restores even flow and saves time.
Key Takeaways
- Mineral buildup from hard water can narrow emitter openings and reduce flow.
- Start small: isolate zones, turn off water, and flush lines before cleaning.
- Soaking, brushing, and gentle clearing often restore function; a few parts may need replacement.
- Check pressure and rinse thoroughly after cleaning to protect the system.
- Routine maintenance prevents repeat clogging and improves water efficiency.
- Learn more about protecting hoses and filters at enhance your garden hose with a calcium.
Why Calcium Scale Clogs Drip Irrigation Emitters in the First Place
Mineral buildup is a chemical clogging problem, but look‑alikes exist: dirt and biofilm can mimic the same symptoms. Knowing which is present guides the right repair and care.
Mineral deposits form when hard water carrying dissolved calcium and magnesium loses moisture or changes chemistry. Those minerals crystallize and stick inside the tiny flow channel of an emitter, narrowing the opening and reducing output.
Warm weather, frequent runs, and above‑ground tubing speed evaporation and leave more residue behind. If you inject fertilizer into the line, higher concentrations or certain mixes can precipitate out and make deposits right where flow narrows.
Chemical and biological neighbors that imitate the same problem
Sand, silt, and plant debris can lodge in the same small openings and look like mineral buildup. Likewise, algae and bacterial slime build up when nutrients are present, forming dark, slimy plugs that feel different from chalky mineral crusts.
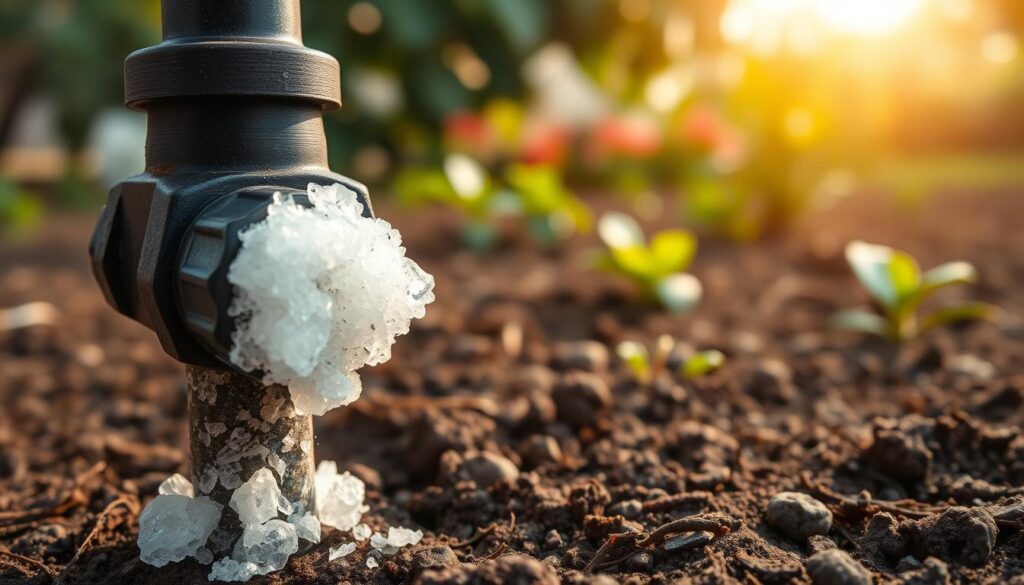
Quick diagnostic tips: gritty white residue points at mineral buildup; dark, stringy material suggests biological growth; grainy or sandy texture means filtration needs attention.
| Clog Type | Visual Cue | Common Causes | Practical Response |
|---|---|---|---|
| Chemical deposits | White, chalky, hard | Hard water, evaporation, fertigation | Soak and use appropriate cleaner; adjust water/chemistry |
| Physical debris | Grainy, sandy | Dirt, silt, broken material | Improve filtration; flush lines frequently |
| Biological growth | Dark, slimy, stringy | Algae, bacteria, nutrient-rich water | Clean, sanitize, reduce nutrient carryover |
Keep in mind: the irrigation system runs best when water quality, filtration, and fertilizer practices match the emitter style you use. For further reading on prevention and system setup, see this guide on preventing clogging in drip irrigation and this DIY system overview for practical design ideas.
Signs Your Drip System Has Calcium Deposits Causing Emitter Clogging
When one bed thrives while its neighbor wilts, the issue often hides in tiny channels that have lost steady flow. Dry patches and soggy rings are garden clues that match what’s happening inside the small outlets: restricted paths interrupt flow and change local pressure.
Start with a quick garden scan. Walk each zone and note any bed that is unusually dry or wet. Look along runs: plants near the end often show stress first when pressure drops and partial blockage builds up.
Partial deposits rarely stop watering overnight. They usually cause subtle variations in water flow that lower plant quality and system efficiency over weeks.
- Dry plants at the line end are a classic signal that flow is reduced or pressure has fallen.
- Puddling near certain points means nearby outlets are pushing more water to compensate.
- Watch for emitter behavior that screams trouble: dripping stops, the stream spurts, or flow changes from cycle to cycle.
Pressure readings help confirm what you see. Mark failing spots with tape and log problem zones so repairs stay focused and fast. For deeper causes and recovery tips, see this technical note on blockage in micro irrigation systems and this guide about nutrient mistakes after over-fertilizing.
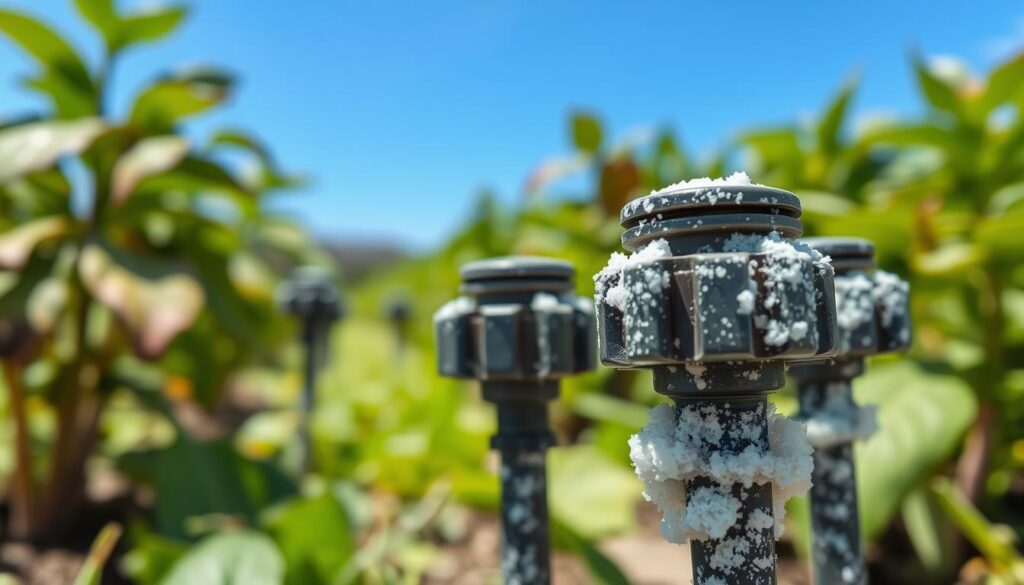
| Symptom | What it suggests | Quick check |
|---|---|---|
| Dry end plants | Pressure loss or progressive blockage | Compare output at line start and end |
| Puddles near some outlets | Uneven distribution; partial block elsewhere | Inspect nearby emitters for reduced flow |
| Irregular streams | Outlet obstruction or pressure fluctuation | Measure pressure and mark erratic emitters |
how to fix drip emitters clogged by calcium scale [troubleshooting]
Shut off, flush, soak, detail‑clean, rinse, reinstall, and test — that order saves fittings and restores even flow. Work one run at a time, protect tubing and components, and keep spare parts handy.
Start by isolating the problem zone. Turn the supply off, then close any zone valves so you can work on a single run. This prevents pressure spikes and keeps connectors from blowing free while you handle parts.
Flush debris from the outlet while water runs
Loosen or remove the cap and briefly open the valve so system pressure pushes grit out of the smallest openings. Watch the barb or body: you want clear water running from the outlet before soaking.
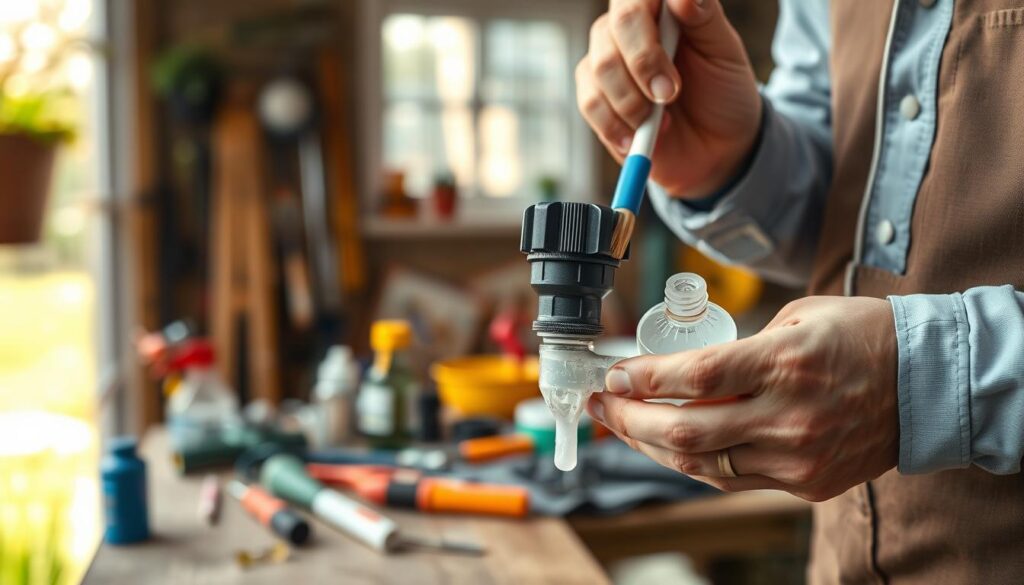
Soak and detail‑clean
Place removed pieces in a container of clean water mixed with white vinegar or hydrogen peroxide and soak at least one hour. The solution softens mineral deposits so they lift away.
Use a small brush for the outlet and a straightened paper clip to clear the tiny hole. Work gently to avoid damage. Rinse thoroughly so no cleaning solution or loosened debris remains.
Reinstall, restore pressure, and check flow
Seat each emitter snugly into tubing and thread caps smoothly to avoid cross‑threading. Bring pressure back up and set adjustable caps so the water flow matches nearby outlets.
- Practical checkpoint: if a unit still sputters or stays dry after cleaning, replace it and move on.
- For a step‑by‑step refresher, see this guide on clean a clogged emitter.
Restore Proper Water Flow After Cleaning: Filters, Flush Lines, and Pressure Checks
Cleaning the small parts is only half the job — restoring full flow requires flushing lines, servicing filters, and confirming pressure. Do these steps and the entire system will deliver more even moisture and better efficiency across beds.
Start by thinking of the system as a single loop: loose sediment can travel and settle in low spots unless you purge it away.
Flush lines from end caps or flush valves
Open end caps or use flush valves and run water long enough to carry out loosened sediment and mineral flakes. Let the stream run until the water is clear and free of grit.
Flushing matters because debris often gathers in line ends and low points. If you skip this step, freshly cleaned parts can clog again on the next irrigation cycle.
Clean filters and check the screen
Remove filter housings and rinse the screens. Reinstall carefully so unfiltered water can’t bypass and bring grit into the system.
Many home setups benefit from roughly 130–150 micron filtration for clogging defense, though the right mesh depends on your water source and sediment load.
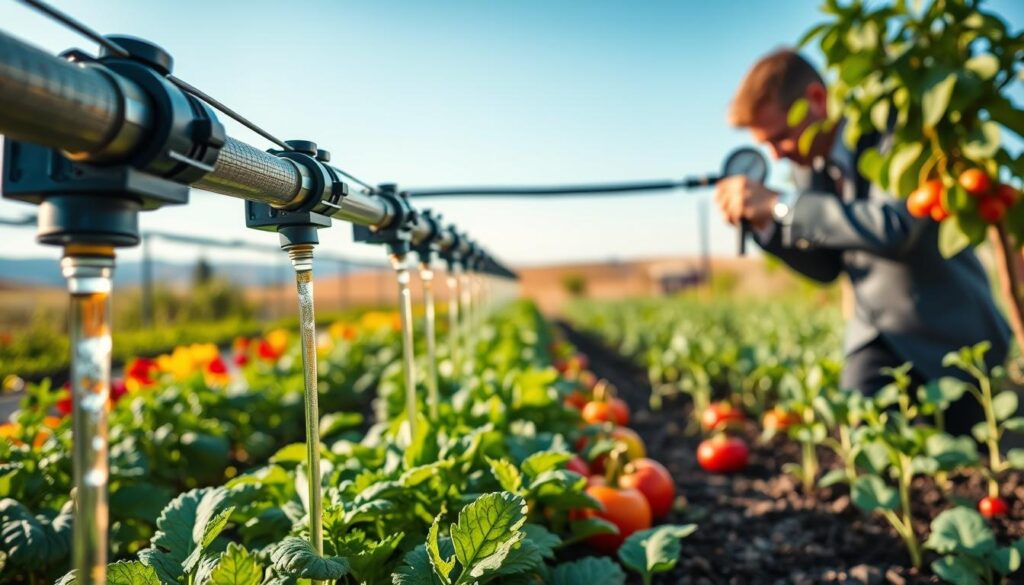
Verify pressure with a gauge and set regulators
Attach a pressure gauge and check that readings stay within the safe range. Keep many home garden systems at or below 40 PSI to prevent blowoffs and uneven distribution.
Pressure regulators steady the feed so upstream outlets don’t drown while line‑end outlets starve. Using pressure‑compensating emitters helps maintain consistent output along long runs and sloped terrain.
After filters are clean, lines flushed, and pressure stable, run a short test cycle and watch for uniform wetting. A final check like this confirms efficiency and restores steady flow across your irrigation systems.
When Cleaning Isn’t Enough: Repairing Leaks, Replacing Emitters, and Upgrading Parts
If cleaning no longer brings steady flow, replace failing parts rather than repeat the same steps. Persistent blockage, cracked caps, stripped threads, or leaks at the barb usually mean the part has reached end-of-life.
Decide quickly: if a unit runs briefly after cleaning but clogs again, the internal path is likely damaged or too scaled to recover reliably.
Replace faulty pieces and keep spares on hand
Swap any emitter that leaks, warps, or won’t hold a steady stream. Keep extra fittings and a few spare tubing segments in your kit so small repairs take minutes, not hours.
Inspect and stop common leak points
Check barbs, connectors, joints, and aging seals. Re-seat tubing fully over the barb and trim brittle ends. Many household leaks come from poor connections or worn seals — a careful reconnection often fixes the issue.
Choose serviceable and clog-resistant options
For hard water, select take-apart emitters with serviceable caps that clean easily. Consider pressure-compensating, clog-resistant models that hold consistent output across pressure ranges (many work well around 15–45 PSI).
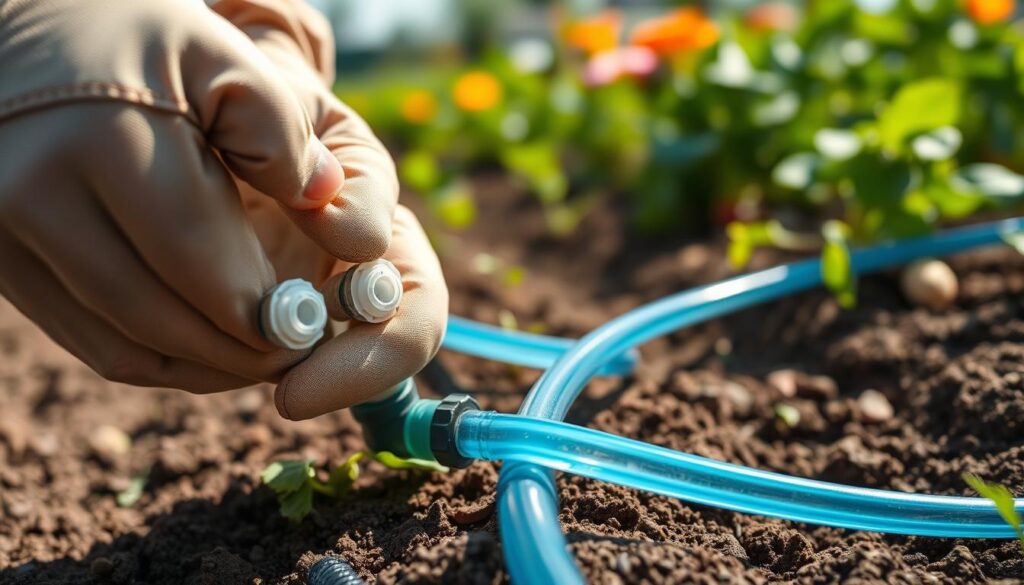
Protect tubing from UV and finish with a practical upgrade
Use UV-stabilized tubing or shade lines with mulch to prevent brittle damage. Replacing the weakest components often gives the biggest system gains without a large expense.
Prevent Calcium Scale from Coming Back with Regular Drip Irrigation Maintenance
Prevention is mostly routine: filter care, regular flushing, and quick inspections stop small deposits from becoming full clogs. Keep a short, repeatable schedule during peak season and you’ll save time and water later.
Start with a simple rhythm: check filters and clean screens on a schedule. Replace or upgrade the filter when your source carries lots of sediment.
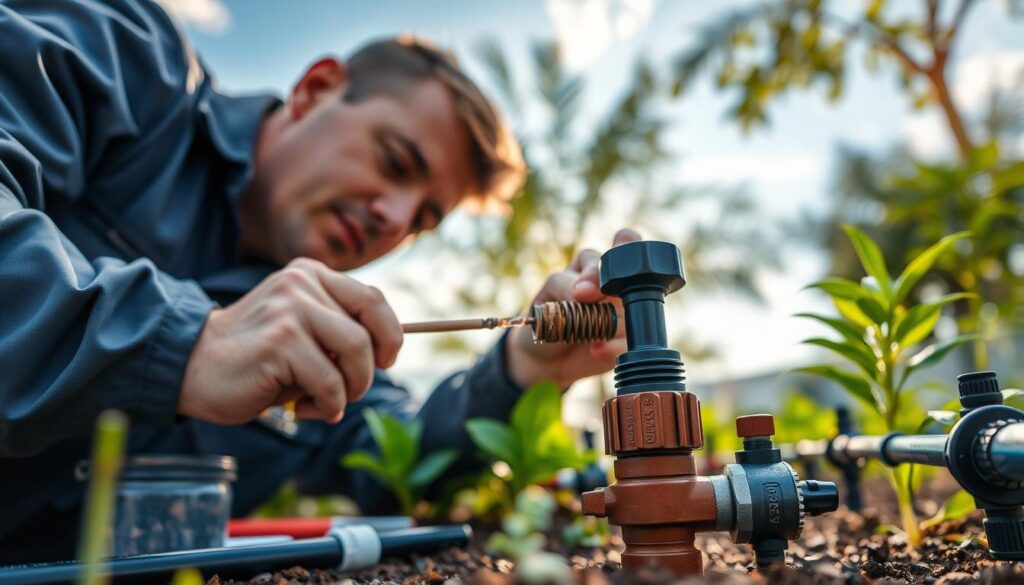
Match filtration to your water and maintain it
Surface water and well water bring different loads. Pick a filter rated for the sediment you see and clean it every few weeks during heavy use.
Better filters protect tubing and fittings and cut clogging risk across the whole irrigation system.
Flush lines and make end access easy
Use end caps or flush valves that let you purge loosened material without a fuss. Run clear water until grit is gone.
Flush lines seasonally, and more often if sediment shows up after storms or during dry, hot spells.
Monitor water quality and inspect often
Know your water quality. In hard-water areas plan seasonal treatments and expect faster buildup in hot months.
Walk tubing each week. Look for wet spots that signal leaks, brittle areas from UV damage, and plants that don’t match their neighbors.
Spot-check emitters and act early
- Pick a few outlets per zone and watch for steady output.
- Listen for sputters and compare flow at line start and end.
- Replace worn fittings quickly; small swaps save bigger repairs later.
| Task | When | Why it helps |
|---|---|---|
| Clean filters | Every 2–4 weeks in season | Prevents sediment and debris reaching tubing and outlets |
| Flush lines | Seasonally or after heavy sediment | Removes loosened deposits before they harden |
| Inspect tubing & fittings | Weekly visual checks | Catches leaks, UV damage, and early clogging signs |
Small, regular maintenance beats one big repair. Do brief check-ins and scheduled cleanings, and your drip irrigation system will run steadier and need fewer fixes.
Conclusion
Wrap up by verifying uniform flow, sealing leaks, and setting a reminder for routine maintenance. These simple steps protect plant health, save water, and keep your irrigation system reliable.
Start with a short test run and visual checks at the line end. Confirm even wetting, fewer dry plants at the end, and no puddling hotspots. If output is uneven, clean parts, flush lines, and check filters.
Keep system pressure in a safe range (commonly ≤ 40 PSI) to reduce leaks, blowoffs, and uneven distribution. Remember: not every clogging case is mineral — sediment and biogrowth mimic the same issues, so filtration and flushing matter.
Replacement is normal — swapping worn components often restores reliable flow faster than repeated repairs. Set a recurring reminder for filter cleaning and line flushing so your drip irrigation and drip system stay healthy and low‑stress while you enjoy the garden.