
I remember the first season my garden went thirsty at the far end of the yard — that worry fueled this guide. This short guide promises a reliable drip setup that starts at a garage spigot and keeps distant raised beds evenly watered.
It’s for practical gardeners who want a simple DIY system that uses a compact “spigot stack” (backflow + filter + 25 PSI regulator + adapter) and a 1/2″ mainline to the beds. I’ll show what to buy, how to install, and how to tune pressure so the last beds aren’t left thirsty.
Expect clear steps about pressure (keep it near 20–25 PSI), filtration, flushing the line, and zoning for long distances. For supply ideas and real-world layouts, see a practical faucet-focused walkthrough at easy faucet drip setup and creative system layouts at a 30-pot DIY drip system.
Note: some product links may be affiliate links. Save or share this checklist so you can reference it while shopping or planning.
Key Takeaways
- Build a compact spigot stack: backflow preventer, filter, and a 25 PSI regulator are essential.
- Run 1/2″ mainline to the garden, branch off to 1/4″ emitters and headers for even coverage.
- Plan zones for very long distances; split runs beyond ~100–200 feet to keep pressure steady.
- Flush lines before install and cap ends; use tees, elbows, and barbed fittings for neat layouts.
- Use a battery timer and optional shut-off valves for simple automation and maintenance.
Plan Your Raised Beds Drip Irrigation System for a Long Hose Run
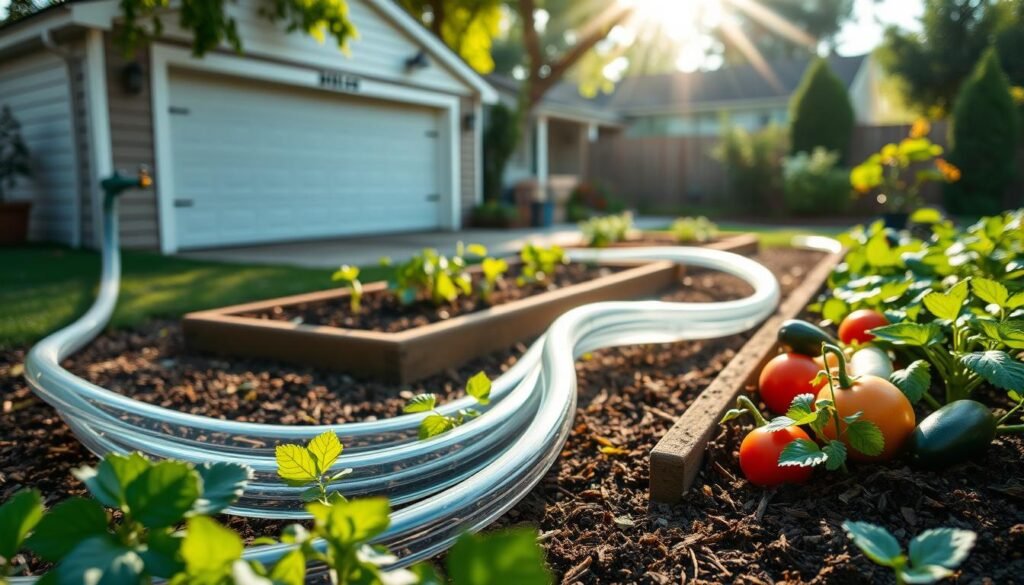
Sketch the route, count emitters, and split into zones before you buy parts. Good planning keeps the far beds as wet as the near ones and saves time on fixes.
Walk the path your supply line will take and mark turns, corners, planting rows, containers, and trees. Pace the distance and add 10–15% for detours around patios or fencing. A simple pencil sketch helps you estimate tubing length and where to place tees.
Measure and map zones
Zones let you run fewer emitters per line so pressure stays steady. Group nearby beds, containers, or trees into one zone. If one area needs heavy flow (trees or many pots), give it its own run or higher-output emitters.
Pressure and distance basics
Reduce line pressure to about 20–25 PSI and include a filter to prevent clogs. Typical household pressure is too high for small emitters.
A practical rule: keep standard 1/2″ mainline under ~100 feet for best even flow. Past that, output drops and the far beds show slower drips and uneven wetting.
Split lines, timers, or pressure-compensating tubing?
Split runs when your total length hits 200–300+ feet or when you have many emitters. Use a Y-valve to keep a free hose tap, or a 2-outlet timer to run two lines at different times and protect pressure. Pressure-compensating tubing smooths output over distance but limits custom emitter placement.
| Option | Best for | Pros | Cons |
|---|---|---|---|
| Single line (≤100 ft) | Small plot, few emitters | Simple, low cost | Pressure drop if overloaded |
| Split lines + 2-outlet timer | Long distances, many plants | Staggered watering protects pressure | Needs timer and extra fittings |
| Y-valve + one line | Mixed needs: drip and garden hose | Keeps a free tap; low tech | No automated zone control |
| Pressure-compensating tubing | Very long runs | Even output over distance | Less emitter placement flexibility |
Need details on design or parts? See practical walkthroughs for an easy faucet drip setup and a guide to vegetable drip basics. For organic garden care while planning, check natural pest control.
Tools and Parts Checklist for Raised Bed Drip with Long Hose Run from Garage Spigot [How-To]
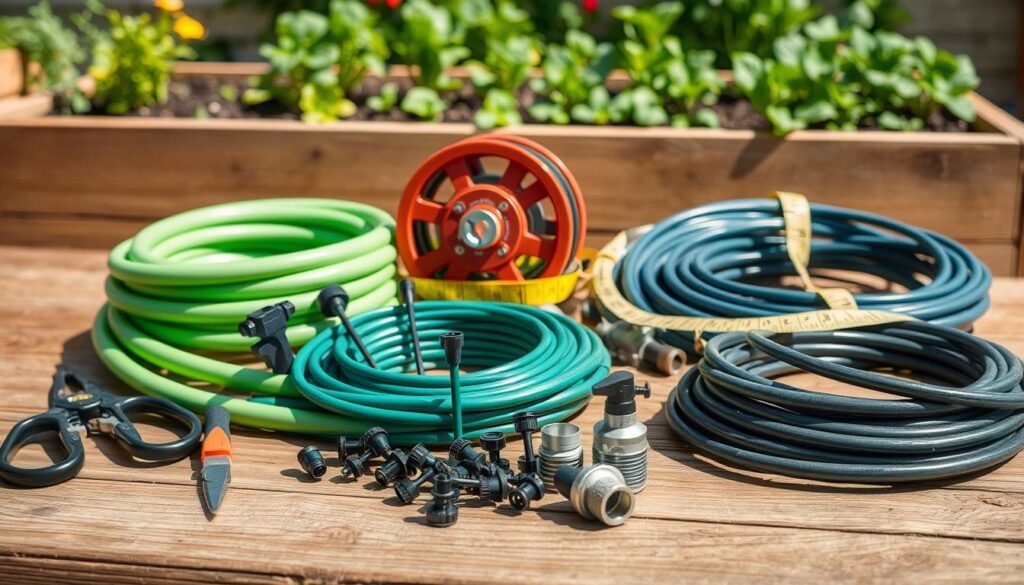
Gather the essentials so installation stays simple and predictable.This list shows the exact order of the spigot stack and the most used fittings, plus emitter choices by plant needs.
Gather a compact set of parts and a few tools, and you’ll strip the mystery out of building a reliable drip system.
Spigot connection stack
- Backflow preventer (vacuum breaker) — protects household water.
- Filter — keeps grit from clogging emitters.
- Pressure regulator (20–25 PSI) — stabilizes flow for the system.
- Faucet adapter (3/4″ to 1/2″) to join the mainline.
Mainline, fittings, and finishers
Use 1/2″ black poly tubing for the mainline. Fit tees, elbows, and couplers to route cleanly.
End the line with a figure-8 clamp or end clamp and secure tubing with galvanized landscape staples.
Water delivery and automation
- 1/4″ microtubing and barb fittings for reach.
- Punch-in emitters (1 GPH, 2 GPH), bubblers, and micro-sprinklers for higher flow spots.
- An electronic hose timer (single or two-outlet). Shield timers from sun and check batteries often.
- Don’t forget a punch tool — it saves time and reduces leaks.
For part sourcing and a faucet-focused walkthrough see easy faucet drip setup and a fitting adapter guide at hose-to-tubing adapter. If any product links are affiliate, note them at checkout so choices stay transparent.
Install and Tune the Drip System from the Garage Spigot to Your Raised Beds
Begin assembly at the water source so you can test pressure and catch leaks early. This makes adjustments simple and keeps the rest of the job tidy.
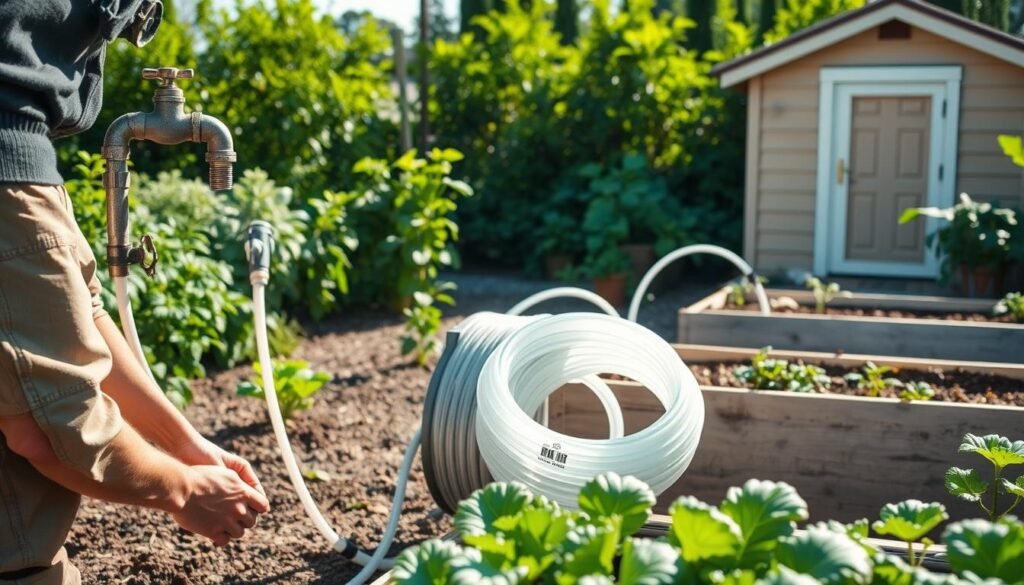
Assemble the spigot stack and keep a free tap
Attach the backflow, filter, and a 20–25 PSI regulator in that order. Add a timer or a Y-valve if you want an open faucet for other tasks.
Tip: For automation leave the faucet on and let a battery timer control the flow. For occasional use, switch manually.
Lay, secure, flush, and cap the mainline
Run 1/2″ tubing along planting edges and staple it every 2–3 feet. Test emitter placement before hiding lines under mulch.
Cut the end cleanly, briefly open water to flush grit, then seal with an end clamp or figure‑8 fold.
Punch emitters, extend reach, and water larger plants
Use 1 GPH for small plants and 2 GPH for thirstier crops or to boost flow at the far end.
Branch 1/4″ microtubing to reach a patio container or hanging pot. For young trees, place two emitters around the root zone or use a bubbler.
| Step | When | Why | Quick check |
|---|---|---|---|
| Assemble stack | Start | Control pressure & filter debris | Gauge reads 20–25 PSI |
| Lay mainline | After stack | Easy branching and secure placement | Line staples hold |
| Flush & cap | Before finalizing | Prevents clogs | Water runs clear |
| Test & tune | Initial run | Balance output to the far end | Soil moist 2–3″ deep |
Run a short trial cycle, inspect for weak spots, and adjust run times rather than emitter counts. For practical setup examples see a vegetable-focused guide at vegetable drip basics and a compact herb option at hydroponic herb garden.
Conclusion
A dependable backbone and a little tuning turn a stretched irrigation layout into steady, even watering for every area. Start simple, test pressure near 20–25 PSI, and adjust until soil moisture is even across the plot.
Success checklist: regulated pressure, flushed line, capped end, secured tubing, consistent drips across the run, and a timer schedule that matches weather and soil.
Once the backbone is set, adding a new bed, pot, or shrub is usually just a tee and a few emitters—not a full rebuild. Do a mid-season check for clogs, test batteries, and tweak schedules after heat or heavy rain.
For a PVC-focused how-to and part ideas see this PVC drip guide, or explore indoor herb pots for container projects. Product picks may be affiliate links. If this helped, please share the guide.