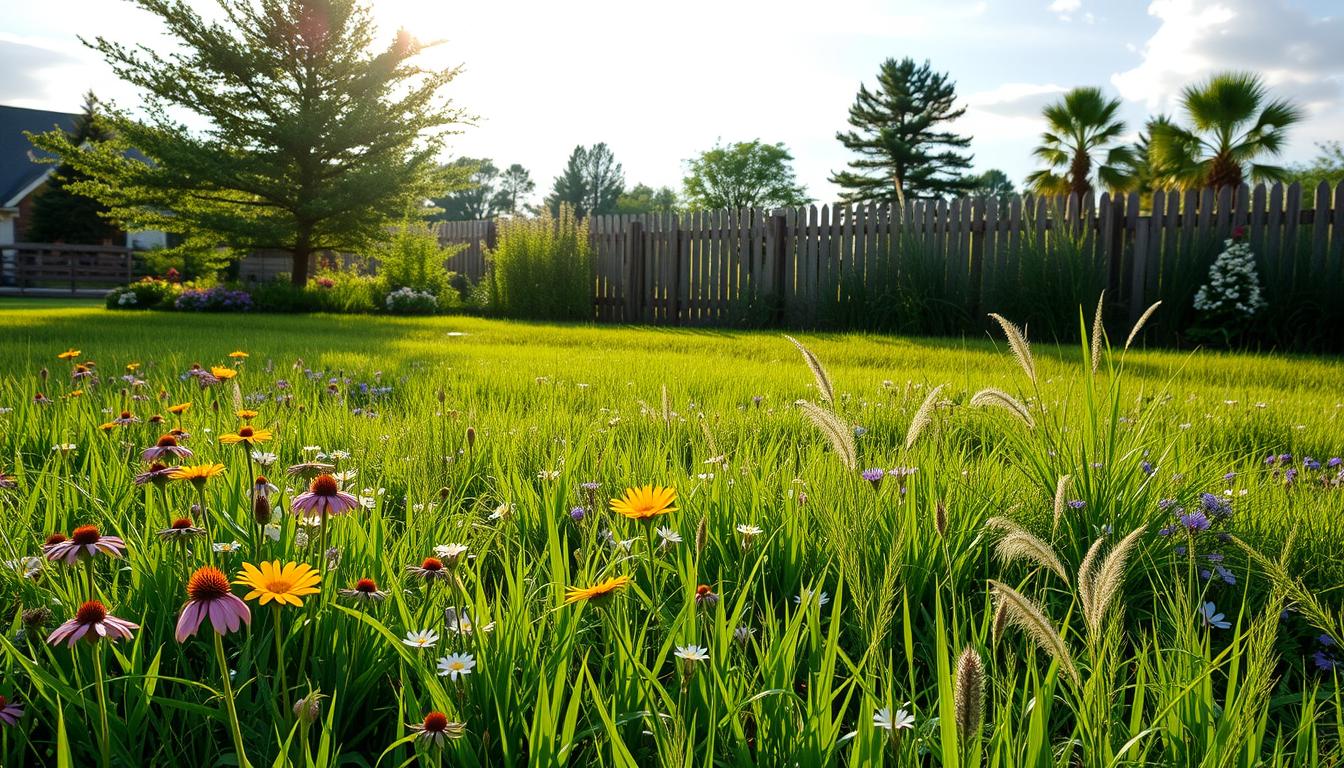
Want a Native Lawn Without Starting from Scratch? A Step-by-Step Transition Plan

Could you keep parts of your existing turf and still build a rich, bird-friendly garden that needs less mowing? Many homeowners are asking that exact question as interest in transforming turf into thriving habitat grows.

Table of contents

This short guide shows a calm, practical path to replace patches of grass with resilient plants and diverse species over months and years. Experts like Benjamin Vogt caution against tilling because it invites “tons of weeds,” while gardener Laura Tipton recommends starting small and expanding beds.

You’ll learn which method fits your time and energy, how to protect soil structure, and how to choose a first yard area that gives quick wins. We compare labor, cost, and how each option affects soil and turf so you can pick the right step for your home and landscape.

For an in-depth how-to, see this helpful guide on phased replacements at replacing turf with native plants.

Key Takeaways

  • Keep some turf: move in small steps so changes feel manageable.
  • Avoid tilling: it often causes weed problems and harms soil.
  • Match plants to site: choose species suited to sun, soil, and moisture.
  • Expect early care: watering and weeding matter most in the first years.
  • Gain habitat: fewer mow days and more birds and pollinators as you expand beds.

Why transition your lawn now: benefits, expectations, and the right mindset

Converting part of a turf area reduces mowing, cuts pollution, and creates habitat fast. This change asks for some focused care up front, then rewards you with more birds, pollinators, and a lower-maintenance landscape over years.

From mowing fatigue to habitat gains: Expect the first season to need extra water and spot weeding. Trade a few weekly mow sessions for seasonal tasks that encourage layered plantings and diverse species to establish.
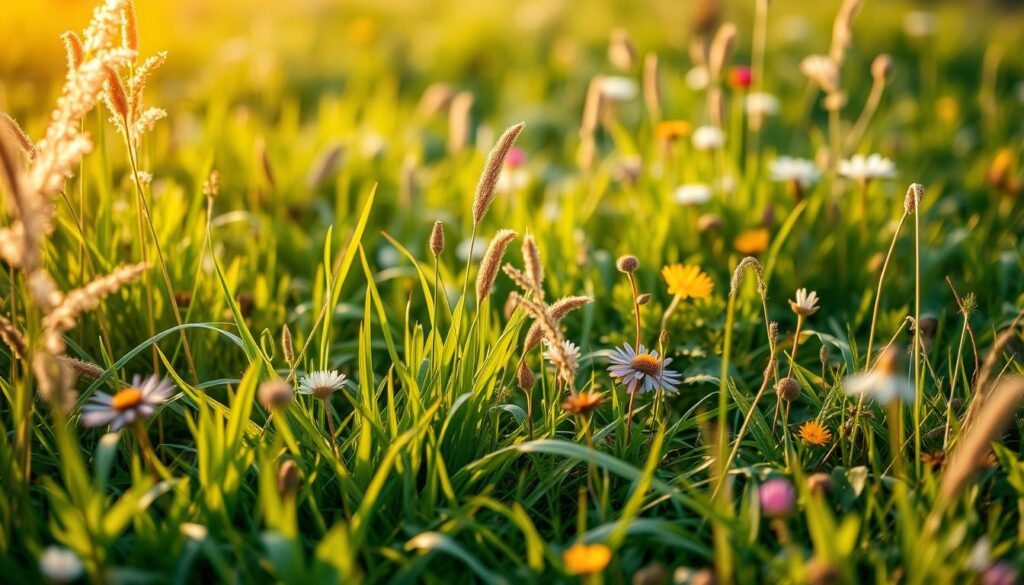
A lush, thriving lawn with a diverse array of native plant species. A closeup view showcases the delicate textures and vibrant colors of various grasses, sedges, and wildflowers. The scene is bathed in warm, golden sunlight, creating a serene and inviting atmosphere. The plants appear to be growing effortlessly, their healthy foliage and blooms creating a natural, harmonious landscape. The depth of field gently blurs the background, allowing the focal point to be the beautiful lawn plants themselves. This image conveys the benefits and expectations of transitioning to a native lawn - a low-maintenance, ecologically-friendly oasis that enhances the beauty of the outdoor space.

You’ll cut emissions quickly. An hour of mowing can equal pollution from a 100‑mile car trip, so turning the mower off more often helps air quality. More people now plan to convert a part of their yard — rising from 9% in 2019 to 19% in 2021 — showing this shift fits many lifestyles.

Mindset matters: Think habitat-first. Let plants self-organize inside the area and accept small shifts as species find their spots. Avoid tilling; experts warn it often spurs weeds and harms soil life.

Benefit What to expect First-year care
Less mowing Fewer weekly chores, edged beds look tidy Establishment water and spot-weeding
More wildlife Bees, butterflies, and birds increase Choose suited species and monitor growth
Lower emissions Immediate air-quality gains when mower use drops Start with an area you visit often for quick wins

Assess your yard and pick the best starting area

Walk your lot and flag one problem place that frustrates you most—deep shade, eroding slopes, or heat-baked strips. Choose a compact area you can finish in a weekend so momentum builds fast.

Breathe in the space and map sun, wind, and drainage. Note where soil crusts, stays wet, or washes away.
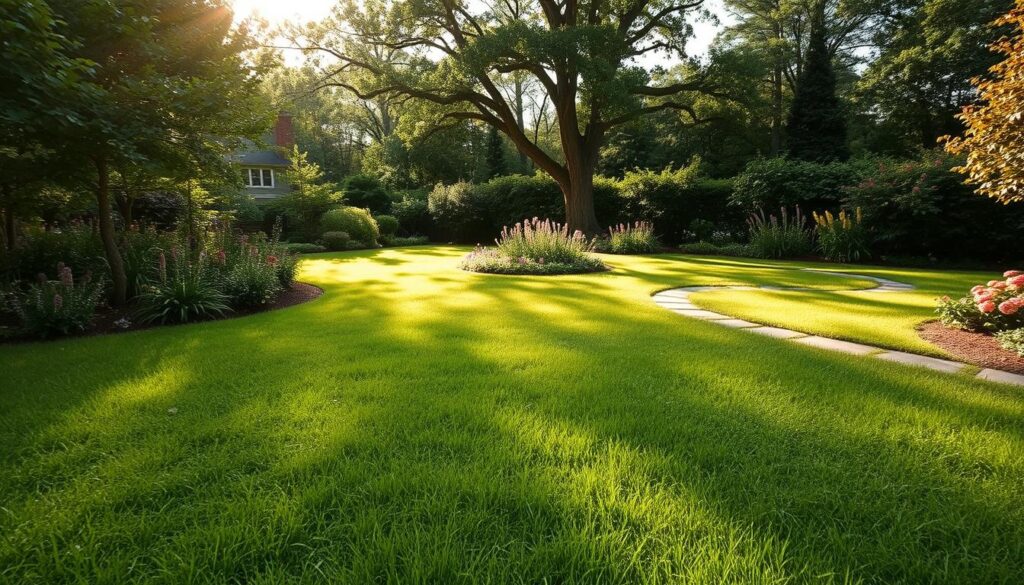
A lush, verdant backyard with a mix of native grasses, wildflowers, and foliage. The foreground features a well-tended lawn, transitioning into a middle ground dotted with vibrant blooms and meandering pathways. The background showcases mature trees and shrubs, casting a warm, natural glow across the scene. Sunlight filters through the canopy, creating a serene, inviting atmosphere. The composition emphasizes the different zones and textures within the yard, inviting the viewer to assess the potential for a native lawn transition. Captured with a wide-angle lens, the image provides a comprehensive view of the outdoor space.

Target problem spots first: shade, erosion, and heat-baked zones

Designers often begin with trouble areas because they show results quickly. Match plants to the existing light and moisture rather than reshaping the soil. Experts report that amending soil can be costly and invite weeds.

Start small and scale: deepening beds and 10-foot borders

Deepen foundation beds to about 10 feet or set a tidy 10-foot border and reduce turf inside it. Wide beds allow layered plants to hide soil and cut weed pressure.

  • Walk your yard and name one starting place—shade, erosion, or heat‑baked strip will reward you fast.
  • If no trouble spots exist, deepen beds to 10 feet or add a 10‑foot border and chip away inside it.
  • Use a tape or rope to mark edges, choose a method that fits your time, and follow a clear step order: mark, remove or suppress turf, plant, water, mulch.

“Match plants to place, not to a perfect soil mix; adapted species do the heavy lifting.”

Problem Quick fix Best first step
Deep shade Shade-tolerant plants, mulch Select shade-adapted plants and plant in the fall
Eroding slope Layered groundcovers, root-holding plants Create a 10-foot swath and seed/plant for cover
Heat-baked strip Drought-tolerant plants, wider beds Mark a 10‑foot border and plant sun-loving species

want native lawn without starting from scratch: plan your method

Choose a method that fits your goals, ground conditions, and available time. Sheet mulching suits small areas, a sod cutter speeds larger swaths, and hand digging targets precise problem strips.
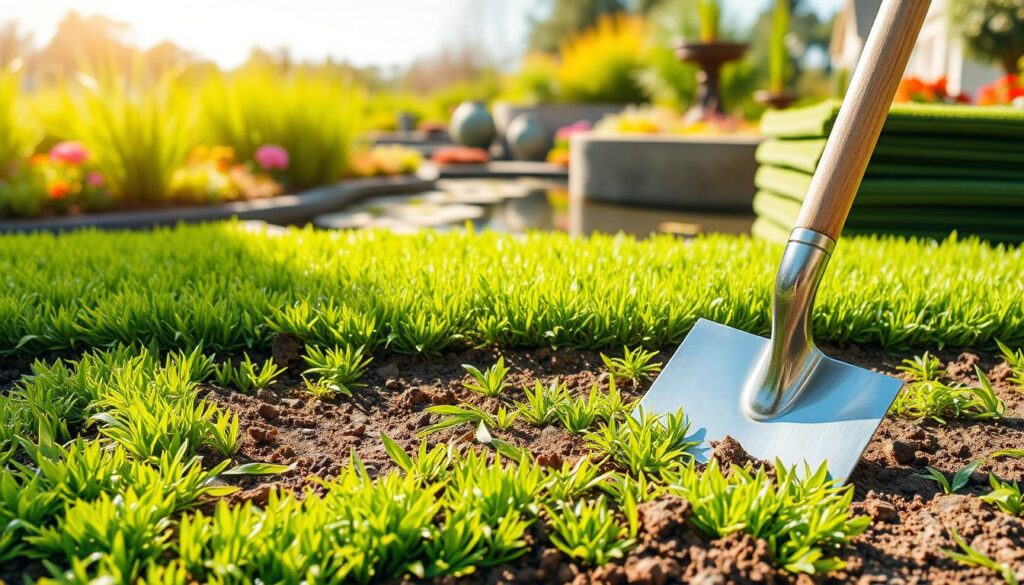
A lush, verdant lawn with tufts of vibrant green turf sod nestled atop a rich, loamy soil. In the foreground, a shovel rests, its metal blade gleaming in the warm, natural light. The middle ground showcases neatly stacked rolls of turf, their edges crisp and freshly cut, ready for installation. In the background, a serene garden scene unfolds, with colorful native plants and a tranquil water feature reflecting the sky. The overall composition evokes a sense of careful planning, a harmonious blending of natural elements, and the promise of a thriving, low-maintenance lawn.

Compare approaches: sheet mulching, sod cutting, or selective digging

Sheet mulching layers cardboard and mulch to smother grass and feed soil. It works well for about 100 square feet and reduces chemical use, but it can limit air and water exchange and some cardboard contains unwanted chemicals.

Sod cutting uses a motorized cutter to lift turf at the root for a quick, clean surface. It saves time on large swaths but creates sod to dispose of and needs a rental and muscle to guide the machine.

Selective digging is fast for narrow strips or tiny beds. It gives precision but can lift fertile topsoil with the sod, so plan to regrade lightly before planting.

Safety and soil health: why to avoid tilling and cautious herbicide notes

Protect soil first—avoid tilling. Experts report that tilling often triggers a weed flush and damages soil structure, making establishment harder in the years ahead.

Herbicides can work for big areas, yet studies link some products to health risks and harm to pollinators. If you use chemicals, follow labels strictly and keep people, pets, and water safe.

  • For seeding: aerate with tight 1–2 inch cores, apply 2–3 lbs seed per 1,000 sq ft, rake in, and optionally roll.
  • Water plan: frequent light cycles through germination, then reduce to daily, then taper as roots deepen.
  • Fertilizer: starter at 1 lb N per 1,000 sq ft at seeding and again one month later if needed.

“Match plant choice to place, not to a perfect soil mix; adapted species do the heavy lifting.”

About the Author

Garden Expert (Ethan Green) is your green-thumbed guide at The Garden Haven. With years of hands-on experience in home gardening, greenhouse care, and sustainable planting, Garden Expert shares practical tips and expert advice to help you grow healthier, happier gardens—season after season.

Editorial Process Note

Just like a healthy garden, our content is carefully nurtured. Every tip and technique shared on The Garden Haven comes from years of hands-on experience. Before we publish an article, our team "weeds out" any inaccuracies by checking facts against trusted horticultural sources. We regularly revisit our articles to keep them fresh and up-to-date, ensuring you always have the best information for a thriving garden.

Sheet mulching with cardboard and mulch: a low-cost, low-chemicals path

Sheet mulching offers a low-cost, low-chemicals path to convert a small turf area into a thriving garden. Prep in early spring: scalp the grass, remove tape and plastic from cardboard, overlap edges tightly, and add about 6 inches of mulch; wait 2–3 months before planting through softened layers.

Start small and be patient. Mow the grass very low and pull visible deep weeds so cardboard sits flat. Lay sheets like shingles so no light reaches the root zone. In a pinch, stack several newspaper layers.

Top with a uniform mulch layer to buffer moisture and feed the soil as it breaks down. Many gardeners plant plugs and a few seeds after the cardboard softens, then keep a steady watering schedule through the first year so roots reach the ground.

For practical tips on sourcing cardboard and materials, see this short guide on using cardboard to break up turf: cardboard mulching resources.

FAQ

What is the simplest way to transition part of my yard to native plants and grasses?

The easiest low-cost method is sheet mulching: lay cardboard over a chosen area, soak it, add 4–6 inches of organic mulch, and plant into the mulch after a few months. This suppresses turf and weeds, builds soil, and protects roots while you introduce native grass species, wildflowers, and shrubs in stages. For a smaller area, cut turf out with a sod cutter and replace it with a native seed mix or plugs for faster establishment.

How do I choose which area of my lot to convert first?

Start with problem spots like shaded corners, eroded slopes, or heat-baked strips that struggle as turf. Pick a 50–200 square-foot test patch or a 10-foot border to learn how plants perform. Prioritize places that yield the most benefit—better drainage, reduced mowing, or added habitat for birds and pollinators—so your early successes encourage larger changes.

Can I keep parts of my existing turf while adding native plant areas?

Yes. A phased approach works well: retain healthy turf where you need a play space or sightlines, then convert peripheral strips, beds, and problem zones into native grasses and plants. This maintains usable lawn while expanding habitat and reducing overall watering, mowing, and chemical use over time.

What native grasses and seed mixes should I use for a home landscape in the U.S.?

Choose species suited to your USDA zone and soil: little bluestem, sideoats grama, and native fine fescues are common regional choices. Buy a certified native seed mix or consult a university extension for local recommendations. Mixes that include a diversity of grasses and wildflowers increase resilience and attract pollinators and birds.

How long does it take before a converted area looks established?

Expect visible improvement in one growing season with plugs or sod replacement; seeded areas commonly take 12–24 months to fully establish roots and a balanced plant mix. Patience benefits soil building and species diversity—mulch and regular watering during establishment accelerate success.

Is sheet mulching safe for soil health, or should I till instead?

Sheet mulching is safer. It protects soil structure, fosters microbial life, and reduces erosion. Avoid tilling whenever possible because it disrupts beneficial fungi and buries organic matter. If you must amend compacted zones, use shallow cultivation and add organic matter rather than deep plowing.

Do I need to use herbicide to remove existing turf?

Herbicide is not required. Mechanical removal (sod cutting), smothering with cardboard and mulch, or smothering with thick layers of newspaper or composted leaves work well. If you consider herbicide, follow label instructions, choose targeted products, and wait the recommended interval before planting to protect soil life.

How should I water new plantings and native seed in the first year?

Keep soil consistently moist but not waterlogged during germination—light daily misting for seeds, then gradually reduce frequency while increasing depth. For plugs and sod, water deeply 2–3 times a week at first, tapering to once weekly as roots develop. Once established, many native grasses need little supplemental irrigation.

Will converting to native plants reduce my mowing and maintenance time?

Yes. Replacing turf with native grasses, wildflower meadows, or mulched beds cuts mowing, watering, and fertilizing needs. You’ll still do seasonal tasks—cutting back perennials, dividing clumps, and spot-weeding—but overall maintenance time declines significantly after the first two years.

How do I prevent weeds during and after conversion?

During sheet mulching, use thick cardboard and a deep mulch layer to block light. Monitor edges and remove perennial weeds by hand before they set seed. After planting, dense native mixes and regular mulch discourage weeds; targeted spot treatments and persistent hand-pulling during establishment keep invasives from taking hold.

Can small yards or city lots support native plant landscapes?

Absolutely. Even narrow 10-foot borders, patios transformed into beds, or clustered containers can host native grasses and pollinator-friendly plants. Start small, focus on soil and plant choices suited to microclimates on your lot, and scale up as you learn what performs best.

Should I add compost or soil amendments before planting?

Lightly amending poor soils with a 1–2 inch topdress of compost helps seed-to-soil contact and jump-starts biology. For sheet-mulched areas, the decomposition of mulch and cardboard will enrich the soil over months. Avoid heavy use of high-nitrogen fertilizers that favor weeds and nonnative turf over native species.

What tools and materials do I need for a successful transition?

Key items: cardboard or landscape fabric for smothering, quality mulch (wood chips or shredded bark), a sod cutter or shovel for removing turf if desired, native seed mixes or plugs, a hose or irrigation setup for establishment, and basic hand tools for planting and weeding. Seed rollers and a rake help with even seed contact.

How can I attract birds and pollinators as I convert my yard?

Plant a variety of native flowering species that bloom across seasons, add seed-producing grasses, and provide shelter with shrubs and patches of unmowed areas. Install a shallow water source, avoid pesticides, and diversify plant heights to create nesting and foraging habitat that supports bees, butterflies, and birds.

Where can I find reliable regional planting guides and seeds?

Consult local university extension services (e.g., Cornell, University of California, or Texas A&M) for region-specific lists and planting calendars. Purchase seed from reputable native plant nurseries and seed companies such as Prairie Moon, Native Seeds/SEARCH, or local native plant societies to ensure quality and provenance.