
Can a single plastic bottle and a smart relay truly free busy gardeners from nightly watering chores?
Summer heats dry potting soil fast, and beginners often find daily watering a grind. A simple bottle-and-cotton-swab trick from Joe Clark of Joe’s Garden offers a steady trickle that keeps plants moist without soaking leaves in midday sun.
For larger setups, a weekend project using a Y-connector, backflow valve, a 1/2-inch main line with 1/4-inch runs, and a battery timer can serve many pots and second-story baskets. Add a normally closed solenoid and a Shelly Pro 1 for safe, remote schedules and one-tap runs via Home Assistant.
Bold takeaway: Stop the nightly watering chore and keep plants evenly moist with simple options that scale from one pot to a full porch. Bold takeaway: Start small today and expand into automation when ready.
Key Takeaways
- Quick single-pot fix for immediate relief and gentle, steady watering.
- Weekend hose-fed project waters multiple pots and hanging baskets.
- Typical summer timing: short runs daily above 85°F; less often in spring.
- Learn backflow protection, tubing, drippers, and timer basics.
- Optional smart control enables remote schedules and one-tap runs.
- Keep routing tidy and use fail-safe parts to protect the home.
Why a DIY drip irrigation system beats hand-watering your containers right now
A simple, timed line cuts chores and keeps soil evenly damp. A basic watering system saves time each day and delivers moisture straight to roots for healthier growth.
Set a timer at the spigot, run a 1/2-inch main line around key areas, and tap 1/4-inch runs to pots. Gardeners report getting sleep back and steady irrigation even on second-story balconies instead of hauling cans every day.

Consistent drips reduce waste and leaf scorch while cutting daily labor. Flow is targeted and repeatable, so one pot does not get soaked while another stays dry.
- Efficiency: Evaporation drops and water hits the root zone.
- Reliability: Programmed runs care for plants when away.
- Longevity: Systems run for years with only battery swaps and small repairs—make sure to check connections.
- Scalable: One setup can serve a lot of pots from a single spigot.
| Feature | Hand Watering | Basic Irrigation |
|---|---|---|
| Consistency | Varies by person | Set schedule, repeatable |
| Water use | Higher evaporation | Targets root zone |
| Labor | Daily trips | One setup, less chore |
| Upkeep | None mechanical | Minor checks, batteries |
For a quick project that scales, read more about a simple potted herb garden layout at potted herb garden.
Plan your container drip irrigation: layout, parts, and safety basics
Start with a simple map: mark pots, hanging baskets, and the faucet, then sketch a main route for the 1/2 inch line. Gather essential parts before you cut tubing so the build moves quickly and neatly.
Sketch a watering map: pots, hanging baskets, and spigot distance
Start by counting every spot that needs water and note tricky runs under stairs or decks. Measure from the spigot to the farthest plant so the main run is the right length.
Use 1/2 inch PVC as a sleeve where pipe must pass under steps. Pre-mark hole positions on the main line for tidy spacing of 1/4 inch runs.
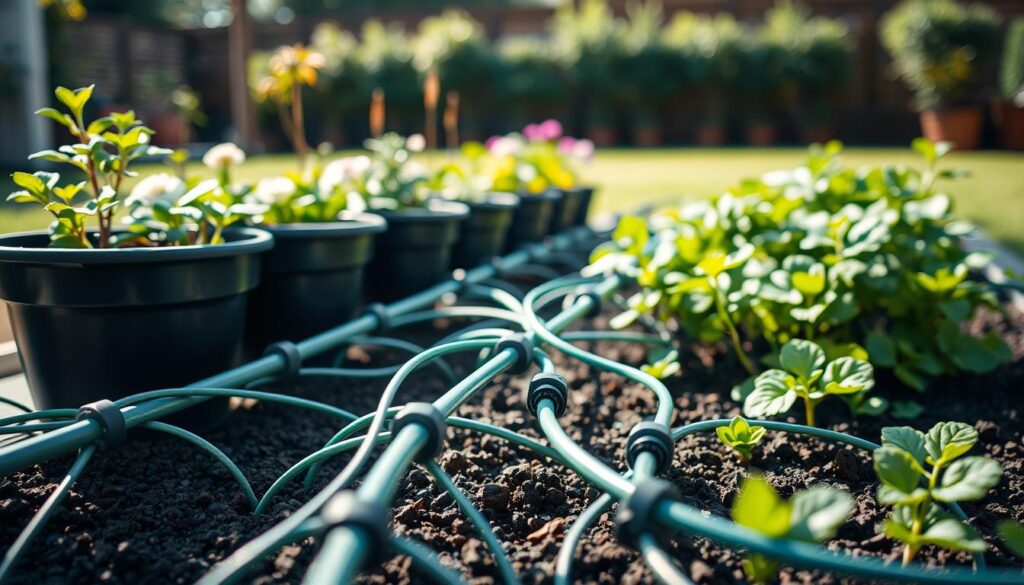
Core components: timer, backflow valve, 1/2 inch main line, 1/4 inch lines, drippers
At the faucet attach a Y-connector and a backflow valve before the timer, then hook up the 1/2 inch tubing.
Collect: battery or smart timer, backflow valve, 1/2 inch main line, 1/4 inch runs, drippers, couplers (T and elbow), staples, clips, and a crimper.
Safety and prep: backflow prevention, burying lines, and tidy routing
Make sure backflow prevention sits at the top of the chain. Route lines away from walkways and high sun exposure to protect against damage.
Lay the main line along the foundation, bury under mulch, secure with staples, and crimp the end to stop water. Use a hole punch to tap in 1/4 inch runs; add a bit of silicone around each coupler for a tight seal.
“Plan carefully, and the installation becomes a quick, reliable irrigation system that keeps plants healthy with less effort.”
- Top tip: Run white or black 1/4 inch tubing up posts and use clips for a neat finish.
- Keep a small kit with a hole punch, silicone, spare fittings, and staples for fast fixes.
- For a full parts checklist and extra layout ideas, see the full guide.
Quick win: the plastic bottle cotton-swab drip for single pots
One small bottle and a cotton swab deliver steady moisture to a thirsty pot in minutes. This five-minute hack gives a gentle, repeatable drip and keeps soil evenly moist without heavy watering.
Gather a clean plastic bottle, one cotton swab, sharp scissors, and a lighter. Warm the blade a bit over the flame for smoother cuts.
Tools and simple prep
Use scissors to make a neat side hole about two inches from the bottle’s bottom, and pierce the cap too. A tidy hole reduces leaks and helps the system run predictably.
How to assemble and place
Cut the swab in half and push each end through the side hole and cap so the fluffy buds sit outside. Fill with tap water or rainwater, cap it, and set the bottle into the pot with the lower bud just above the soil.
Dial the flow
Remove the top bud for a few minutes to quick-start wetting, then replace it to slow the flow to a gentle drip. Make sure to watch early runs; if the soil goes soggy, shorten the open time or widen the hole a bit.
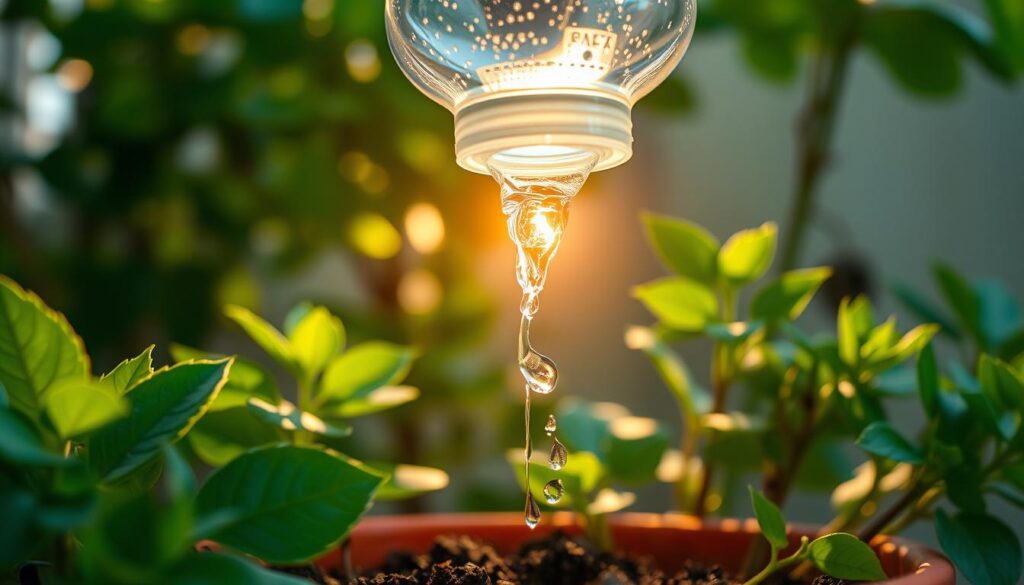
“Start simple: this tiny setup often beats frequent watering and keeps plants happier with less fuss.”
| Step | Goal | Tip |
|---|---|---|
| Make holes | Steady outlet | Warm blade for cleaner hole |
| Insert cotton | Control flow | Lower bud near soil, top bud throttles air |
| Fill & place | Stabilize bottle | Use rainwater when possible |
Build a hose-fed drip irrigation system for containers and hanging plants
Connect a faucet-side timer and run a protected 1/2-inch main line to feed tidy 1/4-inch branches that reach pots and baskets. This system saves time and keeps water at the root zone for healthier plants.
Attach at the faucet
Fit a Y-connector so one side stays free for general hose use and the other feeds the timer. Install a backflow valve before the timer to protect the household supply.
Lay the 1/2-inch main line
Measure to the farthest plant, cut the 1/2-inch pipe, and run it along the foundation. Secure with landscape staples and bury under mulch where possible.
Finish the end by folding six inches of tubing and crimping it to stop flow.
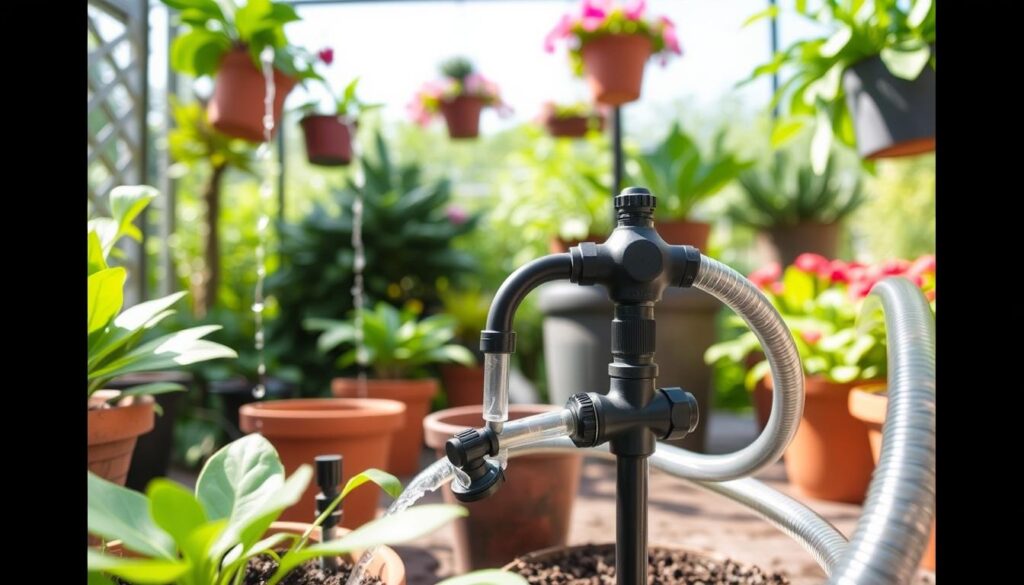
Tap in 1/4-inch runs and reach high
Use a hole punch to add 1/4-inch couplers in the main line. Dab silicone around each hole for a tight seal. Run white or black 1/4-inch tubing up columns to reach second-story baskets and clip lines neatly.
Set drippers, program times, and maintain
Place stake drippers near pot centers and use T- or elbow-couplers to split lines. Start with short runs—3–5 minutes—and test manually. Example: early spring 4 minutes every other day for several pots; above 85°F use 4 minutes daily.
Change AA batteries monthly and test the system every few weeks.
“Connect at the faucet, build a tidy main line, and small branches will deliver steady water where it matters.”
| Step | Action | Tip |
|---|---|---|
| Faucet hookup | Y-connector, backflow valve, timer | Keep one side free for hose use |
| Main line | Measure, cut, staple, crimp end | Run along foundation, bury under mulch |
| Branches | Hole punch, 1/4″ couplers, silicone | Use white tubing up posts for visibility |
| Emitters | Stake drippers, T/elbow couplers | Place near pot center; test flow |
For a simple parts list and extra tips, see a helpful guide at simple drip irrigation for home gardens.
want stop hand-watering your containers diy drip: add smart control and automation
Add a normally closed solenoid valve and a smart relay to automate watering safely and precisely. Control runs from a phone, schedule minutes, and set a static IP for rock-solid access—great peace of mind before a vacation.
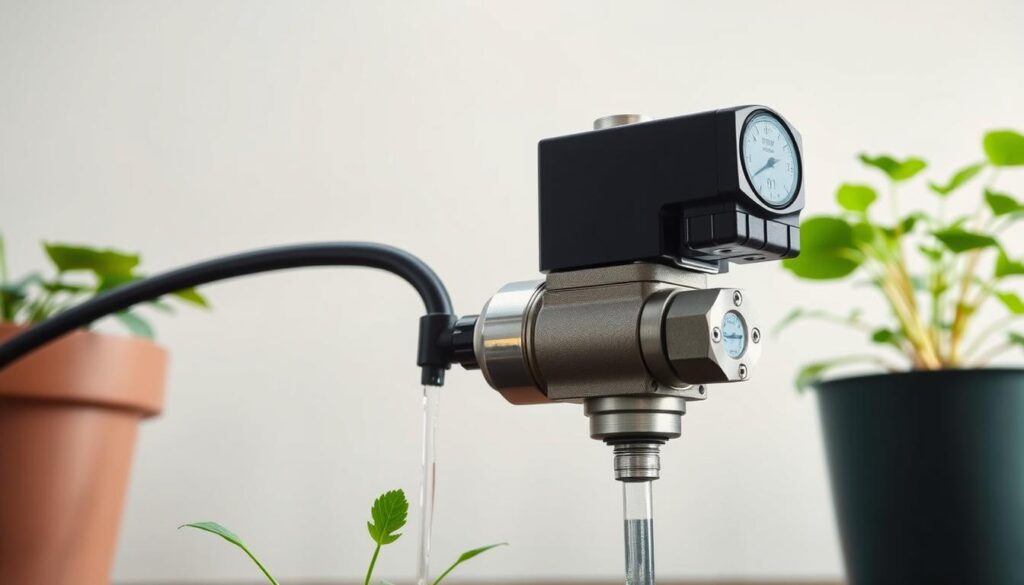
Why choose a normally closed valve?
A normally closed brass solenoid valve stays shut without power and opens when energized. This fail-safe behavior prevents unintended flow during outages or faults.
Install a sediment filter upstream. Seal threaded joints with Teflon tape and retighten any weeps to keep the valve working well.
Mount and wire the smart relay
Mount a Shelly Pro 1 on a DIN rail in a small panel and label wires for line, neutral, and ground. Use the relay’s dry contact to switch the valve so no line voltage passes through low-voltage controls.
Phone control and Home Assistant tricks
Set schedules in the Shelly app and assign a static IP for reliability. In Home Assistant, one-tap local URLs trigger safe runs, for example: http://192.168.X.XX/relay/0?turn=on&timer=300 for a 5-minute run.
“Build a neat control box, protect plumbing with a filter, and add an enable switch plus a stop button for easy, safe control.”
| Item | Purpose | Key tip |
|---|---|---|
| Normally closed valve | Fail-safe shutoff | Use brass valve; filter ahead |
| Shelly Pro 1 relay | Switching & scheduling | Mount to DIN rail; use dry contacts |
| Network | Reliable app access | Assign static IP to relay |
| Home Assistant | One-tap runs | Local URL timers for 1/5/10/15 minutes |
- Safety: Hire a licensed electrician for line-voltage work if unsure.
- Maintenance: Check filters and fittings periodically to avoid clogs.
Fine-tune flow, fix leaks, and keep your watering system summer-ready
A handful of simple steps preserves steady water flow and prevents surprise drips. Small adjustments now save time and keep soil reliably moist through heat and travel.
How to stop drips and clear clogged fittings
If moisture appears at a fitting, remove it and wrap threaded joins with fresh Teflon tape, then retighten with a wrench.
Unscrew the filter cap to clean the screen—this restores steady water flow fast.
Match flow to each plant
Switch to adjustable drippers and run the system manually to watch outputs. Tune minutes so drips reach the pot’s bottom without overflow.
Start with short runs and tweak until each pot gets similar soil moisture.
Seasonal tweaks and travel prep
Early spring: try 4 minutes every other day. Above 85°F: 4 minutes every day.
Before a vacation, replace timer batteries, run a full test, and verify the valve opens and closes cleanly.
Routine checks for reliability
Every couple of weeks check for clogs, soil moisture an inch down, and line stability in wind. Use staples and clips to prevent rubbing and wind whip.
Small adjustments keep your system efficient—fix tiny leaks, clean filters, and dial each emitter’s output. Tune minutes to heat and wind, swap batteries, and do quick checks so plants stay hydrated all summer.
For a detailed parts checklist and extra setup tips, see this helpful guide: best garden irrigation systems.
Conclusion
You now have clear steps—from a single-pot bottle trick to a full drip irrigation system—to keep plants thriving with less work. Pick a project size, lay parts with care, and fine-tune as seasons change for dependable, summer-ready watering.
A complete container setup can be built in a weekend for about $100. Fit a Y-connector at the spigot, add a backflow valve and timer, run a 1/2-inch main line, then tap 1/4-inch lines to drippers. Slim tubing and clips reach second-story baskets with ease.
Upgrade with a normally closed valve and a smart relay for app scheduling or one-tap Home Assistant runs. Keep runs short, watch soil, and adjust time as heat rises.
Short on time? The plastic bottle and cotton-swab hack offers a reliable backup while you finish the larger project. Sketch a map, list parts, set aside a weekend, and enjoy calmer watering and healthier plants all season.