Have you ever wondered if a small change could turn a silent tray into a burst of green? This quick intro shows a calm, step-by-step way to spot the common reasons trays rest instead of pop.
Start with time and viability checks, then tune soil moisture, gentle water delivery, and airflow. Simple fixes—steady warmth, light misting, or bottom heat—often convert worry into visible growth.
Gardeners often overlook that slow, steady moisture wakes embryos while heavy drenching or drying kills the swell phase. Match nature’s slow spring melt by keeping the surface slightly moist, use a fine spray outdoors, or bottom water indoors to avoid displacement.
Remember: most crops show sprouts in 3–21 days and soil runs cooler than air. Healthy trays need 65–75°F soil, clean trays, fresh soilless mix, and airflow to prevent damping off.
Key Takeaways
- Check time and viability before major fixes.
- Keep soil gently and consistently moist—not soaked.
- Use gentle water methods to avoid displacing tiny seeds.
- Provide bottom heat or steady warmth for faster starts.
- Clean trays and good airflow reduce disease risk.
At a glance: common reasons seeds don’t sprout right now
A quick checklist helps you spot the usual culprits fast. Fixes often involve simple changes to heat, moisture, or planting depth.
A few simple mismatches—temperature, moisture, or depth—often stop trays from showing life.
- Not enough time: some types take days, others several weeks to appear.
- Soil temperature off: most prefer about 65–75°F; bottom heat helps.
- Moisture wrong: waterlogged mix rots a lot, while dry patches halt progress.
- Planting depth or light mismatch: tiny items that need light can’t be buried.
- Poor airflow and disease: cold, wet, stagnant trays invite damping off and mold.
“Check warmth first, then steady moisture; small tweaks make the biggest gains.”
| Issue | Sign | Quick fix |
|---|---|---|
| Low temperature | Slow or no sprout after expected days | Use a heat mat; aim 65–75°F soil |
| Too wet | Surface mold or rotted bits | Reduce watering; improve drainage and airflow |
| Buried too deep | No emergence, long delay | Sow shallower or follow packet depth |
Seed germination troubleshooting why your seeds arent: time and viability checks first
Compare packet days with your sow date and run a quick paper test before replanting. Small checks often reveal whether patience, storage, or conditions need attention.
Start by checking the days listed on the seed packet against your calendar. Packets often list windows: some crops sprout in 3–5 days, while others can take up to 3 weeks. If a packet lacks timing, look to a trusted source or the linked troubleshooting guide for a reference range: trusted packet guidance.

Run a paper towel test to check viability
Place 10 seeds in a moist paper towel, seal in a bag, and wait the listed days. Count successes to find the germination rate.
Assess packet age and storage
Older packets stored warm or damp lose strength faster. Many types remain viable for years if kept cool, dry, and dark.
When a few sprout but most don’t
If a small number do well while others fail, suspect uneven warmth or wet spots rather than only bad seed. Remember soil runs 5–10°F cooler than air; bottom heat or a mat often fixes slow trays.
| Test | What it shows | Quick action |
|---|---|---|
| Paper towel (10 seeds) | Germination rate (number sprouted) | ≥8/10: sow as planned; <8/10: replace packet or sow heavier |
| Packet days check | Expected time to emerge | Wait full window; use heat if soil is cool |
| Storage check | Age and conditions | Store future lots cool/dry; source fresh packet if old |
Moisture matters: water, humidity, and preventing rot or displacement
Keep the mix evenly damp from planting through emergence. Gentle, steady moisture prevents shriveling and stops drowning at the same time.
Think of the first week like a slow thaw. In nature, winter snowmelt keeps the soil evenly moist until roots push through. Treat indoor trays the same and avoid big wet-dry swings that damage tiny embryos.
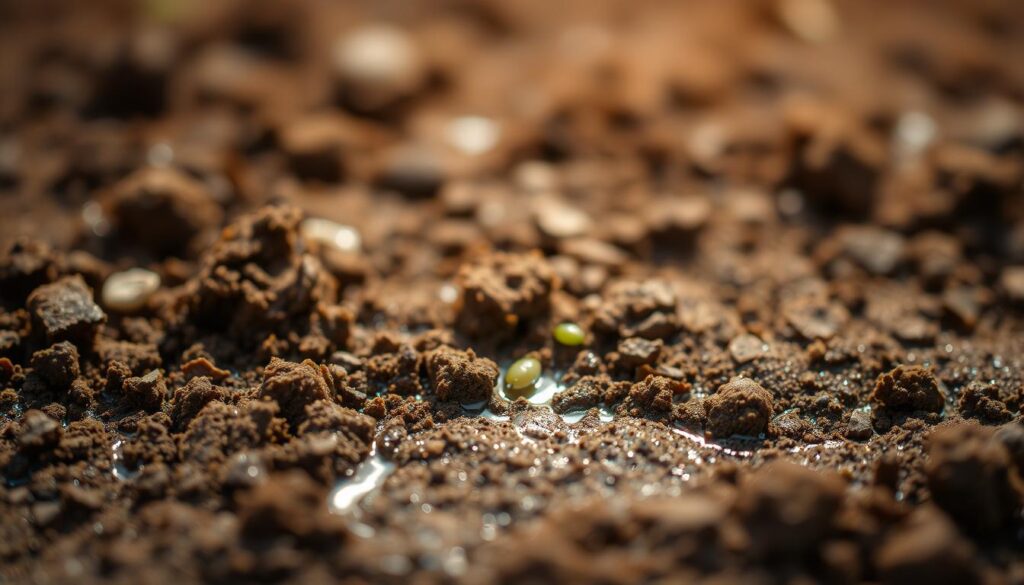
Moist, not soaked
Aim for even dampness so oxygen stays available in the soil. Soggy mix cuts oxygen and invites rot; dry pockets halt progress. Check the top quarter inch twice daily and adjust.
Gentle delivery: bottom watering and misting
Bottom watering hydrates evenly without moving surface seed. For seeds indoors, follow with a light mist to keep the surface soft and prevent crusting.
Humidity domes, displacement, and mold
Domes cut evaporation but vent them once most trays show sprouts to reduce mold risk. Use a fine spray head outdoors to avoid washing seed into ruts. If white or green mold appears, increase airflow and lightly dust cinnamon.
| Issue | Sign | Quick action |
|---|---|---|
| Too dry mid-swell | Wrinkled coats, patchy emergence | Mist surface; increase watering frequency |
| Overly wet mix | Musty smell, soft rot | Pause watering; improve drainage and airflow |
| Seed displacement | Uneven rows, buried surface | Use fine spray or bottom water; resow shallow if needed |
Temperature, light, depth, and medium: dialing in seed starting conditions
Dial in soil warmth and match light and planting depth to the crop for steady, fast starts. Correct conditions protect tiny roots and prevent early losses.
Getting temperature, light, and the right planting depth in balance makes the difference between a slow tray and a fast start.
Warm soil wins
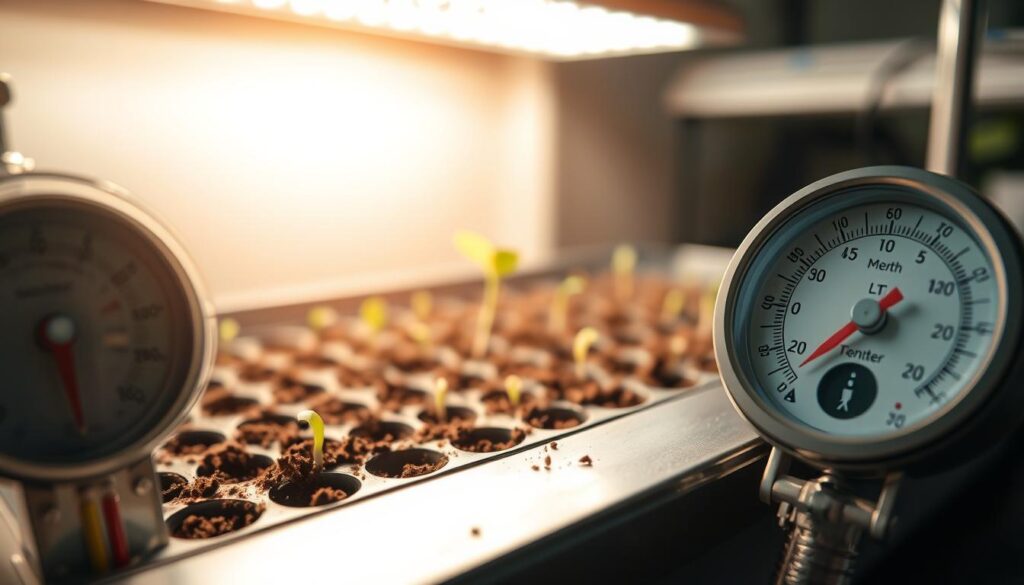
Aim for about 65–75°F soil temperature. Warm soil speeds emergence for crops like tomatoes, peppers, and basil. Remember that soil often runs 5–10°F cooler than room air, so use a heat mat or warm placement when needed.
Light needs vary
Some varieties need light at the surface to trigger sprouting; sow those on or very near the surface. Others prefer darkness and must be covered to the packet’s depth so they don’t waste stored energy reaching the light.
Choose the right mix
Use a fine, soilless seed starting mix for drainage and oxygen. Heavy mixes hold water and can smother young roots. Keep lights close after cotyledons appear to prevent stretching without adding excess heat.
- Tip: Check species-specific seed needs and adjust placement and heat accordingly.
- Tip: Start seeds where you can keep steady warmth, consistent light, and even moisture.
For a deeper how-to on indoor setups and timing, see our indoor seed starting guide.
| Variable | Target | Quick action |
|---|---|---|
| Soil temperature | 65–75°F | Use a heat mat; check with a probe |
| Light | Surface vs covered per type | Sow surface for light-loving types; cover others |
| Mix | Fine soilless, well-draining | Replace heavy media; use fresh starting mix |
Disease, sanitation, and stress: stopping damping off before it starts
Damping off strikes fast at the soil line and often before symptoms spread. Clean tools, good airflow, and steady care protect seedlings and make sure trays stay healthy.
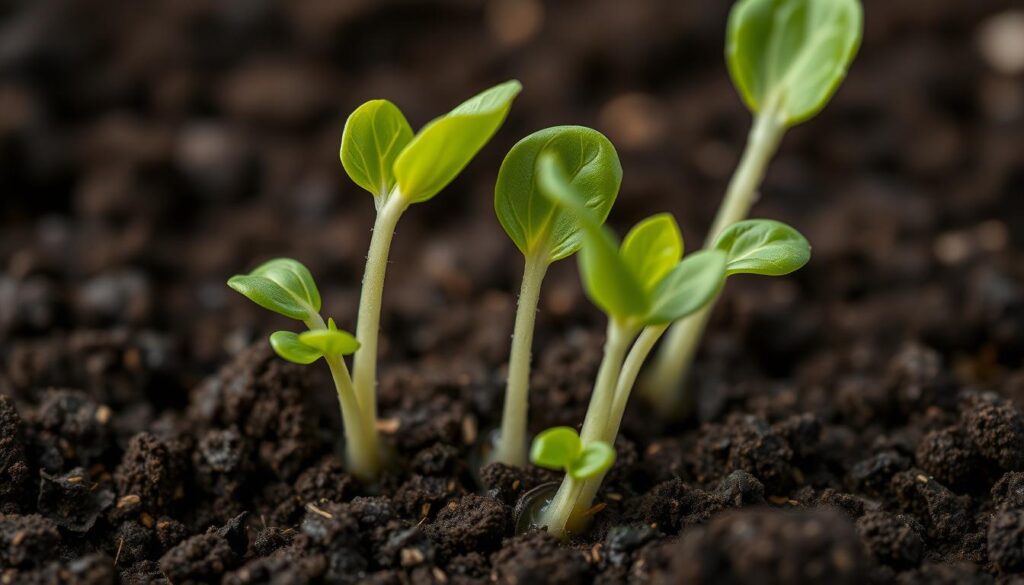
Recognize the signs and remove the triggers
Learn to spot collapse at the soil line. Young stems that look pinched, water‑soaked, or that topple soon after emergence usually indicate a fungal attack.
Cold, wet, and stagnant conditions feed these pathogens. Raise soil temperature with gentle heat, improve drainage, and increase air movement to cut risk.
Sanitation: clean trays and fresh mix matter
Use clean trays and a fresh soilless mix. Reusing old media or dirty pots carries spores forward and raises the odds of an outbreak.
Discard affected plants and replace the mix after an incident. Then sanitize containers before the next batch to protect roots and young seedlings.
Balance light, watering, and nutrients to build strong plants
Give plants 14–16 hours of light daily and a nightly rest. Proper light prevents legginess and produces sturdier stems.
Keep watering steady—moist, not soaked—and let the top layer dry slightly between waterings. Feed lightly after cotyledons open; too much fertilizer stresses roots, too little slows growth.
- Make sure air moves with a small fan to keep leaves dry and stems strong.
- Make sure temperature stays steady in the mid‑60s to mid‑70s°F to help plants resist disease.
- Even gardeners with years of experience lose a few; focus on the things you can control: cleanliness, airflow, and moisture.
“If an outbreak occurs, discard affected seedlings and soil, sanitize containers, and reset with fresh mix.”
| Issue | Sign | Quick action |
|---|---|---|
| Cold, wet trays | Pinched, water‑soaked stem at soil line | Add gentle heat; improve drainage |
| Poor airflow | Stagnant air, mold on surface | Run a small fan; vent domes |
| Contaminated media | Repeat losses after replanting | Use fresh soilless mix; sanitize trays |
| Weak light or feeding | Long, thin stems; slow growth | Increase light to 14–16 hrs; feed lightly |
For detailed prevention steps, see this short guide on damping off prevention: prevent damping off in seedlings.
Conclusion
Small, steady steps beat guesswork: confirm packet timing, run a quick paper towel viability check, and set soil temperature into the 65–75°F sweet spot before you re‑sow.Use a fine, soilless starting mix, keep the surface evenly damp (no puddles), and provide gentle warmth and airflow to protect seedlings from rot.
A calm, methodical check often reveals the single change that gets a tray growing. If germination lags, change one variable at a time so you can track what helped.
For a quick reference on common causes and fixes, see this short guide: common causes and fixes. For help with plant choices and indoor setups, try this herb growing guide.
Keep notes each season. A 10‑item paper towel test gives a clear germination rate and saves time in the long run.