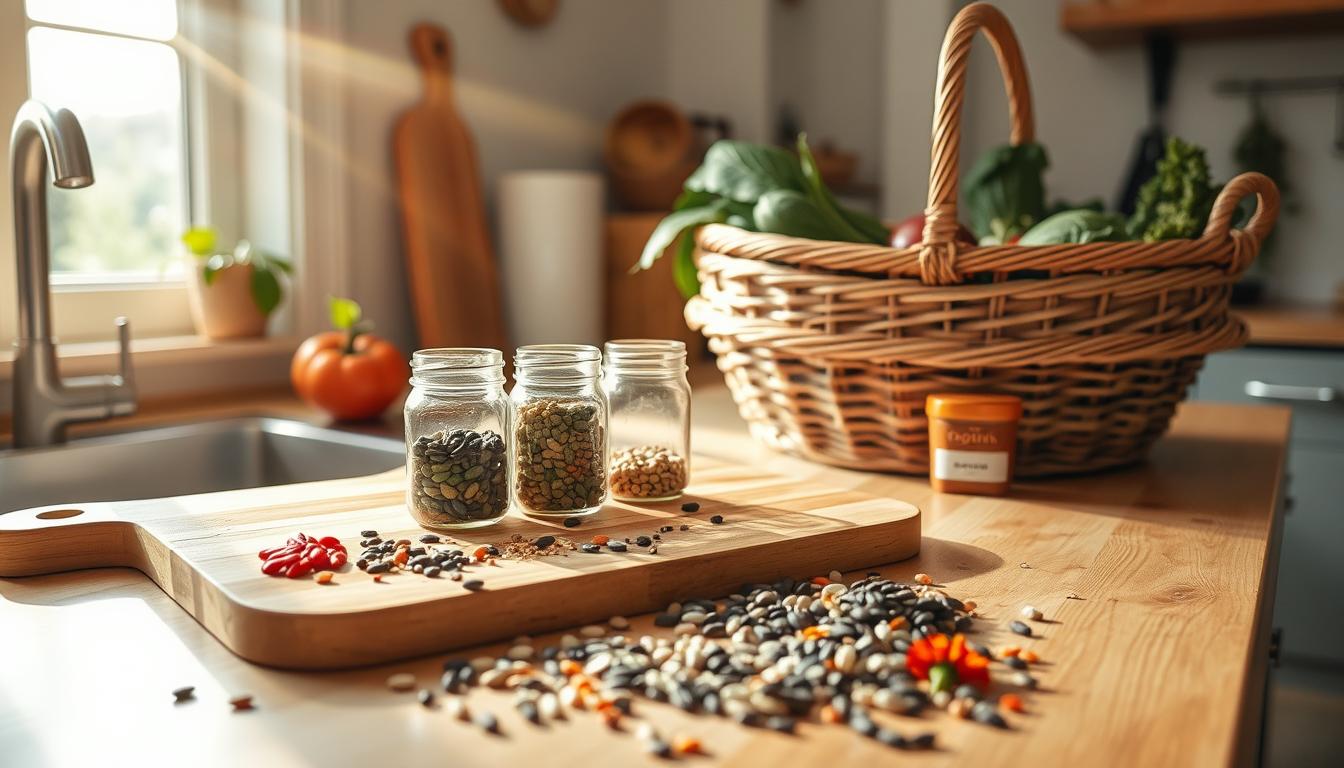
Curious which seeds you should keep and which are better bought fresh to make your garden thrive? This guide gives clear choices and simple steps so you can plan with confidence.
Choose heirloom or open-pollinated varieties for reliable results—those plants grow true, while many hybrids can be variable or sterile. I’ll show you which crops I favor for saving and why.
Learn wet and dry processing methods, plus easy storage tips using jars, a fine-mesh strainer, labeled envelopes and a paper towel for drying small batches. You’ll also get simple ways to repurpose slightly damaged produce and cut waste.
Expect practical notes on preventing unwanted cross-pollination and timing for roots and greens that must bolt before you collect mature seed. For detailed, step-by-step techniques, see this complete seed-saving guide.
Key Takeaways
- Favor heirloom/open-pollinated varieties for predictable results.
- Use wet methods for fruits with gel and dry methods for dry pods.
- A few household tools make seed saving approachable and low-cost.
- Some crops, like tomatoes and beans, are ideal to preserve; consult a quick decision map to know when to buy fresh.
- Prevent cross-pollination to keep true-to-parent plants and beautiful flower and herb selections.
Getting Started: Why Save Seeds and How This Guide Helps Your Garden Next Year
Saving seed gives you savings and stronger plants adapted to your yard. This guide makes seed saving practical with clear steps, simple tools, and realistic expectations.
Keeping seed from healthy plants gives you control over future flavor, yield, and vigor.
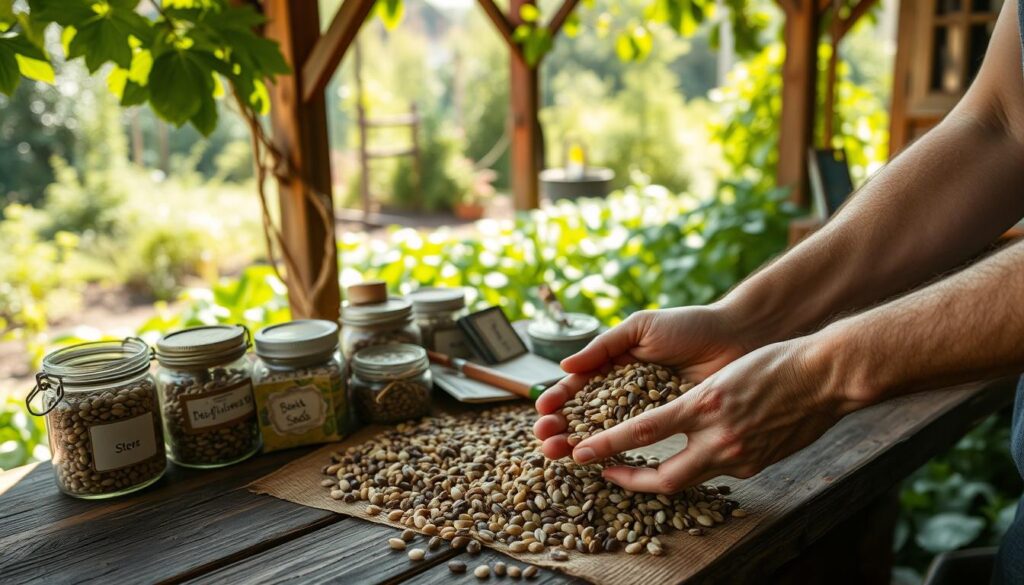
Benefits for your garden: savings, resilience, and seed sovereignty
Saving seeds cuts costs and boosts security. Local seed adapts to microclimates over seasons and improves resilience.
- Big wins: save money, build genetics that suit your yard, and share reliable plants.
- Selection: pick the healthiest, tastiest, or earliest plants to guide future traits.
- Sovereignty: keep open, shareable varieties to support community swaps and diversity.
Quick decision map: save, isolate, or buy fresh
Use a simple rule: favor self-pollinators for easy saving, isolate cross-pollinators if you want true results, and buy fresh for hybrids you can’t isolate.
| Action | Best for | Example crops |
|---|---|---|
| Save | Self-pollinating, true-to-parent | Tomatoes, beans, peas |
| Isolate | Cross-pollinators you want true | Squash, corn |
| Buy fresh | Hybrids or hard-to-isolate varieties | Many packaged hybrid vegetables and some ornamentals |
Practical notes: learn when to ferment wet seeds from ripe fruit and when to dry pods on the plant until heads brown or pods rattle. Start small—try one or two reliable crops this season, then build over years.
Seed-Saving Basics: Open-Pollinated vs. Hybrid and How Pollination Affects Results
Open-pollinated and heirloom lines usually reproduce true to the parent plant. Hybrids combine two parents for vigor, but their saved seed often segregates and won’t match the original.
Pollination rules shape whether saved seed will mirror its parent or surprise you.
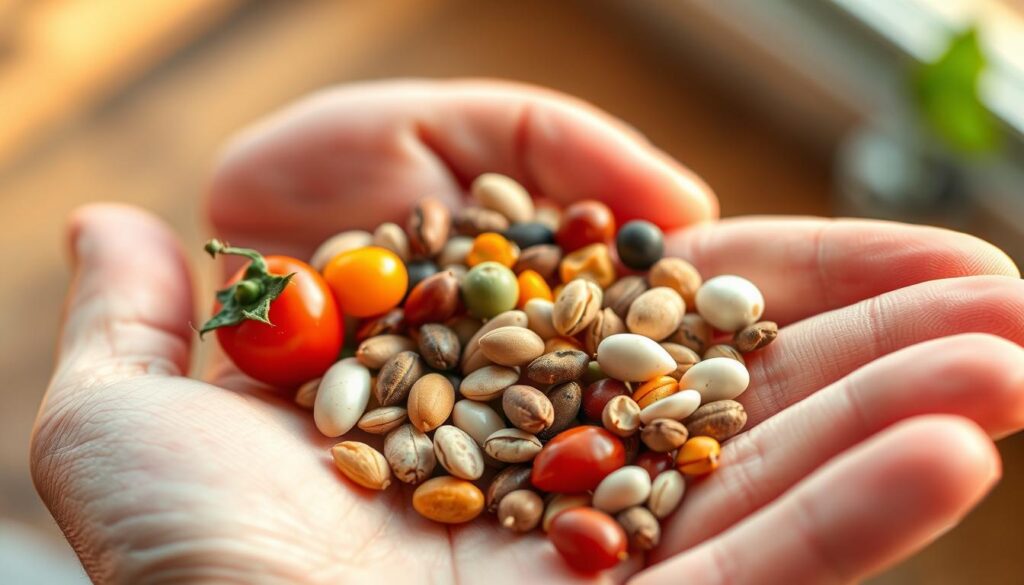
Open-pollinated and heirloom: staying true
Open-pollinated varieties produce offspring like the parent if not crossed. They are the best starting point in this guide for predictable results.
Why hybrids won’t grow true
Hybrid plants deliver strong performance the season you plant them. But tomato seeds or other hybrid seed often split into varied traits the following season, so expect surprises.
Self-pollinating vs. cross-pollinating
Self-pollinators (peas, beans, tomato, pepper) are easy to collect from, since outside pollen rarely intrudes. Cross-pollinators such as squash and corn readily mix, so isolation is needed for purity.
Practical isolation and selection
Grow a single variety, use distance or barriers, or hand-pollinate and bag blossoms if you want to protect a variety. Label each lot with parent and time, and give yourself a couple seasons to pick the best plants.
Tip: treat uncertain lots as experiments—flower seeds and vegetable seed can surprise you, but careful planning and observation improve your results in the garden.
Types Seeds I Always Save Next Year
Pick a handful of reliable crops that return true to the parent and give you the most bang for your garden effort. These picks focus on plants that are simple to collect and adapt well to home soil.
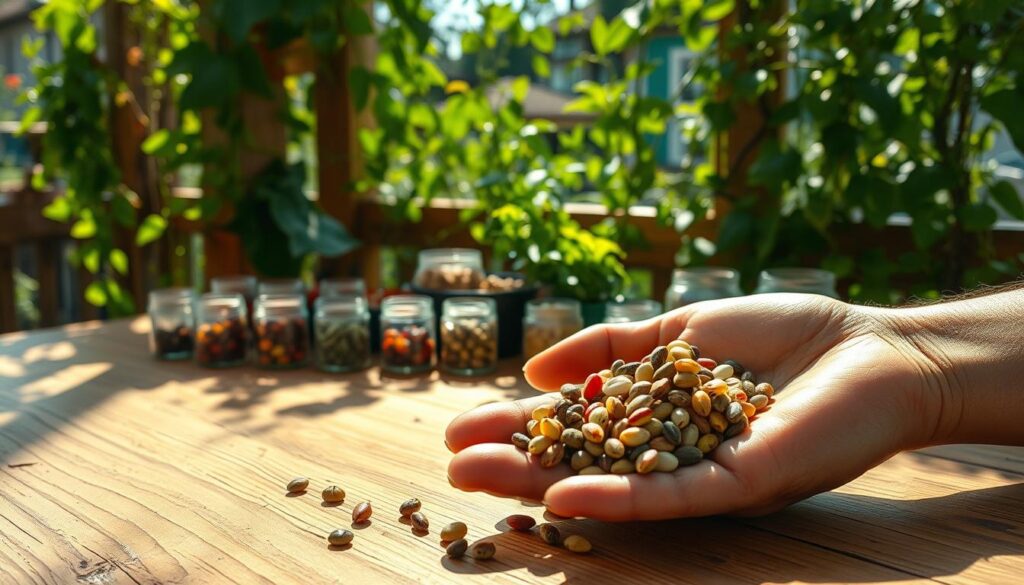
Self-pollinating vegetable choices top my list: tomato, beans, peas, and peppers. These plants rarely cross in ordinary garden conditions, so their seed usually reflects the parent plant. That makes them an easy way to build a core collection.
For dry-harvest staples, leave pods on the plant until they rattle. A bean is ready when a fingernail can’t dent it. Okra follows the same rule—let pods brown fully, then split them and tap out the mature seed.
Reliable flower picks include zinnias, sunflowers, cosmos, marigolds, and calendula. Clip seed heads when brown and dry, clean off chaff, and store in labeled packets for blooms next season.
- Choose seed from healthy, vigorous plants that performed well in your garden and soil.
- Label each lot with variety, noted traits, and collection date to track what works.
- Dry on a breathable surface and avoid direct sun so viability stays high.
| Crop | How to know it’s ready | Storage tip |
|---|---|---|
| Tomato | Fully ripe fruit; ferment to clean pulp | Dry, label by variety, store cool |
| Beans & Peas | Pods brown and rattle; fingernail test | Shell, dry, and keep in airtight jars |
| Okra | Pods brown and hard on stalk | Split pods, tap out seed, dry well |
| Zinnias & Sunflowers | Seed heads brown and papery | Clean, remove chaff, store dry |
Wet Seeds Method: Tomatoes, Cucumbers, and Melons
Use a short, controlled fermentation to remove sticky pulp and prepare fruit seed for long-term storage. This gentle method improves germination and reduces mold risk when you handle the seed right away.
Start with fully ripe fruit. Scoop the gel and seeds into a clean glass jar and add water until the jar is about half full. Label the jar with variety and date and set it in a warm place out of direct sun.
How to ferment tomato seeds step by step
- Scoop pulp into the jar, fill halfway with water, and close loosely so gas can escape.
- Let sit 2–3 days, swirling a few times each day; viable tomato seeds will sink while pulp and bad bits float.
- Skim the top, pour remaining contents into a fine-mesh strainer, and rinse thoroughly.
- Spread seeds thin on a paper towel and separate any clumps with your fingertips so they dry evenly.
Applying the same method to cucumbers and melons
The same fermentation process removes the slippery coating on cucumber and melon seed. That coating invites mold in storage, so removing it helps germination and makes packing easier.
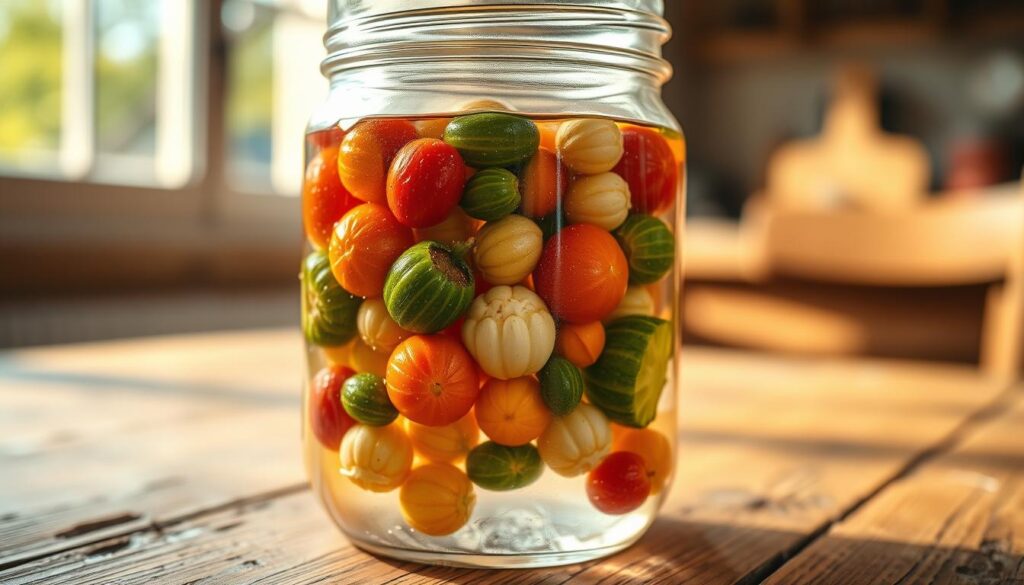
Troubleshooting fermentation and fruit flies
Keep the process short: no more than a couple of days. If fruit flies become a problem, use a fermenting lid or cover with breathable fabric and a rubber band. Dry seeds in a low-humidity place until they feel hard and papery, then move them into labeled paper envelopes and an airtight container for cool, dark storage.
Dry Seeds Method: Peppers, Squash, Pumpkins, Beans, and More
Let mature fruit and pods finish on the plant, then dry them gently for long-term use. This method is simple, low-tech, and fits most home vegetable and flower gardeners.
Drying on the vine or stem gives embryos time to finish developing so they store and germinate better.
How to tell when maturity is right
Watch for color change, slowed growth, or hardened skin. Those cues mean the internal embryo has finished and it is safe to collect.
Beans and peas: pod drying and testing
Leave pods until they are brown and rattle, then shell them. If a fingernail dents a seed, dry it more indoors a few extra days.
Peppers, squash, and pumpkin handling
Keep peppers on the plant until fully ripe and slightly wrinkled. Scrape seeds onto a sheet of paper and dry 1–2 days on the counter.
Squash and pumpkin seed are dry at harvest. Scoop, remove strings, and spread one layer on a paper towel to finish drying—no fermentation needed.
Roots and greens: letting bolt for seed heads
Allow carrots, lettuce, and radishes to bolt and flower. Cut dry heads into a bag, then separate seed from chaff for clean storage.
- Work on a dry day to avoid added moisture.
- Label each batch with crop, variety, and harvest date.
- Once hard and dry, move seeds to labeled envelopes and airtight containers for planting next season.
Saving Flower Seeds for Future Blooms
Collecting flower seed is a gentle way to extend favorite blooms and build a garden that suits your soil and climate. With a little timing and tidy handling, you can gather healthy stock from your best performers.
When are seed heads ready?
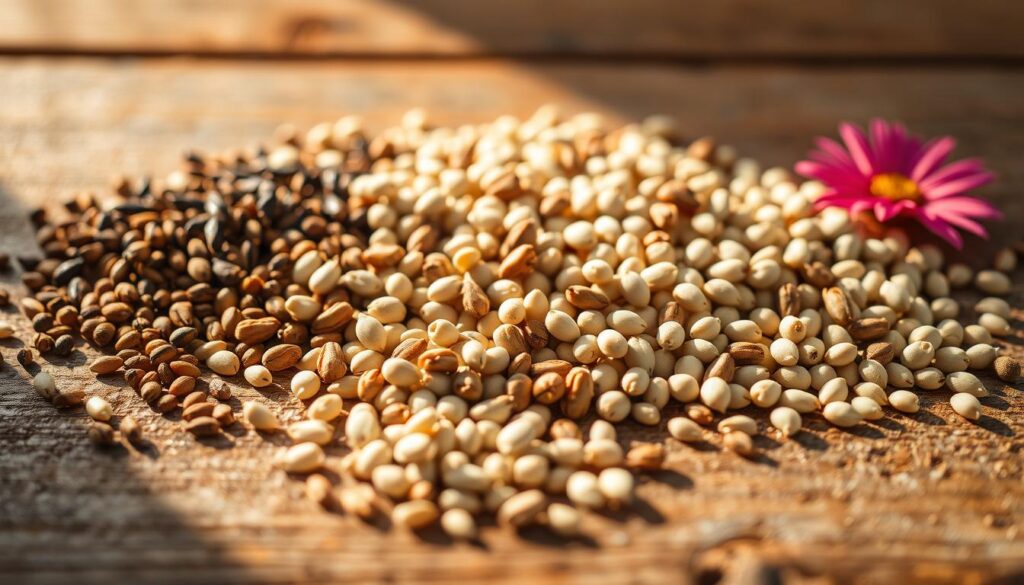
Scout beds about a month after blossoms fade. Look for brown, dry seed heads that may rattle when shaken.
Harvest on a sunny, low-humidity day after dew dries. Clip heads into labeled paper bags to keep lots separate in the field.
How to clean, dry, and separate for storage
At home, gently rub or shake heads over a sheet to separate seed from chaff. Clean seed stores better and lowers pest risk.
Spread seed thinly on paper or a screen in a cool, airy place for about a week. For shattering types like poppies, tie a small bag over the ripening head on the plant so seed does not drop.
- Easy wins: zinnias, sunflowers, cosmos, marigolds, calendula—big seeds that build confidence.
- Note parent plant traits—color, bloom size, vigor—to guide selection over seasons.
When crisp-dry, move lots into labeled envelopes and an airtight container to save seeds for planting next spring. Trading extras with friends spreads adapted, beloved varieties and supports local gardening communities.
Storage That Keeps Seeds Viable Until Next Year
A tidy, cool stash of packets and jars makes spring sowing simple and reliable. Good storage protects germination and helps you track which varieties performed best.
Start by gathering labeled paper packets and a few airtight glass jars. Tuck the envelopes into jars to buffer against humidity and light. This simple setup keeps lots organized and prevents mixing.
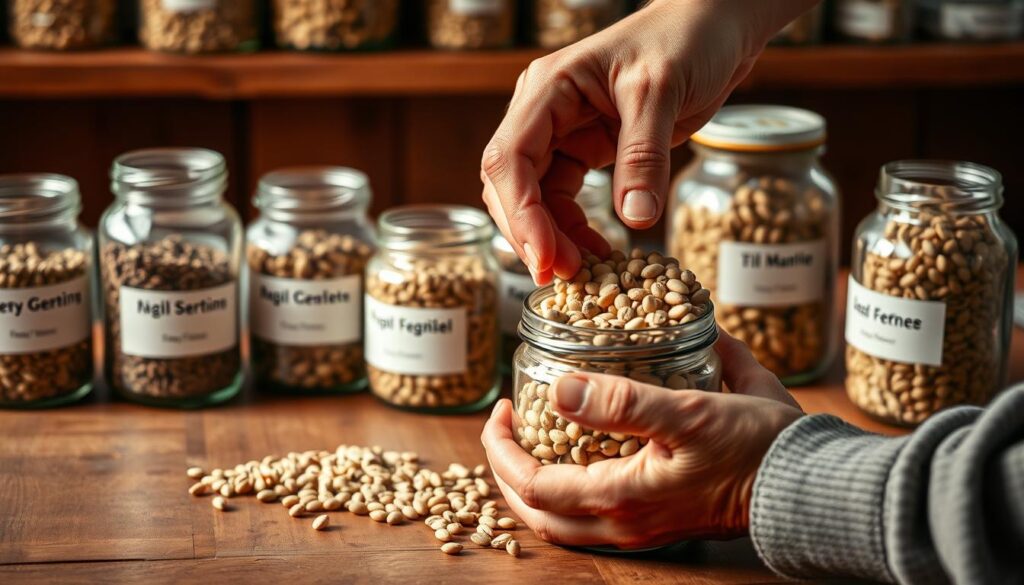
Cool, dark, and dry: containers, desiccants, and ideal temperatures
Keep seed dry and cool in tightly sealed glass containers. Aim for 32–41°F; a dedicated spot in the refrigerator is a strong option in humid climates.
Use desiccants like silica gel or powdered milk wrapped in tissue to control moisture. Dry fully before sealing—any trapped dampness can harm viability and health.
Labeling essentials: variety, parent plant, and collection date
Label each lot with crop, variety, parent notes, and collection date. Place a paper towel in the jar as a quick moisture indicator.
- Group envelopes by planting season or flowers to simplify spring planning.
- Reseal jars quickly after opening to limit condensation in cold storage.
- Plan to use most lots within a year for best vigor and test older stock with a paper towel germination check.
The Seeds I Usually Buy Fresh Instead
When consistent performance matters, some packets are worth buying fresh rather than relying on saved lots. Fresh, professionally produced seed often guarantees uniformity, disease resistance, and predictable timing for gardens.
Hybrid varieties are bred for vigor and uniform traits. If you save seed from those plants, offspring can segregate and lose the parent plant’s qualities.
- Buy fresh for hybrids when you need consistent vegetable performance or exact tomato traits.
- Replace muddled flower mixes if a blend drifted from its original palette—fresh flower seeds restore predictable color and form.
- Choose fresh for cross-pollinators like many squash unless you can isolate parent plants tightly.
“When disease resistance or earliness is critical, fresh seed from trusted breeders gives the most reliable start.”
In small gardens near other plots, pollen moves easily. Buying fresh packets cuts the guesswork and protects a season of effort.
| Reason to Buy Fresh | Best for | Risk of Using Saved Seed |
|---|---|---|
| Uniform performance | Hybrid vegetables, specialty tomato varieties | Segregation of traits; uneven crops |
| Preserved disease resistance | Varieties bred for local threats | Lost resistance from mixed offspring |
| Uncontrolled cross-pollination | Squash, corn, some open-pollinated flowers | Unpredictable fruit and color |
| Declining viability | Old or low-germination lots | Poor stands and wasted plots |
Practical tip: blend strategies—keep robust self-pollinators and easy flowers from your garden, and buy fresh packets for hybrids or tricky crossers to maintain reliable results for planting next year.
Conclusion
Practice a simple loop: pick healthy plants, clean and dry well, then store in cool, dark jars with clear labels.These small habits protect vigor and make spring planting more certain.
This guide favors open, reliable varieties and a balanced approach: keep easy self-pollinators and sturdy flower choices, and buy fresh for hybrids or tricky cross-pollinators when uniform results matter.
Label lots with parent notes and soil or microclimate details. Run a quick paper towel germination test if older packs look weak, then adjust sowing or replace as needed.
Seed saving stretches your gardening budget and boosts plant health in your place. Start with one or two crops this season, trade a few envelopes with neighbors, and let each season refine the collection you plant and the food and flowers you love.