Can a few fragrant herbs really turn a chaotic early season into calm, productive beds? That question pushed me to test companion plantings in my small home plot, and the results surprised me.
When you tuck the right herbs among vegetables, you often see fewer chewed leaves and steadier growth. Scented herbs, diversity, and well-timed planting confuse hungry insects and support helpful predators, so you need fewer sprays over time.
Practical steps matter: start seedlings in a sterile, fast-draining mix at 65–70°F, sanitize reused containers, and keep moisture even to avoid damping-off. Thin for airflow and avoid excess nitrogen so young plants grow tough.
Expect reduced pressure, not perfection—scout weekly and act early if you spot feeding or eggs. For more on insect habits and control, see insect management tips.
Key Takeaways
- Strategic herbs can lower leaf damage and calm early-season chaos.
- Sanitize pots and use sterile mix; keep soil near 65–70°F for fast germination.
- Thin seedlings for airflow and limit high nitrogen to prevent tender growth.
- Scout weekly at dawn or dusk to catch fresh feeding early.
- Pair herbs with crops and track results for two weeks to spot quick wins.
Why Companion Herbs Make Garden Pest Problems Plummet
Herbs reshape the garden’s scent map and invite helpful species to patrol your beds. That simple mix of scent masking and biodiversity cuts visible leaf damage and lowers pest pressure through the season.
Companion herbs release strong aromas that mask host cues, so many insects cannot find target crops. At the same time, nectar and pollen bring hoverflies, lacewings, and parasitic wasps that hunt eggs and larvae.
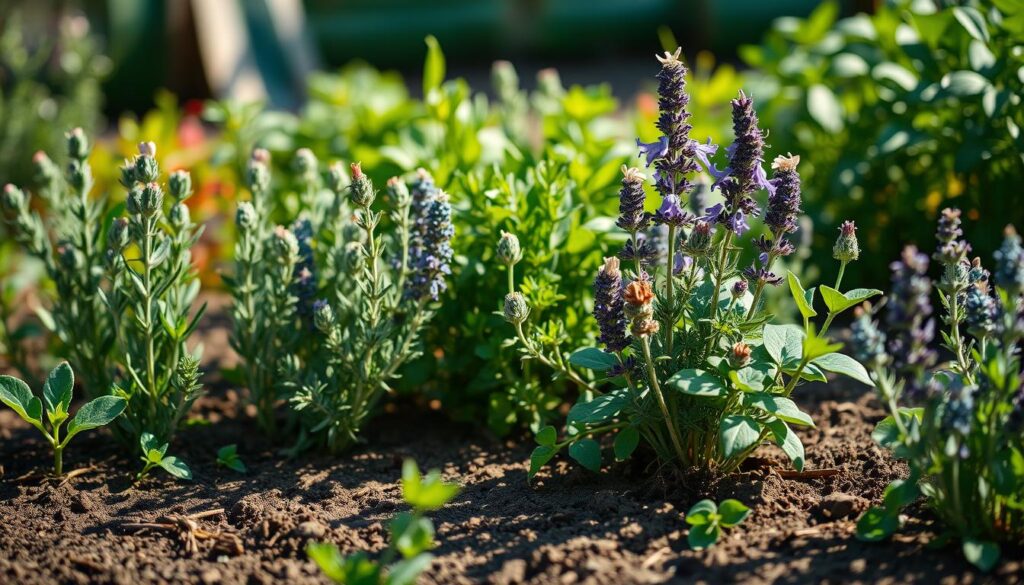
How scent, biodiversity, and timing disrupt insect pests
Planting herbs early keeps scent and nectar available when pest numbers rise with warm conditions. A steady herb presence confuses lay-by cues from moths and butterflies, reducing egg‑laying on brassica leaves.
Matching herbs to vulnerable crops
- Cabbage and kale: sage or rosemary at row ends helps mask cabbage signals and deter white butterflies.
- Tomatoes: basil nearby confuses aphids and supports beneficials.
- Eggplant and beans: mint in pots or chives and parsley near beans add scent masking and predator habitat.
Keep soil healthy and plants vigorous so light feeding won’t cause lasting damage. Watch for white butterflies around brassicas and act before eggs hatch. For more on herb pairings, see how herbs pair best.
Herbs That Made My Pest Problems Plummet After I Planted These
Strategic herbs turned key areas of the plot into scent shields and living lures for helpful insects. Use small groups of herbs to mask crop cues, feed beneficials, and keep foliage tougher and drier.
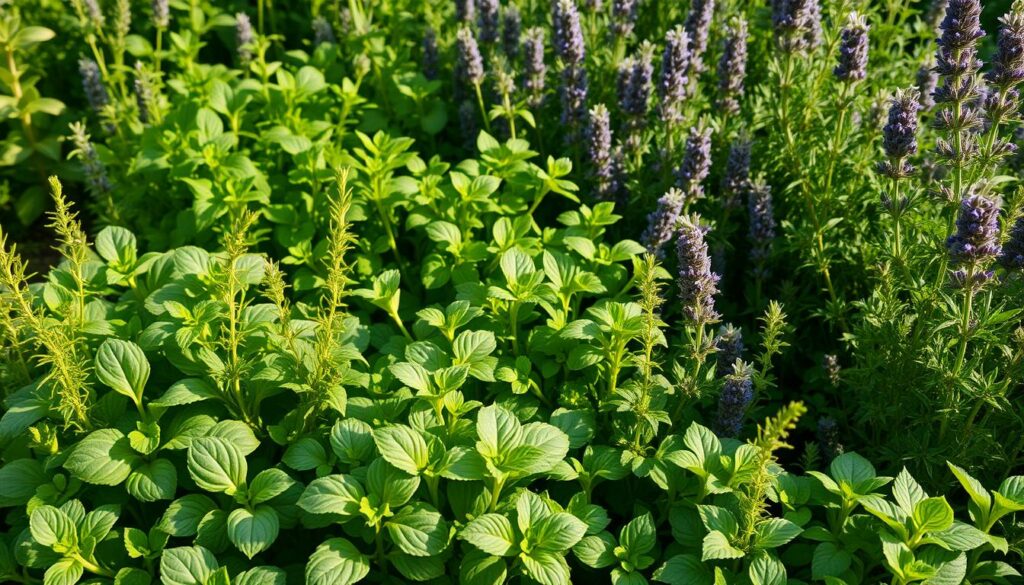
How can basil help tomatoes and peppers?
Basil tucks 8–12 inches from tomato and pepper stems to confuse aphids and thrips.
Pinch blooms lightly to keep oils strong while still offering blooms for hoverflies.
Will mint in pots really deter beetles?
Yes — grow mint in containers at bed edges near eggplant and cole crops to deter flea beetles.
Rotate pots weekly to spread scent along the row without letting mint take over the soil.
Where do chives and onions fit in?
Interplant chives and members of the onion family every 12–18 inches along carrot and green rows.
Their sulfurous smell helps protect foliage and their flowers feed parasitic wasps and hoverflies.
Should cilantro and dill be left to bolt?
Allow a few cilantro and dill plants to flower; their umbels attract lacewings and parasitic wasps.
These beneficials target larvae stages on cabbage, tomato, and bean leaves.
Do rosemary and sage keep moths off brassicas?
Plant rosemary and sage as short hedges at bed edges to confuse cabbage white butterflies.
Trim after flowering to keep a dense, wind-sifting barrier that helps reduce egg-laying.
Are parsley and calendula useful as trap plants?
Yes—parsley and calendula draw aphids and thrips away from crops and bring predators in.
Snip spent blooms to keep them blooming and producing nectar for helpful hunters.
Soil-friendly spacing: keep herbs 8–18 inches from crop stems to protect roots and preserve airflow, which speeds drying of leaves and reduces slug activity.
Quick backup tip: if beetles break through early, use organic sprays like Bt or spinosad with a sticker to improve coverage on slick leaves, then taper as herbs and plant vigor increase. For more on herb companion planting see herb companion planting.
Planting Plan: Where, When, and How to Tuck Herbs Into Your Veggie Patch
Map your beds so herbs act as scent shields and habitat without crowding crops. Simple spacing, soil prep, and timing speed seed and seedling growth while keeping foliage dry and roots healthy.
A simple bed map and small spacing changes let fragrant herbs do most of the work for nearby veggies.
Bed layout and spacing
Place herbs on windward edges and at 12–18 inch intervals inside rows. This lets aromas drift across leaves while leaving stems uncovered for airflow.
When to sow or transplant
Aim to sow seeds or set transplants when soil temperature reaches 65–70°F. That shortens the vulnerable phase and supports steady growth from day one.
Soil prep, watering, and mulch
Use mature compost and ensure good drainage; raised rows or broadforked ground help roots expand. Water deeply but less often to build resilience.
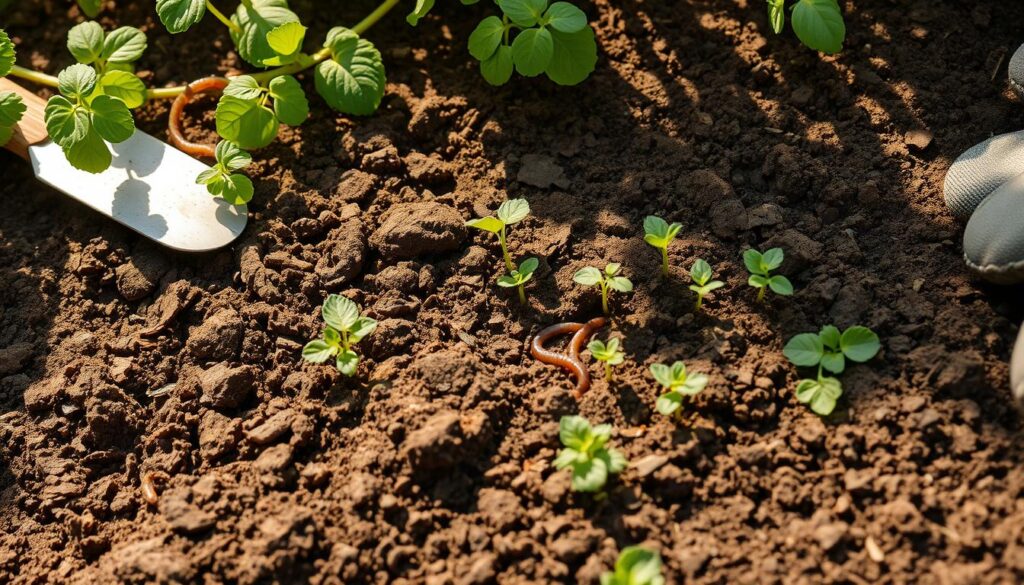
Sanitize reused trays in 10% bleach for 30 minutes and start herbs in a sterile, fast-draining mix. Mist to keep media moist, not saturated, so seeds sit near the surface and germinate well.
| Task | Timing | Why it matters |
|---|---|---|
| Map herbs (12–18″) | At layout | Drifts scent, keeps airflow |
| Sow/transplant | 65–70°F soil | Fast germination, steady growth |
| Soil prep | Before planting | Mature compost, good drainage |
| Sanitize containers | Before reuse | Reduce damping‑off organisms |
Spot, Confirm, and Act: Identifying Pests Before They Explode
Catch small signs early and you keep chewing and slime from becoming garden-wide headaches.Clear visual checks, simple tools, and a quick plan let you treat the right insect or slug and protect seedlings and mature plants.
Start with a close look at leaf edges and the soil surface each morning. Tiny shot-holes on young leaves often point to flea beetles, especially on eggplant, peppers, tomatoes, chard, and cole crops.
Use a hand lens to confirm beetles; they jump when disturbed and favor warm, sunny foliage. If you see shot-holes, treat with a spinosad spray, then dust diatomaceous earth (DE) once leaves are dry and rain has passed.
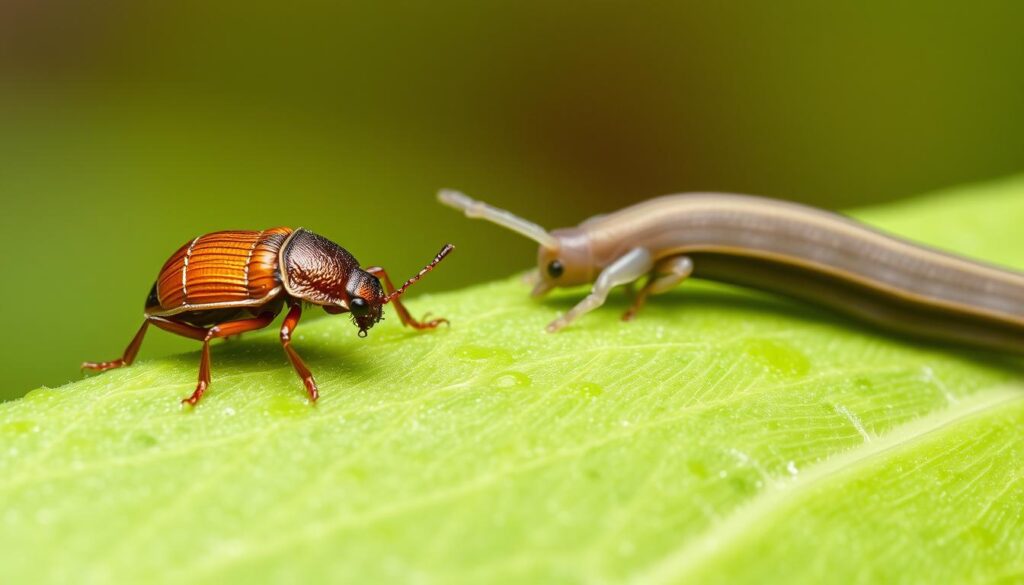
How to find slugs, earwigs, and stripped foliage
Check at dawn and dusk when slugs and earwigs feed. Look in cool soil crevices and under debris near bed edges for slime trails and droppings.
For stripped annuals and nibbled bean seedlings, apply Sluggo Plus around vulnerable plants and add spot DE or spinosad where needed.
Spotting cabbage looper larvae early
Scout brassicas for white butterflies in daylight and flip leaves in the evening. Small green larvae hide along veins and leave irregular holes and frass.
Treat loopers with spinosad or Bt and use a spreader-sticker like Turbo to improve coverage on shiny brassica leaves.
“Early confirmation beats broad spraying — a quick check can tell you whether to pull larvae by hand or apply a targeted spray.”
| Sign | Likely Culprit | Immediate Action |
|---|---|---|
| Tiny, peppered holes on young leaves | Flea beetles | Confirm with lens; spinosad spray then DE when dry |
| Large ragged missing sections, slime trails | Slugs / earwigs | Check at dawn; Sluggo Plus, DE, remove refuges |
| Small green worms, holes along veins | Cabbage looper larvae | Handpick or apply Bt/spinosad with spreader-sticker |
Quick checks: mark trouble spots, note which plants and bed soil areas repeat each spring, and probe seeded rows gently if sprouts fail to appear. Early notes help you choose the right control before minor damage becomes widespread.
Organic Controls That Pair Well With Herbs
Combine quick, targeted tools with your herb barrier so you limit damage while keeping beneficial insects active. This layered approach gives a fast solution during surge times and lets herbs take over as the season moves into summer.
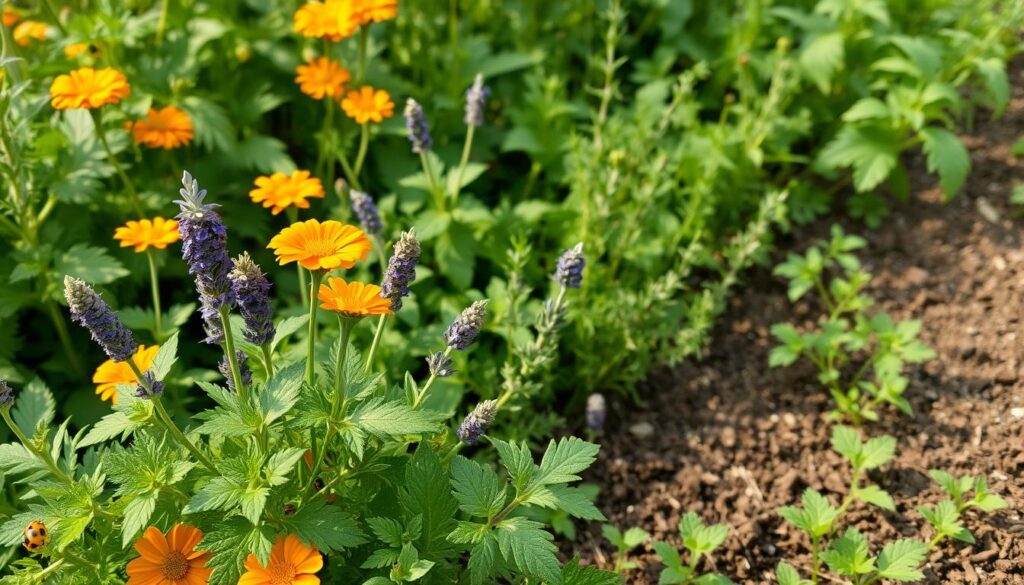
How to use spinosad and diatomaceous earth safely
Begin with spinosad (for example, Captain Jack’s Deadbug Brew) to halt chewing beetles and caterpillar larvae. Apply where you see fresh feeding and avoid wide broadcast sprays.
After the spray dries, dust a thin layer of diatomaceous earth on leaves and soil to add a non-chemical barrier. Do not dust if rain is expected within 2–3 days.
When and where to use slug baits and dusts
For heavy slug and earwig pressure, scatter Sluggo Plus as a ring around vulnerable plants. Reapply per label directions, especially in wet spells.
Keep DE off open blooms to protect pollinators; place it at stem bases and under non-flowering foliage.
- Timing tip: scout one evening, treat the next morning, then reassess in 48 hours.
- Coverage tip: use a spreader-sticker on slick brassica foliage to keep spinosad working through light rinsing.
| Issue | Product | When to apply | Why it works |
|---|---|---|---|
| Chewing beetles / larvae | Spinosad + Turbo | At first feeding, repeat as new growth appears | Targets active feeders; sticker boosts adhesion on foliage |
| Tiny holes, moving insects | DE (after spray) | Dry day with 2–3 day forecast clear | Physical barrier on leaves and soil; complements herbs’ scent |
| Slugs / earwigs | Sluggo Plus | After rain or at surge time | Perimeter baiting reduces entry to plant area |
“Start small, treat the right area, and let herbs rebuild balance.”
Start Strong: Prevent Damping-Off and Early Seedling Loss
Cold, wet mix invites rot; warm, airy media gives seeds the head start they need. Good sanitation, the right soil temperature, and gentle watering shrink the window when disease can strike.

How can sanitation and fresh seeds protect young plants?
Many damping-off organisms—Pythium, Rhizoctonia, Fusarium, and Phytophthora—live in typical garden soil. Start with fresh seeds, a sterile, fast-draining mix, and sanitized trays.
Soak reused containers in a 10% bleach solution for 30 minutes to reduce disease carryover.
What are the ideal soil temperatures and light for quick germination?
Sow when media is 65–70°F for most seeds. That warmer soil and consistent light speed emergence and shorten the vulnerable stage.
Mist the surface to keep moisture even—avoid saturation so roots breathe and anchor fast.
Direct seeding: drainage, irrigation, and thinning tips
Ensure good drainage and use only mature compost. Solarize beds in warm regions during fallow periods to lower soilborne diseases.
Plant at roughly twice the seed’s width deep, and thin seedlings early to improve airflow. Avoid excess nitrogen that encourages weak, collapse-prone growth.
“Toppled stems at the soil line usually mean damping-off; missing sprouts can point to rot or critter feeding—adjust water and timing accordingly.”
| Action | When | Why it works |
|---|---|---|
| Sanitize containers (10% bleach) | Before reuse | Reduces lingering disease organisms |
| Sow at 65–70°F | Germination stage | Speeds emergence; reduces susceptible window |
| Mist, don’t flood | Daily until true leaves | Maintains moisture without saturation for healthy roots |
| Thin for airflow | At first true leaves | Reduces foliage disease and limits insect access |
For help diagnosing early disease or seedling collapse, read this guide on seedling issues.
Water, Light, and Airflow: Conditions That Limit Infestation and Disease
Control of moisture, sun exposure, and circulation makes gardens less welcoming to trouble. Small changes to routine and layout protect roots and speed strong growth.
How should you manage moisture and root health?
Keep potting mix and soil moist but not saturated to avoid damping‑off. Water to wet the root zone, then let the top inch of soil dry before the next cycle.
Use morning irrigation so leaves and foliage dry in daylight. Mulch lightly to hold moisture and stabilize soil temperature, but keep mulch pulled back from stems.
How do light and airflow reduce disease and insects?
Give sun‑loving crops 6–8 hours of direct light. Provide light afternoon shade where heat blisters leaves to protect steady growth.
Space herbs and plants to let air move between leaves. Good airflow lowers humidity pockets where spores and tiny insects thrive.
“Watch leaf response: curled or pale leaves point to too much sun or heat; soft, slow growth often means overwatering or low light.”
Seasonal Strategy in the United States: Spring Through Summer
Plan simple adjustments so your beds move smoothly from cool spring starts into hot summer growth. Small shifts in timing, placement, and care cut losses and keep beneficial insects working for you.
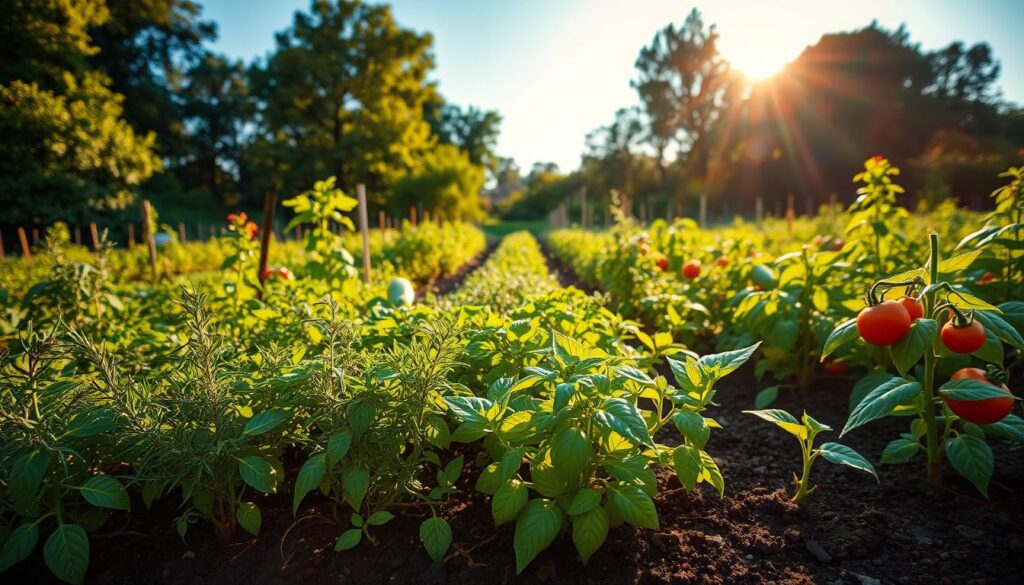
Warm the soil first and sow when it suits fast germination. That single change helps seeds and seedlings establish and reduces early rot and loss.
How to change methods by stage
- Early season: heat the soil and set transplants when mild temps favor quick emergence.
- Late spring: add mint pots near eggplant and place rosemary or sage along brassicas before white butterflies arrive.
- Summer care: trim herbs lightly to keep scent and nectar, refresh DE after dry spells, and pause dusting before rain.
- Shift focus: protect seedlings with gentle watering and spot treatments; rely on airflow, light, and selective sprays for established plants.
| Stage | Key action | Reason |
|---|---|---|
| Early spring | Warm soil, sow seeds | Faster emergence, fewer losses |
| Late spring | Place mint/rosemary | Reduce egg-laying; attract beneficials |
| Summer | Trim herbs; shade in heat | Maintain scent; protect foliage |
Monitor weekly for population shifts. If counts fall, taper interventions and let your herb matrix and beneficials keep balance. Track results year to year to refine timing and methods.
Crop-by-Crop Pairings: Fast Herb Combos for Common Problems
Pairing specific herbs with crops gives fast, targeted relief where chewing and nibbling start. Use compact blocks of herbs so scent and nectar draw predators and mask crop cues without shading stems.
Quick guide: keep herbs within 8–18 inches, trim tops to preserve light, and switch from sprays to scouting as pressure falls.
Eggplant: mint + basil for flea beetles
Place mint in pots and a basil border within 12 inches of eggplant. If new holes appear, apply spinosad in the cool morning and dust diatomaceous earth once foliage is dry.
Cabbage & kale: sage + dill for looper larvae
Flank rows with sage and interplant dill so umbels attract beneficials. Scout for white butterflies and treat small larvae early with Bt or spinosad; add a spreader-sticker on slick leaves for better control.
Beans & salad greens: chives + parsley with slug barriers
Thread chives through the row and dot parsley at ends. At night, set Sluggo Plus or a barrier after evening water when slug pressure is high.
- Tomatoes & peppers: basil plus calendula draw aphids where predators can find them; prune for airflow so sprays hit foliage precisely.
- Carrots & spinach: onion-family herbs mask scent; occasional dill umbels invite hoverflies that hunt soft-bodied larvae on nearby plants.
“Keep pairings compact and record which combos calm feeding quickest—this helps you rely more on plants and less on sprays.”
| Crop | Herb Combo | Action |
|---|---|---|
| Eggplant | Mint, basil | Spinosad if holes; DE when dry |
| Cabbage/kale | Sage, dill | Scout; Bt or spinosad for larvae |
| Beans/greens | Chives, parsley | Nighttime slug barrier / Sluggo Plus |
Note: as larvae pressure drops, shift to scouting-only and let your live plant allies maintain calm feeding levels. Record results each season to refine pairings and cut intervention further.
Troubleshooting Damage: Holes, Wilting, and Chewed Stems
Not all torn foliage is the same — the pattern on a leaf points to its caller. Learn simple checks to tell tiny shot-holes from shredded leaves and act fast to protect stems and new growth.
Noticing damage early keeps loss small. Inspect leaves and stems at dawn and dusk. A quick look saves time and limits treatment.
How do tiny shot-holes differ from shredded leaves?
Tiny, peppered holes usually mean flea beetles. They make many small punctures across young leaves.
Broad, ragged missing sections often point to slugs or earwigs feeding near the ground overnight. Use Sluggo Plus and place boards to trap night feeders.
Where are eggs and larvae hiding, and when to act?
Turn leaves over to find eggs or small larvae along midribs. Treat at this stage for fastest, lowest-input control.
Handpick larvae when numbers are small, then spot-apply spinosad and dust DE once foliage is dry. Avoid dusting open blooms to protect pollinators.
Is chewing from animals or insects — and what protects stems?
Chewed or girdled stems on seedlings often mean rodents or rabbits, while clipped tips suggest deer browsing.
Use long‑lasting repellents such as Plantskydd or install low fencing around new plantings. Replace toppled plants only after you shore up protection.
“Diagnose the pattern first, then layer responses: herbs, hand‑picking, spot sprays, and perimeter baits.”
| Sign | Likely Cause | Immediate Action |
|---|---|---|
| Tiny, peppered holes | Flea beetles | Confirm with lens; spot spinosad; note damage |
| Large ragged sections | Slugs / earwigs | Set traps/boards; Sluggo Plus; improve drainage |
| Eggs/small worms under leaves | Larvae | Handpick; Bt or spinosad; trim dense foliage |
| Girdled or clipped stems | Rabbits / deer | Plantskydd repellent; fence; replace after protection |
Quick routine: log the damage, weather, and action time. Improve airflow, cut wet foliage, and concentrate controls where activity proves recurring to stop escalation of infestation and keep your beds healthy.
Conclusion
A few well‑placed herbs and steady checks can shift your garden toward balance and steady growth. Start clean, sow or set transplants when the soil sits near 65–70°F, and keep moisture even so roots anchor quickly.
Use daily, simple tips: walk beds, flip a leaf, and probe soil with your finger so you act early and lightly.
Keep a lean home routine: spot‑treat only where needed, avoid dusting open blooms, and let dill, cilantro, and calendula feed helpful insects that lower population spikes.
As summer warms, trim herbs for scent and light, refresh mulch to protect soil and conserve water, and note what worked this season to refine placements next time.
Start with one bed and a couple of companion plants — small, steady steps make the biggest difference for plant health and harvest joy.