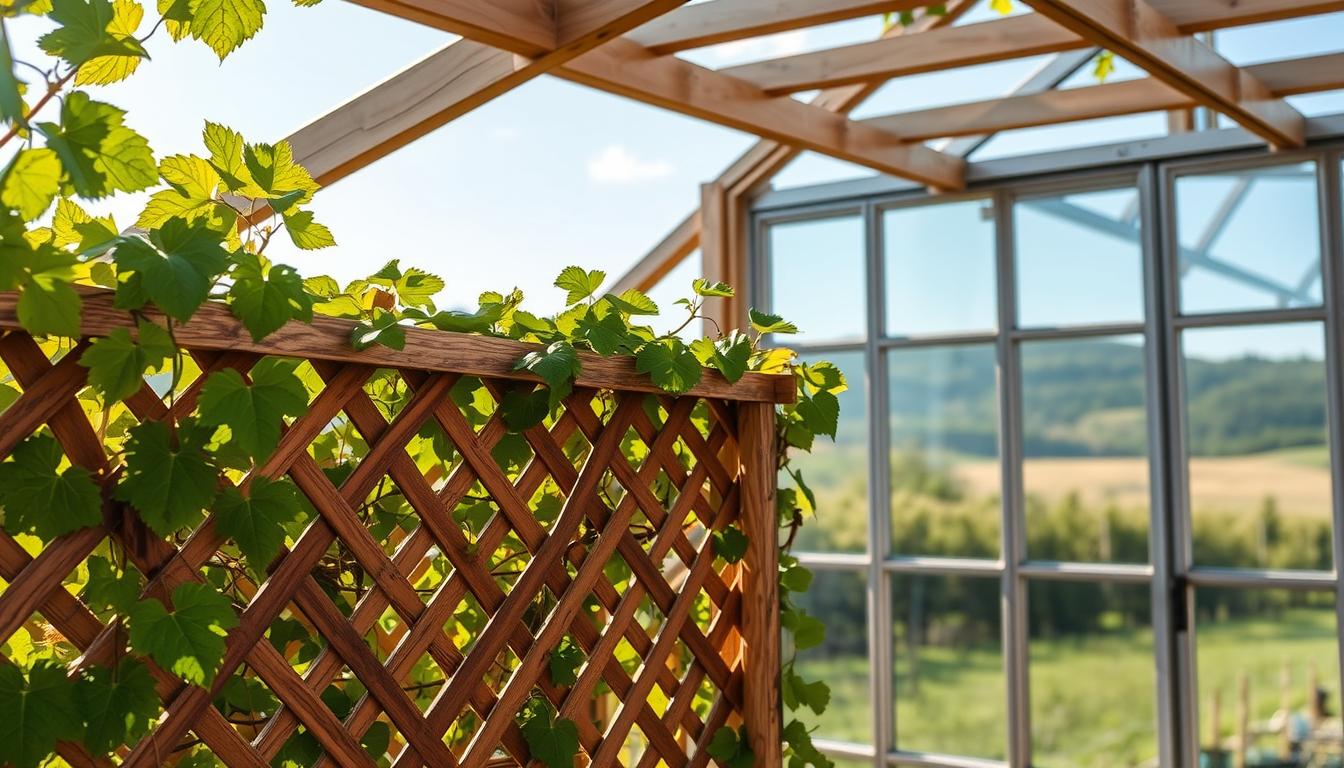
Want a simple fix that keeps tomatoes upright and makes cucumbers climb in tidy rows? This guide shows five supportive builds that fit a small garden or a cozy glass room. You’ll learn how to pick a strong design, use affordable materials, and save time during harvest.
We’ll cover practical structures—from bamboo A-frames and tripod supports to panel cages, wire diamond wall accents, and cattle-panel hybrids. Each option explains which plants they suit and one fast win to get fruit off the ground quickly.
Expect clear project notes on knots and fasteners, spacing tips (think 25″ registers for clean patterns), and ways to reuse parts season after season. Simple bindings like square lashing or zip ties keep frames tight, while cattle panels and PVC blends give durable arches and fence accents.
Ready to pick the right frame for your plot? See practical photos and step plans, or explore other build options in a visual roundup at creative trellis examples and budget greenhouse layouts at affordable greenhouse plans.
Key Takeaways
- Choose the right shape: A-frames suit vertical stringing; tripods work for beans and cucumbers.
- Use simple materials: Bamboo, cattle panels, wire rope, and PVC are affordable and reusable.
- Secure joints: Square lashing or transom knots make bamboo frames strong; zip ties can substitute.
- Plan spacing: Measure and level layouts for clean grids and consistent support.
- One build, many uses: Panels can become cages, privacy screens, or multiple tomato supports.
Why Trellising Matters for Greenhouse Vines Right Now
When crops surge overnight, a steady framework prevents collapse and saves fruit. Good supports cut disease risk, ease harvests, and help you get more from the same space.
Stronger plants, bigger harvests: Heavy, fast-growing crops like indeterminate tomatoes and runner beans can become top-heavy quickly. Without support stems may snap or bend, which wastes fruit and slows growth.
Set a trellis early so each plant climbs instead of sprawling. Upright growth improves airflow and light. That lowers disease pressure and boosts fruit set in a tight garden or glass room.
Choosing budget-friendly, sustainable materials
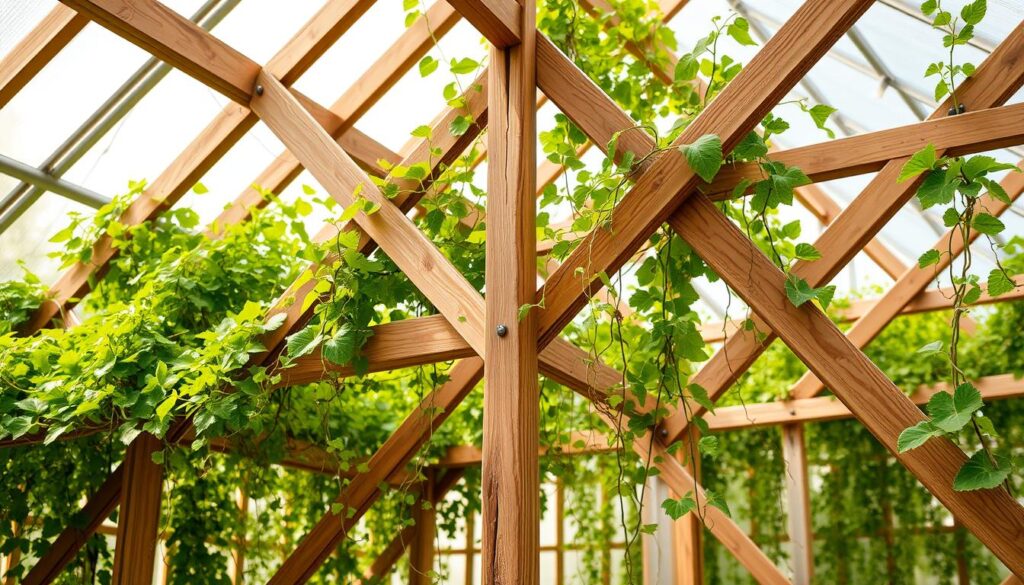
Materials like bamboo poles, garden twine, and reusable clips give long service with low cost. Bamboo blends into foliage and can be rebuilt each season. Anchor poles firmly into the ground so frames handle wind and crop load.
Knot basics you’ll actually use
Learn square lashing for crossbars and a transom knot for X-joints on A-frames. These wraps keep connections tight. Zip ties can back up lashings on wind-facing sides, but make sure every joint is secure.
| Material | Best Use | Durability |
|---|---|---|
| Bamboo poles | Frames, A-rows, vertical stakes | Seasonal, reusable if stored dry |
| Wire & ferrules | Wall nets, tensioned grids | Long-lasting; needs tension checks |
| Cattle panels / PVC | Arches, cages, heavy clusters | High; resists sag with proper anchors |
5 diy trellis ideas greenhouse vines
A compact support can change a crowded bed into tidy rows and easier harvests. Pick a simple frame that suits how your plants climb, and you’ll boost airflow, light, and yield in a small footprint.
Bamboo A-frame: quick setup with vertical strings or horizontal netting
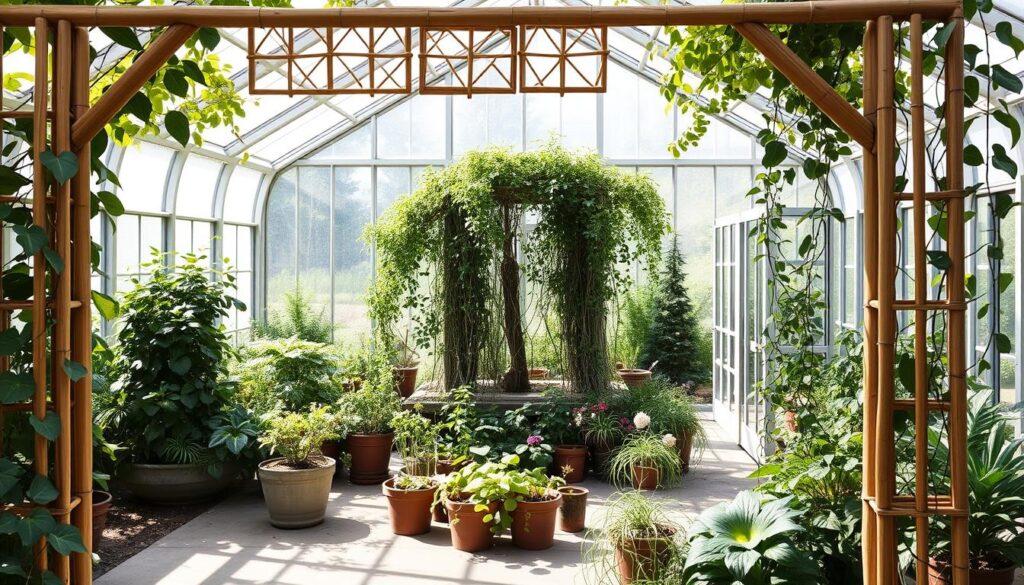
Build X-pairs of crossed poles, lash them with transom knots, and add a top ridge. Run vertical string for climbers or a horizontal grid for sprawling crops.
Tripod / tepee support: wind-stable for beans, hops, cucumbers
Set 3–6 poles in a circle, lash the crown, then wrap circumferential twine for extra grab points. This shape resists wind and gives tendrils frequent holds as the plant climbs.
Panel / cage grid: four-sided structure or vine-covered privacy wall
Use four legs and two or more crossbar levels lashed with square lashings. Scale the frame to the bed and let a climbing plant wrap corners to build a living privacy screen.
Wire diamond wall trellis: chic pattern using eye hooks, ferrules, and wire rope
Map anchor points at regular size spacing (about 25″ centers). Install eye hooks, loop galvanized rope through ferrules, and tension into a crisp diamond pattern. Plant a few clematis at the base for quick floral cover.
Cattle panel and welded / PVC hybrids: durable arches, tomato cages, and fence accents
Bend panels into arches or cut them into rigid two-sided cages. Welded or PVC hybrids repair with paint and make sturdy fence accents that last a season or three.
- Quick pick: A-frame for vertical crops; tripod for windy beds; panels for long runs.
- Scale easily: Each build moves from containers to full beds as your greenhouse fills out.
Plan the Design: Size, Pattern, and Anchor Points for Your Space
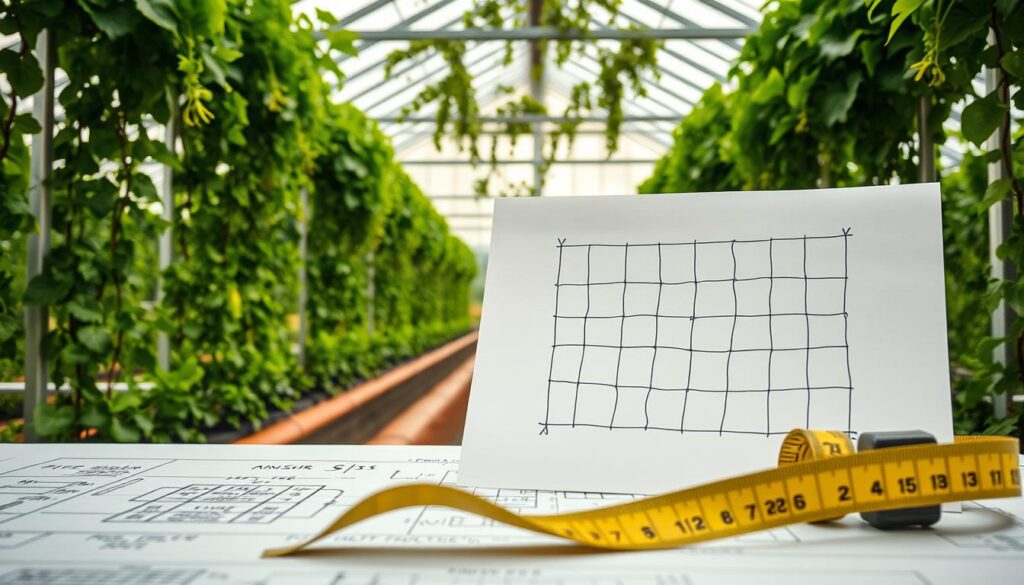
Lay out a clear plan so supports sit straight, fit the room, and stay easy to maintain. A quick mockup with tape and a photo helps you catch misalignments before you drill or lash.
How should you map spacing and symmetry?
Start with a rough photo mockup to test the pattern scale. Use painter’s tape to mark anchor points on the wall or frame.
Confirm even spacing (about 25″ between points for diamond grids). Use a level and straightedge to keep verticals true. Triple-check measurements before drilling to avoid rework.
Where should trellises sit inside the room?
Place supports so beds and containers have clear aisles. Leave space behind foliage for airflow and pruning. For containers, center frames so pots don’t tip and secure bases against wobble.
“A few minutes spent on tape and tape-back checks saves hours of repairs later.”
What anchors and hardware should you choose?
On masonry, pre-drill and fit masonry anchors with stainless eye hooks. Keep hooks long enough to offset the grid from the wall so plants have room to grow.
On wood, pre-drill to prevent splitting and keep lines true. Mark each point clearly and confirm symmetry from multiple viewpoints before you fix anything in place.
| Layout Task | Tool | Why it matters |
|---|---|---|
| Mark anchor points | Painter’s tape & marker | Visual symmetry and easy repositioning |
| Check verticals | Level & straightedge | Prevents leaning runs and uneven tension |
| Wall mounting | Masonry anchors & stainless eye hooks | Allows offset for airflow and plant growth |
| Mockup review | Photo from aisle | Shows scale and alignment before permanent work |
Quick checklist: tape the points, snap a photo, confirm size and area coverage, then drill or lash in place.
Build Steps, Materials, and Training Tips by Trellis Type
Follow simple prep, steady lashing, and routine checks to keep supports stable and plants productive. These steps give clear actions for bamboo frames, wire diamond grids, and panel systems.
A calm layout step—marking tape and a level—keeps joints square and lines taut as you build.
How do bamboo builds come together?
Use 5–6 ft poles for A-frames and 4–6 ft for panels or tripods. Cut poles square, then lash crossbars with a square knot. Tie A-frame X joints with a transom knot.
Fit a top ridge and run vertical string lines. Add reusable clips to guide new stems. Sink legs firmly into the ground so the frame resists sway.
What tools and steps are needed for wire diamond grids?
Mark anchor points with tape, then pre-drill pilot holes with a masonry bit. Set plastic anchors and screw in stainless eye hooks offset from the wall.
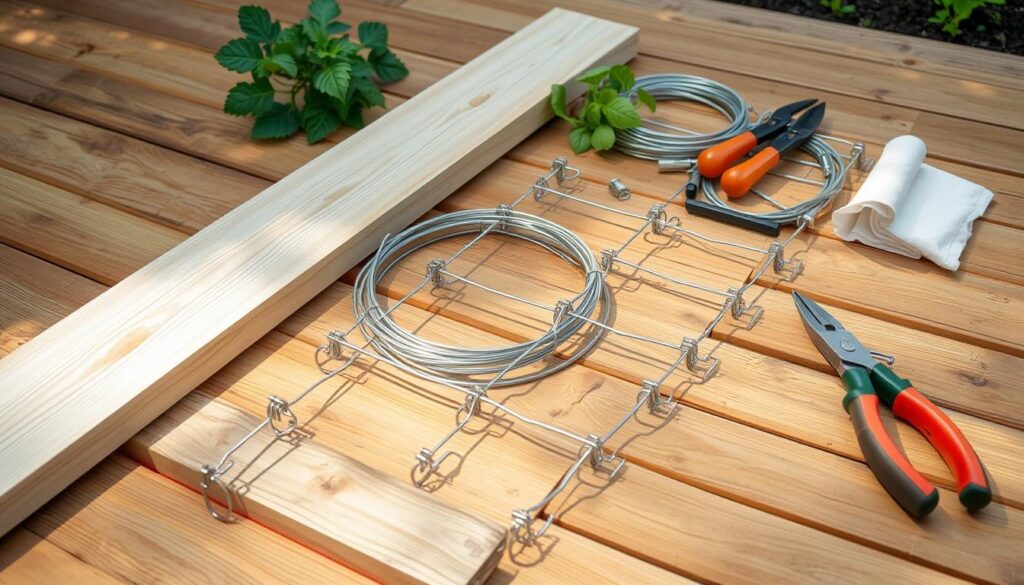
Make ferrule loops: feed 1/16″ galvanized wire rope through an aluminum ferrule twice and crimp. Thread wire through hooks to form a diamond pattern. Use a partner to pull taut while crimping. Add a turnbuckle later if slack shows over time.
How should you plant, train, and maintain supports?
Plant clematis at the base and loosely tie new growth to nearby lines. Run single vertical strings for tomatoes and beans. Provide horizontal netting for cucumbers and melons.
Inspect ties after each watering. Retension wire, add short lateral twine where a vine misses a grab point, and file any sharp ends after cutting.
| Build | Key tools | Best use | Maintenance |
|---|---|---|---|
| Bamboo A-frame | Poles, lashing twine, clips | Vertical growers; tomatoes | Retighten lashings; replace clips |
| Wire diamond | Wire rope, ferrules, eye hooks, masonry bit | Wall grids; clematis cover | Check tension; add turnbuckles if slack |
| Cattle panel / PVC | Panels, pipe, paint, saw | Arches, cages, long runs | Prime/paint to prevent rust; bolt modules |
Conclusion
Choose one build to start, size it to the area, and keep a leveling photo mindset as you work. Small, steady steps save time and make a big difference for plants and layout.
Wire and bamboo offer reliable support when anchors, knots, or ferrules are right; clematis loves a diamond wall and gives fast floral payoff without the mess of ivy.
Begin with a single frame—A-frame, tripod, panel, wire diamond, or cattle-panel—then expand as the garden and your confidence grow.
Retension wires, repaint steel, and add crossbars midseason where fruit sags. Keep aisles clear for airflow and use quick photo updates to track progress.
In the end, these projects turn structure into a leafy accent that gives every plant a tidy place to climb and thrive with just a bit of weekend work.
FAQ
What trellis style works best for greenhouse climbing plants?
The best choice depends on plant type and space. Lightweight climbers like clematis and beans do well on vertical string supports or bamboo frames. Heavy producers such as indeterminate tomatoes or hops benefit from sturdy wire grids, cattle panels, or panel-and-post systems. Match the structure strength to the plant’s mature weight and vine habit.
How do I decide size, pattern, and anchor points for a greenhouse trellis?
Measure available height and width, then map spacing with tape and a level. Aim for anchor points at structural studs or greenhouse posts and use adjustable fasteners so you can change tension. Choose a grid or diamond pattern based on access needs—larger openings for hand harvests, tighter mesh for young tendrils.
Which materials are budget-friendly and durable for greenhouse use?
Affordable, long-lasting options include bamboo poles, galvanized wire rope, cattle panels, and PVC-reinforced frames. Bamboo is renewable and lightweight; galvanized steel resists rust for humid greenhouse conditions. Use stainless or coated hardware for longevity and safety.
What basic knots or lashings should I learn for building frames?
Start with square lashing for joining poles, clove hitch for fastening to posts, and secure transom knots or bowlines for tension lines. These are simple, reusable, and strong enough for most frames and ridge supports in a greenhouse setting.
How do I install a wire diamond wall pattern safely?
Drill into studs or framing, fit eye hooks or pad eyes, thread stainless or galvanized wire through ferrules, then tension with a turnbuckle. Wear safety glasses and gloves, check anchors for load capacity, and avoid over-tensioning—allow slight give so vines can grow without snapping hardware.
Can I convert a cattle panel into a privacy screen or vine wall?
Yes. Mount panels on posts or an existing frame, secure at top and bottom, and train vines horizontally or diagonally for quick coverage. Combine with planters or containers at the base if planting room is limited. Panels are strong, inexpensive, and visually attractive when covered with foliage.
How should I plant and train common greenhouse climbers like tomatoes, cucumbers, and clematis?
Place plants so leaders can be guided to the nearest support. Use soft ties, clips, or string loops to avoid stem damage. For tomatoes, tie main stems to vertical lines and remove lower suckers. For cucumbers and beans, wrap tendrils or weave stems through mesh as they grow. Check ties weekly and adjust tension to prevent girdling.
What maintenance does a trellis need over a season?
Inspect anchors and tension monthly, tighten wires or replace worn clips, and repaint or treat wooden components to prevent rot. Prune plants to reduce wind load and disease, and add grab points or horizontal supports as vines thicken and need more structure.
How much space should I allow between trellis rows or a trellis and greenhouse wall?
Leave enough room for airflow and access—typically 18–36 inches between a trellis and a wall or walkway, depending on plant size. For tall, heavy crops, allow wider service space for pruning and harvesting. Good clearance reduces disease risk and improves ease of work.
Are there quick projects for beginners with limited tools?
Yes. Simple builds include a bamboo A-frame with twine, a tripod tepee for beans, or a panel leaned and secured against a raised bed. These require minimal cutting and hardware and teach knotting and training basics while delivering fast, useful results.
What safety tips should I follow when building and tensioning supports?
Use eye protection when drilling, gloves when handling wire, and secure ladders on stable ground. Check load ratings on anchors and ferrules. When tensioning wire, go slowly and use turnbuckles rather than brute force to avoid sudden releases that can cause injury.