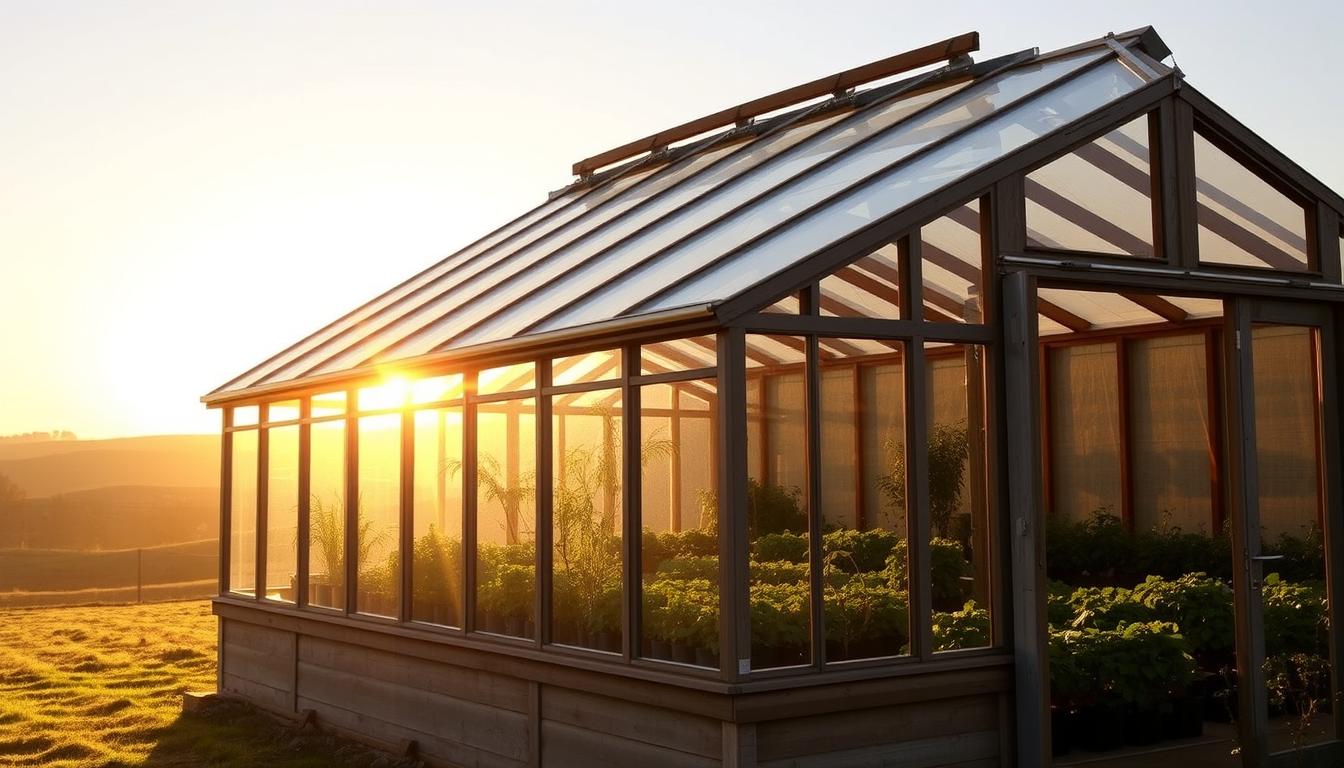
Can a garden structure survive a windstorm and a tight budget without sacrificing safety? That question drove every choice in this project, from material picks to the sequence of work. The answer surprised me and changed the way my family plans outdoor projects.
Costs matter: pro builds often land near $11,000, while DIY ranges widely. With about $6,000 in a cold-climate case study—aluminum, gravel, reclaimed windows, doors, roof panels, siding and trenching—we found a practical balance of price and performance. I’ll show the one decision at a time that kept costs low and the structure reliable.
This short guide previews the design choices, the sequence of the build, and where to invest your time versus money. For a real-life kit comparison and storm test, see a detailed example at this windproof build.
Key Takeaways
- Budget matters: Track categories early to control costs.
- Smart sourcing: Marketplace finds saved money on windows and doors.
- Material mix: A hybrid of aluminum and polycarbonate balanced cost and durability.
- Plan the sequence: Trenching, framing, then finishing kept the project efficient.
- Family effort: Shared work cuts time and adds practical fixes.
Project Overview: Design Goals, Budget Mindset, and Who This How-To Is For
Open with purpose—decide which months matter most, what you’ll grow, and what performance you expect.This section centers your decisions around clear goals, a focused budget, and practical audience needs.
Open with a mission. Choose whether the greenhouse extends the season by specific months, protects seedlings, or supports near-year-round production. Those goals shape your greenhouse design.
Set a budget mindset next. Pick two or three categories to invest in: the structure, glazing, and siting. Then make sure every other cost supports those priorities.
Who is this for? Home builders aiming for a resilient, cost-conscious diy greenhouse or a hybrid approach. If you prefer simplicity, a greenhouse kit speeds the process. For full control, building greenhouse from scratch stretches customization.
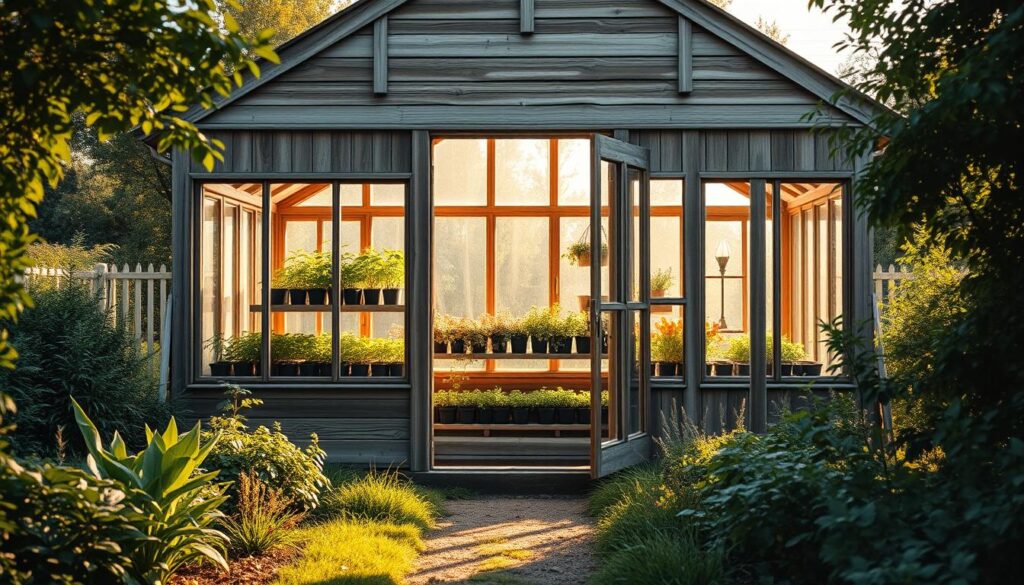
Size matters in limited space. A common hobby size is 8×6 ft; a 1:3 ratio keeps proportions practical. Map your location pros and cons early—access to water, power, sun, and material staging changes costs.
| Option | Cost | Speed | Customization |
|---|---|---|---|
| Scratch build | ~$5,000 (typical) | Slow | High |
| Greenhouse kit | Varies — higher upfront | Fast | Moderate |
| Hybrid | Mid-range | Moderate | Good |
Permits vary by location—consult local zoning before any greenhouse build to avoid delays.
Planning Your DIY Greenhouse Build: From Dream to Practical Plan
Begin with a clear list: months of use, temperature targets, and your priority crops. Then pick a layout—standalone or attached—and plan front back traffic so daily chores flow easily.

What to define first
Write down the months you want plants protected and the minimum and maximum temperatures your crops tolerate.
That simple list guides glazing choice, insulation, and ventilation. If you need winter use, add power and heat to the list.
Standalone or attached?
Standalone models need dedicated electricity and heating when used in cold months. Attached options can share power and heat with the house and work well for small cold-frame setups.
Layout, flow, and material notes
Map traffic front back so wheelbarrows and harvest runs are short. Plan two doors for cross-breeze and easy access.
- Walkways: keep 24–30 inches clear.
- Frame choices: consider aluminum for low maintenance or wood for a warmer look; cuts may require a miter saw.
- Cladding: polycarbonate adds insulation; film suits temporary starts.
| Decision | Effect | Quick tip |
|---|---|---|
| Months of use | Dictates insulation and heat | List exact months (e.g., March–November) |
| Standalone vs attached | Power/heat needs, flexibility | Choose attached to share services |
| Frame & cladding | Durability vs cost | Match aluminum or wood to location |
Make sure your greenhouse plan notes crop heights and trellis spots so rafters and headroom match real needs.
Tools, Materials, and Cost-Saving Tips That Made the Build Possible
Gather the right tools before you start so cuts, assembly, and fastening go fast and safely. Then pick a frame and cladding combo that matches your climate, budget, and skill level.
Quick prep: Below are the core tools you’ll need and sensible material choices to keep the project efficient and affordable.
What tools will you need?
- Core tools: miter saw, drill/impact driver, framing nailer, level, sawhorses.
- Also bring safety gear and heavy-duty scissors for film and tape.
Which frame option fits your site?
Aluminum is light, rust-resistant, and low maintenance but costs more. Wood feels warm and is easy to work with but needs treatment. Galvanized steel is ultra-strong. PVC is the cheapest option and needs UV-resistant pipe to last.
What covering should you pick?
Polycarbonate panels offer great strength and insulation; acrylic gives higher light transmission; fiberglass can yellow over time. LDPE film is a low-toxicity option for short-term use. Consider BPA concerns if you grow food.
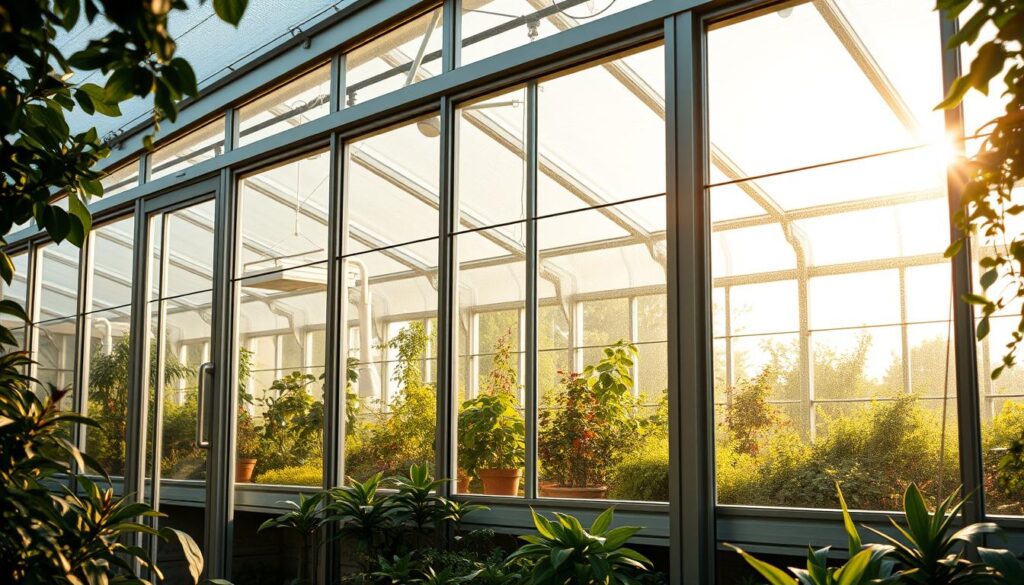
Budget wins and staging tips
- Source reclaimed windows and discounted doors on local marketplaces.
- Stage materials: build the greenhouse frame first, then add panels to avoid damage.
- If you plan raised beds, buy lumber and soil early so bed height matches doors and benches.
Pick the Right Location: Sun, Wind, Space, and Access
Siting is the highest ROI decision—sun, wind, and access determine your greenhouse’s performance. Choose a south or southeast exposure and make sure there’s clear, level ground with good drainage.
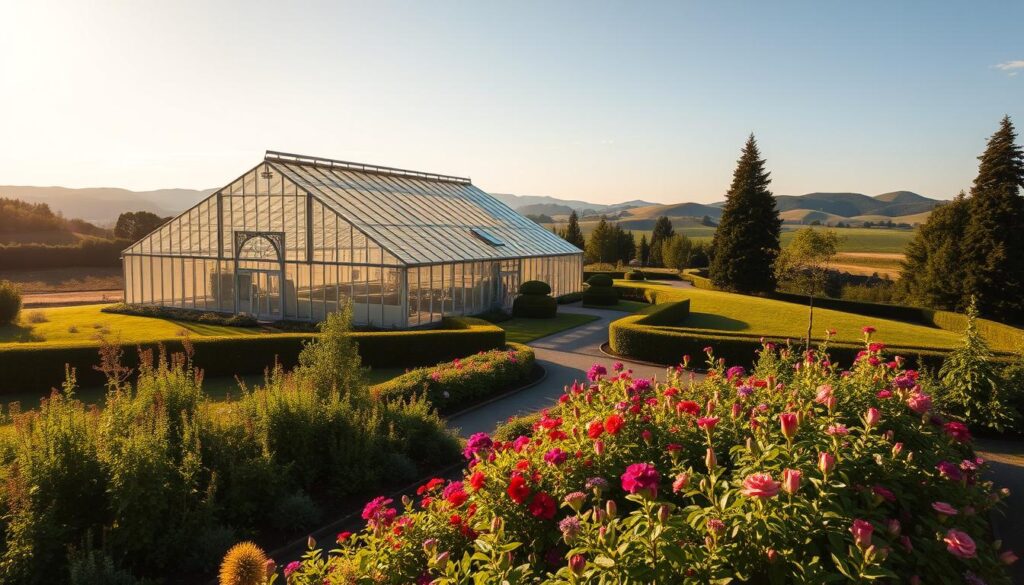
Sun-first siting
Pick a south or southeast orientation to capture winter sun. Avoid shade from trees or buildings that block morning light. In mild climates, southwest can work, but watch afternoon heat.
Drainage, wind, and access
Ensure well-draining ground; standing water rots framing and can wick into panels. Walk the site all day to note sun angles and prevailing winds.
Plan clear front back access for deliveries and maintenance. Leave room for wheelbarrows and panel handling so installing or servicing the structure is simple.
| Factor | Why it matters | Quick tip |
|---|---|---|
| Orientation | Maximizes winter light | South/southeast best |
| Drainage | Protects frame and panels | Choose well-draining ground; add gravel if needed |
| Access | Reduces transport and repair costs | Allow clear front back paths and nearby water/electric |
Choose one ideal spot rather than several mediocre ones. Moving soil and utilities later costs far more than thoughtful siting now. Match the location to your greenhouse design and daily routine for the best long-term results.
Foundation and Groundwork: Level, Drain, and Lock It Down
Start on firm, dry ground so the frame stays true and panels align without surprises. Choose between a simple gravel base or a foundation set below the frost line, and anchor everything for long-term stability.
No-foundation gravel base: Level the ground, lay landscape fabric, and add compacted gravel. This makes a clean, well-drained surface that blocks weeds and reduces mud.
Foundation for cold climates: Place concrete or pressure-treated wood below the frost line to prevent heaving. Size the foundation slightly larger than the base so doors and vents stay square.
Anchoring and leveling
- Rebar hair pins: Pound every 2–3 feet around the perimeter to resist wind.
- Concrete footers with threaded rod: Drop rods through base framing into wet concrete and level before cure.
- Aluminum frames: They need a precise, level base to keep panel seams tight and avoid stress.
Plan drainage paths away from the site and stage panel delivery after groundwork so panels stay clean and undamaged during installation.
Frame It Sturdy: Walls, Rafters, Gussets, and Purlins
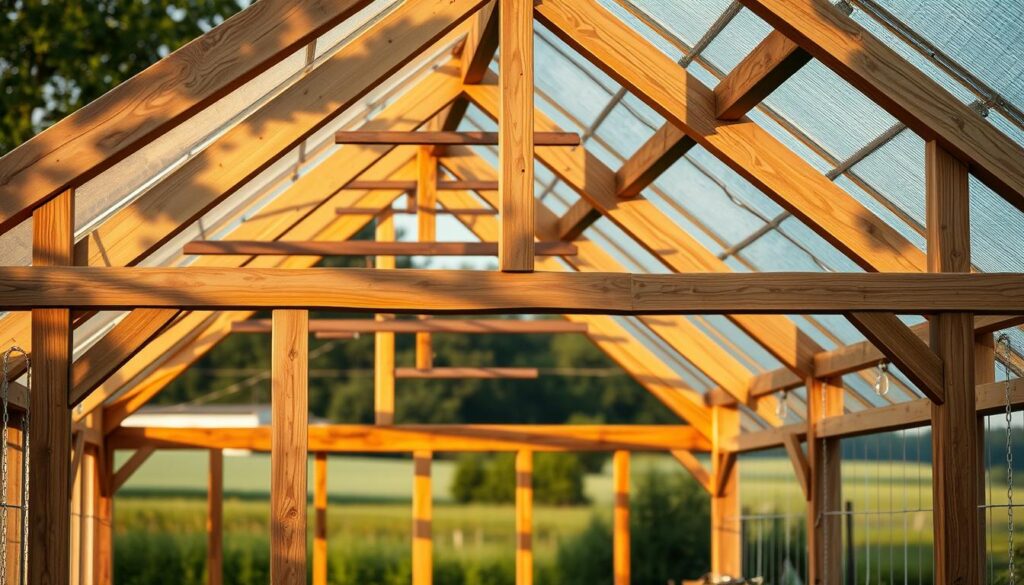
Frame accuracy makes everything else easier—tight panels, square doors, and quiet roofs in the wind. Use stops, spacers, and consistent 24″ on-center spacing for fast, repeatable cuts.
A measured approach keeps work efficient and lowers mistakes. Build greenhouse walls at 24″ on-center for predictable screw lines and strong, straight surfaces.
Side, front, and back wall layout
Side walls: frame 36″ high with 33″ studs between 3″ plates. Front and back walls run 10 ft wide with 24″ O.C. spacing. Leave a 30″×80″ opening for a standard screen door to aid crossflow ventilation.
Rafters, gussets, and purlin spacing
For a gambrel roof, cut top and bottom rafters using a stop on your miter saw. Fabricate 24 plywood gussets and attach with a nail gun. Add a ridge board to simplify alignment.
Space purlins 22.5″ between rafters and angle-cut end purlins to match rafter pitch. Dry-fit panels over framing to confirm screw lines before final fastening.
Aluminum vs. wood frame choice
Aluminum resists rot and stays true; wood is accessible and warm but needs treatment and paint. Paint framing white to reduce heat under TUFTEX.
Polycarbonate Panels Done Right: Cutting, Pre-Drilling, and Fastening
Clean cuts and careful fastening extend panel life and prevent leaks. Pre-drill every hole, use foam filler strips, and make sure screw lines stay straight and consistent.
Treat panel installation like stitchwork: straight lines, measured holes, and light-handed screws. That care reduces cracks and keeps the siding and greenhouse walls watertight.
What tools and prep will you need?
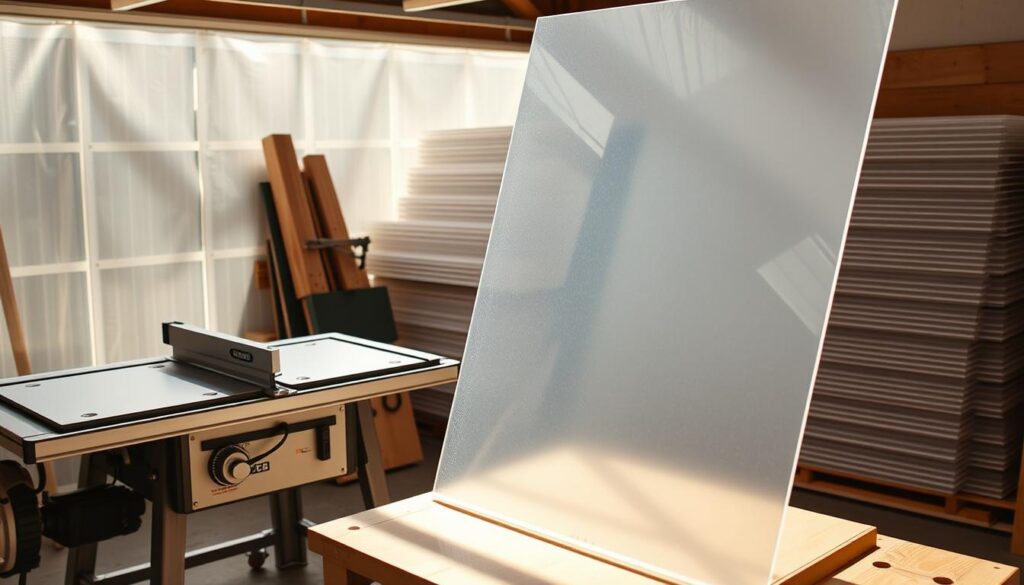
You’ll need a circular saw (reverse blade) or tin snips for cutting; test a scrap first to set speed and pressure. A miter saw can trim framing to fit panels cleanly.
How should you pre-drill and fasten?
Pre-drill with a 5/16″ bit to reduce stress cracks. Use foam filler strips under attachment lines and keep screw lines straight. Don’t overtighten — leave a small cushion so panels can expand.
Where do screws and flashing go on the roof and walls?
On the roof, place screws through ridges to shed water. On walls, fasten through valleys for a stronger grip. Overlap aluminum flashing with the upper panel over the flashing and the lower panel under it to stop backflow.
- Practice first: start on a less-visible side to refine technique.
- Vent planning: pre-mark future roof vents and openings now so you don’t rework panels later; adding ventilation saves plants.
- Finish tip: attach the ridge cap last and paint framing white to reduce heat load under sun.
Ventilation and Heat Management: Keep Plants Happy, Not Fried
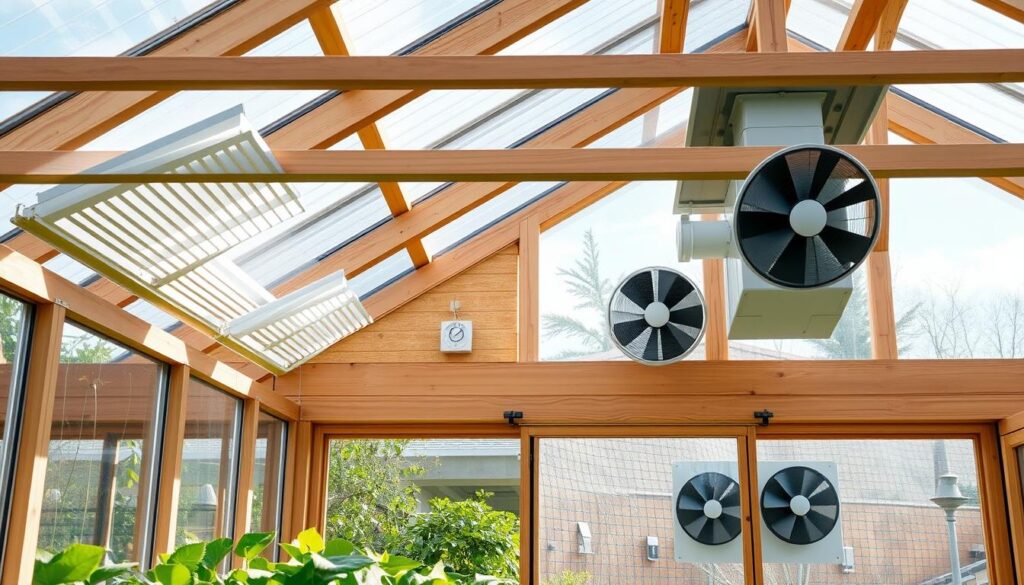
Good ventilation prevents overheating and disease, while smart heat strategies stabilize nights and shoulder seasons. Combine roof vents, fans, and a screen door with passive mass and a correct heater to keep plants comfortable.
Start with venting high and low to use the stack effect. Install adjustable roof vents and operable windows, then fit a screen door to boost crossflow. Add an adjustable fan to move air and cut temperature layers.
Passive heat and mass
Lay a 6″ base of black gravel in the ground to store daytime warmth. Place dark water barrels in sun to hold heat and add gentle humidity when above freezing. Choose polycarbonate panels with higher R-value where nights are cold.
Active control and monitoring
Pick a sized electric greenhouse heater for clean, simple heat. If using combustion, provide safe venting. Run low-speed fans in winter to spread warmth. Monitor with a max/min thermometer and tune vent settings across the season.
Good airflow and modest thermal mass keep plants healthy through fickle shoulder seasons.
Power and Water Access: The Everyday Convenience You’ll Thank Yourself For
Reliable utilities turn daily chores into quick tasks and protect your equipment. Plan for safe trenching, code-compliant circuits, and smart outlet locations.
Reliable power and water make a small structure feel like a full workshop. Trenching for a dedicated line and frost-proof hydrants costs more up front, but it saves time and prevents messy workarounds later.
Running a line vs. a long hose: safety, trenching, and code considerations
Decide between a long hose or running a buried line. Trenching raised our case-study cost to about $1,000, including trencher rental and an electrician—but it removed daily dragging and freezing hoses.
Safety tip: hire a licensed electrician for trench depths, conduit, and GFCI protection. Permits and local code matter; professionals ensure heater circuits meet amperage and startup surge needs.
Outlet placement, heater loads, and fan locations to optimize workflow
Place outlets near benches and along walls so fans and heaters never cross a walk or the door.
- Map fan locations high and low to avoid dead zones behind shelving.
- You’ll need a dedicated circuit for any heater—check amperage and allow headroom for startup surges.
- Run water to frost-proof hydrants and insulate exposed sections in severe winters.
- Route cables cleanly—along walls or overhead drops—to protect panels and keep the floor clear.
- Plan front back workflow so hose reels, switches, and tools sit where you enter and exit.
Reliable utilities make daily plant care simple—less tugging, fewer trips, and more consistent growing conditions.
Proudest DIY How I Built Sturdy Greenhouse: Timeline, Costs, and Lessons Learned
A clear end-to-end timeline makes the final costs real and the work manageable. Splurge on the structure and glazing; save where reclaimed materials add value and charm.
We finished this project in phases over six weekends with a few weeknight catches. Budget totaled about $6,000: aluminum framing ~$750, black gravel ~$500, two screen doors $100, roof panels $1,000, siding $2,500, and trenching for power/water ~$1,000. Reclaimed windows came from the local marketplace at no cost.
Where to splurge and where to save
Spend: polycarbonate panels and solid anchoring. These two choices stabilized temps and resisted wind. Save: reclaimed windows and discounted doors gave charm and ventilation without big expense.
Mistakes and lessons
- You’ll want cross-ventilation from day one—my first small film build overheated until fans and operable vents were added.
- Avoid undersized vents, light anchoring, and underestimating snow loads; rebar hair pins every 2–3′ worked well in wind.
- Plan extra time for careful panel pre-drilling and flashing overlaps; a greenhouse kit can speed assembly but not site prep.
- Family help streamlined work—assign cutting, fastening, and quality checks to specific people.
| Category | Cost | Why it mattered | Recommendation |
|---|---|---|---|
| Structure (aluminum) | $750 | Light, low maintenance | Splurge—keeps frame true |
| Polycarbonate panels | $1,000 | Insulation and durability | High priority |
| Siding & trenching | $3,500 | Weatherproofing and utilities | Budget for both early |
Bold summary: Here’s what I spent, what I’d repeat, and the things I’d do differently. Splurge on structure and glazing; save on windows and doors you can reclaim.
Conclusion
A clear close ties choices to results: small investments in sun, structure, and airflow reward you with longer seasons and healthier plants. Plan around crops, local weather, and routine tasks so each decision supports your goals.
Final checklist:
Start with a focused plan: design greenhouse around season length and crop needs so materials and steps match your goals.
Spend wisely: invest in frame and polycarbonate panels; reclaim windows and doors when possible to stretch the budget.
Vent and monitor: size roof vents and fans for your volume to keep plants cool and prevent disease.
Finish with workflow: place outlets, water, benches, and raised beds for easy access and better drainage.
Keep up yearly roof, panels, and fastener checks; small tune-ups protect your work. Whether you choose a full diy route or a kit, steady, practical steps make a confident greenhouse build that will keep plants thriving.