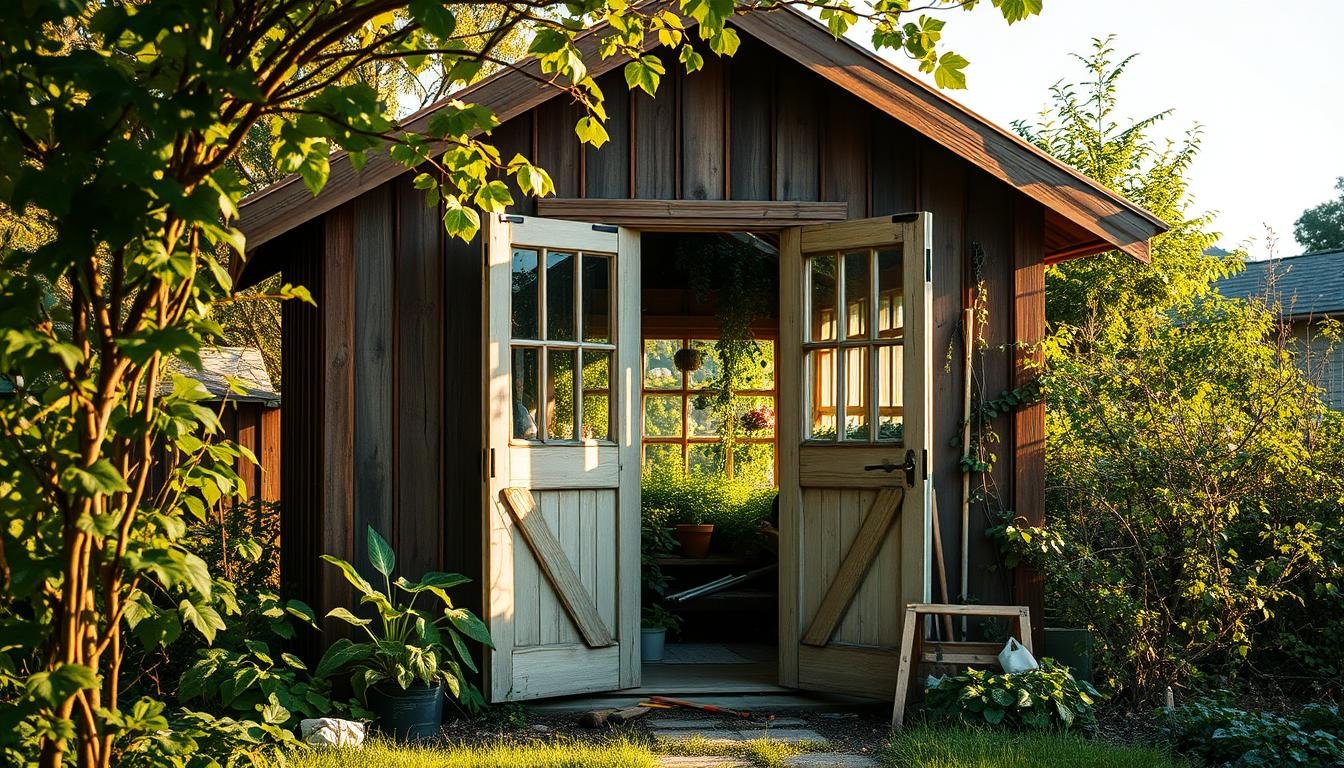
You’ll see where my greenhouse conversion went wrong—and how to plan a sturdier, drier, and brighter space from day one. We’ll turn hard-earned lessons into a simple path you can follow to protect your money, time, and plants.
Ever wondered why some garden projects fail fast? Small oversights—permits skipped, low ground, or a weak base—grow into costly problems. Contacting the local planning office and marking buried utilities before digging are simple steps that prevent legal and safety headaches.
Choosing a foundation that settles or using untreated wood near the ground invites rot after freeze/thaw cycles. Poor drainage or a low yard spot leads to flood damage and expensive rebuilds. Plan power and lighting early so the space does not end up dark and unusable.
Expect clear, practical steps ahead on site selection, drainage, ventilation, door choices, and materials that last for decades. For a real-life example of a resilient conversion, see this windproof greenhouse story.
Key Takeaways
- Check permits and mark utilities before you build to avoid costly removals.
- Pick a stable, well-drained base so the structure won’t settle or wick moisture from the ground.
- Use moisture-resistant materials and proper overhangs to protect siding and doors.
- Plan lighting and ventilation early to keep the space bright and usable.
- Right-size the project and design ceiling height to avoid regret later.
- Test systems before planting so you catch issues without costly rework.
Why Greenhouse Conversions Fail: Lessons From Real Shed Building Mistakes
Most failures start before framing—wrong location, skipped permits, and the “it’ll be fine” foundation. Greenhouses magnify moisture and heat, so shed building mistakes become bigger, wetter problems.
Start with the site and the rules. Contact the city planning department to learn regulations. Setbacks and permits save you from fines or forced removal of a structure on your property.
- Location matters: A low yard corner invites flood damage, rot, and frost heave that twist floors and frames.
- Mark utilities: Call before you dig to avoid dangerous surprises.
- Foundations: Scattered block supports settle with seasons. That misalignment ruins doors and windows.
- Materials and details: Untreated wood at grade rots fast; overhangs shield siding and doors.
- Plan power early: Lighting and outlets prevent a dark, cord-strung workspace in your home garden area.
Use these practical tips and learn from a built shed experience so the same building mistakes don’t repeat under higher humidity. Expect delays for inspections, deliveries, and weather; add time to your schedule.
3 biggest mistakes i made converting shed
Small decisions early on became costly lessons in time and money. Shortcuts on site choice, ventilation, and roofing cost more than fixing them right the first time.
What happened and what it cost:
- Site and foundation: Placing the build in a low yard spot led to pooled water, rot, and frost heave—relocating the structure ran about $2,500.
- Materials: Cheap, untreated siding warped and rotted, later replaced with treated boards for roughly $1,200.
- Roofing and glazing: Roll roofing failed; leaks damaged tools and plants. Switching to shingles and proper panels cost near $1,800.
- Ventilation: Poor airflow let mold take hold, costing over $3,000 in ruined tools and lost plants.
The quick fixes vs. the right fixes:
Adding extra caulk or a clip-on fan helped briefly. They did not stop water under the floor or persistent condensation.
The correct repairs were larger: regrade and add drainage, install real vents and operable windows, and upgrade roofing and glazing for UV stability and condensation control.
“Spending more up front on site work and systems saved me months of wasted time and far more money in the long run.”
| Issue | Short-term fix | Right fix | Approx. cost |
|---|---|---|---|
| Soggy site / settling | Raise floor boards | Relocate/real pad, drainage | $2,500 |
| Rotting siding | Paint/caulk | Replace with treated siding | $1,200 |
| Leaky roof / glazing | Temporary patches | Install shingles or stable panels | $1,800 |
| Poor ventilation | Portable fans | Ridge vents, operable gable windows | $300–$800 |
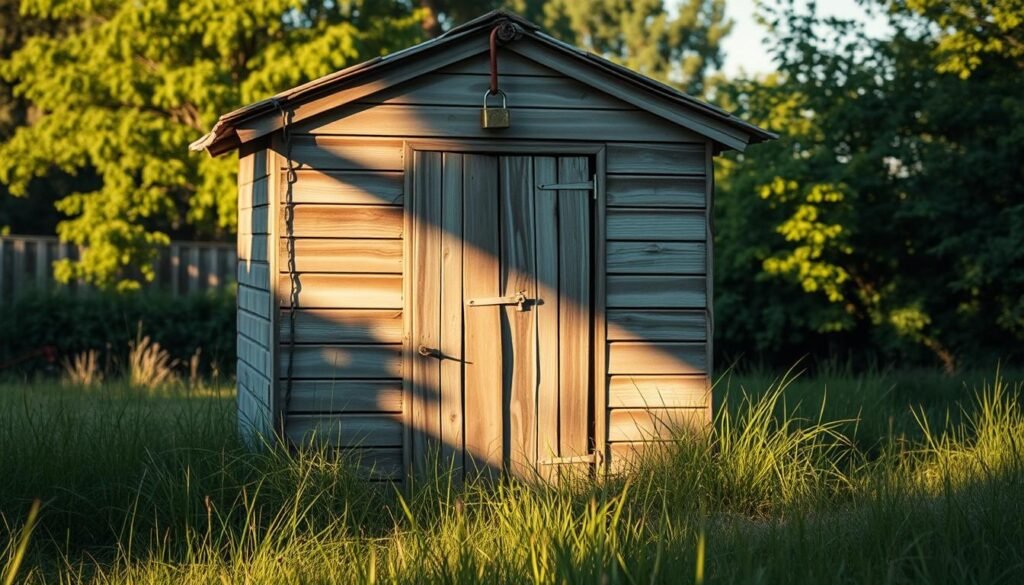
How I’d plan differently: Map drainage after a heavy rain, choose a higher pad, and specify a foundation that resists movement. Design airflow first with ridge and gable vents sized for summer peaks. Pick roofing and glazing that control UV and condensation so plants thrive.
Mistake One: Choosing the Wrong Location and Foundation for a Wet, Warm Structure
Low garden corners collect water; that moisture ruins floors and frames. Choose a foundation—gravel pad, piers, or slab—that drains well and resists seasonal movement.
A wet, low spot or an unstable base turns a cozy plant room into a maintenance headache. Watch where water pools after heavy rain and avoid any area where the soil stays spongy the next day.
Why yard drainage and frost heave ruin green structures
Frost heave lifts and drops structures. A couple of loose concrete blocks will shift with freeze/thaw cycles and bend doors, windows, and glazing seams. That movement opens leak paths and invites rot and mold.
Mark buried utilities before you dig. Safe pier placement beats costly line damage and renovation later.
Gravel, piers, or slab — choices that resist moisture and movement
- Gravel pad: Compacted with a slope, it sheds water and is simple to install.
- Concrete piers: Set below frost depth, they keep the frame level year-round.
- Slab: Durable when poured with a vapor barrier and edge drainage swales.
- Keep untreated wood out of ground contact; use treated base plates or composite where splash is likely.
| Option | Best for | Pros | Cons |
|---|---|---|---|
| Compacted gravel pad | Light builds in well-drained spots | Good drainage, lower cost, quick | Less resistance to heavy loads |
| Concrete piers | Areas with frost risk | Stable, resists heave, minimal contact with ground | Requires excavation and careful placement |
| Concrete slab | Permanent, heavy-use garden buildings | Durable, level surface; easy to clean | Higher cost; needs vapor barrier and drainage |
Plan wheelbarrow access so your high-and-dry site stays usable. Add French drains or a sump if your property tends to hold water. The right foundation prevents movement, keeps doors square, and cuts base leaks that cause long-term problems.
Mistake Two: Poor Ventilation Strategy Leading to Condensation and Rot
Moist air condenses on cool framing, soaking wood and feeding mold. Design airflow first—size ridge, gable, and window openings to dump heat and humidity fast.
Greenhouse humidity differs from a typical outbuilding; it demands deliberate exhaust and intake paths.
Warm, moist air that has no exit will condense on rafters and sheathing. That moisture soaks finishes and ruins tools, with losses that can top $3,000 in damaged gear and ruined stock.
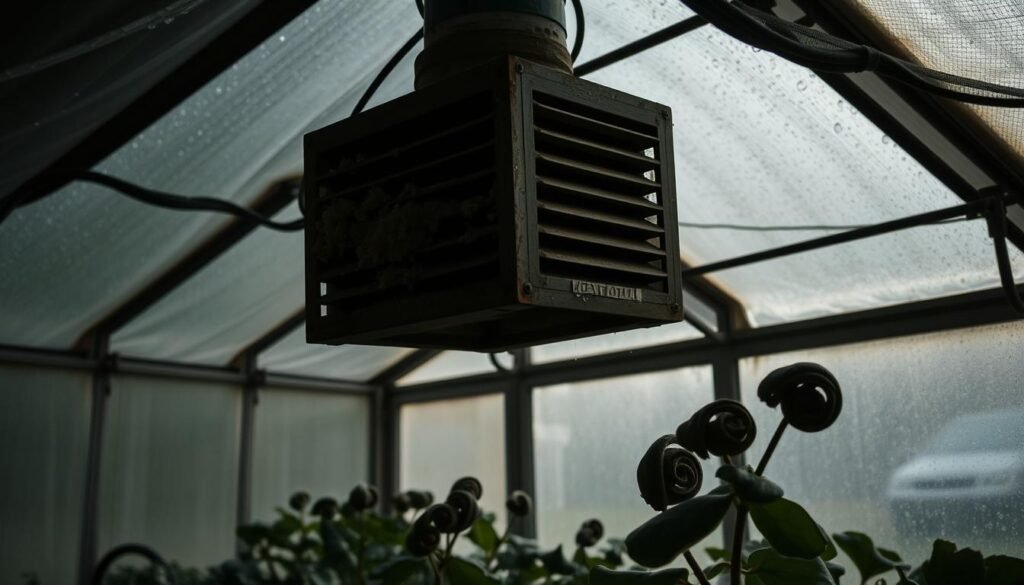
How to move air without drafts that harm seedlings
- A passive stack works: cool air enters low through soffits, warm air leaves through a ridge vent.
- Gable vents add cross‑breeze when winds are light; operable windows on opposite walls let you fine‑tune flow.
- Keep vents away from seed trays and diffuse incoming air so young plants don’t get chilled.
Materials and small details that stop moisture traps
Use rigid foam with taped seams and a smart vapor control strategy to avoid moisture pockets next to cold surfaces.
For woodworking or tool storage near plants, add dedicated vents or a small fan. Choose corrosion‑resistant fasteners and monitor humidity with a hygrometer so you act before visible condensation appears.
Mistake Three: Roofing and Light Choices That Caused Leaks and Plant Stress
The wrong roofing traps heat, leaks at seams, and bakes seedlings. Pick a system that balances UV stability, condensation control, and long-term weather resistance.
A thin or temporary covering that seems cheap often fails fast under real weather and bright sun.
My roll roofing failed within 18 months. Leaks ruined tools and required an asphalt shingle replacement that cost about $1,800. That quick fix taught a clear lesson: choose durable materials and plan for light and moisture control.
Choosing a roof: shingles, polycarbonate, or metal?
- Asphalt shingles on a solid deck last and shed water well, but add skylights or windows for plant light.
- Twin-wall polycarbonate gives diffuse light, better insulation, and impact resistance for a garden workspace.
- Metal roofing stands up to the elements, but pair it with ceiling insulation and active ventilation to avoid heat spikes.
Controlling UV, condensation, and leaks
- Avoid roll roofing on permanent structures — it fails early and invites rot.
- Use anti-drip films under translucent panels and keep strong ventilation so ceilings don’t “rain.”
- Size overhangs to throw water away from doors and siding and install proper flashing and fasteners to stop leaks.
“Test interior temps on bright days and add shade cloth where heat threatens tender starts.”
Permits, Property Lines, and HOA Rules: Don’t Build What You’ll Have to Tear Down
Permits and setbacks are nonnegotiable—ignoring them risks fines or forced removal.
Check city rules, HOA covenants, and property lines before you draw plans.
Skipping the planning desk call can cost homeowners thousands when a structure violates setbacks or HOA rules. Many U.S. municipalities require permits for outbuildings above certain sizes. Violations have led to ordered demolitions that exceeded $6,000 in lost materials and labor.
Call your local planning or building department to confirm when a permit applies to a conversion, not just new building work. Verify setbacks from property lines—commonly 5–10 feet—and ask whether your project counts as a shed for zoning.
Practical steps to keep your plans legal
- Get rules in writing: Request permit requirements, inspections, and approvals so you can schedule reliably.
- Talk to your HOA: Confirm allowed sizes, materials, and rooflines to avoid a costly redo.
- Draw simple plans: A footprint, height, and material list speeds approvals and clarifies scope.
- Plan inspections: Expect electrical checks; build your timeline around them.
“Permitting delays are cheaper than tearing down a finished structure.”
| Trigger | Common setback | When a permit is needed | Possible consequence |
|---|---|---|---|
| Small outbuilding under threshold | 5–10 ft | No permit if under local size limit | Minor fine or required adjustment |
| Conversion of existing structure | Depends on footprint | Often requires permit for change of use | Removal order; loss >$6,000 |
| Electrical work | N/A | Permit almost always required | Failed inspection, redo work |
| HOA design review | Varies by covenant | Approval before materials purchase | Forced aesthetic changes or removal |
Planning Power and Utilities Before You Frame
Run safe power and lighting on paper before you touch framing. Mark utilities, size circuits, and place fixtures to keep every bench bright and safe.
Call before you dig. Have buried utilities marked so later trenching or pier work does not hit lines. A quick utility locate prevents dangerous and expensive strikes.
Plan a dedicated circuit for fans, heaters, and grow lights. Use moisture-rated fixtures and GFCI protection where outlets may see splash or humidity.
Marking buried utilities and routing safe power for lights and tools
- Place outlets above bench height for easy access and to avoid wet floors.
- Choose corrosion-resistant boxes and fittings to resist humid air and salt in coastal sites.
- Sketch conduit paths and penetrations now to avoid cutting finished vapor barriers later.
Lighting layouts that avoid the “dark cave” problem
Use bright, diffuse fixtures over benches to mimic daylight and reduce harsh shadows that hide pests. Place switches at the main door and a secondary exit so turning lights on and off is effortless.
- Zone lighting for aisles, potting areas, and seedling shelves.
- Consider timers and sensor-based ventilation controls to stabilize climate without extra work.
“A clear wiring plan is a small step that pays off every time you work in the space.”
Moisture-Resistant Materials: Siding, Trim, and Ground Contact Choices
High humidity plus splash-back destroys unprotected wood quickly. Choose treated, composite, or fiber-cement options and lift everything off the ground to extend the life of your exterior.
Why untreated wood near the base fails fast: A greenhouse traps moisture. Even small splashes or capillary action at the lowest boards let rot start at cut edges and hidden seams.
Practical choices that last in damp conditions
- Raise the siding edge — keep the lowest board several inches above grade and add a gravel drip line to stop splash.
- Use pressure-treated plates or composite base trim where water contact is unavoidable; never bury wood in soil.
- Select durable materials such as fiber-cement or engineered cladding that resist swelling and decay better than basic plywood.
- Seal cut edges and end grain immediately; moisture finds the smallest gap.
- Stainless or coated fasteners prevent rust stains and corrosion in humid air.
- Install capillary breaks like a foam sill sealer or metal flashing between soil and trim.
- Order materials for delivery to protect stock and keep your build on schedule instead of shuttling parts back and forth.
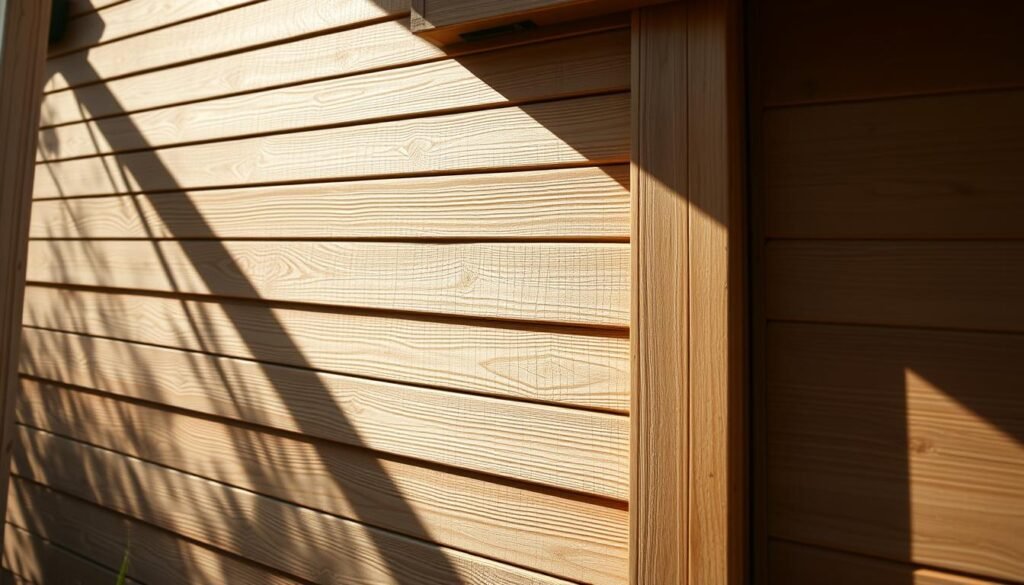
Keep an inspection routine. Prime and paint with exterior-grade coatings and check the lowest boards each season. Catching early decay is cheaper than rebuilding sections.
For a compact planning resource, review the interactive greenhouse infographic to match materials and details to your layout.
Doors and Access: Avoid Warping, Sagging, and Daily Frustrations
Humidity punishes poorly built doors. Choose prehung exterior units and protect them with an overhang for smooth, long-term use.
A misaligned door turns daily chores into a struggle when panels swell and frames rack. Plan access early so moving trays, pots, and a wheelbarrow is effortless every visit.
Prehung exterior units versus DIY-built frames
- Prehung steel or exterior-rated doors arrive with a square frame, weatherstripping, and a true threshold that seals better in damp conditions.
- DIY doors can twist, drag, or gap when framing racks or panels swell from humidity.
- Use corrosion-resistant hinges, latches, and fasteners—standard hardware rusts fast in humid air.
- Plan an overhang and drip cap above the entry to keep rain off the door head and trim and extend service life.
- Set the threshold above surrounding grade, seal it well, and size the opening for carts and trays.
- Consider a secondary access near water or compost to streamline routine tasks.
- Check swing direction so the door won’t hit benches or block traffic flow.
| Feature | Prehung Exterior Door | DIY Door | Best Practice |
|---|---|---|---|
| Resistance to warp | High (steel/composite) | Lower (field-built panels swell) | Choose prehung exterior-rated units |
| Weather seal | Factory weatherstripping & threshold | Field-fitted, often imperfect | Install a raised, sealed threshold |
| Hardware durability | Use corrosion-resistant hardware | Standard hinges rust quickly | Specify stainless or coated fittings |
| Daily access | Wide, unobstructed for carts | May be narrow or poorly aligned | Plan clear width and swing early |
“Reliable doors make greenhouse care easier morning to night.”
Structure and Framing Adjustments for Greenhouse Loads
Greenhouses carry unique loads—vents, glazing, and hanging crops need sturdy, squared framing. Taller ceilings and deeper overhangs boost function and durability.
Plan framing that resists movement so openings stay square when humidity and temperature change.
Ceiling height, rakes, and overhangs to protect doors and siding
Increase ceiling height to hang lights, fans, and baskets without crowding benches. Aim for at least 9 feet where you store sheet goods, and allow 16 inches above any overhead door for smooth operation.
Frame for vents and operable panels with proper headers and continuous load paths so openings don’t sag under glazing weight. Space studs and rafters to match glazing manufacturer fastener schedules and snow-load expectations.
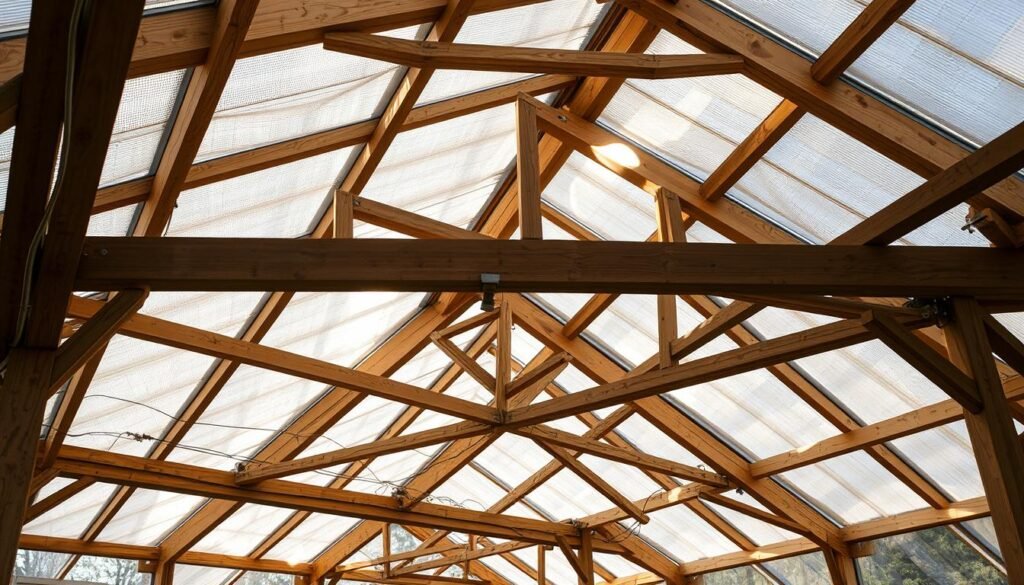
- Add rakes and soffits to shed water and shade door heads and siding from driving rain.
- Anchor wall plates to a stable foundation so movement doesn’t show up as sticky doors or cracked seals.
- Use treated components at base plates to stop wicking damage and extend service life.
- Flash every transition — roof-to-wall, vent curbs, and around penetrations — to prevent slow, hidden leaks.
- Plan blocking now for shelves and tool racks; retrofitting through glazing risks damage and leaks.
Avoid classic shed building mistakes by overbuilding where moisture and movement are highest. For a practical conversion guide, see this detailed conversion resource for options and next steps: convert shed to greenhouse.
Space Planning: It’s Always Too Small Without a Storage Plan
Layout first, lumber second. Map benches, aisles, and storage so plants thrive and tools stay reachable.
A tidy layout saves steps and saves plants; plan traffic before you cut lumber. Sketch routines: potting, watering, and moving soil. Build to those motions, not just to a material list.
Benches, vertical storage, and traffic flow
Sketch potting benches along walls at 36–42 inches for comfort. Leave 30–36 inch aisles so carts pass and you don’t brush foliage.
- Use vertical storage—shelves, pegboards, and overhead racks—to keep floors clear.
- Place sink, compost, and soil bins close to potting benches to cut messy trips.
- Add 20–30% more space than initial plans; expanding later bumps costs and effort.
- Keep heaters and fans away from foliage and align them with vent paths for even conditions.
- Store chemicals and sharp tools well away from watering zones to avoid contamination.
“A thoughtful plan saves steps daily and protects delicate seedlings from traffic.”
Many owners regret building too tight. Review a built shed layout before you commit. Small extra space and good lighting make daily work easier and keep plants healthy.
Budgeting and Timeline: Building Without Surprises
A realistic schedule and a full cost list are the easiest ways to keep a garden build from derailing. Price everything up front so you know where money will go and where to add a buffer before work begins.
A clear plan lets you see which parts of the project will eat time and cash. One conversion I tracked doubled from $1,500 to $2,700 after forgotten paint, insulation, and hardware. Roofing upgrades such as replacing failed roll roofing with shingles added around $1,800 in that case.
Account for roofing, ventilation hardware, and finishing touches before you start framing.
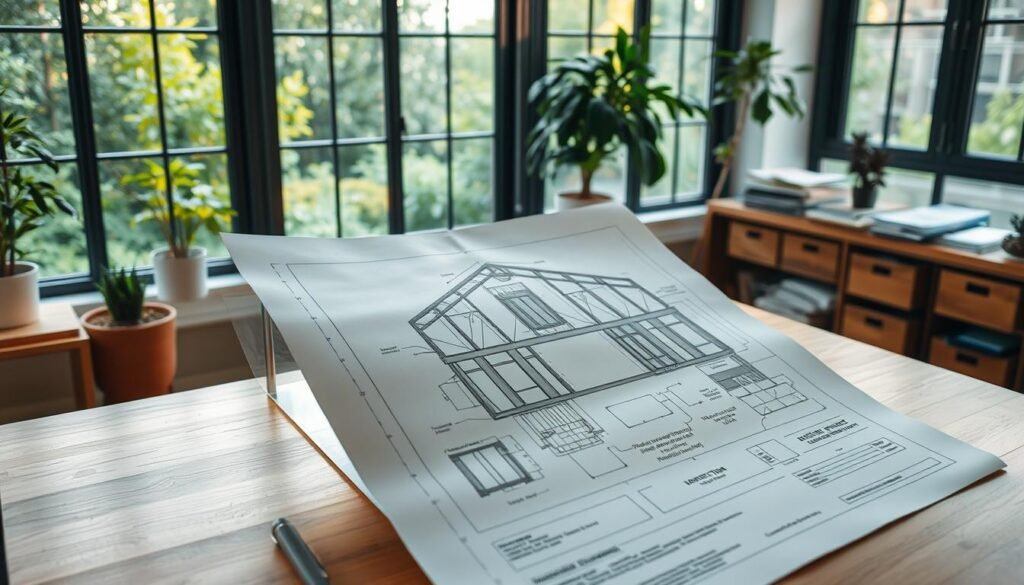
Accounting for small but costly items
- Price the whole build — foundation, vents, glazing, flashing, and paint.
- List every line item: site prep, base, framing, roof, vents/fans, electrical, benches, and finishes.
- Include small hardware — closures, gaskets, sealants — and expected operating costs for fans, heaters, and lights.
- Set a 15–20% contingency for surprises like rot repair or extra ventilation.
- Sequence work: utilities and ventilation before interior finishes, and schedule inspections and deliveries early.
Add a time buffer for permits, inspections, and weather so you don’t rush critical steps. Track spend weekly and move funds to the structure and roof if costs rise elsewhere. A realistic plan and timeline keep stress low and the build on track.
Weatherproofing Details That Make the Difference
Leaks start small—at fasteners, laps, and edges. Layer flashing and sealants so water always sheds away from wood. Good weatherproofing protects the siding, door, and roof for years.
Water rarely arrives in a storm—it sneaks in at laps, fasteners, and cut edges over time. Protect transitions where different materials meet. Overhangs and correct flashing keep driving rain off vulnerable edges.
Flashing, caulking, and sealing to prevent slow leaks
- Install head flashing over doors and windows and add end dams to stop side travel.
- Flash roof‑to‑wall joints with step flashing and a kick‑out to divert runoff away from the wall below.
- Use compatible sealants for glazing and metal; chemical mismatch causes early failure.
- Tape sheathing seams and integrate housewrap with window and door flashings for a continuous barrier.
- Back‑caulk trim and leave bottom edges open to drain—never trap moisture inside assemblies.
- Pre‑drill panels and use gasketed fasteners tightened to spec; overtightening can crush seals.
- Keep lowest siding edges high above splash and protect them with a gravel or flashing drip line.
- Seasonal checks: re‑caulk, retighten fasteners, and clear debris from gutters and flashings.
“Smart, simple details now stop the slow, hidden rot that is costly to fix later.”
| Detail | Why it matters | Quick action |
|---|---|---|
| Head flashing | Stops water tracking into jambs | Install with end dams and seal top edges |
| Step flashing | Protects roof-to-wall seams | Lay flashing at each shingle course with kick-out |
| Gasketed fasteners | Prevent leaks at panels | Pre-drill and torque to manufacturer spec |
Security and Durability: Protecting Your Investment
A sturdy, anchored greenhouse protects your tools and plants. Combine strong doors, smart lighting, and durable skins for long life.
Start with anchoring. Tie the frame to piers or a poured slab so the structure resists storms and tampering.

Anchors, entries, and exterior choices
Anchor to resist movement. Bolt sill plates to concrete or secure to deep piers so the building stays square and doors work right.
Reinforce the entry. Use exterior-rated, prehung units with solid strikes and a deadbolt to slow forced entry. Place motion lights and cameras near the main door to increase visibility and deter theft.
Materials and routine care
Choose cladding that shrugs off sun and moisture. Use metal or treated wood for vulnerable trim to stop rot and pest attack.
Inspect the roof and fasteners each season. Tighten hardware, replace worn shingles or panels, and catch small leaks before they escalate.
Practical security moves
- Lockable cabinets keep hand tools and fertilizers secure inside.
- Keep landscaping low near windows and doors so sightlines stay clear.
- Remember that security is a system: anchoring, strong entries, lighting, and good habits together protect your investment.
| Risk | Action | Benefit |
|---|---|---|
| Theft from outbuildings | Prehung door + deadbolt, motion lighting | Deters casual thieves; improves homeowner confidence |
| Storm uplift or tampering | Anchor to slab or piers | Keeps the structure square and doors operable |
| Moisture damage at trim | Use treated wood or metal trim | Lower maintenance and longer life |
| Slow leaks and wear | Seasonal roof and fastener checks | Prevents costly repairs to roof and interior |
“Security is built in layers: strong anchors, reliable doors, visible lighting, and smart habits.”
Step-by-Step Conversion Plan: From Assessment to First Harvest
Assess, design, then build—don’t skip ahead. Test heat, humidity, and light before plants move in.
Begin with a calm, practical review of the existing structure, then sequence work so repairs and systems go in before finishes. Walk the building, note low spots, and list items that shape your plans. This order saves time and keeps plants safe when you finally bring them inside.
Assess existing structure, foundation, and roof
Step 1: Inspect the foundation for level, drainage, and frost heave; correct base issues first. Block-on-grade supports often settle—fix the base before you raise floors or benches.
Step 2: Check framing for square, rot, and corroded fasteners. Repair or replace damaged members before adding glazing or shelving.
Plan utilities, ventilation, and glazing before demolition
Step 3: Evaluate roofing and flashing; failed roll roofing usually means full replacement and upgraded flashing details.
Step 4: Design utilities — dedicated circuits, GFCI protection, lighting zones, and control locations — before you close walls or vapor barriers.
Step 5: Size ventilation (ridge/gable vents or fans) and include operable windows to dump summer peaks without drafts on seedlings.
Build, seal, and test systems prior to moving plants
Step 6: Choose glazing with UV stability and anti-drip features; follow manufacturer fastening and sealing details for long life.
Step 7: Install layered weatherproofing — tapes, flashings, and compatible sealants — to shed water at every joint.
Step 8: Commission systems: run heaters, fans, and lights for several days and log temperature and RH swings.
Step 9: Set benches, storage, and workflow paths; hang tools and label zones for easy routines.
Step 10: Move plants only after conditions are stable; adjust shade and vent settings as seasons change.
“Assess, design, then build. Testing systems before you populate the space prevents plant loss and rework.”
Conclusion
Do the right work once: pick a dry site, build a stable base, ventilate generously, and seal every joint. Do the right work once and your greenhouse will reward you every season.
Finish by testing systems and keeping a simple care plan.
Start with legal checks — permits, property lines, and HOA rules protect your time and wallet.
Choose a foundation that won’t settle so doors and glazing stay square.
Plan power, lighting, and ventilation early to control moisture and protect tools.
Pick roofing and glazing for UV and leak resistance, and keep wood off wet ground with proper flashing.
Follow this practical guide and steady DIY effort, and your home project will grow into a reliable, productive space.