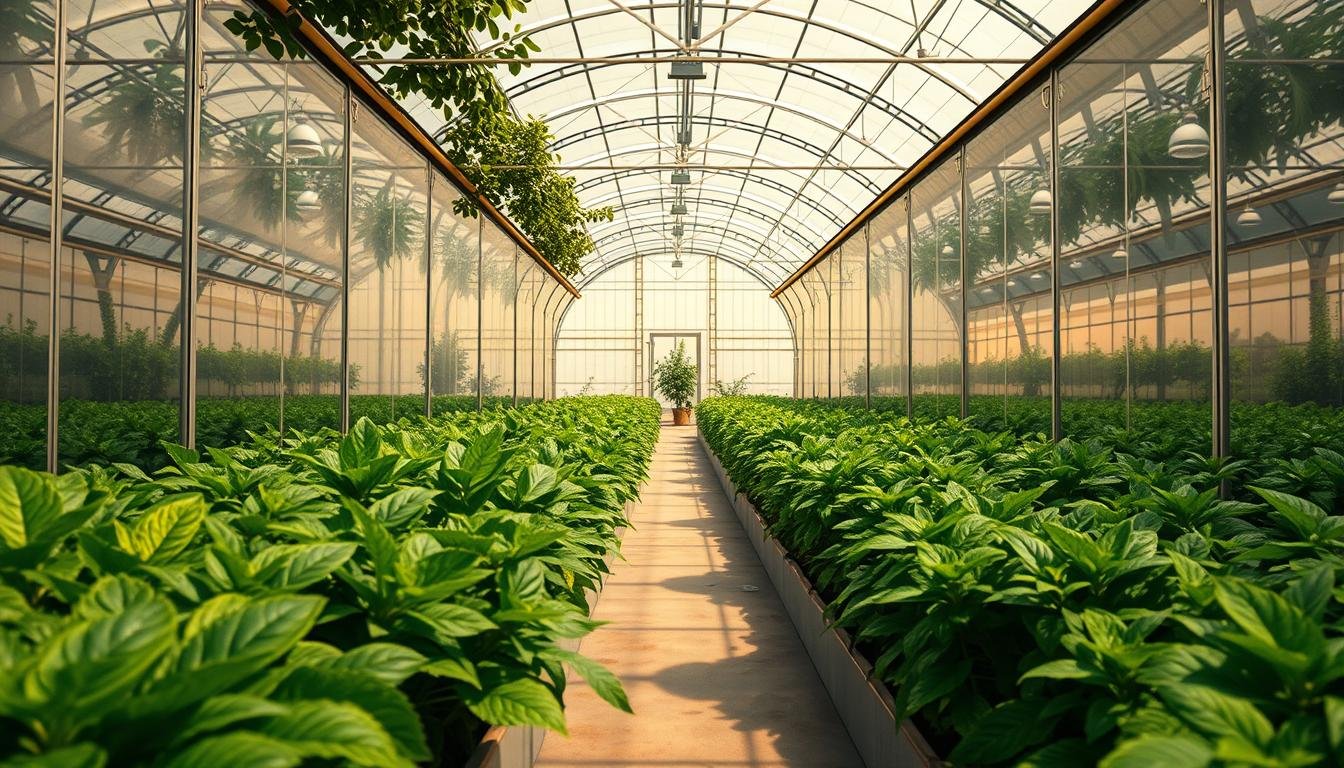
Curious if a cheap surface tweak can boost yields without adding lamps or raising bills? This guide shows how smart use of surfaces sends more usable light to leaves and lower canopy.
Proper reflection can deliver up to about 30% more light to leaves without extra energy use. In contained grow areas, mirrors and crumpled foil often fail; purpose-made films and flat white paint keep light close and even.
Why this matters: energy costs are high, and more usable illumination means healthier plants and fuller harvests with no new fixtures. Small fixes—smooth surfaces, hammered textures, and good ventilation—prevent hot spots and trapped heat.
We’ll cover simple sun-mapping, how to pick materials, installation tips to avoid creases, and how a lux meter proves your gains. Whether you tend a greenhouse or an indoor tent, these steps are practical and low cost.
Key Takeaways
- Reflective surfaces can push more usable light to lower canopy and boost yields.
- Proper materials matter: avoid mirrors and wrinkled foil; consider mylar, Foylon, or flat white paint.
- Good installation and ventilation stop hot spots and trapped heat.
- Use a lux meter at canopy level to verify real gains and avoid light saturation.
- This is an energy-smart, approachable solution for greenhouse and indoor growers alike.
Why Reflective Walls Are a Game-Changer for Greenhouses and Indoor Grow Rooms
Smart surfaces help your equipment and sunlight do more work without extra electricity. They bounce usable illumination back into the canopy, raising uniformity and yields across a bed or tray.
Smart surface choices push light back into the canopy so fixtures and sun do more work for you. In compact tents and tight grow rooms, containing stray rays often adds up to ~30% more usable light at leaf level.
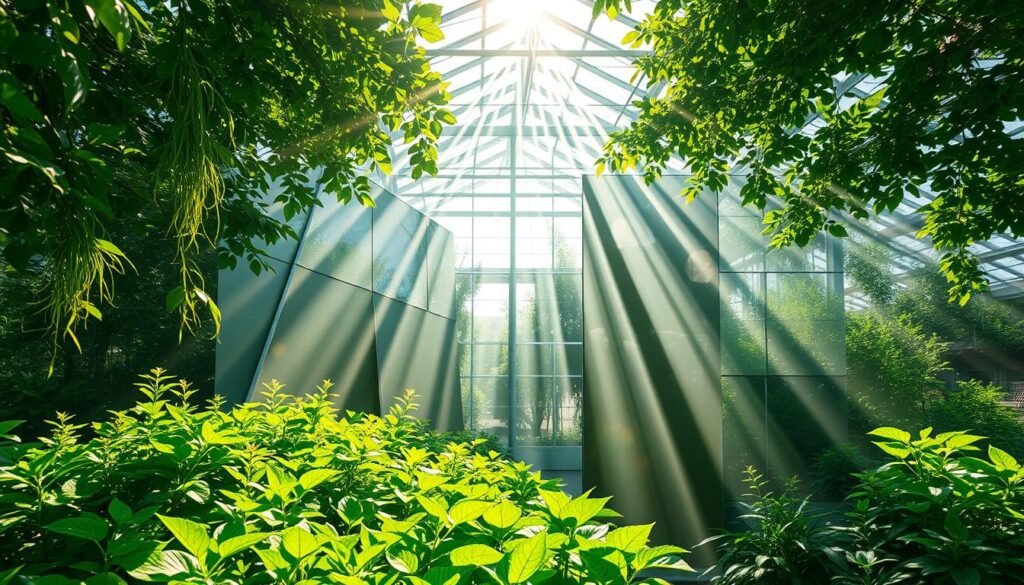
- Reflective surfaces help your plants get more of the light you already have, reducing shadows and lifting edge performance so more of your space performs like the center.
- In today’s energy-conscious world, this is a high-ROI upgrade: reflection recycles photons, so your energy bill stays steady while canopy brightness rises.
- Practical limits: outdoors under strong sunlight you may see smaller gains, but in shaded or urban sites reflection adds warmth and valuable extra light for fruiting crops.
Quick action: make sure surfaces near the canopy are light, clean, and close to maximize impact. For more gear and layout ideas that pair well with these tips, check this compact setup guide.
The Science of Reflected Light, Plant Energy, and Growth
Reflection redirects usable photons back into the canopy, raising photosynthetic output without extra electricity. Good surface choice and enclosure design lift PPFD and uniformity across your beds.
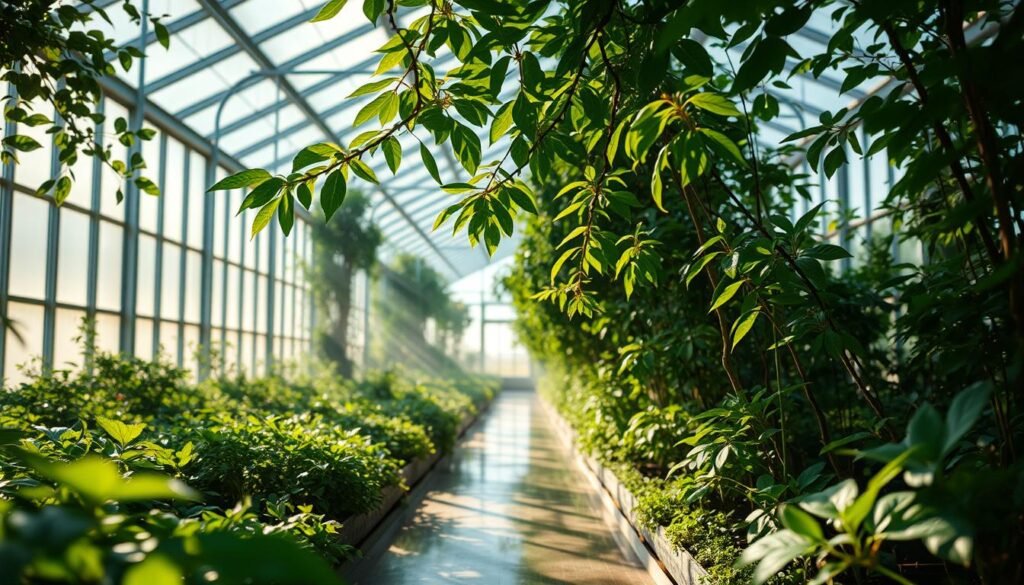
How reflected light increases PPFD and usable energy
Side-spill redirected by quality surfaces boosts the photosynthetic photon flux density at leaf level.
Reflection boosts PPFD at the canopy by redirecting side-spill back into leaves, so more photos are captured per watt. That is why better surfaces lift performance at the same power draw.
Lux vs. lumens vs. spectrum: measuring what plants actually get
Use lux at canopy height to measure received brightness. Lumens rate lamp output; lux shows what the surface gets.
Typical ranges: <15,000 lux = weak; 15,000–50,000 = good veg; 45,000–70,000 = optimal flowering; >85,000 risks saturation unless CO2 is managed.
Edge effect: keeping photons near the canopy
Enclosing the grow room reduces distance losses and raises uniformity. Bright side surfaces lift perimeter light so the whole area performs more like the center.
Hammered or stippled finishes scatter light and avoid hot spots. Mirrors often create harsh focal points and light heat, so prefer textured films or flat coatings.
| Metric | What it means | Practical target | Why it matters |
|---|---|---|---|
| Lux | Brightness on the canopy | 15k–70k depending on stage | Shows actual amount light reaching leaves |
| PPFD | Photons per second per area | Measure with a PAR meter | Directly ties to photosynthesis |
| Surface finish | Texture and reflectivity | Hammered/flat white or quality films | Reduces hot spots, raises uniformity |
| Enclosure | How contained the area is | Closed tent or room | Keeps photons near the canopy for more efficient use |
Assess Your Current Light: Sun Mapping and Simple Measurements
Start by clocking how many hours of direct sun hit your growing space on a clear day. Then use a simple lux meter to map brightness at canopy height so you know where upgrades matter most.
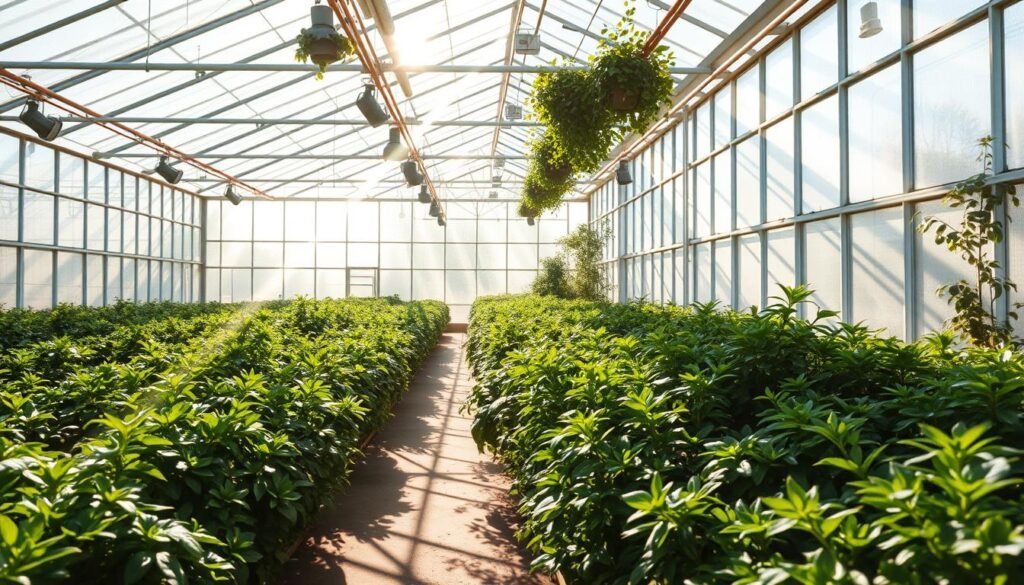
Time your direct sun and log morning vs. afternoon
Start early and note when sunlight reaches each bed. Record the time and whether exposure is morning or afternoon.
Log seasonal shifts too. Urban sites often benefit from south-facing, light-colored surfaces that add warmth and useful bounce.
Use a light meter to baseline light levels across your area
Measure at canopy height across multiple points. A lux meter shows the actual amount of brightness plants receive.
- Take readings: sample center, edges, and corners to spot the edge effect and the difference between spots.
- Add fixture baselines: switch on your grow lights and take another pass to compare direct vs. reflected readings.
- Make sure the sensor faces up and you record time, weather, and whether curtains or vents were open.
If most readings fall below veg or bloom targets (15k–50k and 45k–70k lux), a change in reflective materials or enclosure layout will lift canopy brightness into a healthier range. Readings above 85,000 lux risk saturation unless CO2 and ventilation are managed.
Can reflective walls really improve plant growth
Upgrading interior surfaces often sends a notable share of stray photons back into the canopy, lifting brightness without extra wattage. That extra usable light commonly boosts delivered light to plants by up to about 30% when a space is well contained and finished correctly.
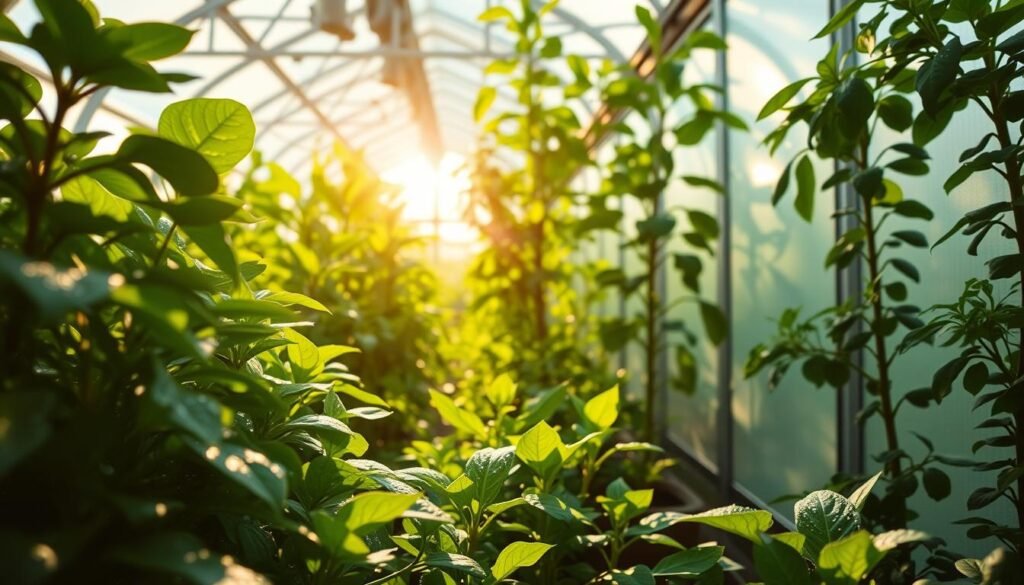
How it works: reflected light fills shadows and raises brightness at lower and edge sites. In a tight grow room or tent, this effect is strongest because distance losses drop and side spill returns to leaves.
- Real gains: growers report up to ~30% more usable light after upgrading surfaces.
- Material notes: flat white, hammered finishes, and quality films spread light evenly. Mirrors and crinkled foil often create hot spots and uneven output.
- Quick plan: prioritize surfaces nearest the canopy, then validate with a lux or PAR meter to prove the amount light plants receive.
| Scenario | Expected change | Why it matters |
|---|---|---|
| Compact grow room | +20–30% delivered light | Evens canopy, lifts perimeter PPFD |
| Greenhouse with shaded sides | +10–25% at edges | Reduces shadows during low sun angles |
| Full-sun outdoor bed | ~0–10% net gain | Less impact where direct sun dominates |
Want detailed specs on light reflectivity and materials? See this light reflectivity guide to match options to your indoor setup.
Choosing the Right Reflective Materials for Your Space and Budget
Pick a surface that balances bright return, durability, and safe heat behavior for your grow room. Different materials suit tents, painted rooms, and temporary setups—choose by how you ventilate and how close surfaces sit to the canopy.
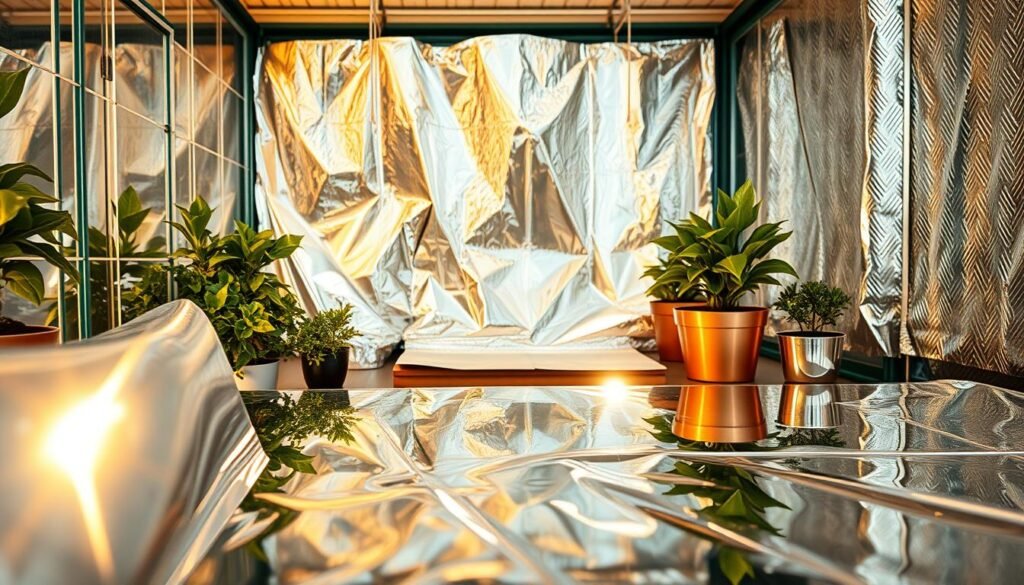
Premium and durable choices
Grow tent interiors with hammered texture give even diffusion and wipe clean well. Orca film (90–94% reflectivity) scatters light and resists mold but may retain heat, so plan airflow.
Foylon reflects about 95% of light and blocks ~85% of heat; mount flush with Velcro to avoid air gaps and hot spots. Mylar (92–97% when pristine) is affordable but creases easily; use thicker rolls and smooth installation.
Budget and semi-permanent options
Flat white paint is inexpensive, diffuses light, and soaks up some heat—avoid glossy finishes. Elastomeric coatings reflect strongly and add mildew resistance on varied surfaces.
Temporary fixes and what to avoid
Panda film (black/white poly, 6 mil) gives a reversible, light-blocking option for short-term use. Emergency blankets reflect ~70% and work in a pinch but crease and may create hot spots if not flush.
Avoid mirrors and crumpled foil; mirrors make harsh bright points and foil drops to ~55–60% when wrinkled and can be risky near HID fixtures. Styrofoam is flammable and not suitable for hot HID rooms.
| Material | Reflectivity | Durability / Notes |
|---|---|---|
| Grow tent (hammered) | Good (even diffusion) | Easy to clean, limits hot spots; plan ventilation |
| Orca film | 90–94% | Scatters light, mold-resistant, may trap heat |
| Foylon | ~95% | Durable, wipe-clean; mount flush with Velcro |
| Mylar | 92–97% (pristine) | Affordable; avoid creases; use thicker rolls |
| Flat white paint / Elastomeric | High (~85–90%) | Permanent, diffuses light, elastomeric adds mildew resistance |
| Panda film (6 mil) | Good on white side | Temporary, black side blocks light; easy to hang/remove |
| Emergency blanket | ~70% | Last-resort; crease-prone and may create hot spots |
Bottom line: choose materials that balance reflectivity, heat behavior, and durability for your specific grow room. For details on choices for a cannabis grow room, see this guide to reflective materials.
Installation That Works: How to Reflect Light Without Creating Hot Spots
A clean, smooth finish reflects usable light evenly and keeps hot spots from forming near fixtures. Good mounting and gentle transitions matter as much as the chosen material.
Start by making sure surfaces are flat, close to the canopy, and free of dust. Small folds or bubbles reduce return and risk creating hot spots where light concentrates.
Prepare surfaces and mount flush
Wipe dust, fill holes, and level the area so films and coatings sit flat. Use Velcro strips or clean fasteners to hold material tight.
Tension, corners, and texture
Gently stretch films from the center outward to remove air bubbles. Prefer radius corners or trim pieces rather than sharp 90° bends.
Hammered or stippled textures scatter light across the canopy and reduce bright points that create hot spots.
Placement and care
Keep reflective surfaces close to the canopy footprint so photons stay in the grow room instead of escaping to the side.
Inspect for sagging, tears, or dirt and clean regularly. Never drape films over hot fixtures; that risks heat build-up and damage.
“Smooth, clean, close-to-canopy surfaces reflect more light evenly and reduce risk of hot spots.”
| Practice | Why it matters | Tip |
|---|---|---|
| Flush mount | Prevents air gaps and glare | Use Velcro |
| Gentle curves | Even distribution | Install radius trim |
| Texture choice | Reduces bright points | Choose hammered finish |
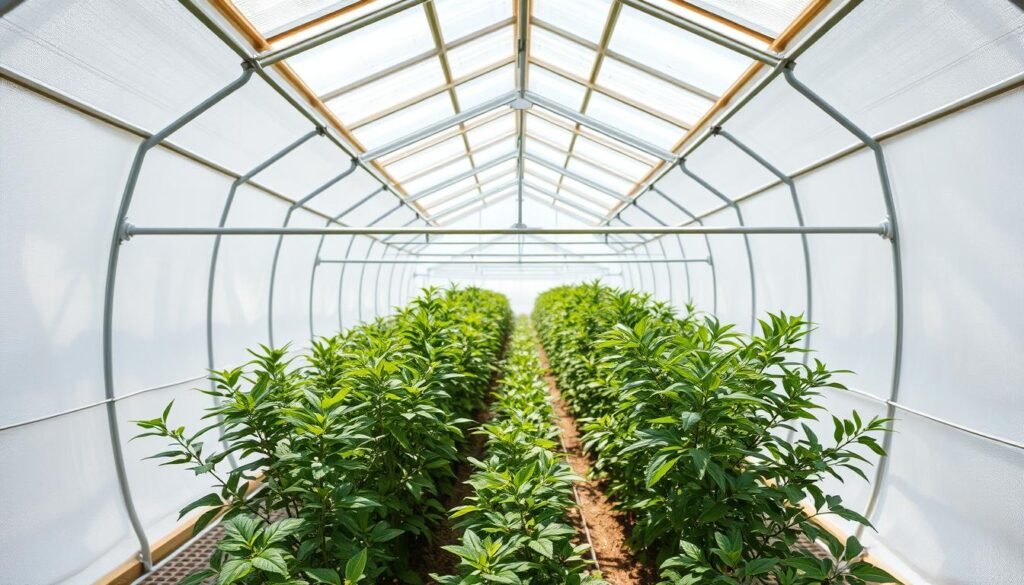
Heat Management 101: More Light, Not More Heat
Bright interiors lift usable light at canopy level, but they also shift how your room handles warmth. Pick surfaces and airflow that suit your climate so extra light doesn’t turn into a heat problem.
Bolder films like Mylar, Foylon, and Orca return lots of light and hold radiant warmth. In cool basements or a chilly greenhouse, those films help retain useful heat. In a hot tent, they add unwanted temperature rise.
Materials that reflect light but also trap heat
Mylar, Foylon, and Orca reflect intensely and reflect radiant heat back into the space. Emergency blankets and mylar sheets act similarly. If you use these, increase exhaust capacity and monitor temps near fixtures and corners. Avoid loose aluminum foil; it creases and makes hot spots.
Flat white paint to reflect light while absorbing some heat
Flat white paint sends back a lot of usable light but soaks a bit of heat. That makes temperature control easier when your grow room skews warm. It cleans well and lowers glare, a practical choice for many growers.
Ventilation tips to prevent hot spots and heat buildup
Size exhaust fans to swap air often. Vent at the highest point and keep intake filtered. Use circulation fans to even temps and monitor canopy thermometers at center and edge. Raise fixtures during spikes and boost night exhaust to protect plants.
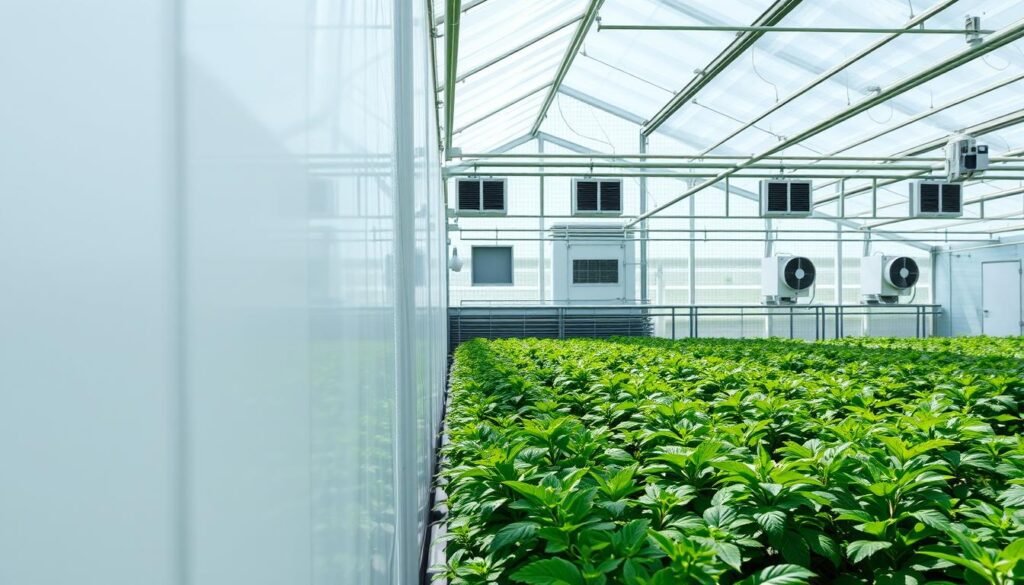
| Material | Light return | Heat behavior |
|---|---|---|
| Mylar | High | Retains radiant heat; needs extra exhaust |
| Foylon / Orca | Very high | Durable; traps warmth—good for cool sites |
| Flat white paint | High | Absorbs some heat; easier temp control |
Grow Tents vs. Painted Rooms vs. Films: Picking the Best Solution
Choose the enclosure that fits your climate, budget, and how much setup time you want. Each option balances reflectivity, heat behavior, durability, and ease of cleaning—pick what fits your grow room and routine.
Choose a grow tent when you need a compact, turnkey area. Hammered interiors scatter light evenly. Built-in ports simplify exhaust, filtration, and cable runs in a tight grow room.
Painted rooms: low-fuss, steady performance
Flat white paint gives bright, diffuse reflection with minimal hot spots. It soaks some heat, which helps in warm climates and makes temperature control easier.
Films and plastics: flexible upgrades
Use Orca or Foylon for durable, wipe-clean surfaces. Thicker mylar works for budget installs. Choose panda film when you need a removable, light-blocking partition—black side blocks light; white side returns it.
- Space planning: tents contain light best in tight areas; paint wins in larger rooms.
- Heat note: tents and high-reflectance films retain warmth—size up ventilation.
- Safety tip: avoid using aluminum foil near hot fixtures; purpose-built options protect equipment and plants.
| Option | Key benefit | Best for |
|---|---|---|
| Grow tents | Easy setup, hammered interiors | Small area, controlled exhaust |
| Painted room | Stable, low-maintenance | Large area, steady temps |
| Films (Orca/Mylar/Panda) | Flexible, high reflectivity | Temporary or modular installs |
Outdoor and Urban Hacks: Use Walls, Windows, and DIY Reflectors
A bright stucco wall or a south-facing window acts like a free reflector for balcony and backyard plots. These surfaces add warmth and bounce usable sunlight into shaded beds during key hours.
Leverage existing surfaces first: map south-facing facades and glass that catch sun. Light-colored stucco stores gentle heat and shelters beds from wind, extending productive hours in cool mornings and evenings.
Simple, low-cost reflectors that work
Use a white-painted board or sheet metal to bounce light to the darker side of your crops. These are sturdy, easy to angle, and safe near mulch and wooden frames.
Foil-covered cardboard or emergency blankets work in a pinch but crease and lose efficiency. Avoid placing loose aluminum foil near warm areas; creases and gaps may create hot spots.
Placement and safety basics
- Map your site: place panels where side light will hit leaves without glare.
- Rotate seasonally: tilt reflectors as the sun shifts to keep the bounce aimed at the canopy.
- Safety first: mirrors or glass may focus beams and create fire or burn risk—do not aim intense reflections at foliage or dry mulch.
| Option | Practical use | Notes / Cautions |
|---|---|---|
| Light-colored stucco / south window | Passive reflector + warmth | Best long-term; shelters from wind |
| White board / sheet metal | Durable DIY reflector | Stable; easy to angle; safe near heat |
| Foil-covered cardboard / emergency blanket | Temporary, low-cost | Prone to creasing; may create hot spots if not flush |
Measure the Difference: Light Meter Steps to Prove Your Gains
A small lux meter tells the story: measure before and after to quantify how much brighter your canopy gets. Repeatable readings remove guesswork and show the real difference that surface changes make.
How to compare direct vs. bounced readings
Map 6–12 points at canopy height and log each reading at the same time of day. Use the same meter orientation and height for every pass to keep results valid.
To isolate reflected light, hold an opaque board to block direct beams and read only the bounce from the surface. Keep the sensor distance constant for both direct and bounce tests.
Targets, control checks, and what to watch for
- A $20–$40 lux meter shows exactly how much brighter your canopy becomes with better surfaces.
- Aim for veg at 15k–50k lux and flower at 45k–70k; above ~85k lux risks saturation unless you add CO2 and manage heat.
- Make sure meter orientation, time, and height remain identical between tests. Track edges and corners where reflection often lifts values most.
- Watch for creating hot spots: a few very high spikes mean you should adjust angles or soften a shiny patch (avoid loose aluminum foil or wrinkled foil near fixtures).
- With grow lights, retest after changing bulbs or fixture height to keep the amount light plants receive within target ranges.
| Step | Why | Tip |
|---|---|---|
| Baseline map | Shows starting uniformity | 6–12 grid points |
| Install surfaces | Raise minimum readings | Clean, smooth, tight mount |
| Repeat map | Measure the difference | Same time of day |
Conclusion
Upgrading interior surfaces often turns stray side light into measurable gains — sometimes up to ~30% more delivered light. Choose materials to match your climate: flat white paint in hot rooms, and Orca, Mylar, or Foylon where you can manage extra warmth.
Summary: smooth, clean, close surfaces reduce hot spots and lift uniformity. Use a lux meter to verify the amount change and keep readings in healthy ranges for veg and bloom.
Quick tips: skip mirrors and aluminum foil — they cause hot spots. Use a grow tent for compact setups to simplify exhaust with your grow lights. Start by upgrading the nearest wall; that one change often sets the tone for the whole space.