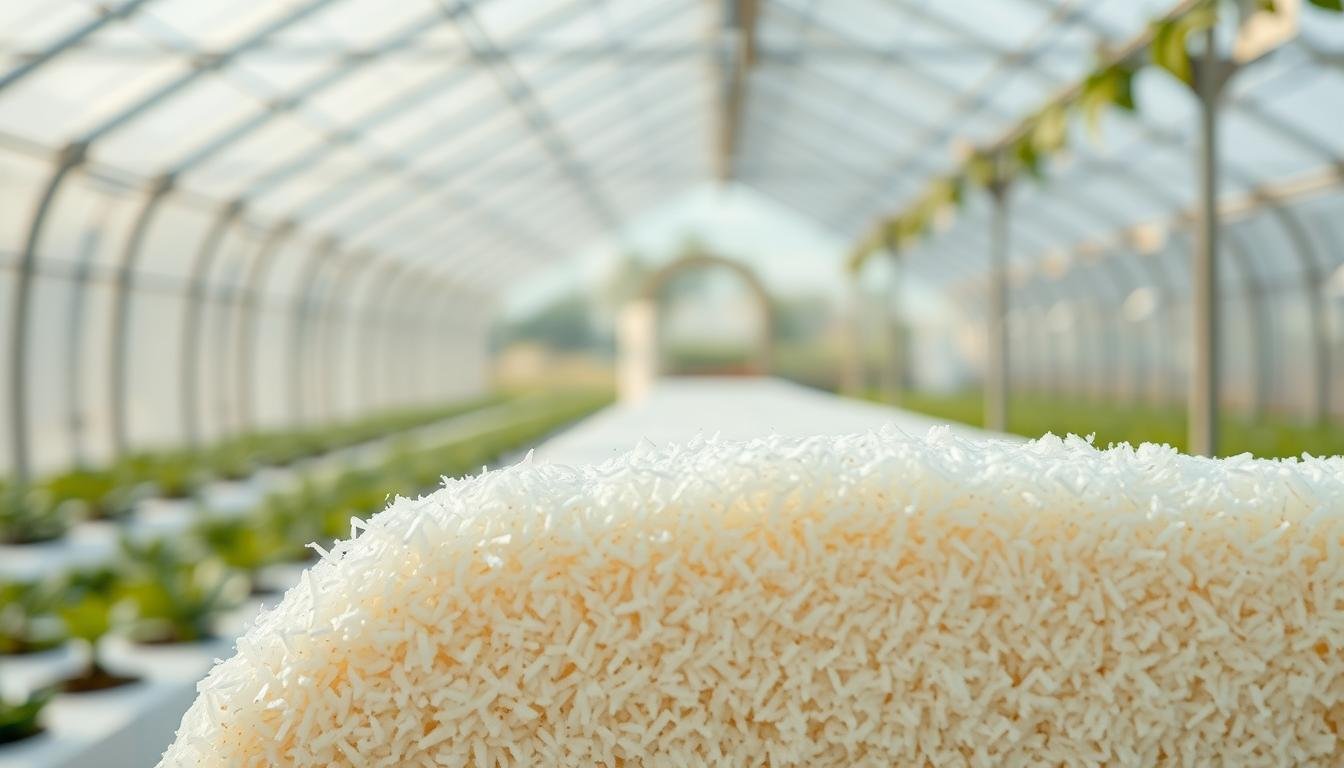
Can a simple cover or foil really save a winter crop when temperatures plunge? That question pushed us to run a head-to-head night trial and focus on real, usable results for growers.
We compared common options—twin-wall polycarbonate, double poly film, bubble wrap, and reflective foil—under a subfreezing sky. Each material showed different advantages for heat retention, light diffusion, and long-term energy savings.
Practical metrics like R-value, air sealing, and overnight heat loss guided our assessment. Twin-wall at 8 mm and an inflated double film stood out for their high r-value potential. Bubble wrap cut heating costs and kept light soft, while reflective foil excelled on cold north walls.
Want the full breakdown and clear recommendations by budget and size? Read our detailed notes and compare options that boost plant health and harvest quality at keep greenhouse warm in winter.
Key Takeaways
- R-value matters: thicker or layered covers trap air and hold more heat.
- Cost vs. gain: bubble wrap can cut heating bills up to ~35% for small fixes.
- Placement counts: reflective foil works best on cold, north-facing walls.
- Automation helps: curtains or automated barriers reduce overnight heat loss.
- Choose by need: pick solutions by greenhouse size, budget, and light needs.
Why Insulation Matters for Winter Greenhouses Right Now
Insulation reduces heat loss so your heaters work less and your plants see steadier temperatures. Air layers and double glazing are the simplest, most reliable forms of thermal insulation for sites facing repeated cold fronts.
Many growers rely on trapped air to hold both heater-supplied warmth and daytime solar gain. Double glazing designs—like twin-wall panels or inflated double film—raise R-value and cut overnight losses.
In winter, heat drains away fastest after sunset; a good cover slows that drop and prevents stressful temperature swings for seedlings and fruiting crops.

- By reducing conductive and radiant loss, insulation helps protect young starts from subfreezing shocks.
- Lower energy use means lower utility bills and smaller heating loads during long cold spells.
- Benefits compound: heaters cycle less, humidity steadies, and overall plant quality improves.
- Key factors to weigh include local low temps, wind exposure, cladding type, and system capacity.
Often, adding thermal insulation or simple interior covers is faster and cheaper than upsizing heaters. Small upgrades like bubble wrap on interior bays can shave meaningful energy costs during the coldest weeks.
How We Ran the Freeze Test and Measured Performance
We ran an overnight freeze with identical heaters and data loggers so every cover faced the same cold challenge. We tracked interior and exterior temperatures, heater runtime, and overnight heat loss to rank results fairly.
Test setup: structure, sensors, and overnight profile
One freestanding structure used the same heating system and thermostat setpoint. Benches and crop stand-ins matched thermal mass for realistic results.
Multiple data loggers sat at canopy height and near the cold wall to record temperature gradients and peak loss periods.
Metrics that matter: R-value, air sealing, and heat transfer
R-value indicates thermal resistance and equals thickness divided by conductivity; higher values slow heat flow. We compared R per inch and measured effective resistance in situ. Twin-wall (8 mm) reached R-1.72 and double poly with inflation reached R-1.5. Reflective foil cut radiant heat transfer up to 95% while bubble wrap showed notable cost savings.
| Option | R-value | Radiant Control | Installation Time | Seasonal Costs Impact |
|---|---|---|---|---|
| Twin-wall polycarbonate (8 mm) | R-1.72 | Moderate | Moderate | Low to moderate |
| Double poly film (inflated) | R-1.5 | Good | Moderate | Moderate |
| Reflective foil | Low (but high radiant control) | Up to 95% | Quick | Low |
| Bubble wrap | Variable | Limited | Quick | Can cut heating costs ~35% |
Cost, installation time, and durability as tie-breakers
We scored ease of air sealing, handling under condensation, and expected lifespan. Small leaks and poor seals changed heat loss more than a small R bump.
The Shortlist: Four Greenhouse Insulation Materials We Put to the Test
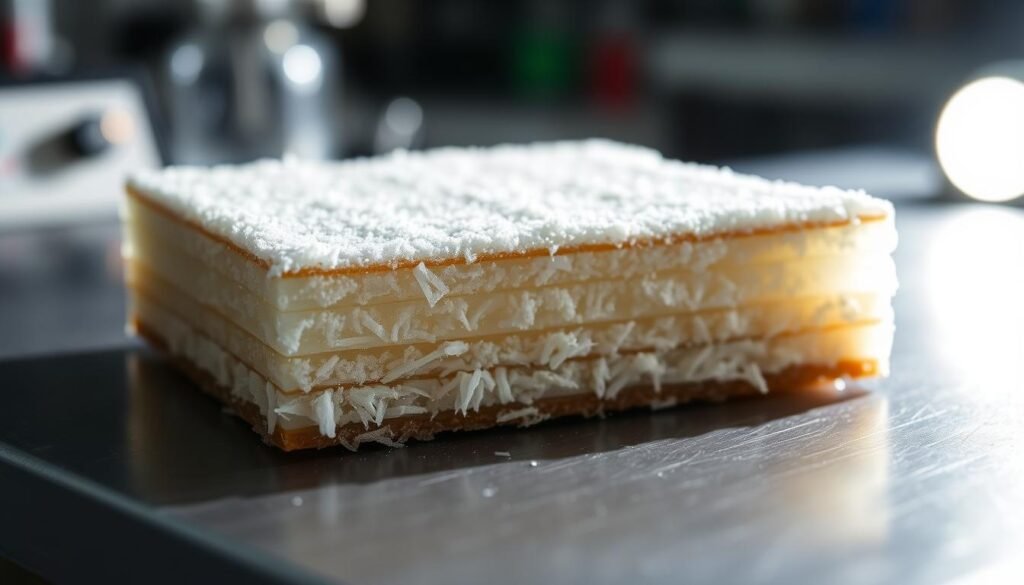
We narrowed the field to four practical covers and panels that gardeners can buy or retrofit right away. Each choice matches a common budget and installation style, so you can pick what fits your structure and goals.
We reviewed common insulation materials and retrofit paths. Below are the short descriptions and key benefits for quick comparison.
Bubble wrap (clear horticultural)
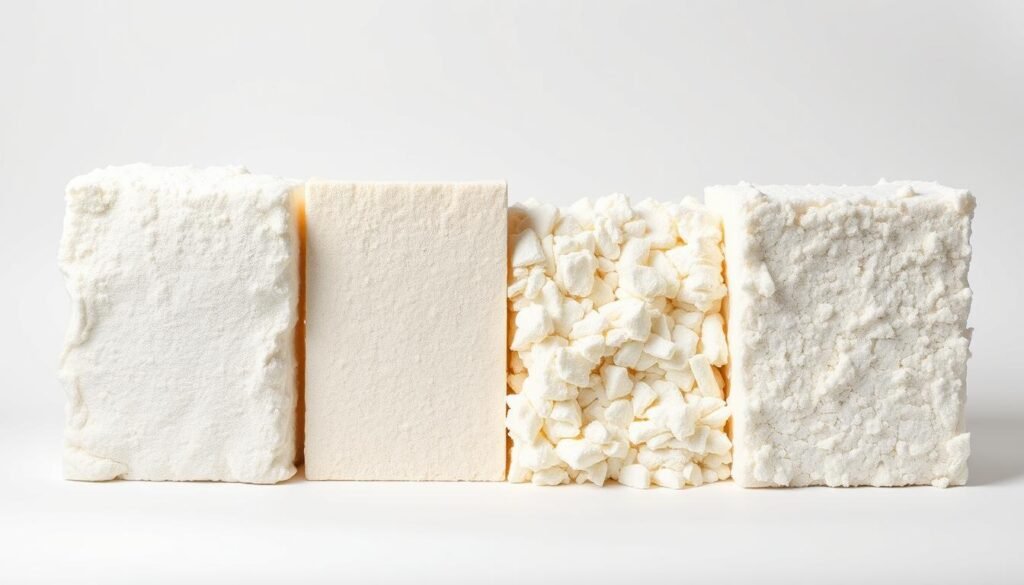
Clear horticultural bubble wrap creates tiny air pockets that slow conductive loss and keep light soft. It can cut heating costs by up to 35% and is quick to install as a seasonal cover.
Thermal foil (reflective radiant barrier)
Reflective foil, also known as a radiant barrier, targets radiant heat loss and can reduce transfer by about 95% when placed on cold walls or under benches. It’s a low-cost way to tackle nighttime radiation loss.
Double poly film with inflation
Double poly uses two polyethylene layers with a small blower to hold an air gap. When inflated, it reaches roughly R-1.5 and adds useful thermal insulation without heavy framing.
Twin-wall polycarbonate retrofit panels
Twin-wall polycarbonate (8 mm) offers about R-1.72, strong diffusion, and UV protection. It’s a structural upgrade that lasts longer and improves light quality for winter crops.
- We chose widely available options so results translate to most setups.
- Each option can retrofit common frames and suits either seasonal fixes or longer-term upgrades.
- These choices represent different mechanisms—conduction, convection, and radiant control—so comparisons are meaningful.
Bubble Wrap Insulation: Affordable Air Pockets, Solid Savings
Clear horticultural bubble wrap traps air pockets that slow heat loss and soften harsh winter light for uniform growth.
It’s a quick, low-cost upgrade with measurable heating savings—often up to 35% in winter.
Clear horticultural wrap works by holding tiny air layers against your cladding. It reduces overnight temperature swings and spreads light so plants avoid hot spots and cold corners.

How does it perform in a freeze and affect light?
In our overnight trial, the wrap stabilized canopy temps compared to single panes. Diffuse transmission kept work light usable while supporting even canopy growth.
How should I install it and which thickness should I pick?
Cut to fit, secure with clips or tape, and seal edges tightly. Larger bubbles add thermal effect without heavy loss of visibility. Horticultural grade lasts through moisture and can stay up year-round if needed.
| Bubble Size | Practical R-effect | Notes on cost & quality |
|---|---|---|
| 6–8 mm | Low–Moderate | Best visibility, low cost, seasonal use |
| 12–14 mm | Moderate | Better thermal gain, slightly higher cost, good for tunnels |
| 20 mm | Higher (for non-structural) | Strong air pockets, less transparency, replace every few seasons |
Benefits: low upfront cost, easy fit, and fast deployment before a cold snap. Pair with tight seals around doors and vents for best results.
For a wider comparison of retrofit options and how they stack up by cost and durability, see best materials for insulating your greenhouse.
Thermal Insulation Foil: Radiant Heat Control on the Cold Wall
Reflective foil redirects radiant energy back toward the canopy, cutting nighttime heat loss without blocking daylight. Place foil where radiant exchange is greatest and you’ll see faster morning warm-up and less heater cycling.
Reflective foil targets radiant heat transfer—the often-overlooked loss on cold, clear nights.

Reflectivity, fungus resistance, and best placement strategies
95% effectiveness at reducing radiant exchange makes foil a high-impact option for the north wall and under benches. It resists fungus and mildew, so humid winter cycles won’t wreck the barrier.
“Line the cold wall and bench undersides to form a radiant protection layer that keeps heat in the canopy.”
How it complements existing cladding and benches
Benefits: foil conserves interior warmth while leaving south-facing glazing to harvest sun. It pairs well with bubble wrap or inflated film for hybrid gains.
- Handling: lightweight, staple or clip; seal seams to avoid convective bypass.
- Placement: north wall and bench undersides give biggest returns without reducing light.
- Practical tip: avoid covering sun-facing panes; focus protection where radiant loss is highest.
| Feature | Effect | Ease |
|---|---|---|
| Reflectivity | Up to 95% radiant reduction | Quick |
| Moisture resistance | Fungus & mildew resistant | Low maintenance |
| Compatibility | Works with clear cladding and bench setups | Easy to install |
For a deeper look at radiant barriers in buildings, see does a home need a radiant.
Double Poly Film: Inflated Air Layer for Better R-Value
Two layers of film with an air gap create a reliable insulating cushion that boosts effective R-value. With proper inflation and settings, you can reach up to R-1.5 while keeping roughly 90% light transmission.
How the system works and what to watch for
A small blower holds the cavity open so the cover behaves like a soft panel. The steady air pressure prevents flutter and keeps thermal resistance stable through the night.
Durability, light, thickness, and costs
- Higher r-value without rigid panels: inflated film offers a better R than single film at a fraction of rigid glazing costs.
- Light quality: about 90% transmission; diffusion options soften winter sun.
- Thickness and grades: choose UV-stabilized film for multi-season life; heavier film boosts longevity and tear resistance.
- Maintenance: inspect seams, inflation lines, and anchors; plan power backup for the blower.
In our night trial, temperature swings narrowed and heater runtimes dropped versus single-sheet controls, making this a practical upgrade for growers seeking scalable gains with modest upfront costs.
Twin-Wall Polycarbonate: Structural Upgrade with Higher Thermal Resistance
Rigid twin-wall polycarbonate provides a structural insulation upgrade with excellent thermal resistance. At 8 mm, panels can reach up to R-1.72, offering one of the highest practical high r-value options for hobby and small commercial frames.

Panel thickness options and up to R-1.72 at 8 mm
Available thicknesses—4 mm, 6 mm, and 8 mm—let you match performance to budget and build strength. Thicker panels trap larger air channels that cut conductive loss and raise effective resistance.
UV protection, diffusion, and impact on winter crop quality
Internal channels diffuse light for even canopy growth and protect seedlings from hot spots. UV-stabilized surfaces keep clarity and crop health under low winter sun angles.
- Durable material: impact resistant against hail and wind.
- Long-term value: higher upfront cost but longer service life and lower heater runtimes.
- Installation note: check framing load and use proper seals to prevent convective bypass at the wall and joints.
Freeze Night Results: Ranking Performance, Energy Use, and Heat Retention
Overnight data traced heat escape and recovery, making it clear which covers kept canopy temps steadier. The top performers cut heater runtime and lowered energy draw while softening overnight swings.
Overnight logs showed peak loss near dawn. Materials that trapped air or reflected radiation held setpoints best.

Temperature stability curves and peak heat loss periods
Graphs revealed early-morning dips as the largest drop in temperatures. Twin-wall assemblies showed the smallest troughs.
Double poly with inflation narrowed swings and reduced heater cycles. Bubble wrap and reflective foil cut targeted losses at walls and benches.
Winner analysis and why it outperformed in subfreezing temps
Twin-wall polycarbonate held the tightest temperature band and logged the least heater runtime. Its higher effective resistance (R-1.72 at 8 mm) kept radiant and conductive loss low and stabilized the microclimate.
Double poly with inflation trailed closely, delivering strong energy savings at lower cost (up to R-1.5). Reflective foil reduced radiant loss at the north wall, while bubble wrap trimmed heating bills when used internally.
| Cover | Effective R | Key strength | Energy impact |
|---|---|---|---|
| Twin-wall polycarbonate (8 mm) | R-1.72 | Best thermal resistance and diffusion | Lowest heater runtime |
| Double poly (inflated) | R-1.5 | Good air trapping at lower cost | Strong energy savings |
| Bubble wrap | Variable | Easy, low-cost interior add-on | Reduces heating costs on small scales |
| Reflective foil | Low (high radiant control) | Cuts radiant loss on cold walls | Helps morning recovery |
tested 4 insulation materials greenhouse—this one performed
In our night trial, twin-wall polycarbonate proved the best at holding heat through a sustained freeze. Double poly with inflation gave the best value for growers who want large gains without major framing work.
Quick decision tip: choose a primary insulation layer that matches your typical low temps, then add targeted covers where heat leaks most.
Fast takeaways:
- Twin-wall polycarbonate (8 mm, up to R-1.72) delivered the tightest overnight temperature band and the lowest heater runtime.
- Double poly film (inflated to ~R-1.5) offered strong thermal performance at a lower cost and with easier retrofit.
- Bubble wrap gave a quick fix that preserves light while cutting heating bills up to 35%.
- Reflective foil works best on cold walls and under benches to reduce radiant losses.
Our performance results reflect normal handling, seams, and doors. Expect better outcomes when you seal edges and reduce drafts. When weighing any insulation material, balance install time, budget, and how often you face hard freezes.
Practical way forward: start with a main layer now and add bench or wall barriers before the next deep freeze. For DIY urban setups and step-by-step retrofit ideas, see our interactive guide at build-your-499 urban greenhouse.
Beyond the Four: How Other Insulation Materials Stack Up
Some high-performance products pack much more resistance into a thinner profile, and that matters where frame depth is tight. Advanced and conventional options can supplement your setup, but not every building product fits humid, glazed interiors.
Are aerogel blankets worth the cost?
Aerogel delivers roughly R‑10.3 per inch thickness, so a very thin layer adds big thermal gains. It stays light and manages moisture well.
Drawback: price runs higher (~$2 per sq ft per inch), so use aerogel where space is limited or for door and vent covers.
How do conventional building products compare?
Rigid foams and spray options give high R per inch. Closed‑cell polyurethane can reach about R‑6.3 per inch. EPS and XEPS panels sit near R‑4 and R‑5.5 respectively.
Fiberglass ranges about R‑2.9–3.8 per inch, cellulose around R‑3.1–3.7, and mineral wool about R‑2.8–3.5 per inch. Icynene spray foam seals gaps at roughly R‑3.6 per inch.
Where to place these materials
Use fiberglass or mineral wool for kneewalls and end walls, but be careful of compression and wetting. Cellulose offers recycled content but can settle and hold moisture.
Polyurethane and polystyrene panels work well for foundation skirts and equipment rooms. Ventilation matters when using spray foams to control off‑gassing.
- Bold summary: Consider R‑values per inch, moisture behavior, and installation realities before adapting building products to a glazed structure.
- Bold summary: Use conventional options mainly in sidewalls, end walls, or heated utility spaces—avoid trapping wet insulation against glazing.
- Eco options: sheep wool offers R‑3 to R‑4 per inch and buffers humidity; it’s a good eco-friendly insulation choice for dry wall cavities.
| Product | Approx R per inch | Best use |
|---|---|---|
| Aerogel blankets | ~R‑10.3 | Thin high‑R spots, doors, vents |
| Polyurethane foam | Up to R‑6.3 | Sealing cavities, rigid panels |
| Mineral wool / fiberglass | R‑2.8–3.8 | Kneewalls, end walls, non‑wet spaces |
Curtains, Seals, and Systems: Multiplying the Gains
Night curtains and tight seals multiply the thermal value of any cover by trapping warm air where plants need it. Automation and good sealing turn modest glazing into a practical thermal barrier that cuts heater runtime.
Start with a simple curtain and seal the obvious leaks; you’ll see faster morning recovery and steadier canopy temps.
Heat retention curtains and automation for overnight protection
Heat retention curtains form a soft layer that hangs inside the structure and reduces convective currents at night. Automated systems drop the curtain at dusk and retract it at sunrise, so protection is always in place when heat loss peaks.
Air sealing, thermal bridging, and moisture management
Seal door edges, panel seams, and service penetrations with weatherstrips and tape to stop bypass air. Address thermal bridging at frames with liners or foil tape where practical. Encourage drainage and controlled ventilation to avoid condensation on extra layers.
- Bold summary: Add layers beyond cladding—curtains and sealing systems often double the value of your primary insulation.
- Bold summary: Automation deploys protection at the exact time heat loss peaks, preserving canopy warmth.
- There are a number ways to stack gains: primary glazing, targeted reflective foil on cold walls, and a nightly curtain.
- Factors like size, humidity, and crop height shape curtain placement and vent timing.
Buying Guide: Match R-Value, Thickness, and Budget to Your Climate
Picking the right R-value and thickness is the fastest way to cut overnight heat loss and lower energy costs. Start with your coldest expected nights and choose a primary layer that meets those lows.
Cold climate picks vs. shoulder-season strategies
Cold climates: aim for a higher r-value primary cover. Twin-wall polycarbonate at 8 mm reaches about R-1.72 and offers peak stability on subfreezing nights.
Shoulder seasons: lighter options work well. Double poly with inflation hits roughly R-1.5 and balances cost and performance. For mild nights, bubble wrap or reflective foil on the cold wall smooths dips and can cut heating costs by up to 35%.
Per-inch thickness, installation complexity, and utility impact
Compare per inch thickness gains to fit frames and doors without major changes. Thicker panels raise R-value but add weight and install time.
Films and bubble wrap are quick weekend projects; rigid glazing is a planned retrofit with longer lifespan and lower long-term costs.
Practical way forward: seal drafts, add a curtain, then pick your primary layer based on forecast lows and budget. Consider crop sensitivity, labor, and expected utility savings when making your final choice.
- Bold summary: Cold climates benefit most from higher r-value primary glazing; mild climates can mix lighter layers with targeted add-ons.
- Bold summary: Balance thickness, install complexity, and likely energy costs against greenhouse size and goals.
Eco Impact and Lifecycles: Choosing Materials with Lower Footprints
Think beyond R-values: consider how products are made, how long they last, and what happens after use. Choosing eco-friendly insulation means weighing production emissions, renewable content, and end-of-life options. A small change at purchase can cut long-term impact and energy use.
Recycled content and renewables matter. Cellulose offers high recycled content and low embodied energy. Sheep wool and cork bring renewable, biodegradable options that resist moisture and stay effective in wet cycles.
Recycled content, renewables, and end-of-life considerations
Production footprints differ. Foams and many plastic films rely on petrochemicals and energy-intensive production. Rigid panels last longer, which spreads their impact over more years.
End-of-life matters: ask if a product can be reused, recycled, or safely disposed of. Cellulose and natural fibers score well; many foams do not.
Trade-offs between cost, performance, and sustainability
High-performance options like aerogel offer thin, powerful panels but come with higher cost and a bigger production footprint per square foot. That trade-off can pay off where space is tight or for door and vent covers.
- Bold summary: Consider not just how well a product insulates, but how it’s made, how long it lasts, and what happens at end of life.
- Bold summary: Recycled and renewable options can reduce impact while still delivering solid winter benefits.
- Practical tip: start with sealing and curtains (low impact, high benefit), then add a durable primary layer you can maintain.
Balance sustainability with performance. Target high-loss surfaces with long-lived products to maximize benefits per unit impact. Over a product’s life, saved energy can offset a portion of production impact—so think lifecycle, not just price.
Conclusion
Seal the easy leaks, pick a primary cover that suits your climate, and add targeted barriers where heat escapes most. A staged approach gives fast wins and long‑term savings without a single big overhaul.
Twin-wall polycarbonate at 8 mm offers the most stable results; double poly film gives strong value; reflective foil and bubble wrap target specific losses and cut bills.
High‑R assemblies lower heater runtime and smooth overnight dips that stress plants. Start with door and seam seals, add a heat retention curtain, then upgrade glazing or film as budget and time allow.
Choose durable options you can maintain, stage improvements, and you’ll hold more heat, protect crop quality, and reduce winter energy use.