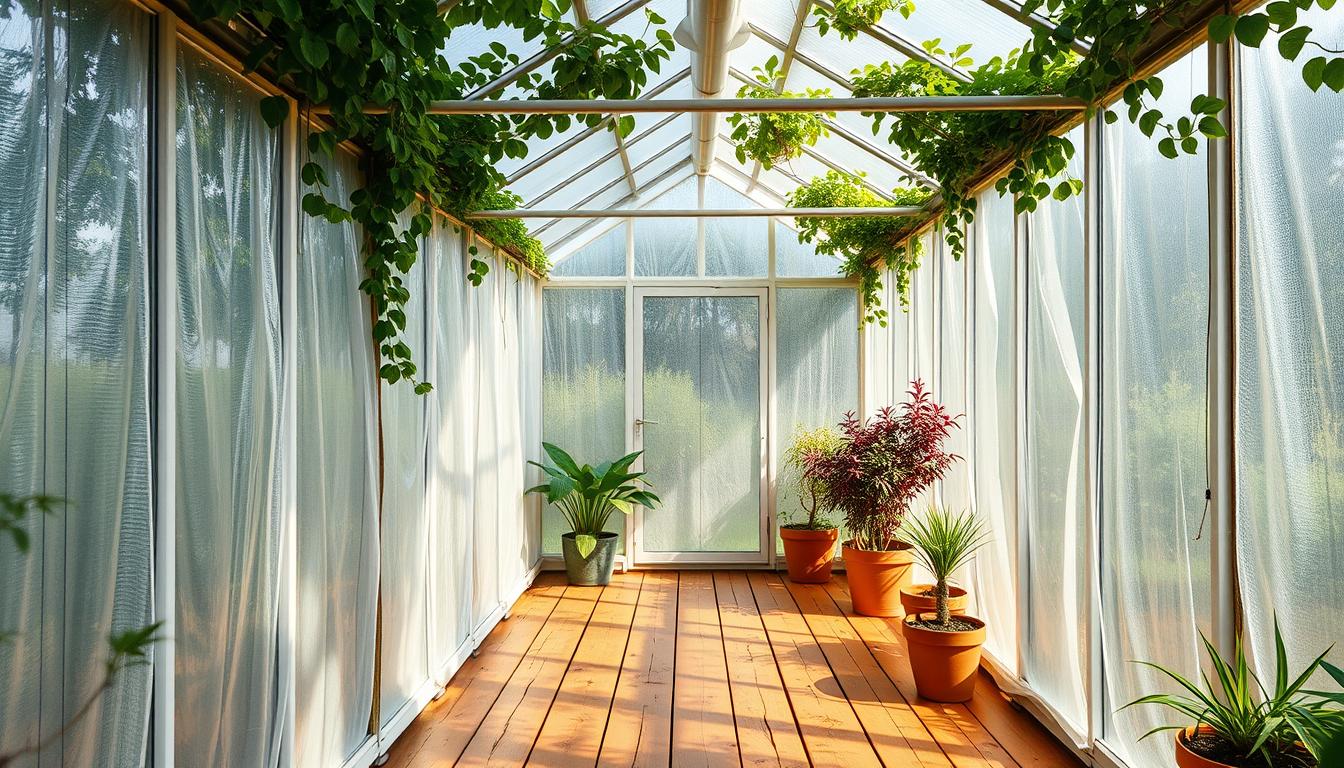
Could a few smart fixes save your crop when frost rolls in? This guide lays out low-cost steps and high-value upgrades that trap more heat overnight and cut utility bills.
Free fixes and DIY materials often give the best cost per heat saved. Seal gaps, add a simple film airlock for the door, and use windbreaks and thermal mass to steady temperatures inside.
Targeted upgrades amplify those wins. Inflated double poly can reach about R-1.5 with near 90% light, 8mm twin-wall polycarbonate sits near R-1.72, and horticultural bubble wrap can cut heating costs up to 35%.
For step-by-step choices and clear comparisons, see these DIY greenhouse insulation tips that match structure, material, and climate.
Key Takeaways
- Start with sealing and an airlock: low-cost, high-return fixes reduce heat loss fast.
- Use bubble wrap and reflective foil: bubble insulation lowers heating costs and foil cuts radiant loss up to 95% on the north wall.
- Consider inflated double poly or twin-wall panels: they raise R-values while keeping light transmission.
- Add thermal mass and curtains: water jugs and energy curtains store and hold heat overnight.
- Insulate the base: a 2-inch polystyrene skirt reduces ground heat loss often missed.
Before You Start: What “Cheapest” Really Means for Greenhouse Winter Insulation
Set clear goals first: savings per dollar, time invested, and crop needs. Make decisions that boost retained heat for the least money and labor. Seal leaks first so added layers actually work.
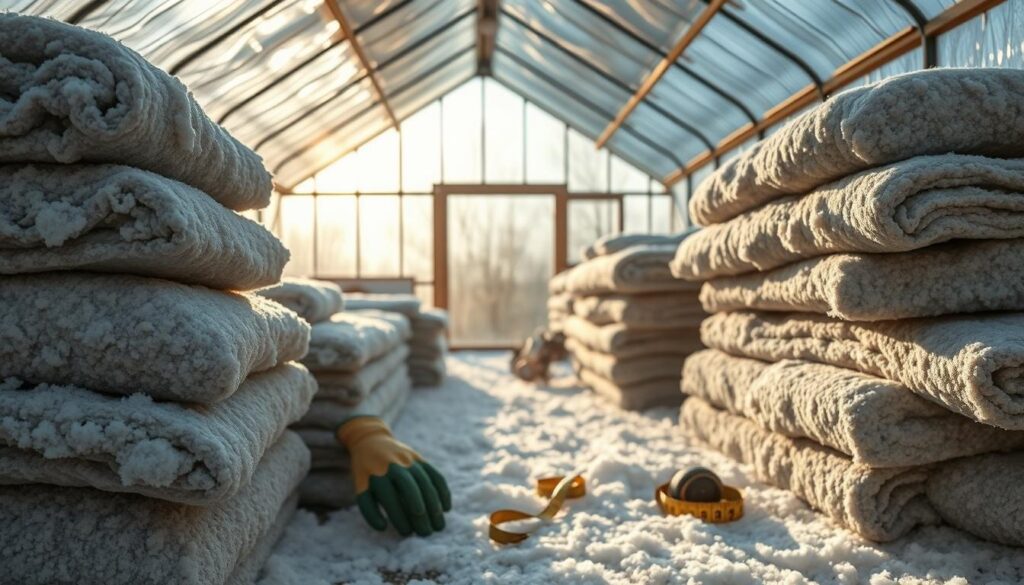
Cost, retained heat, and light transmission all matter. Heat loss happens through air leaks, conduction via glazing, and radiant loss. Target the biggest leaks first to get the best return.
Cost vs. performance: quick criteria
- Budget: small fixes like caulk or an interior film airlock pay off fast.
- Crop light needs: winter greens tolerate slight drops in transmission for better heat.
- Climate lows & labor: colder sites may justify inflated double poly or twin-wall panels.
| Option | R-value | Light Transmission | Best Use |
|---|---|---|---|
| Inflated double poly | ~R-1.5 | ~90% | Low-cost cladding upgrade |
| 8mm twin-wall poly | ~R-1.72 | Good diffusion | Longer-term upgrade |
| Bubble insulation / foil | Varies; up to 35% heating cut | Moderate | Interior, north wall |
Track interior vs. outdoor temperatures for a week to see which ways move the needle. Try a tissue or incense near frames to spot drafts and mark repairs. For more design ideas, check the urban greenhouse infographic.
Quick, Low-Cost Wins That Cut Heat Loss Fast
Start with simple seals and an air buffer to stop warm air from escaping each night. These steps are cheap, fast, and give immediate results when weather turns cold.
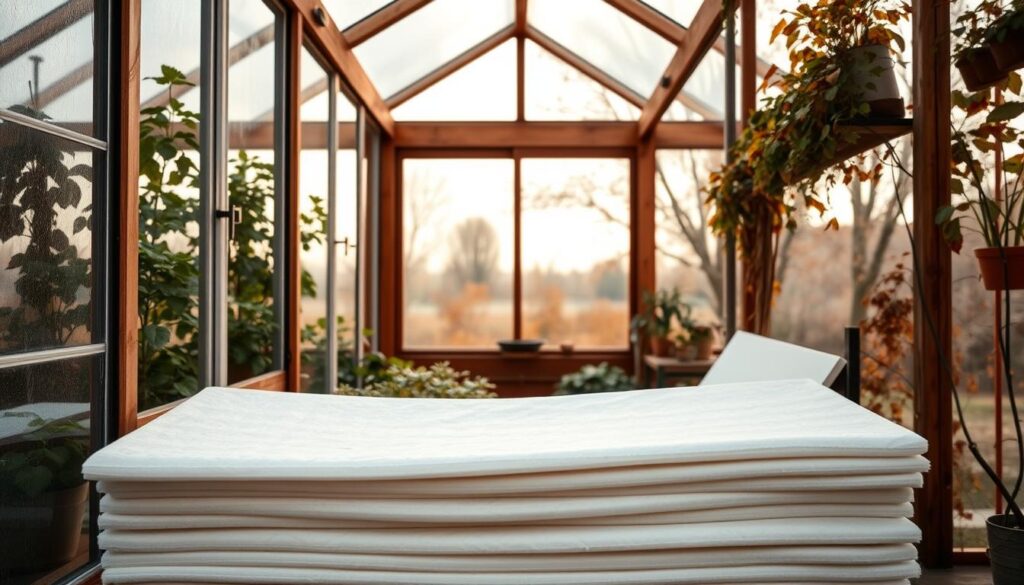
Seal gaps and cracks with silicone and foam
Use silicone caulk around vents, doors, and panel joints for tiny leaks. Fill wider gaps with expanding foam and replace cracked panels. These fixes prevent heat escaping and stabilize interior temperatures quickly.
Create a simple door airlock with film layers
Add a layer of greenhouse film to the outer door and a second interior flap. The two films form a basic airlock that cuts convective loss each time you enter. Make sure greenhouse doors still close snugly and add weatherstripping for a tight seal.
Build a breathable exterior windbreak
Choose porous barriers—windbreak mesh, woven panels, or hedging—so gusts slow without turbulence. Position the barrier to protect the frame and avoid shading plants. Check fasteners and tighten loose bolts after windy days.
Use snow as free insulation (carefully)
Bank fluffy snow along the north wall to add insulation. Do not pile heavy, wet snow on the roof; that can overload the structure. A quick audit on a breezy day helps you find leaks: feel at knee height and mark problem spots with tape for targeted sealing.
| Action | Cost | Immediate Benefit |
|---|---|---|
| Caulk & foam | Low | Reduces drafts, stabilizes heat |
| Door film airlock | Low | Less convective loss when doors open |
| Breathable windbreak | Low–Medium | Slows icy gusts without shading |
Combine sealing, an airlock, and a windbreak for compounding returns. These cheap materials and small actions can protect plants when temperatures drop and buy time before larger greenhouse insulation upgrades.
Budget-Friendly Materials With Big Impact
Small, affordable materials can boost interior warmth without robbing light. A roll of horticultural bubble wrap plus reflective foil gives major returns for little money.

Horticultural bubble wrap for glazing
Choose horticultural bubble wrap with larger bubbles and UV stability. The air trapped inside each bubble raises R-value while keeping usable light for plants.
Install the clear wrap on leaky panels and the north side first. This quick interior layer can cut heating needs up to 35% when combined with good sealing.
Reflective foil on the cold side
Use reflective insulation on the north wall and under benches. It bounces radiant heat back toward beds where light is less critical and improves greenhouse insulation without dimming sun-facing glazing.
Horticultural fleece for spot protection
Drape single layers for mild frost and stack two or three when temperatures drop. Fleece stays breathable, lets water and light through, and provides quick protection for tender plants. Label layers and leave vents so you can water and inspect crops easily.
Structure-Side Upgrades That Pay Off All Winter
A few targeted upgrades to the skin and base keep heat steady and reduce nighttime swings. These changes raise overall R-value, cut cycling of heaters, and make plants less stressed after cold nights.
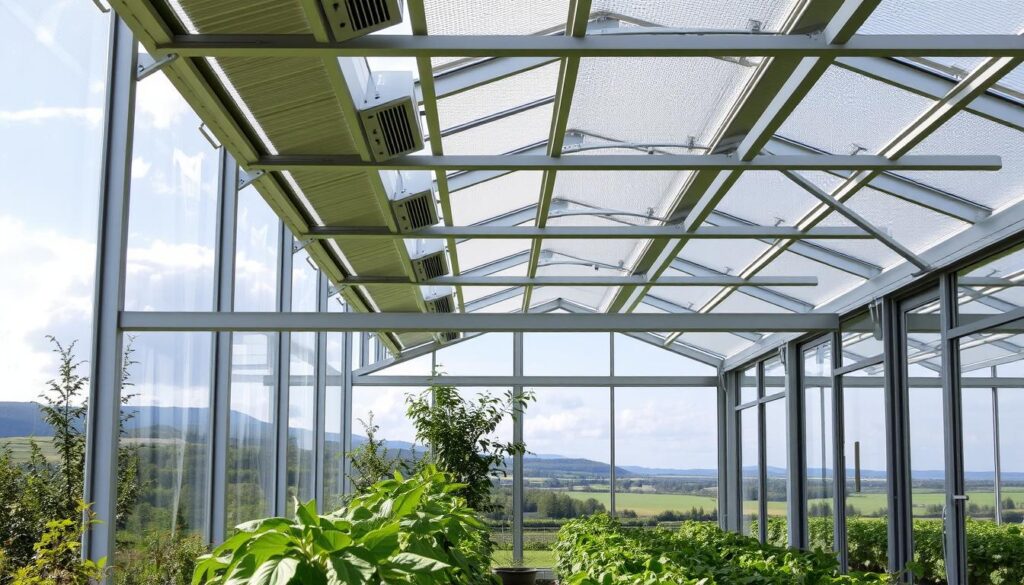
Inflated double poly film for an efficient air barrier
Inflated double poly uses two film layers and a small blower to hold an air gap. That cushion reaches about R‑1.5 while keeping roughly 90% light transmission.
Tip: Check blower hoses and seals weekly so the air trapped inside stays stable and the barrier prevents heat loss.
Twin-wall polycarbonate panels for durable cladding
Twin-wall polycarbonate traps air between sheets. Options run 4mm, 6mm, and 8mm; 8mm nears R‑1.72 and gives good diffusion with UV protection.
Reserve clear polycarbonate on south and east exposures so sunlight stays strong. Use heavier or reflective measures on north walls where light matters less.
Perimeter polystyrene to curb ground heat loss
Bury 2‑inch polystyrene about 12 inches down along the perimeter to form a thermal skirt. This blocks conduction into cold soils and lets the ground act as thermal mass.
Install the skirt after replacing any failed glazing and before adding curtains or other interior layers.
| Upgrade | Typical R-value | Light | Benefit |
|---|---|---|---|
| Inflated double poly film | ~R-1.5 | ~90% transmission | Low-cost air barrier; easy retrofit |
| Twin-wall polycarbonate (8mm) | ~R-1.72 | Diffused sunlight | Durable cladding; good insulation |
| 2″ polystyrene perimeter skirt | Not rated like glazing | Opaque at ground level | Reduces ground-coupled heat loss |
Sequence and maintenance: Repair broken panels first, then add inflated film or polycarbonate, and finish with the polystyrene skirt. Secure the frame and fasteners before re-skinning, and plan tracks or cables for future curtains to link upgrades smoothly.
Add Thermal Mass and Micro-Heaters for Nighttime Stability
Thermal mass is the cheapest “heater” you can add. Pair it with heat-retention curtains so the warmth you store during the day stays put through the coldest hours.
Store daytime warmth in dense objects and release it slowly when temperatures drop. Place rows of water jugs along the north wall and paint or sleeve them dark to absorb more light. These jugs hold and return heat to the interior, smoothing out swings and protecting plants overnight.
Use dark pavers or bricks on the floor near the cold side. Sun-warmed stone moderates lows and cuts heater cycling. Combine floor mass with water containers for steady release across the season.
Energy curtains and simple automation
Deploy heat-retention curtains at dusk to trap warm air and retract them in the morning to restore full light and airflow. Automated tracks or temperature-triggered motors give quick response during sudden cold fronts.
Complement curtains with bubble insulation or reflective foil above the curtain line so stored warmth stays trapped inside longer. Track gains with a max/min thermometer and adjust curtain timing when temperatures drop.
- Use dark water jugs along the north wall to buffer nights.
- Lay dark pavers or bricks as floor thermal mass to reduce heater cycles.
- Deploy curtains at dusk and automate when possible for fast protection.
- Combine with bubble or reflective foil to limit radiant losses above curtains.
- Supplement with safe micro-heaters on extreme nights, following strict safety protocols.
what’s cheapest way insulate greenhouse winter practical: Prioritize These Listicle Picks
Start here for maximum impact per dollar. A tight seal, interior horticultural bubble wrap, and reflective foil on the north wall under benches make a proven low-cost stack that steadies nights and cuts heater run-time.
Seal + bubble wrap + reflective north wall: the budget trifecta
Make sure greenhouse is tightly sealed before adding layers. Patch drafts at doors and around frames so new materials actually work.
Line leaky panels with horticultural bubble wrap to raise R-value without heavy light loss. Then place reflective foil on the north wall and under benches to bounce radiant heat back to plants.
Windbreak + thermal mass: low-tech stability for clear, cold nights
Add a breathable windbreak—mesh screens or hedging—to cut convective loss without shading sunlit beds.
Use dark water jugs and a few pavers along the cold wall as thermal mass. They soak up daytime heat and release it slowly at night, helping on clear, frigid evenings.
- Sequence: seal first, insulate glazing next, then add mass.
- Expect: steadier temperatures, less heater cycling, and better survival for tender plants.
- Keep it modular: use removable bubble wrap and foil so you can adjust coverage with weather.
- Checklist habits: weekly draft checks, close curtains at dusk, and have fleece ready for sudden lows.
Choose Materials by Climate, Structure, and Light Needs
Match your climate and structure to the right layers so plants get warmth without losing too much light. Make choices that protect at night and let daytime sunlight in for growth.
Cold regions benefit from heavier cladding; milder sites gain more from sealing and thermal mass.
Cold climates
Use double-layer cladding or 6–8mm polycarbonate with inflation to raise R-value while keeping usable light. Place reflective insulation on the north wall where sunlight is minimal.
On frost nights, add heavier horticultural fleece over beds and retract it on bright days to avoid humidity buildup.
Mind the trade-off
Thicker polycarbonate boosts insulation by roughly 30% but can cut light transmission by about 10%. Balance that choice by crop type and daylength needs.
- Severe weather: choose inflated double poly or 6–8mm polycarbonate.
- Mild zones: seal, use selective bubble wrap, and add thermal mass.
- Always: secure fastenings, keep vents controllable, and monitor temps and light with simple meters.
Common Mistakes That Waste Money and Heat
Don’t add layers before you stop drafts. Place each material where it can actually help, protect the frame and walls from excess loads, and keep sun-facing panes clear for light.
Many gardeners spend on extra layers while an open seam keeps warm air fleeing. A missed gap near a door or weak fastener creates most heat loss and defeats new insulation.
- Don’t insulate over leaks. Fix drafts at doors, vents, and panel joints first so added materials work.
- Avoid solid windbreaks. Porous barriers stop gusts without turbulence; otherwise a barrier prevents heat from staying inside.
- Keep south/east glazing clear. Opaque covers block light and cut daytime warmth that plants need.
- Watch roof snow and frame load. Clear heavy, wet snow so walls and fasteners don’t shift and open new gaps.
- Insulate the base. Perimeter soil insulation reduces steady conductive loss from the foundation.
- Use reflective foil selectively. Put it on the north wall and under benches, not across sunny sides.
- Vent horticultural fleece on bright days. Let heat and moisture escape to avoid disease and overheating.
- Track changes. Log temperature and materials so improving greenhouse insulation shows clear gains.
Sample Budget Paths: Shoestring, Value, and Long-Term
Pick a path that fits your budget and goals. Each step builds on the last so you can start small and scale into a winter-ready setup.
Shoestring option:
- Seal leaks with silicone caulk and expanding foam to stop air loss around the frame and doors.
- Build a porous DIY windbreak to cut gusts without shading sunlight.
- Line leaky panes with horticultural bubble wrap for added R‑value while keeping light.
- Keep lightweight fleece on hand for sudden cold snaps over beds.
Expect better stability for leafy greens and seedlings with very low spend; this option suits small structures and first-season growers.
Best-value option:
- Add reflective foil on the north wall and under benches to recycle radiant heat.
- Install rows of water jugs and dark pavers as thermal mass to smooth night dips.
- Hang a basic heat-retention curtain to trap warm air after dusk.
These materials and steps cut heater runtime and protect plants through a full season.
Long-term option:
- Re-skin with inflated double poly (≈R‑1.5, ~90% light) or 6–8mm twin-wall polycarbonate (up to ≈R‑1.72).
- Add a 2‑inch polystyrene skirt below grade to reduce base heat loss and keep soils warmer.
- Confirm the frame and fasteners are solid before adding heavy cladding or extra loads.
These upgrades deliver durable performance across many seasons and reduce steady losses through glazing and foundation.
| Path | Key materials | Expected benefit |
|---|---|---|
| Shoestring | Caulk, foam, bubble wrap, fleece, windbreak | Low cost; fast draft fixes |
| Best value | Reflective foil, water jugs, pavers, curtains | Balanced cost and steady heat retention |
| Long-term | Inflated double poly, polycarbonate, polystyrene skirt | Durable insulation; lower seasonal loss |
Practical tip: Start with shoestring fixes, add thermal mass and foil next, then plan long-term cladding when budget allows. For DIY framing or low-cost shell ideas, see a helpful guide on affordable structure builds.
Conclusion
A layered plan wins: seal leaks, add targeted interior bubble and reflective covers, then use mass and curtains to keep daytime warmth trapped inside. This approach saves money and protects plants while keeping light where crops need it most.
The priority stack: start with sealing and a door airlock, add horticultural bubble wrap on key panes, place reflective foil on the north wall, add thermal mass (water jugs, pavers), and close with heat-retention curtains at dusk.
For lasting gains, plan structural upgrades like inflated double poly or 8mm twin-wall polycarbonate (~R‑1.72) and a 2″ polystyrene perimeter to curb ground losses. Bubble insulation can cut heating costs up to 35% and reflective foils block ~95% of radiant loss on the cold side.
Track interior vs outdoor temps, adapt by crop and climate, and scale materials as confidence grows to keep your greenhouse ready for winter nights.