Which greenhouse setup will make mornings in the garden feel effortless and keep plants thriving through winter?
This guide lays out clear, practical comparisons. You’ll see how a lean-to greenhouse attached to a house stacks up against a standalone option with four walls.
Attached designs share an existing wall, easing access to water and power. That saves on trenching and long runs from the garage. Freestanding models demand more materials and cost about 30–40% more up front.
DIY costs often fall between $5–15 per square foot for basic framing and glazing. Hiring pros adds roughly $20–40 per square foot, but brings speed and warranties for tools, labor, and finish work.
This intro previews utilities, siting, ventilation, and day-to-day comfort. Expect an unbiased look at design choices, benefits, and practical features so decisions fit your budget and garden plans.
Key Takeaways
- Attached greenhouses save on materials and simplify water and power runs.
- Standalone builds cost more but offer flexible interior layouts for benches and beds.
- DIY is cheaper per square foot; pros add cost but reduce time and risk.
- A shared wall can improve winter warmth; freestanding offers sun on all sides.
- Plan door placement and utility access to make the space usable year-round.
At a Glance: How the Two Greenhouse Structures Differ Right Now
Start with the skeleton: structure choices change sun, heat, and daily use. This snapshot lays out framing, size limits, ventilation needs, and common trade-offs so decisions match site and goals.
Structure basics:
- Four walls models have independent frames and roofs that capture light from all sides. They need extra bracing and more materials.
- Shared wall designs rely on an existing wall for support. That cut in materials improves insulation and eases water and power runs.
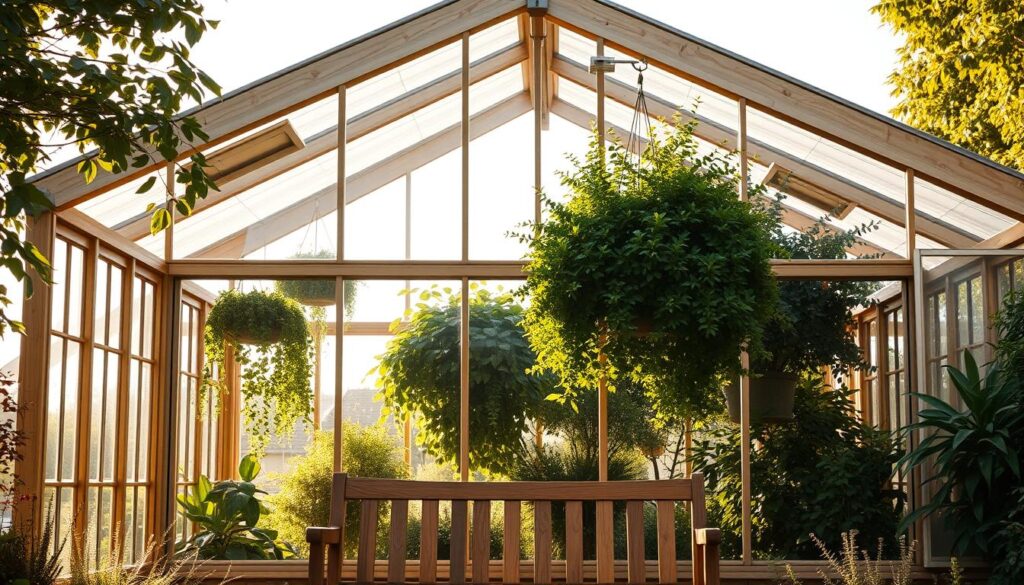
Framing, roof, and building notes
Both structures use standard framing with rafters set 16–24 inches on center. For attached builds, anchor a level ledger into studs — never fasten only to siding.
Freestanding roofs need extra bracing and control snow loads. Shared-wall roofs shed water toward the front and require good flashing at the junction to prevent leaks.
Size, square feet, and siting
Depth often limits attached layouts to about 6–8 feet between wall and path. Independent footprints scale up for wider aisles, benches, and in-ground beds.
Siting choice matters: free-standing greenhouses can avoid shade and overhangs, while attached builds must align with a sunny, clear wall.
| Feature | Shared wall | Four walls |
|---|---|---|
| Sun exposure | One-sided | 360° |
| Cost | Lower materials | 30–40% higher |
| Ventilation | Roof + low inlets | Roof + side vents |
Ventilation and practical tips
Plan vents equal to 20–30% of floor area and use roof vents plus low inlets for stack effect airflow. Automatic vent openers reduce daily fuss and keep climate steady.
Skill and permits: Both structures suit diy enthusiasts with basic carpentry. Check local building rules and HOA limits before settling on size or classification.
For quick design ideas and budget plans, see this starter guide.
Lean-to vs freestanding honest breakdown help you
Which layout fits daily garden life and plant needs?
For real gardeners, the choice often comes down to daily chores, space limits, and how much sun the site receives.
Core benefits and trade-offs for real-world gardeners
Attached designs simplify water and power runs, use fewer materials, and keep temps steadier with a warm house wall. That makes morning watering and quick checks easier.
Standalone models give full placement freedom and capture sun from more angles. They suit larger benches, in-ground beds, and future expansion but usually cost more and need extra heat in cold months.
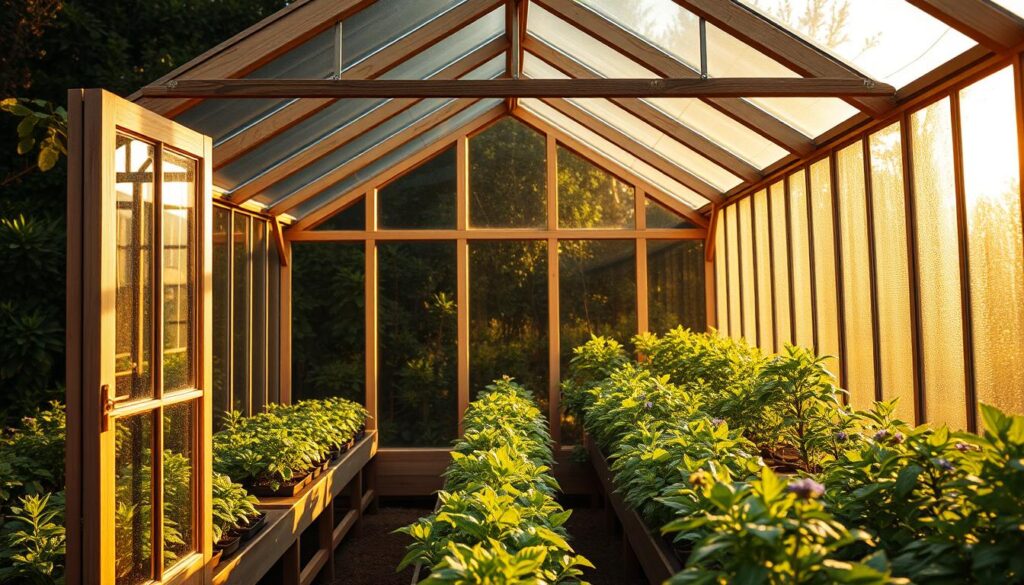
Who each greenhouse type serves best in the United States
- Small yards & side spaces: attached options fit seedlings, herbs, and overwintering plants without wasting garden space.
- Bigger projects & flexible siting: standalone greenhouses match growers who want wide aisles, full-sun orientation, or multiple crop zones.
- Climate notes: windy or storm-prone sites gain shelter from a house wall; hotter regions may prefer separate placement away from reflective surfaces.
Siting and Sun Exposure: South Side, Existing Wall, and Seasonal Light
Pick the sunniest exterior wall first — light defines plant health and winter yields.
South-facing walls in most U.S. climates deliver about 6–8 hours of direct sun and are ideal for a greenhouse that aims to extend growing into winter.
Which wall of the house works best?
South gives the most consistent light. East supplies gentle morning rays. West suits heat-tolerant crops but can overheat in summer.
What obstacles should be checked?
Audit roof overhangs, decks, trees, and neighbor walls. These can cast long winter shadows and reduce useful light.
How does placement differ for freestanding versus attached?
Freestanding greenhouses can be located to follow seasonal sun paths. An attached structure must fit the best side house corridor available.
“Observe your chosen side in December and January to confirm meaningful light when the sun is low.”
- Test the existing wall for soundness and flashing compatibility.
- Ensure good ventilation by avoiding tall hedges that block airflow.
- Keep the greenhouse near water and outlets to save trenching and winter hassle.
Utilities and Access: Water, Power, Doors, and Everyday Convenience
Good utility planning makes the greenhouse practical every day. Simple, code-safe runs for water and power keep chores quick and protect plants in winter.
Access to hot and cold water is easiest from an adjacent house wall. An existing structure often allows a sink and frost-proof sillcock. For a standalone greenhouse, plan a buried, drainable line with a labeled shutoff.
How should electricity and outlets be run?
Keep circuits short when possible and use GFCI protection. Freestanding runs need underground conduit and a licensed electrician for load calculations. Place outdoor-rated outlets by benches for heat mats and small tools.
Where to place doors and pathways?
Align the main door with the route from the garage or main path. Add compacted gravel or stepping stones to reduce tracked mud. Good lighting helps pre-dawn checks.
- Winterize: insulate exposed runs and add frost protection.
- Automation: consider solar vent openers to cut wiring needs.
- Safety: use labeled shutoffs, drip loops, and GFCI for easy maintenance.
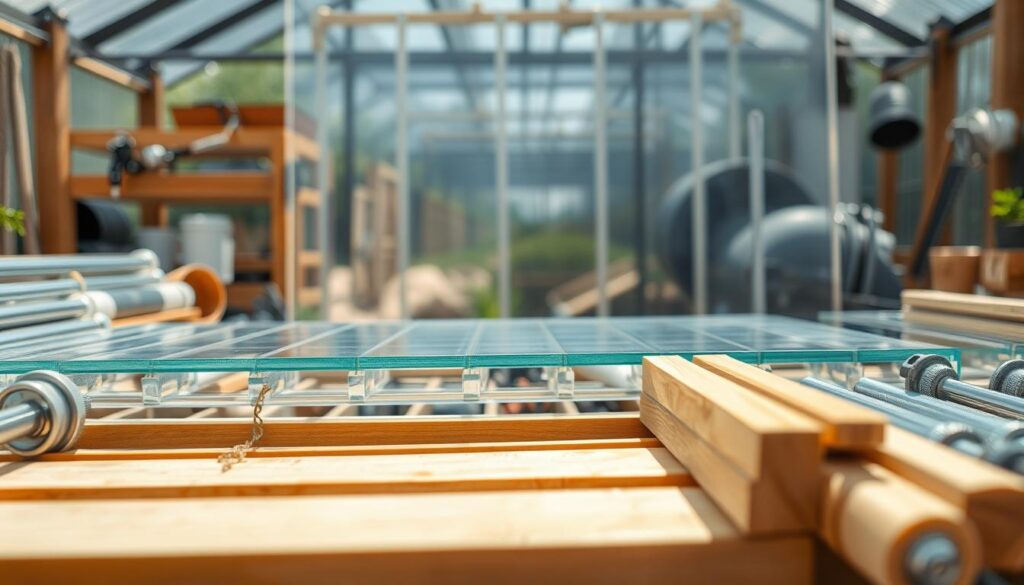
Materials and Construction: Framing, Glazing, Vents, and Hardware
Which materials give the best mix of durability, light, and insulation? Pick framing and glazing that suit your climate and planned use. Spend where longevity matters.
Materials set the tone: they control light, heat loss, and how often the greenhouse needs attention.
What framing choices work best?
Framing options include cedar, pressure-treated lumber, aluminum, and PVC. Cedar resists rot and looks classic. Pressure-treated lumber lowers upfront cost. Aluminum is light and low-maintenance. PVC is budget-friendly but can lose strength in UV and extreme cold.
Which glazing balances clarity and insulation?
Choose glazing by clarity, R-value, lifespan, and cost.
| Material | Light % | R-value | Cost / sq ft |
|---|---|---|---|
| 6mm twin-wall polycarbonate | 80–85% | R-1.5 | $2–3 |
| 10mm triple-wall polycarbonate | 75–80% | R-2.0 | $3–4 |
| Double glass | 85–87% | R-2.0 | $6–10 |
| Polyethylene film | 85–88% | R-1.0 | $0.50–1 (3–4 yrs) |
How should hardware and assembly be done?
Weatherproof the construction: pre-drill pilot holes and fasten panels through ridges using screws with neoprene washers. Use H and U channels to seal edges and allow thermal movement. Add butyl tape at seams where needed.
At the existing wall, install a ledger into studs and add step or counter-flashing so wind-driven rain cannot enter behind panels or into walls. For heavier glazing, strengthen framing and bracing; lighter panels let you keep members smaller and the roof simpler.
- Ventilation: plan operable roof units and low inlets for stack effect airflow.
- Floor interface: use a raised treated sill or perimeter to isolate the frame from wet floor conditions.
- Long-term savings: reduced material needs from an attached build can be redirected to better glazing, premium hardware, and reliable vent gear.
Ventilation and Climate Control: Roof Vents, Vent Openers, and Winter Strategy
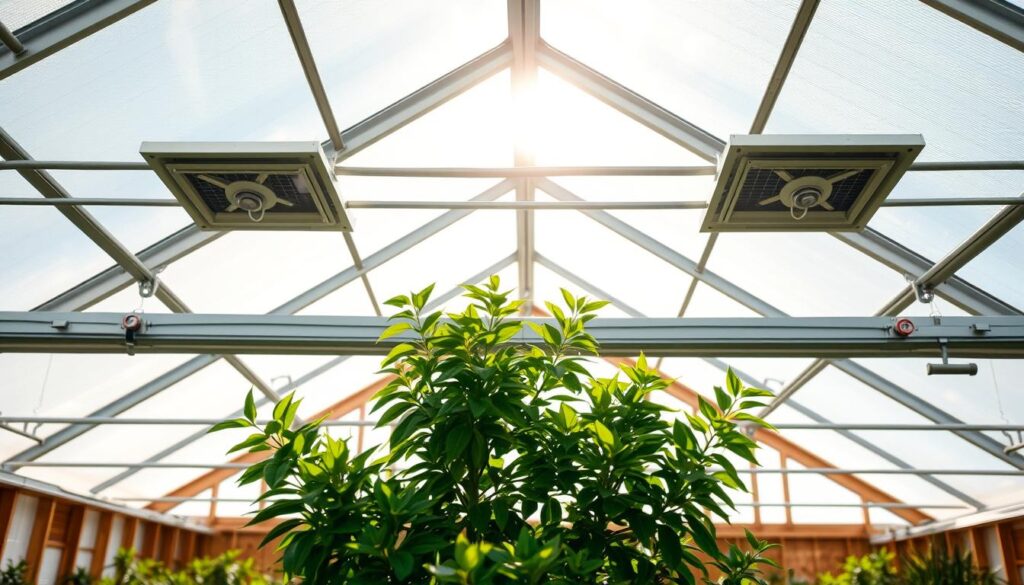
Keep air moving and moisture low to protect growth and reduce disease risk. Place roof openings high and pair them with low intakes. Size vents to the floor area and add simple automation for steady results.
Warm air gathers at the highest point of a greenhouse, so vents up high make the biggest difference to daytime heat control.
How should airflow be arranged?
Start at the top. Put operable openings near the roof peak and add low intake vents to create a stack effect. Aim for 20–30% of floor area in total vent area; a 6×8 layout needs about 10–14 sq ft combined.
Which automation and fan options work best?
Use temperature-activated vent openers (wax cylinders) for simple, non-electric control. Add solar fans for extraction on sunny days without hard wiring. Small circulation fans reduce cold spots and keep leaves dry.
How to limit condensation and winter issues?
Space benches away from walls and glazing so air can flow around plants. Open vents on mild afternoons in winter to purge moisture, then close at dusk. Seal channels, flashing, and any water penetrations during construction to avoid humidity spikes.
“Good airflow prevents mildew and keeps growth steady from seed to harvest.”
| Tip | Action | Benefit |
|---|---|---|
| Top + low vents | Install roof and floor inlets | Reliable cross-breeze |
| Automation | Wax openers + solar fans | No wiring; responsive control |
| Humidity control | Circulation fans + spacing | Less condensation, fewer diseases |
Space Planning: Floor, Windows, Benches, and Interior Layout
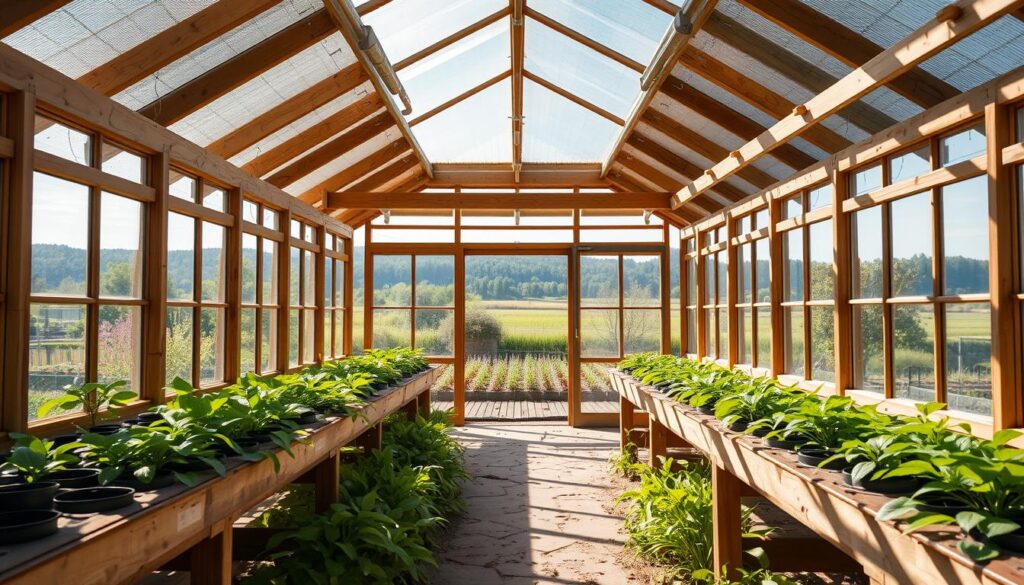
How can a small greenhouse feel roomy and work well every day? Smart interior layouts turn limited square feet into productive growing zones. Focus on drainage, bench runs, and ventilation to keep chores quick and plants thriving.
Floor choices and drainage:
Excavate 4–6 inches and add compacted gravel for a grippy, draining base. A concrete perimeter or pavers at traffic lanes stabilizes carts and potting stations.
Where should windows and vents go?
Place operable windows at opposite ends to create cross-ventilation. Add a high vent near the peak to dump heat fast. This simple layout keeps humidity lower and air moving.
How to arrange benches and storage?
Run a continuous bench along the long wall and a narrow opposite bench or fold-down worktop to keep aisles clear. Target 24–30 inches of clear path so trays and a small cart move easily.
- Grow up: tiered shelving and hanging baskets multiply productive space without crowding aisles.
- Microclimates: tuck moisture-loving plants low and place heat-lovers higher where air is warmer.
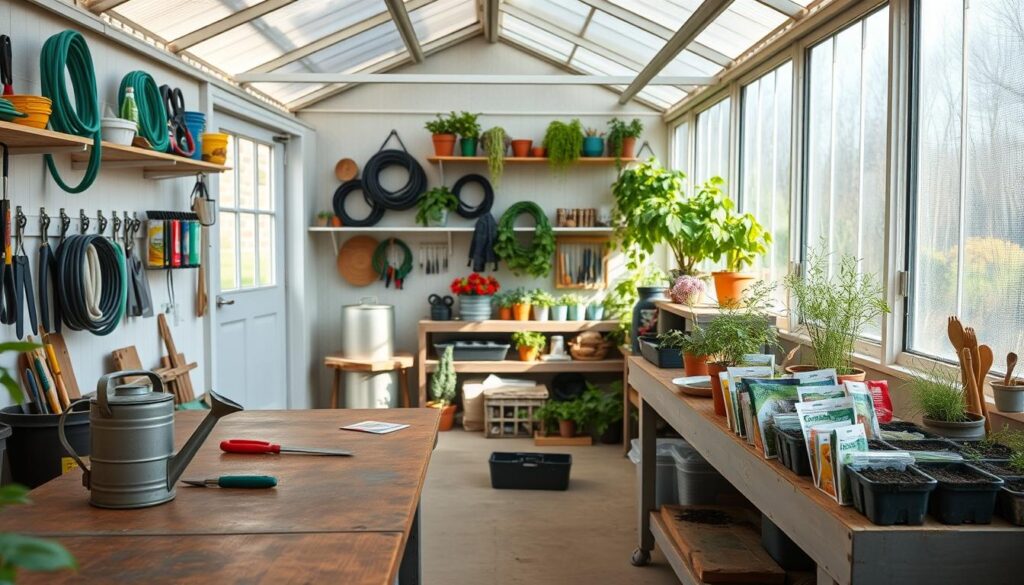
- Access and staging: locate the door near the main path and add hooks for hoses and tools to prevent drips across benches.
“Plan from the ground up: good drainage and bench layout make seasonal swaps painless.”
Plan lighting runs and GFCI outlets along a bench backer. Keep outlets above splash zones for safe, tidy work. Modular shelves let the greenhouse adapt from seed-starting to winter storage in minutes.
Costs, Materials per Square Foot, and Where You Save
Know the real per-square-foot math and which material choices cut long-term costs.
Material choices and labor plans set the long-term cost of a greenhouse more than the footprint itself.
How much will construction actually cost?
DIY estimates: plan on roughly $5–15 per square foot for framing, glazing, and basic finish.
Professional builds add about $20–40 per square foot for labor, permits, and warranties.
Where are the real savings?
Attached builds use a shared existing wall and lower exposed walls. That cuts material needs and can trim heating by ~30% in winter.
Smart budgeting and phased upgrades
Start small: a 6×8 attached layout commonly totals $600–1,300 with polycarbonate. Use polyethylene film for the first season, then upgrade glazing and add vent openers later.
“Buy reclaimed windows and split bulk polycarbonate orders to stretch the budget without sacrificing durability.”
| Item | DIY cost / sq ft | Pro added cost / sq ft | Tip |
|---|---|---|---|
| Framing (lumber, screws) | $1.50–4 | $5–10 | Use reclaimed lumber where solid |
| Glazing (polycarbonate) | $2–4 | $3–6 installed | Buy in bulk or share orders |
| Utilities (water, power trench) | $0.50–2 | $10–25 | Place near house to save trenching |
Use Cases and Design Ideas: From Garden Shed Adjacent to Multi-Purpose Spaces
Practical layouts make a greenhouse work for daily life, whether it shares a wall or stands on its own.
A compact greenhouse that tucks against a shed or garage saves yard room and simplifies runs for water and power. This design often uses the existing wall to reduce materials and to route outlets and a frost-free spigot with minimal trenching.
House-adjacent and garage tie-ins
House-adjacent concept: attach along a sunny existing wall to keep herbs and salad greens steps from the kitchen. Morning checks become quick walks across the back patio.
Garage tie-in: mount a ledger to the garage wall and route power from the panel for lights, heat mats, and small fans. That arrangement keeps cords tidy and protects wiring.
Garden shed combos and narrow side spaces
Garden shed combo: extend off a sturdy shed to share storage, potting benches, and tool racks. A single walkway serves both spaces and keeps chores efficient.
Narrow side yard win: a shallow design with tiered shelves maximizes starts without blocking gates or paths. A small door on the side house face preserves access.
Freestanding plans and multi-purpose layouts
Freestanding expansion: choose a modular greenhouse freestanding plan with 4-foot bays so you can add length later. This structure allows easy scaling for more beds or wider aisles.
Big-bed layouts: position units for full sun and lay central paths with in-ground beds for tomatoes and cucumbers. Place the main door toward the garden loop to shorten trips and ease wheelbarrow flow.
- Multi-purpose comfort: add seating and a fold-down worktop for a cozy potting nook.
- Materials harmony: match trim and finishes to the existing structure for a cohesive look.
- Tool flow: hang hand tools near the entry and store mixes beneath benches for quick access.
“A greenhouse that blends with a garage or shed turns chores into a calm, productive routine.”
Conclusion
A clear plan for glazing, ventilation, and utilities makes the final design feel inevitable and practical. Match glazing to climate and budget, and size vents to ventilation needs (aim for 20–30% of floor area).
Attached builds save on materials, simplify water and power runs, and boost winter warmth behind existing walls. Separate structures cost more up front but give full-sun placement and roomy space for growth.
Decide by plants, local climate, and daily routines. Start small, buy key features first, then add automation or better glazing later.
Next step: sketch a simple plan, mark utility runs and door location, and list materials so quotes or DIY orders stay focused and efficient.
FAQ
Which greenhouse type uses an existing wall and saves on framing materials?
A greenhouse that attaches to a house or shed uses an existing wall for support, cutting framing and roofing costs. This design reduces materials, speeds DIY builds, and benefits from shared heat. It does limit placement to where a suitable south-, east-, or west-facing wall exists and requires careful flashing and ventilation planning.
Can I run water and electricity more easily to an attached greenhouse?
Yes. Tapping into nearby water lines and power circuits is typically simpler for a structure next to the house or garage. Shorter runs reduce installation cost and heat-loss risk. Always follow local code, use frost-proof spigots or insulated lines for winter, and hire a licensed electrician for permanent circuits and GFCI protection.
How much smaller can an attached greenhouse be compared to a free-standing one?
Attached greenhouses often work well at modest sizes—think 6–10 feet deep by whatever length fits your wall—because one wall is already in place. Freestanding structures usually need a full perimeter and roof span and are commonly built larger to justify the construction effort. Your usable square feet will depend on access, vent placement, and benching layout.
Which framing and glazing materials last longest with low maintenance?
Durable combos include aluminum frames with twin- or triple-wall polycarbonate glazing, or cedar frames with tempered glass when budget allows. Aluminum resists rot and needs little upkeep; cedar resists insects and looks warm. Polycarbonate offers light diffusion and insulation with less breakage than glass.
How should I ventilate a small greenhouse on a winter-prone site?
Use roof vents near the peak plus lower intake vents to promote stack-effect airflow. Add an automatic vent opener for passive temperature control and a small circulation fan to reduce cold spots. In winter, manage vents to preserve heat but avoid trapping moisture—good circulation cuts condensation and mildew.
Are automatic vent openers and solar fans worth the cost?
For many gardeners, yes. Automatic openers and solar-powered fans provide hands-off climate control, reducing plant stress and the need to check temperatures constantly. They’re especially useful for weekend gardeners or detached greenhouses with limited daily access.
What are practical floor options that balance drainage and comfort?
Gravel with a compacted base gives excellent drainage and is inexpensive. A concrete perimeter with gravel or permeable pavers in the center combines stability for benches with drainage. For easy winter access, consider a slightly raised wooden floor with gaps for runoff—use rot-resistant lumber or pressure-treated framing.
How do I plan benches and shelving to maximize square feet?
Use tiered shelving along walls and hanging baskets to free floor space for larger pots or wheelbarrows. Narrow aisles (at least 24 inches) keep access comfortable. Consider movable benches on casters for seasonal reconfiguration and place heat-generating equipment beneath benches to warm roots efficiently.
Is a freestanding greenhouse better for future expansion and layout flexibility?
Yes. A standalone structure allows free placement for optimal sun exposure, larger footprints, and straightforward expansion down the line. It’s easier to center paths, install full perimeter ventilation, and design bed layouts without wall constraints.
What are the main cost differences per square foot between attached and freestanding builds?
Attached units typically cost less per square foot because they need one fewer wall and can share existing roof tie-in details. Freestanding builds require full framing, more glazing, and often stronger foundations, which raises material and labor costs. DIY labor can narrow the gap, while professional installs and higher-grade glazing increase expenses for both types.
How do I choose the best wall on my house for an attached greenhouse?
South-facing walls get the most winter sun and are ideal. East or west walls can work with design adjustments—east gives morning light, west warms afternoons. Avoid north-facing sites, and factor in roof overhangs, existing shade from trees, and nearby structures when deciding.
Can a greenhouse attached to a garage or garden shed cause moisture problems for the main building?
Not if properly detailed. Use continuous flashing, a vapor barrier, and adequate ventilation to prevent moisture transfer. Maintain a small gap or insulated wall attachment where possible, and monitor for condensation in colder months to protect adjacent framing and finishes.
What glazing choice balances light, insulation, and budget for beginner gardeners?
Twin-wall polycarbonate is an excellent middle ground. It provides good insulation, diffuses light to reduce hot spots, resists hail, and is easier to handle for DIYers than glass. For premium light transmission and aesthetics, tempered glass works but costs more and needs stronger framing.
How important is flashing and sealing where a greenhouse meets an existing wall?
Critical. Proper flashing prevents water infiltration into the house. Use metal flashing, exterior-grade sealants, and counter-flashing integrated with existing siding. Improper sealing can lead to rot, drafts, and costly repairs.
What seasonal maintenance keeps a greenhouse healthy year-round?
Inspect and clean gutters and flashing each fall, service automatic vents in spring, clear glazing of algae and dirt for full light, check seals and weatherstripping, and scrub benches and pots to reduce pests. Good winterization includes insulating vulnerable pipes and protecting fans and heaters from moisture.
Is it feasible to reuse materials or upcycle for a budget greenhouse?
Absolutely. Salvaged windows, reclaimed lumber, and recycled poly film can lower costs and add character. Prioritize structurally sound materials and seal or replace degraded items. Recycled polycarbonate sheets bought in bulk can also cut costs while maintaining performance.
What permits or code issues should I expect for building near or on a house?
Check local zoning and building codes—many areas require permits for structures over a certain size or when changing rooflines. Tie-in methods, electrical hookups, and plumbing work typically need inspections. A quick call to your city’s building department clarifies requirements before you build.
How can I manage condensation and mildew in a small, attached greenhouse?
Increase airflow with intake vents and ridge or roof vents, add a circulation fan, avoid overcrowding plants, and water early in the day so foliage dries. Use breathable surfaces like gravel floors and maintain moderate humidity with ventilation rather than constant heat.
Should I hire a pro or build my own greenhouse?
If you’re comfortable with basic carpentry, masonry for a foundation, and following plans, a DIY build can save money and be rewarding. Hire a professional for complex roof tie-ins, electrical work, or larger-span glazing systems to ensure safety, warranties, and code compliance.
What are smart upgrades to add over time without a full rebuild?
Install automatic vent openers, upgrade to insulated glazing, add shade cloth systems, lay a better floor for drainage, or wire for power to add lights and heaters later. Phased upgrades spread costs and let you prioritize what benefits your plants most each season.