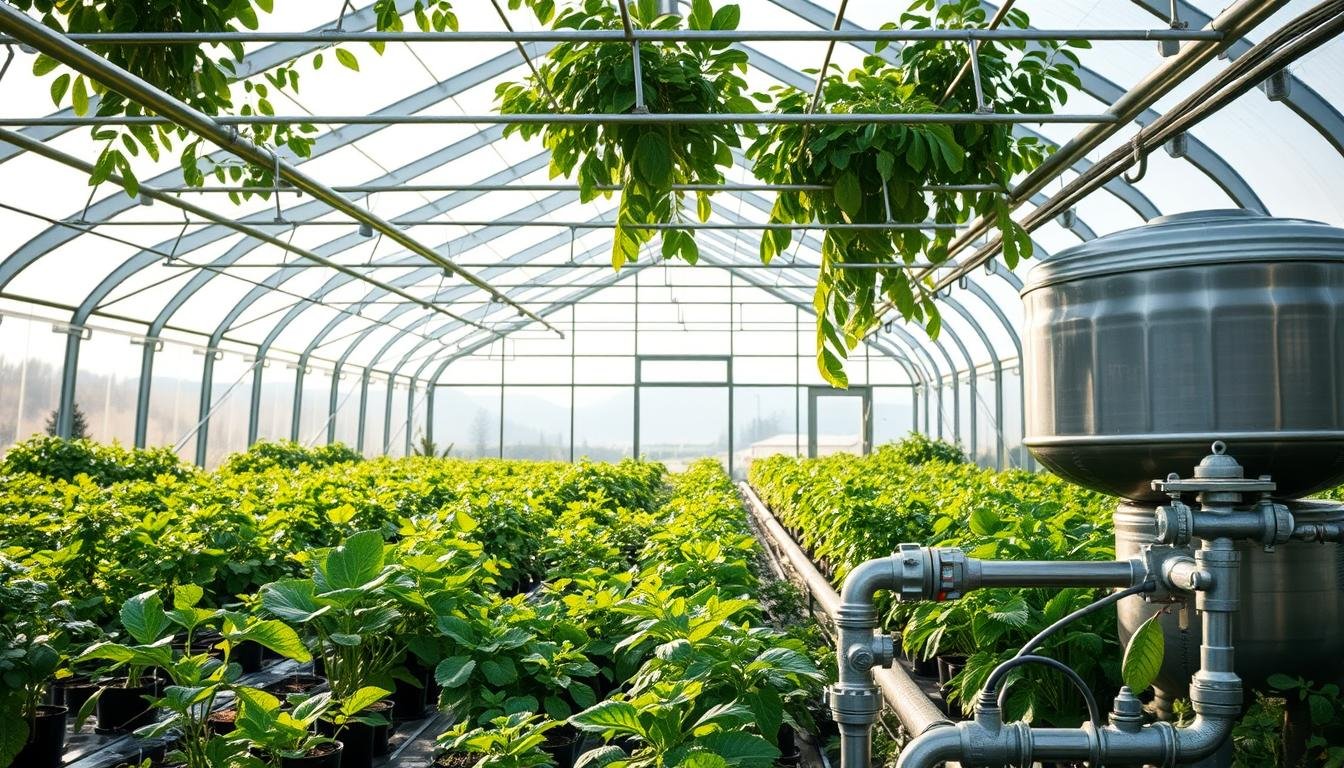
Can a simple roof-fed collection plan cut costs, curb erosion, and keep seedlings thriving all year? This guide starts with that question and shows a clear path from catchment to delivery. Think practical steps, not theory.
A well-planned roof catchment and gutter network funnels water into filtered storage. From first-flush diverters to screened inlets and opaque tanks, each part protects water and plants. Decorative barrels, 55-gallon drums, IBC totes, and large tanks offer scalable options to match budget and space.
Two bold sentences: This introduction explains why a small collection setup makes gardening more resilient and cost-effective. It also outlines the key building blocks so you can pick the right solution for seed starting, daily watering, and long-term growth.
Key Takeaways
- Collecting roof runoff reduces erosion and supplies soft water for plants.
- Core components: catchment, gutters/downspouts, filtration, overflow, and storage.
- Storage ranges from barrels to large tanks; link tanks level for even fill.
- Maintain screens monthly, drain before freezes, and keep tanks shaded to stop algae.
- Use gravity when possible or add a small pump for steady pressure to trays and drip lines.
- For setup options and guidance, see this greenhouse water resource: rainwater management for greenhouses.
Why harvest rainwater for greenhouses: benefits, costs, and plant health
Collecting roof runoff brings a naturally soft water source that eases stress on soil and roots. It can cut utility costs over time and support steadier growth in beds and containers.
Soft, untreated precipitation lacks many dissolved salts and treatment chemicals found in tap or some well sources. This helps keep soil chemistry balanced and lowers the risk of salt buildup that can harm seedlings and mature plants.
Homesteaders and small-scale growers often use simple barrels tied to gutters to irrigate year-round. These setups pair conservation with organic practices and can keep plots productive during restrictions.
Healthier plants and soils: gentler water reduces leaf burn and salt accumulation, encouraging better microbial life and root activity. That leads to more uniform growth and less stress in containers and beds.
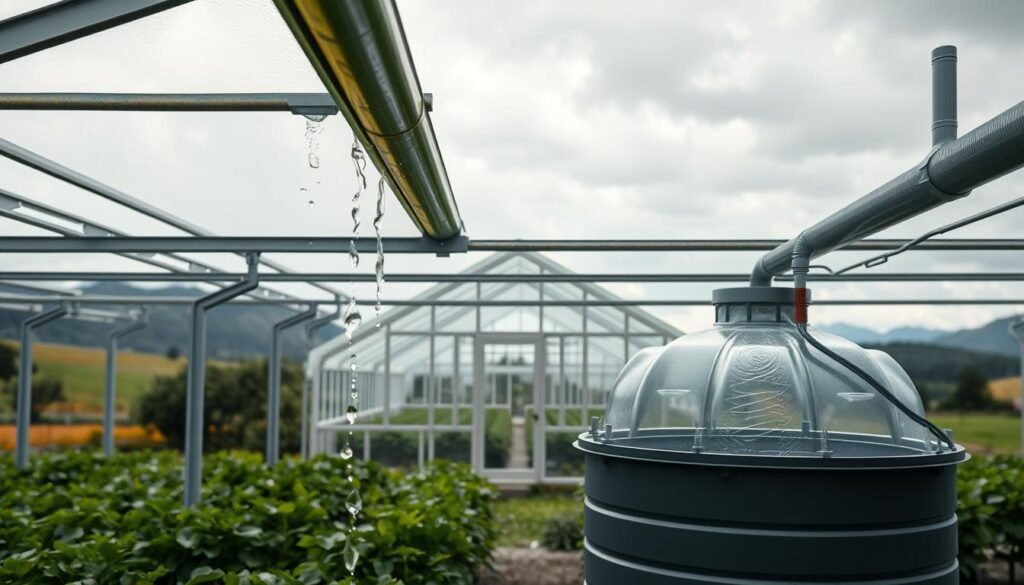
- Save money: initial costs pay back as you cut watering bills in peak months.
- Reduce runoff: capturing roof flow protects nearby soil from erosion.
- Learn locally: many U.S. cities run workshops that show safe, practical reuse methods.
| Benefit | Why it helps | Practical note | Typical result |
|---|---|---|---|
| Lower salts | Less mineral load than some tap/well sources | Good for seedlings and sensitive crops | Better root health |
| Cost savings | Reduced municipal use in summer | Barrels or drums are affordable | Lower utility bills |
| Soil protection | Captures rooftop runoff | Prevents erosion near beds | Improved soil structure |
| Organic fit | Pairs well with compost and bio-controls | Supports resilient growing methods | Healthier plants |
Plan your greenhouse rainwater project for the future
Size your system by pairing roof area with local rainfall and weekly demand. Follow a simple formula and verify local rules before you start building.
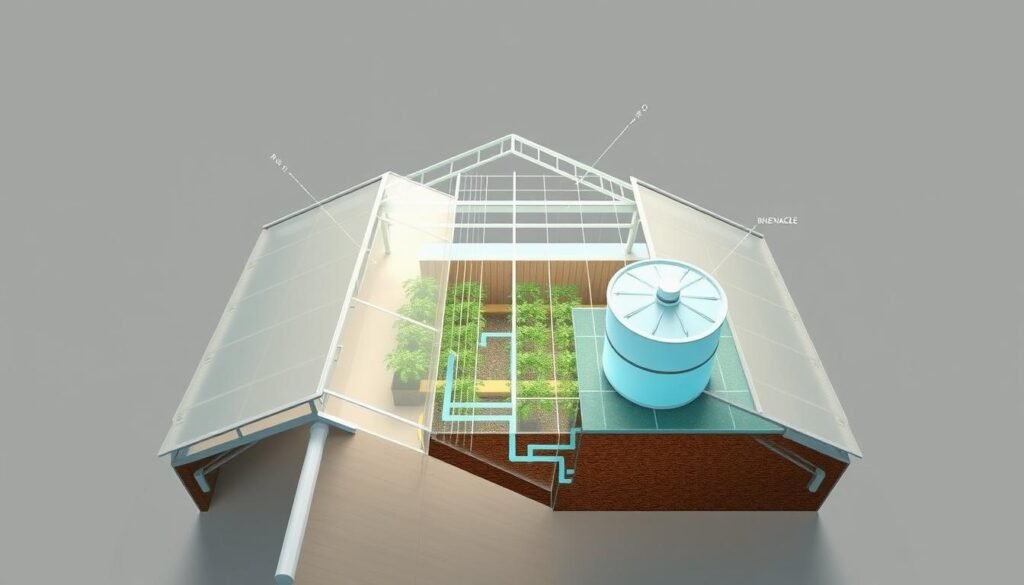
Start with facts, then match capacity to real water needs and site limits. Measure roof area, use monthly rainfall normals, and convert your weekly watering plan into gallons. That gives a realistic target for storage and helps you avoid buying too much or too little.
Estimate catchment and monthly yield
Calculate expected gallons by multiplying roof square footage by monthly inches of rain and 0.62. This rule of thumb converts inches to usable gallons per square foot.
Adjust for roof shape, shading, and losses from gutters so estimates are conservative.
Check local rules and permits
Confirm municipal codes and permit needs before you buy tanks or alter drains. Some U.S. jurisdictions restrict rooftop collection or require specific overflows.
Match storage to seasonal demand
Convert weekly watering to monthly gallons and choose tanks that fit space and budget. Keep tanks level so linked vessels share fills and overflow works as designed.
- Use PRISM normals to ground estimates in local climate data.
- Plan for dry spells with extra capacity where possible.
- Integrate water management into layout: pump location, hose runs, shade, and safe discharge.
Key components of a greenhouse rainwater collection system
Build from the top down—catchment, conveyance, filtration, and safe storage. Each part protects water quality and keeps the setup reliable for daily plant care. Pick components that match roof size, space, and budget to get steady, usable water for pots and beds.
Catchment surfaces: Most growers use a solid roof or greenhouse plastic as the main catchment. Improvised tarps or angled recycled metal panels work when pitched to drain cleanly. Keep surfaces clean so debris and dust don’t enter the flow.
Gutters and downspouts: Set a consistent slope toward downspouts, space hangers tightly, and add inlet screens to stop leaves. A well-sized gutter and downspout reduces clogging and helps deliver steady water to filters and tanks.
Filtration, first-flush, vents, and overflow
Add a downspout filter and a first-flush diverter to shed initial runoff that carries dust and droppings. Follow that with a fine sediment screen at the tank inlet to protect pumps and emitters.
“A short first-flush keeps stored water cleaner and saves time on routine maintenance.”
Include a two-way vent to equalize pressure and an overflow set just below tank top height. Route overflow away from foundations to protect soil and structures.
Storage choices and safe materials
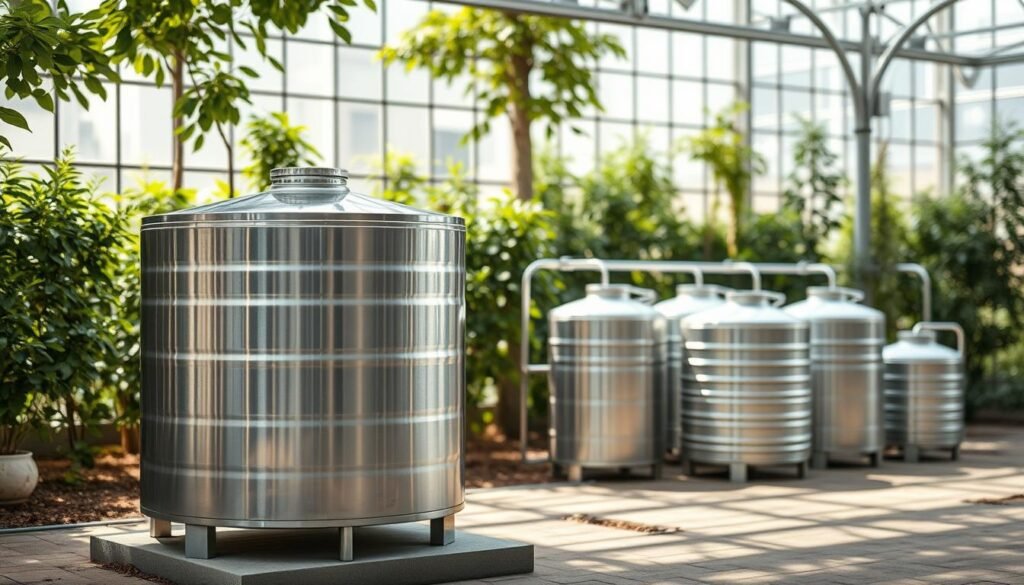
Storage options range from decorative barrels (50–100 gal) to 55-gallon food-grade drums, IBC totes (275–330 gal), and large potable-rated tanks (500+ gal). Confirm food-grade status and avoid containers that once held chemicals. Use opaque covers to cut light and slow algae growth.
| Option | Capacity (gal) | Notes |
|---|---|---|
| Decorative barrel | 50–100 | Plug-and-play, low cost, best for small plots |
| 55-gallon drum | 55 | DIY-friendly; verify prior contents, add screened inlet |
| IBC tote | 275–330 | Good mid-size option; check valve threads and adaptors |
| Large storage tank | 500+ | Higher cost; best for long-term or larger water needs |
- Practical tip: Keep tanks level so linked storage shares fills evenly.
- Material caution: Use food-grade fittings and opaque lids to protect water for soil and plants.
How to set up rainwater harvesting systems your greenhouse
Start with a level base and clear layout, then plumb from gutters to screened inlets. Link tanks low, add a shared overflow, and finish with light-blocking covers and leak checks.
Good placement makes the rest easy. Start by picking a flat, stable pad so tanks sit true. Use compacted gravel or pavers and check level in two directions.
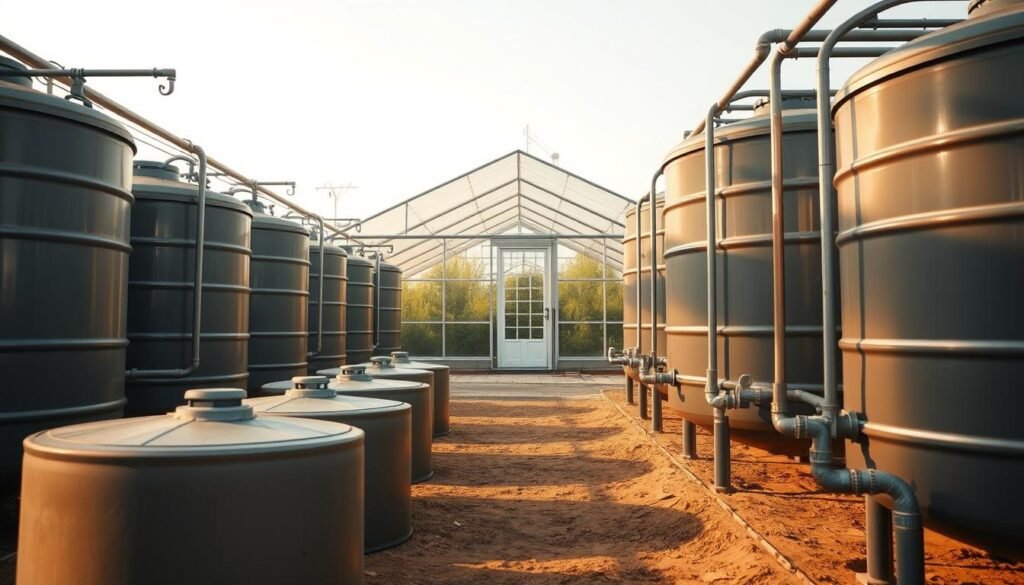
Prepare the site and tank placement
Place tanks with room to expand. Leave space for valves, hoses, and a small pump if needed.
Plumb gutters to screened inlets
Run downspout plumbing through a first-flush diverter and a fine screen before the tank inlet. This reduces grit and debris and protects emitters and pumps.
Link tanks and finish fittings
Connect multiple tanks at the bottom so hydrostatic pressure fills them evenly. Set a common overflow slightly below tank tops and route it away from foundations.
- Practical checklist: secure fittings with thread sealant, strap barrels, and test slowly for leaks.
- Use opaque covers or wrap translucent tanks to block light and stop algae growth.
- Plan spigot height for filling seed trays and watering cans; add quick-connects for drip lines.
- Choose simple gravity feed for nearby beds or a 3–5 gpm pump for longer runs.
Water quality and filtration: from garden-safe to potable-ready
Keep garden use simple with screens and sediment control. For drinking applications, verify contaminants with lab testing and design a multi-stage train with UV and optional RO.
Good water starts at the roof and a tuned inlet. Capture early flow with a first-flush diverter so dust, leaves, and droppings don’t reach storage. A diverter seals when full and then slowly drains after a storm so it resets for the next event.
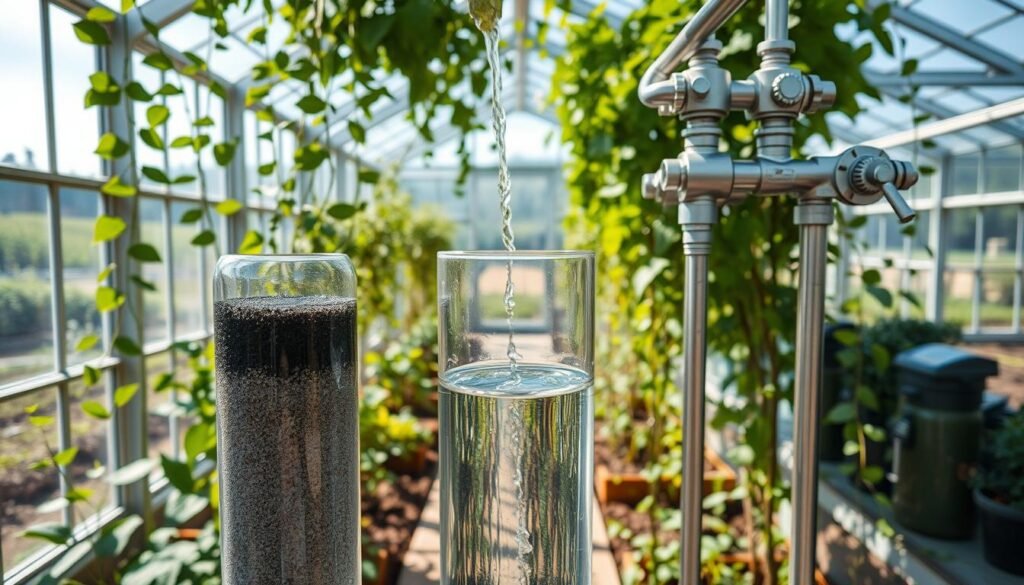
Garden use basics: screening, sediment control, and protecting emitters
Install a fine inlet screen and a sediment filter to keep grit out of pumps and drip emitters. Clean screens monthly and flush low points so flow stays strong to trays and seed flats.
Protect equipment: cleaner inputs extend pump life and reduce clogging in micro-emitters. Keep overhanging branches and animals away from catchment surfaces when practical, and use opaque covers on storage to limit algae.
Potable pathway: lab testing, multi-stage filtration, UV, and RO considerations
For potable use, start with certified lab testing to identify pathogens or chemicals. Then design a staged train: sediment pre-filters, activated carbon, UV disinfection, and consider reverse osmosis for chemical removal and polishing.
Note: UV treats microbes but not dissolved chemicals; combine methods based on test results to meet local health standards.
Sizing and tuning first-flush for cleaner harvested rainwater
Match first-flush volume to roof area so the most contaminated initial runoff is diverted. A properly sized diverter improves clarity and protects filters and storage, reducing maintenance and improving overall water quality.
- Bold summary: Keep garden use simple with screens and sediment control. For drinking applications, verify contaminants with lab testing and design a multi-stage train with UV and optional RO. Correct first-flush sizing boosts clarity and protects equipment.
- Maintain clarity: rinse screens monthly and flush sediment from low points to keep flow strong to benches and seed trays.
Delivering harvested rainwater to plants
Use elevation and simple plumbing to move stored water where it’s needed, or add a small pump for steady pressure. Match flow and pressure to emitters so irrigation runs reliably and supports even plant growth.
Move water from storage to beds with a simple plan that balances height, flow, and the needs of each plant area.
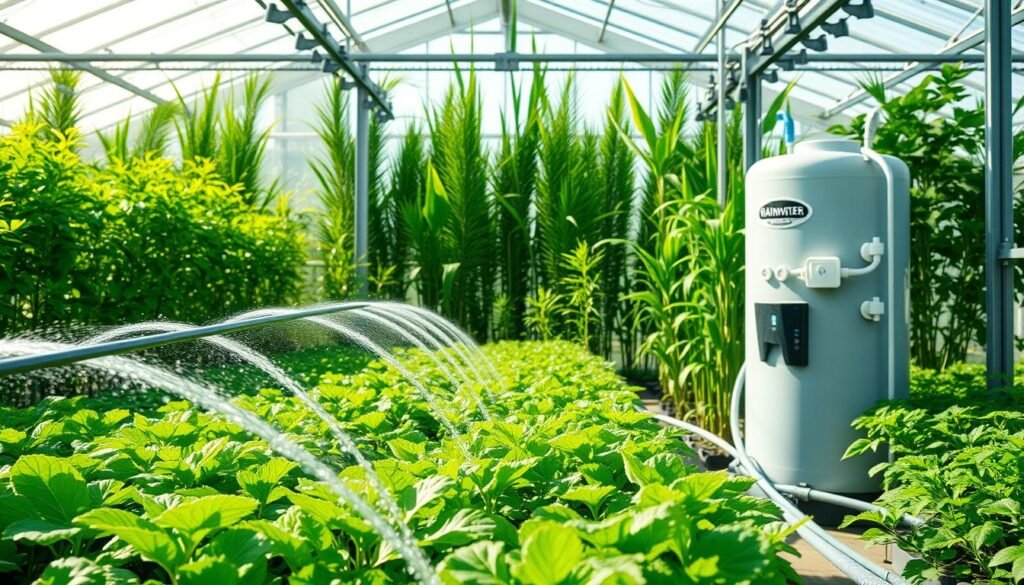
Gravity-fed drip irrigation: when and how it works
Gravity feed works when the point of use is lower than the tank. Elevate tanks on a sturdy platform to raise head pressure. Even a small rise gives steady flow for low-pressure drip irrigation and micro-emitters.
Elevate safely: build a level stand with blocks or a metal rack and secure tanks to prevent tipping. Gravity is quiet and power-free, ideal for seed flats and nearby benches.
Using a pump: choosing flow, pressure, and powering options
Choose a pump sized for total dynamic head and desired gpm. Small plug-in pumps (3–5 gpm) feed most drip lines, misters, or a hose run. Check emitter requirements and add a pressure regulator if needed.
- Filters first: install a fine screen before emitters to avoid clogs and keep the irrigation system consistent.
- Zone control: use shutoff valves and quick-connects to switch between trays, beds, and hand-watering.
- Match emitters: micro-drip for seedlings, heavier emitters for fruiting plants.
Seasonal operation, maintenance, and resilience
Keep your setup dependable with light, regular care that fits each season. Plan winter protection, a simple monthly routine, and options to expand storage as plants and demand grow.
Small steps now save time and stress later. A short checklist protects pumps, valves, and tanks so irrigation stays reliable for seed trays and beds.
Cold-climate strategies
Insulate above-ground tanks or place them partly underground to reduce freeze risk. Drain exposed lines and remove pumps before deep freezes.
Tip: Wrap pipes with foam and use thermostatic heaters for basins if long freezes are common.
Simple maintenance schedule
Clean filter screens monthly and inspect fittings for leaks. Keep storage tanks opaque or fitted with a dark cover to limit algae and UV damage.
Empty or secure rain barrels and low points before frost. Once per year, clean inside tanks and test valves and pump operation ahead of peak season.
Adapting to drought and growth
In low-rain years, add linked tanks to increase capacity or mix in safe supplemental sources like treated greywater or well supply.
Keep a short log of rainfall, irrigation runs, and maintenance dates to guide management decisions.
“A steady record helps you tune irrigation and storage for steady garden results.”
- Bold summary: Keep your system dependable with a light but regular maintenance rhythm. Prepare for winter, adjust for drought, and expand storage as your greenhouse grows.
Conclusion
A well-planned rainwater collection setup strengthens a greenhouse, trims costs, and supports healthy plants season after season. With the right components and simple upkeep, you can turn storms into steady irrigation and lasting resilience.
Revisit the basics: softer water helps soil and roots, and capturing runoff lowers utility bills. Pair catchment, filtration, safe storage, and delivery that match layout and goals.
Choose storage tanks you can expand and use fittings that are easy to service. Keep routine tasks simple: clean screens, fit an opaque cover, and log maintenance dates.
From seed starting in trays to full harvests, harvested rainwater supports steady growth. Review roof area, local rainfall, and garden needs to right-size a first installation and add capacity as demand grows.