
Can a bubbling, aerated brew really change plant health, or is that belief more hopeful than proven?
This introduction sketches what the brew is, when it helps, and why realistic expectations matter.
Definition first: the method is a living, aerated infusion made by steeping quality organic material in water while pumping air for several days. It produces beneficial microbes taken from the starting material and can be sprayed or poured onto beds and plants.
Results hinge on simple factors: the source mix, clean water, steady aeration for 3–5 days at night temps above 60°F, and fast use to avoid anaerobic problems. Add-ins like liquid humate, fish emulsion, and unsulfured blackstrap molasses are common, but they do not replace fertilizer.
Expect better microbial diversity, possible disease suppression, and improved nutrient cycling when used with balanced fertility. Practical use means diluting roughly 1 cup per gallon of rainwater, spraying at dusk, or drenching soil for steady vigor.
Key Takeaways
- It’s a living brew: adds biology to beds and plants, not instant nutrient replacement.
- Quality matters—start with trusted organic material and soft water.
- Use fresh within days; aerate 3–5 days when nights stay above 60°F.
- Dilute and spray at dusk or drench soil to seed microbes safely.
- Works best alongside balanced fertilizer and good cultural care.
Compost tea, science, and results: what gardeners can realistically expect
An aerated brew captures living bacteria and fungi from finished material, making those organisms portable for field use. This lets gardeners apply a living inoculant to foliage or beds while keeping expectations grounded in science.
What it is and how it works
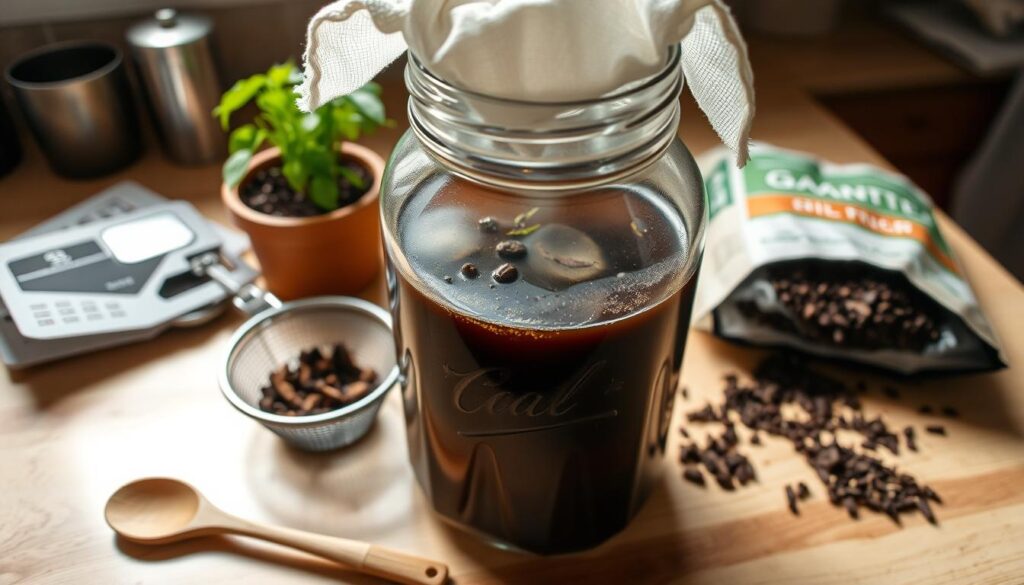
Define it simply: compost tea is an aerated infusion of finished compost in water. A mesh bag holds the finished compost while an aquarium bubbler runs for 3–5 days to build a living suspension.
Microbes, Brix, and plant health
Bacteria and fungi from the brew colonize the rhizosphere and leaf surfaces. These microbes help cycle nutrients and support plant defenses. Some growers report slight rises in sap Brix and reduced pest feeding after regular applications, though responses vary by crop and care.
Limits and practical controls
Quality depends on inputs: high-grade or OMRI-listed finished compost yields better results. Cool temperatures, anaerobic lapses, or long storage reduce benefits and can cause off-odors. Remember: the infusion adds biology, not a quick dose of soluble chemicals or fertilizer.
Use tips: apply fresh, dilute to about 1 cup per gallon of rainwater, spray at dusk for leaf work, or drench soil to boost root-zone microbes. Pair with a soil-test‑informed fertilizer plan to support lasting growth.

How to make compost tea step-by-step: tools, ingredients, water, and timing
Start with a simple, reliable setup so biology can thrive while you brew. This section lays out clear gear, exact ingredients, and the brewing timeline so you can make compost tea safely and repeatably.
Gather gear first:
- Bucket: one 5-gallon bucket filled about three-quarters with water.
- Bubbler: aquarium pump with air stone, an old sock or pantyhose, a stick and clip, a fine mesh sieve, and a sprayer.
Measure ingredients for a 5-gallon batch: 2 cups finished compost, 2 tbsp liquid humate, 2 tbsp liquid fish emulsion, and 2 tbsp unsulfured blackstrap molasses.
Use rain water when possible. If you must use tap water, let it sit in the sun a full day to off-gas chlorine. Fill the bucket, suspend the filled sock mid-bucket, add the humate, fish emulsion, and molasses, then drop the air stone to the bottom.
Run the bubbler continuously for 3–5 days, starting when nightly lows stay at or above 60°F. After brewing, strain through the sieve into your sprayer and dilute—typically 1 cup of brew per 1 gallon water—then apply to soil or plants soon after brewing. Clean the bucket and gear after use to keep results consistent.
How to use compost tea in the garden: dilution, spraying vs drenching, and frequency
Small choices—dilution, timing, and water quality—shape how well the brew helps plants. Use a gentle routine so microbes can establish without stressing leaves or roots.
Dilution made simple: mix 1 cup of compost tea per 1 gallon water, ideally with rain water. This ratio gives a biology-forward dose safe for most beds and containers.
When to spray vs drench
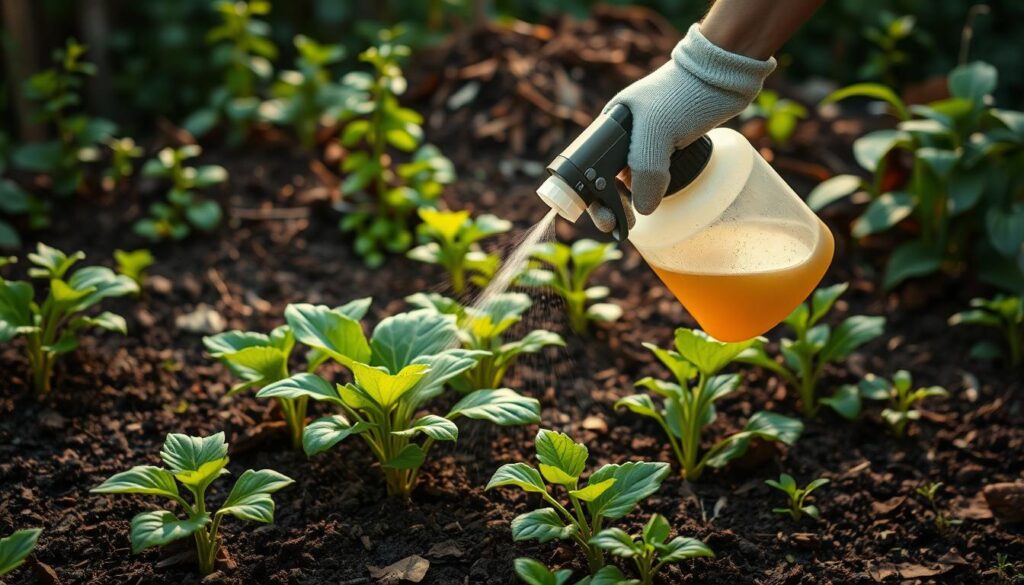
Foliar spray at dusk when UV is low and no rain is expected. That timing helps microbes settle on leaves overnight.
For soil work, drench along the drip line and across bed surfaces to seed the soil zone. Heavy feeders, like roses, can tolerate mixes up to half brew, half water occasionally.
Seasonal cadence
Wake beds in early spring with a broad soil application. On production annuals, apply every two weeks through July. Backyard plots benefit from monthly use. Treat lawns in spring and fall for best effect.
Safety and storage
Properly diluted brew rarely burn plants. Use fresh batches within a few days. Do not store without aeration—anaerobic shifts reduce quality and can smell bad.
Quick tips: avoid municipal chlorinated water if possible; let tap sit or use rain water. Track when compost tea used or tea used as a drench so you can note responses and pair applications with a soil-test informed fertilizer plan.
compost tea miracle grow your garden look: comparing organic tea to Miracle-Gro and DIY plant foods
Compare fast nutrient feeds to a biology-first approach so you pick the right tool for the job. Use living applications to improve nutrient cycling and save quick‑acting fertilizers for targeted corrections.
Below is a simple DIY concentrate recipe that mimics store fertilizer effects but is made at home.
How to mix a DIY “Miracle‑Gro” style concentrate
Recipe: 1 gallon water, 1 tbsp Epsom salt, 1 tsp baking soda, 1/2 tsp household ammonia. Mix and store airtight.
Application: once a month, mix 1/8–1/4 cup of the concentrate with 4 cups water and feed plants. Watch for salt stress and reduce dose if leaves show edge burn.
Low‑effort plant foods from home
Fish tank water gives nitrogen and trace elements when you dump a portion during cleaning.
Kitchen-scrap soak example: eggshells plus coffee grounds in rainwater, shaken daily for a week, then strain and add tablespoons to pots.
Weed soak, manure, and slow‑release options
Steep fresh weeds in rainwater for about a week and dilute 1:10 before use. Classic inputs like manure, finished compost, mulch, and bone meal build long-term soil food and structure.
“Use fast-acting products when tissue tests show a need; rely on living inputs for steady soil health.”
| Option | Main benefit | Speed | Risk |
|---|---|---|---|
| DIY concentrate | Quick nutrient boost | Fast | Soluble salts, leaf burn if overused |
| Fish tank water | Free N and micros | Moderate | Variable strength |
| Weed soak | Cheap, easy feed | Moderate | Strong smell |
| Manure/compost | Long‑term soil food | Slow | Need to be well finished |
Over‑fertilization signs: white crust on the soil, yellow margins, brown tips, stunted growth. If you see these, flush pots or beds with plain water to reduce soluble salts.
Smart mix: use living applications regularly for nutrients soil cycling, and add concentrated plant food sparingly for measured corrections. If you make compost, you reduce dependence on commercial products and chemicals while controlling input quality.
Conclusion
Keep the process simple and repeatable: good inputs, a clean 5‑gallon bucket, and steady aeration for about 3–5 days will give the best results. This approach brings living biology to the soil and helps plants use nutrients more effectively.
Use fresh batches, dilute at 1 cup per 1 gallon water, and apply at dusk or as a drench. Favor captured rain or dechlorinated water and clean gear after each run.
Pair the practice with a soil‑test informed fertilizer plan and organic fertilizer inputs. A splash of fish emulsion can add gentle nutrition without heavy salts.
Make compost at home and learn to make compost tea so you control quality. This post is a practical springboard—brew smart, track vigor, and celebrate steady growth.