Curious which simple creations can cut chores, save cash, and make planting more joyful?
Discover practical, low-cost items that ease daily tasks and extend gear life. This short guide spots DIY fixes and small tweaks that deliver big value with common materials like wood, rope, buckets, and PVC.
Start with easy projects — a self-watering wick, raised bed frame, or a reclaimed-pallet trellis — that lift strain and speed routine work. Many ideas reuse household bits so projects feel doable and green.
Expect clear steps, safety tips, and care advice so one good home-made piece can rival store gear season after season. If a pallet herb setup fits your space, see a handy example at pallet herb ideas.
Key Takeaways
- Simple builds cut time and cost while improving comfort.
- Most projects use common items like buckets, wood, and rope.
- One well-made DIY piece can match store performance with basic care.
- Step-by-step plans, safety, and maintenance are included for each item.
- Options suit beginners and fit different yard sizes and layouts.
Why DIY Garden Tools Save Time, Money, and Your Back
Targeted fixes and simple builds shift hard, repetitive work into quick, comfortable motions. They let a gardener trade awkward effort for ergonomics and purpose-built function.
DIY gear makes gardening more efficient by matching a tool to specific tasks. When a piece fits a bed width or soil type, every pass feels easier and finishes faster.
Money-wise, making or tweaking items avoids repeated purchases and lets quality matter where it counts. Spend on a sturdy blade and protect it with a quick oiling habit to extend life.
Comfort wins are immediate: lighter handles, better grips, and improved leverage cut strain on the back and wrists during frequent jobs.
- A phased approach works best: fix one big bottleneck first, add a bit more each month.
- Quick examples: a dibbler speeds planting, an early-use wire hoe reduces later weeding, and a cart mod eases heavy hauls.
Customization and adaptability mean these ideas suit raised garden beds, patio pots, or in-ground plots without premium pricing. With a short parts list and a plan, you end up with quality, time savings, and tools that make gardening feel lighter and smarter.
Self-Watering Wick System for Potted Plants
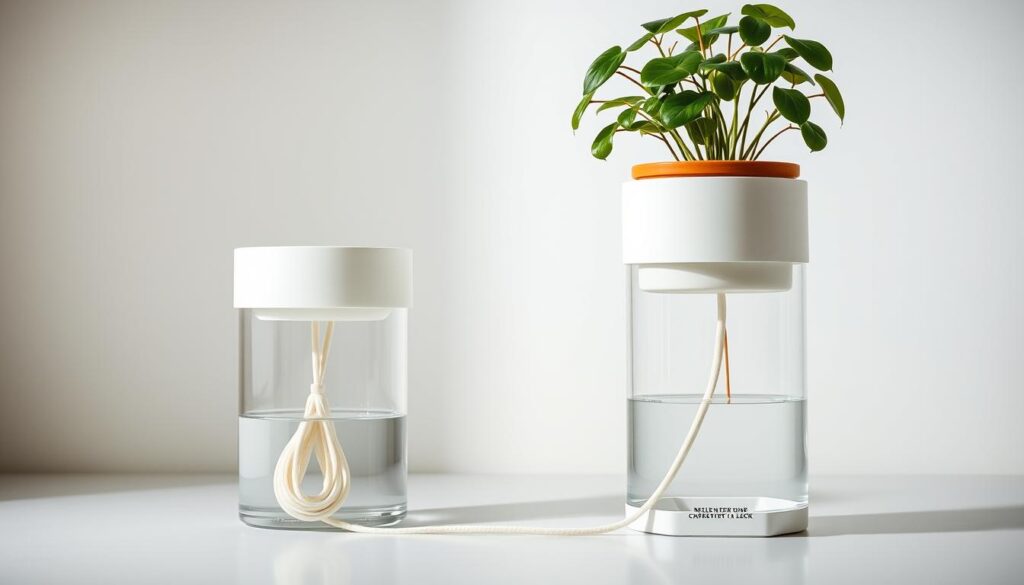
A wick system draws water from a small reservoir into potting mix as a plant needs it, keeping moisture steady without daily watering. This low-effort method keeps soil evenly moist and works well for indoor herbs and small containers.
Simple materials you already have at home
Use common items to set this up quickly.
- Absorbent cotton or nylon rope for the wick.
- Clean jar, bottle, or small bucket as the reservoir.
- Toothpick or awl to make a small hole if threading through a pot.
Step-by-step setup to keep soil evenly moist
Cut a wick long enough to reach from the root zone into the reservoir with a little slack. Insert one end into the potting mix near roots. Place the other end at the bottom of a filled reservoir set slightly below or beside the container.
| Item | Typical Size | Why it matters |
|---|---|---|
| Wick | 12–24 inches | Enough length prevents kinks and maintains capillary action |
| Reservoir | 8–16 oz jar | Small but frequent supply matches pot size |
| Soil mix | Standard potting mix | Good drainage keeps oxygen at roots |
Pro tips: wick choices, reservoir placement, and refills
Keep the reservoir shaded to slow algae. Pre-wet the wick and soil to start flow if the mix stays dry. If soil gets too wet, raise the reservoir slightly or swap to a thinner wick.
Maintenance: Check reservoirs every few days in warm weather and clean containers now and then. This simple way helps keep plants healthy at home and is one of the most reliable garden ideas for low-maintenance watering.
Build a Raised Garden Bed for Better Soil and Easier Planting
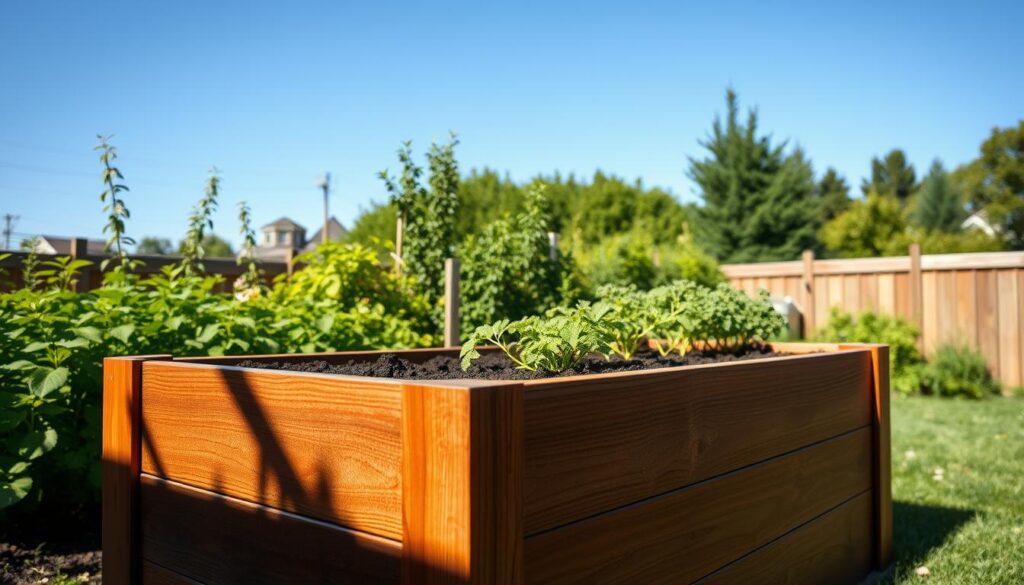
A compact raised bed brings richer soil, tidier planting, and easier access for everyday tending. It’s a simple upgrade that improves drainage, warms sooner in spring, and reduces back strain while working.
Materials and sizing
Choose weather-resistant lumber or a metal option, exterior screws, a drill, saw, and a square. Pick rot-resistant species or seal cut edges. Common widths of 3–4 feet keep a garden bed reachable from both sides without stepping onto the soil.
Quick-build steps
- Measure and mark boards to size, then cut.
- Pre-drill holes to prevent splits and fasten corners squarely with exterior screws.
- Place the frame on a sunny, level spot with at least 6–8 hours of light.
- Line the bottom with overlapping cardboard or newsprint to suppress weeds and help retain moisture at the bottom.
- Fill with a blend of topsoil and compost for a loose, nutrient-rich mix that drains well yet holds moisture for roots.
Finishing touches and care
Consider steel corners or metal panels for added rigidity and coated hardware to resist corrosion. Add cap rails for a comfortable edge, corner braces for strength, and a trellis on the north side for climbers so taller plants do not shade crops.
Top up with compost each year, mulch to reduce weeds, and avoid stepping in the bed to protect soil structure and extend the life of your raised garden bed.
DIY Trellises to Keep Plants Off the Ground and Organized
A simple frame or arch keeps climbing crops tidy while cutting disease risk. Lift vines to improve airflow and make harvesting easier.
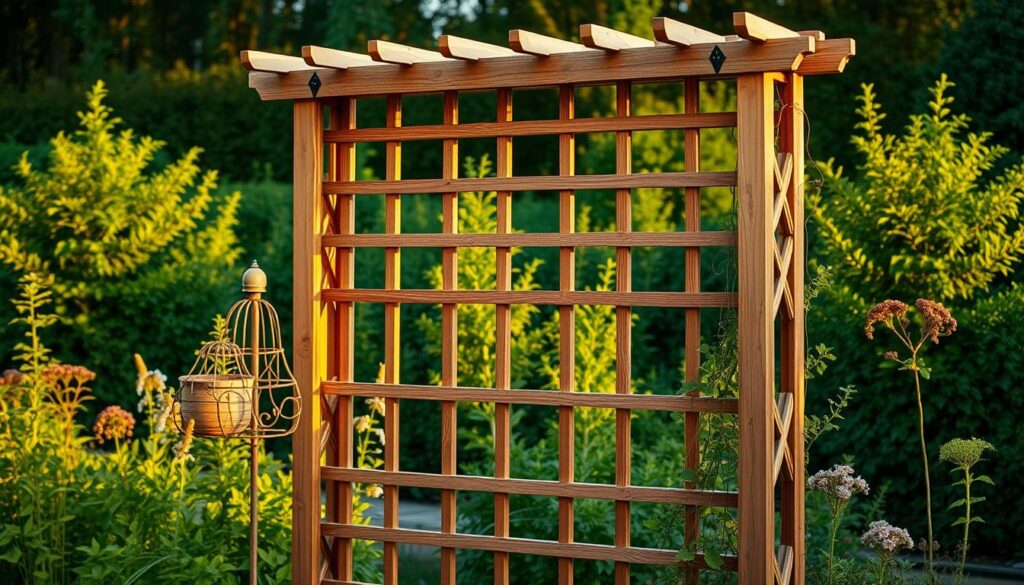
Choose a form that fits the bed and the crop. A-frames fold for storage, flat panels suit edges, and arched tunnels add charm and shade for cool-season greens.
Materials that match design and load
Use bamboo for light vines and cattle panels or wire mesh for heavy fruit that adds weight. Repurposed ladders and pallet frames save money and look rustic.
Match crops and training methods
Peas and beans prefer finer mesh; clematis and sweet peas need gentle supports for tendrils. Train early, using soft twine or plant tape, and reposition ties weekly for even sun exposure.
“Raise vines to keep stems dry and to reduce disease while easing harvest work.”
Durability and anchoring tips
Cross-brace wooden frames, drive posts deep, and seal wood to extend life. Check fastenings midseason and reinforce anchors if a crop’s weight increases.
| Design | Best for | Durability note |
|---|---|---|
| A-frame | Row crops; easy storage | Good when braced at hinges |
| Flat panel | Bed edges, vine training | Attach to posts; tie to stakes |
| Arched tunnel | Shade, walk-through tunnels | Secure ends; use treated lumber |
| Cattle panel/wire mesh | Heavy vines, cucumbers | Very strong; needs solid posts |
- Benefits: Lifts vines off damp soil, boosts airflow, reduces disease, and keeps harvest neat.
- Quick care: Pre-cut ties and a small pruner make weekly training fast.
- Creative tip: Reuse ladders or pallets for low-cost, functional garden ideas that last.
Make Your Own Spiked Sandal Aerators to Loosen Compacted Soil
Small holes let air, water, and nutrients reach roots so they grow deeper and stronger. This simple DIY step refreshes firm ground with little expense and little time.
Choose a stable base and fit the spikes
Pick a sturdy pair of thick-soled sandals or cut wooden boards to match a foot size. Thicker bases keep spikes steady and comfortable.
Drill evenly spaced pilot holes and install long screws or nails so about an inch protrudes beneath the sole. That length penetrates packed soil without causing tripping.
Secure straps, test steps, and cover the area
Attach strong straps or Velcro to hold each foot snugly. Walk in straight lines, then cross at right angles to cover the bed evenly and save time on larger areas.
Work when the soil is slightly damp; avoid soggy conditions to prevent smearing. If spikes hit hardpan, shorten screws or water the area and repeat.
| Component | Recommendation | Why it matters |
|---|---|---|
| Base | Thick-soled sandals or wooden board | Stability and comfort while stepping |
| Spikes | Long screws/nails, 1″ protrusion | Effective penetration without tripping |
| Straps | Strong nylon or Velcro | Secure fit for clean, safe steps |
Care, storage, and safety
Knock off dirt, dry metal parts, and oil to prevent rust. Store in a dry spot where kids and pets won’t find them. Walk slowly and keep balance—deliberate steps make this a safe way to refresh soil and restore healthy garden beds.
Build a Simple DIY Irrigation System That Waters While You Rest
A planned irrigation network keeps soil evenly moist with minimal effort. This approach maps zones, uses PVC runs, and adds a timer so morning watering happens automatically.
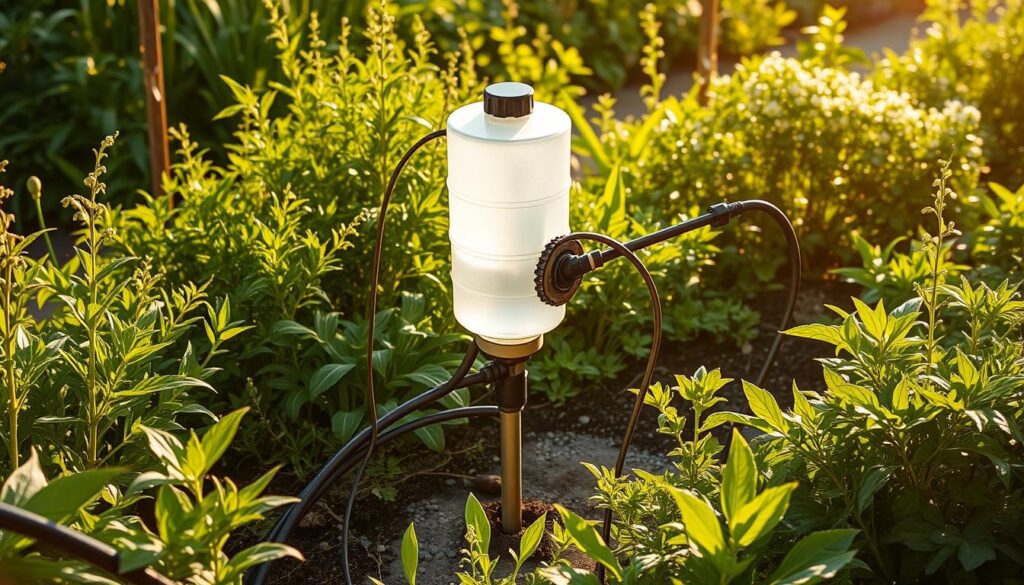
Plan layout: zones, pipe runs, and outlet spacing
Sketch a map of beds and mark zones to avoid overwatering. Divide the area so each run serves a similar grouping of plants and soil types.
Place main lines along bed edges and orient outlets toward rows. Even spacing helps the water soak into the ground, not pool on the surface.
Assembly essentials: PVC, connectors, holes, and shut-off valve
Gather PVC lengths, elbows, tees, a hose connector, a shut-off valve, and a drill for outlet holes. Dry-fit all pieces to confirm layout before gluing joints with waterproof adhesive.
Drill small holes evenly along each run and point them toward plant rows. Attach to the hose bib, open the valve, and test flow. Adjust hole size or spacing until coverage is even.
Efficiency add-ons: timers and watering at dawn
Add a simple mechanical or battery timer to run zones at dawn, when evaporation is lowest and soil absorbs moisture best. This reduces waste and helps keep plants healthy.
Tuck lines along bed edges or bury lateral runs slightly to shield them from sun and foot traffic. Flush lines seasonally, cap unused outlets, and replace worn valves to keep the system reliable.
| Component | Typical Item | Why it matters |
|---|---|---|
| Main pipe | PVC schedule 40, 1/2–3/4″ | Durable, easy to cut and glue for long runs |
| Connectors | Elbows, tees, hose adapter | Allow flexible routing and easy attachment to faucet |
| Controls | Shut-off valve, timer | Zone control and scheduled watering at dawn to save time |
| Outlets | Drilled holes or micro-drippers | Even distribution matched to soil infiltration |
Fast and Easy PVC watering guide offers a clear parts list and step photos to help set up a first zone. Start small, tune flow, and expand a branch at a time so the system fits the place and keeps plants well watered without daily effort.
Turn Free Pallets into a Sturdy Garden Fence
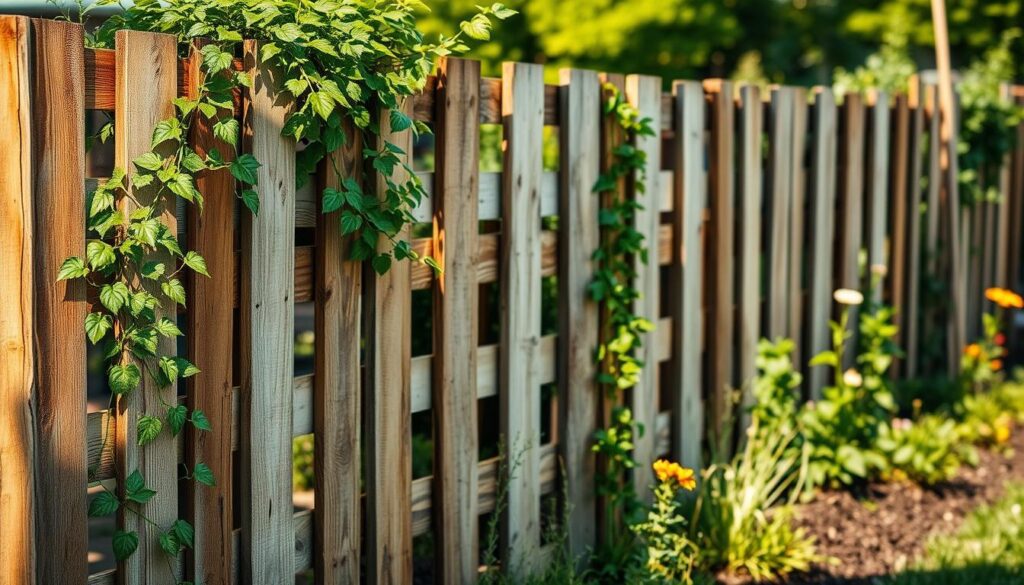
Repurposed pallets make a surprisingly sturdy fence when placed and fastened with care. This approach saves money and shapes a neat boundary for beds and paths.
Start by collecting solid, heat-treated pallets and the right fasteners. Trim rough edges, remove protruding nails, and reinforce weak slats so panels look tidy and hold up to wind.
Plan and set posts: marking lines, digging, and anchoring
Mark corners and run a taut string to map the fence line. Even spacing keeps panels straight across uneven ground.
Dig post holes below frost depth where needed, backfill and tamp firmly, and check each post is plumb before attaching panels.
Finishing touches: trimming, securing sides, stain or paint
Fasten pallets to posts with exterior screws at multiple points along the sides to resist racking. Add vertical planks to cover gaps for privacy.
Staple hardware cloth along the base to deter digging and keep small critters out. Brush on a weatherproof stain or paint for long life.
“Make the fence easy to use by framing a gated section. A simple hinge and latch make moving carts and tools effortless.”
| Step | Key items | Why it matters |
|---|---|---|
| Choose pallets | Heat-treated pallets, inspection | Durability and safety from chemical treatment |
| Post setting | Sturdy posts, concrete or tamped soil | Keeps panels square and resists frost heave |
| Attachment | Exterior screws, drill | Secure connection; reduces wobble and repair needs |
| Finish | Weatherproof stain or paint | Seals wood fibers and extends service life |
- Keep vegetation in check—weed along the line to reduce rot and pressure on boards.
- Reuse and save: pallets are often free, turning a large project into a low-cost, weekend way to protect space.
- Work safely: wear gloves, remove nails, and use exterior-grade screws so the fence stays secure season after season.
A Budget Compost Bin That Turns Scraps into Black Gold
A simple bin turns kitchen and yard scraps into dark, crumbly compost that feeds beds and potted plants. Pick a container, add airflow and drainage, and keep the mix damp but not soggy for steady decomposition.
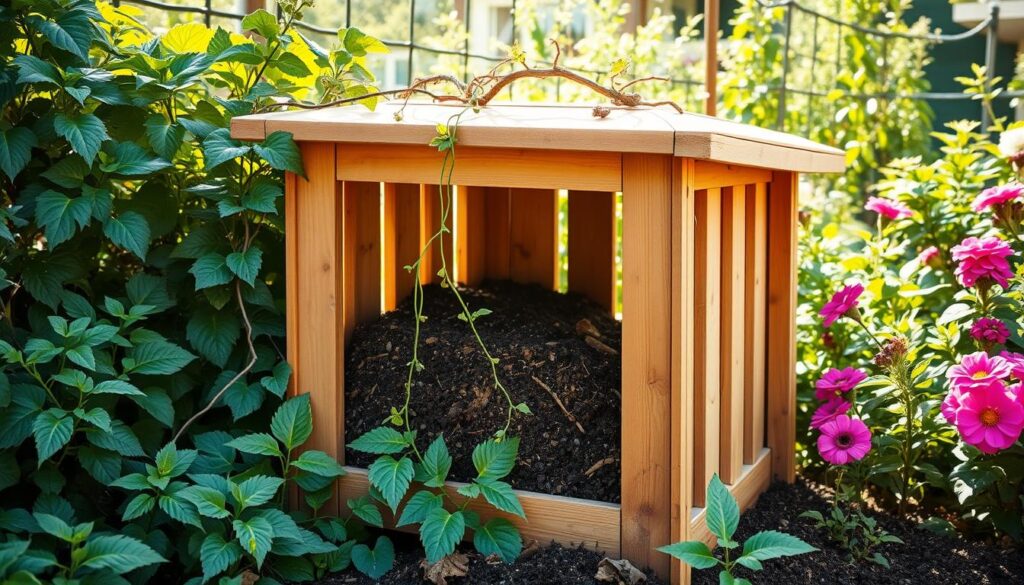
Pick a container that suits your space: a drilled plastic tote is compact, a pallet box scales up, and a metal drum lasts long. Fit a lid to hold heat and keep critters out.
Airflow and drainage
Drill evenly spaced holes on the sides and bottom to feed microbes oxygen and let excess water escape. Elevate the bin on bricks or a slatted platform so leachate drains and air moves from the bottom up.
Speeding breakdown
Aim for 40–60% moisture—about a wrung-out sponge. Chop scraps small, add browns like shredded cardboard, and turn weekly to reintroduce oxygen. Bury fresh bits in the center to cut odors.
“When material looks dark and crumbly and no recognizable pieces remain at the bottom, it’s ready to feed the soil.”
| Container | Best use | Key setup |
|---|---|---|
| Plastic tote | Small patios, quick access | Drill sides & bottom; fitted lid |
| Pallet box | Larger volumes | Slatted base; easy turning |
| Metal drum | Durable, long-term | Vent holes; raised on bricks |
- Placement tip: Keep the bin near the kitchen path but in some shade to hold water and heat.
- Use: Top-dress beds, mix into potting mixes, or steep as compost tea to revive soil life.
Homemade Planting and Weeding Aids for Everyday Tasks
Fast, low-tech helpers speed planting chores and stop tiny weeds before they become a problem. These simple gadgets save time and make spacing, depth, and early weeding consistent for better results.
Make a garlic dibbler board by fixing short pegs beneath a flat board. Press the board into friable soil to create an even grid of holes. This method speeds planting and keeps depth uniform for bulbs.
Turn a broom handle into a quick dibber: taper the end, add depth marks, and use it for seeds, bulbs, and small transplants in loose soil. Charles Dowding-style dibbers work well when the soil is not compacted.
How to use a wire hoe at the right moment
Skim the surface at the thread stage—that thin, early root stage—so tiny weeds are cut before they emerge. Short, shallow sweeps preserve soil structure and take only minutes each week.
Practical tips that keep tasks quick
- Standardize spacing: pair a dibbler with a string grid so rows align neatly.
- Ergonomics: wrap handles with grip tape and set lengths for comfort.
- Care: sand and oil wooden pieces; keep dibber tips clean to slip into soil.
“Punch holes, drop seeds, cover with a quick rake flip — this flow saves time and keeps plants evenly spaced.”
| Aid | Best use | Quick tip |
|---|---|---|
| Garlic dibbler board | Bulbs and clove spacing | Mount 1–2″ pegs in a grid for repeatable depth |
| Broom-handle dibber | Seeds, bulbs, small transplants | Taper end; mark depths at 1″ intervals |
| Wire hoe | Early-stage weed control | Skim weekly at thread stage for best effect |
Store aids on a simple rack near the door so they are ready when planting time arrives. Involve kids in pressing the dibbler board or counting holes; it makes the task lighter and teaches spacing to the next generation.
Smart Mods to Tools You Already Own
Make small upgrades that multiply usefulness and cut wasted effort. Simple maintenance for a beloved soil knife and smart cart tweaks save time and extend life.
Dive into two high-value fixes: keep a hori hori sharp and rust-free, and make hauling lighter with a metal cart and a pair of 5-gallon buckets.
How should I care for a hori hori and blade?
Clean the soil knife after each use, dry it, and rub a little oil on the blade to prevent rust. Oil wooden handles a few times each season to keep the grip strong and comfortable.
Use both the straight and serrated edges for roots, twine, and small pruning. File edges at a steady angle and test on scrap so sharpening is safe and effective.
What simple mods make hauling easier?
Add bungee anchor points to a metal cart, remove mesh sides for bulky loads, and lay a rubber mat to stop sliding and reduce rattle. Grease wheels, tighten bolts, and check tire pressure before heavy use.
- Clip a PVC sleeve to hold a soil knife and a hand hoe for quick access.
- Use a pair of 5-gallon buckets as stackable organizers with lids for harvests and amendments.
- Keep a blacklight flashlight for dusk pest checks and store neem oil for morning sprays, never midday.
Conclusion
Small, practical projects repay effort with saved time and money. They tidy beds, steady water, and turn scraps into usable compost that feeds soil and plants.
Pick one item from this list that solves a recurring chore. Gather a short parts list and finish it over a weekend. That first win creates momentum and lets a gardener add the next useful piece with confidence.
Keep care simple: wipe metal, oil moving parts, and check fasteners seasonally. Blend maintenance with new builds so a reliable soil mix and timely watering keep plants thriving.
strong. These garden ideas are approachable, proven, and flexible—choose one, do it, and enjoy smoother, more satisfying days tending beds and plants.