You stand in the garden, hear the familiar click of the timer, and expect cool, dark soil under your fingertips. Instead, your hands meet dust. That small shock can feel like a breach of trust with your drip irrigation system.
Most often, the issue is simple: the timer only opens a valve. It does not force water through a blocked line or fix low pressure. A short walk and a quick flow test usually reveal where the water stops.
This guide sorts problems into two clear buckets: no-flow (nothing reaches the line) and low or uneven flow (some areas get water, others don’t). Follow a calm, step-by-step path: check the source, flush debris, inspect filters and regulators, compare flow to demand, and scan tubing and emitters.
By the end, you’ll know which fixes are quick maintenance and which need a redesign. Most steps take minutes, a bucket, and a willingness to walk the line like a garden detective.
Key Takeaways
- Timer operation doesn’t guarantee water reaches every plant.
- Problems fall into no-flow or low/uneven flow categories.
- Start with the water source, filters, and pressure checks.
- Simple maintenance often restores full system function.
- For deeper help, consult this troubleshooting guide.
Quick symptoms check when the timer runs but water doesn’t reach the beds
Start with a sixty-second check to pinpoint where water stops along the line. This fast scan saves time and helps you choose the right fix.
What dry patches often indicate:
- Closed valve or clogged filter near the source.
- Debris trapped in tubing or a kinked main line.
- Emitters that are plugged, mismatched, or missing.
Spotting uneven water distribution vs. a complete no-flow issue
Check whether some emitters drip while others do not. If some spots wet and others remain dry, you likely have uneven water distribution. If nothing flows at all, focus upstream near the source and valves.
Fast visual walk-through of the line, tubing, and emitters
Follow each run from the connection to the end. Look for leaks, popped fittings, crushed tubing, or chewed sections. Make sure to inspect the farthest bed and the end of each branch line first.
Do a simple touch test: feel soil near emitters and compare it to a dry area. Flag leaky connectors, wet sinkholes, or dry patches so repairs stay organized.
| Symptom | Likely Cause | First Action |
|---|---|---|
| All beds dry | Closed valve / source issue | Check spigot and main valve |
| One area dry (far end) | Low pressure / blockage in tubing | Inspect tubing and end caps |
| Uneven water | Clogged or mismatched emitters | Clean or replace emitters |
| Wet sinkhole | Leaking fitting or split line | Repair or replace connector |
Confirm the water source is actually delivering water and pressure
Start at the faucet and work outward to confirm the supply delivers steady pressure and usable flow. Checking the source first saves time and avoids replacing parts that aren’t the problem.
Walk to the spigot, open it fully, and listen. Feel the force of the stream and watch for steady flow. If the faucet sputters or slows when the house uses water, the supply may be limited.
Check the spigot, backflow device, and shutoff valves
Confirm the hose bib is open, the backflow device is installed correctly, and any inline shutoff valves are unlocked. Place these parts where you can reach them quickly for tests and maintenance.
Watch for well, pond, or city supply limits
If a well or pond can’t keep pace, the system may show pressure but not provide steady flow to the beds. City supply interruptions can cause the same result.
Spot signs of too low or too high pressure
Low supply clues: pressure drops when other taps run, the line hisses, or only nearby emitters wet soil. High pressure clues: fittings pop off, tubing balloons, or sudden leaks appear near connectors. Do a quick isolation test by disconnecting downstream components to see if the source itself delivers steady pressure before changing emitters or tubing.
Once the water source and pressure look steady, diagnosing the rest of your drip irrigation system becomes straightforward and confident.
Flush the system to remove debris that blocks flow
A simple flush clears the grit that settles in lines and restores steady flow to far reaches. Flushing often solves partial clogs faster than swapping parts.
How a flush clears common clogs
Tiny bits of sediment collect at low points and at the end of each run. Those particles cause uneven water distribution by blocking emitters or narrowing passages.
Clear, manual steps to flush safely
- Open end caps or remove end plugs on each run.
- Turn on the supply and let lines run until the outflow looks clean.
- Close caps and check the farthest emitters for restored flow.
Best times to flush and when to automate
Flush before the growing season, after any repairs, and anytime you spot uneven water in beds. For larger systems or sediment-prone supplies, install automatic flush valves to keep maintenance regular and hands-free.
“Keep a bucket handy while flushing—seeing grit in the water proves flow returned and helps you spot stubborn debris.”
Check filters, regulators, and pressure regulator sizing
Clean filtration and the right regulator turn inconsistent watering into steady coverage. These parts control how much water and at what pressure the system delivers, so they deserve an early, clear check.
A choked filter or a tiny regulator can quietly cut off flow long before you trace the line.
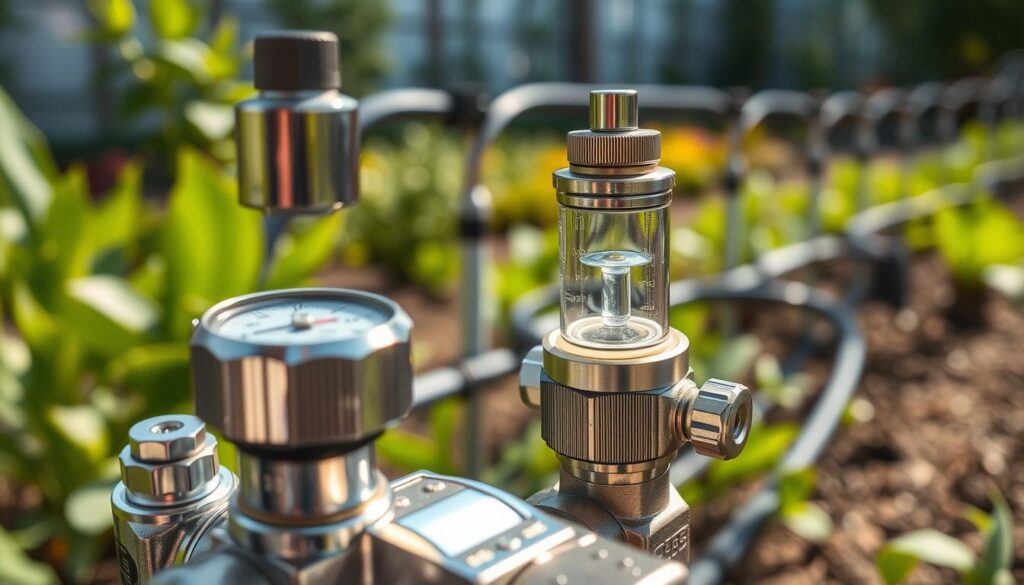
Dirty or undersized filters that choke flow
Even with solid supply, a clogged screen can starve later emitters. Shut the water, open the housing, and rinse the screen or disc.
Look for sand, algae, or mineral grit — these cut the amount of water reaching the garden and often explain why only the nearest emitters work.
Pressure regulators as the secret weapon for steady pressure
Regulators keep flow pressure steady so emitters perform predictably across zones. A worn or mismatched regulator makes outputs erratic and soils patchy.
Placement basics and sizing tips
Install the filter first, then the pressure regulator, then run your tubing. That order protects the regulator and preserves consistent downstream pressure.
If a regulator is too small it becomes a bottleneck and lowers the amount of water available, even from a strong source. Recheck sizing when you add lines so regulators match real system demand.
Small checks here — clean filters and correct regulators — deliver reliable water flow on hot days. For a deeper parts checklist, see our system parts guide.
Why is drip timer running but beds stay dry [troubleshooting] flow-rate mismatch
Start by counting how much flow your garden asks for and how much the spigot gives. Knowing demand versus supply turns guesswork into a simple numbers problem you can fix.
Start with total demand. Add each emitter’s rate in GPH across all lines (example: 10 × 1 GPH = 10 GPH). This tells you the full flow your system asks for when the timer opens.
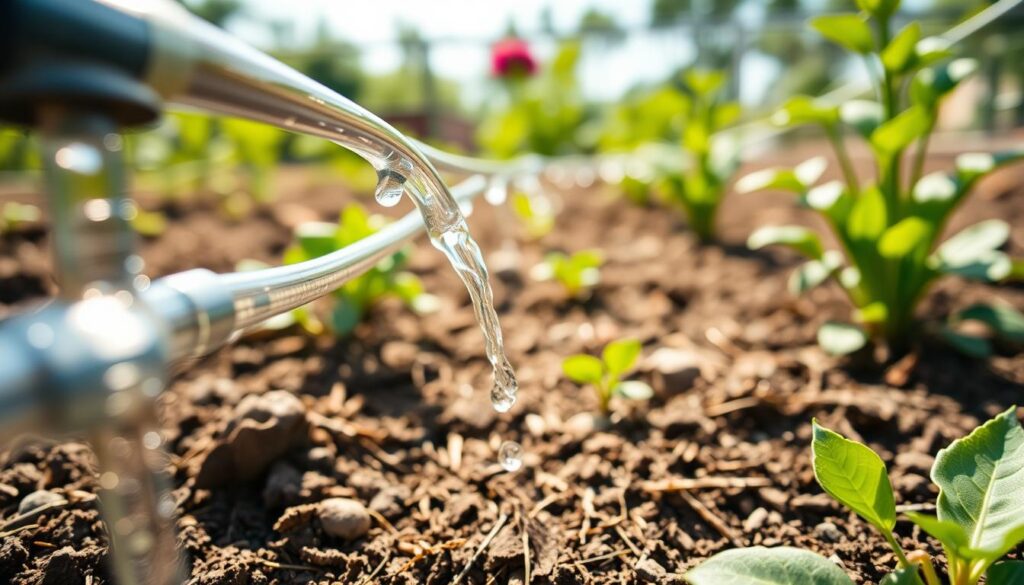
Run a bucket-and-stopwatch flow test
Time how long it takes to fill a known bucket at the spigot. Convert that volume to gallons per hour to estimate available GPH. You can check results against a simple online estimator if you like.
Set a realistic “flow budget”
Use the test GPH as your budget for how many emitters can run at once. If demand exceeds supply, far beds will see weak flow or none at all.
- If demand is higher, split into zones or reduce emitter counts.
- Consider larger mainlines or lower-GPH emitters to reach every bed.
- Check the 30-pot DIY system for a zoning example and practical layout ideas.
“Numbers remove the mystery: measure supply, add demand, then plan zones or upgrades.”
Tubing size and mainline capacity limits that leave beds dry
Your mainline works like a garden highway: tubing size controls how much water can pass at once. Match the pipe to your garden’s demand or the far end will feel starved.
Capacity matters. If the source can only give 300 gph, a small main limits usable flow no matter what parts you add.
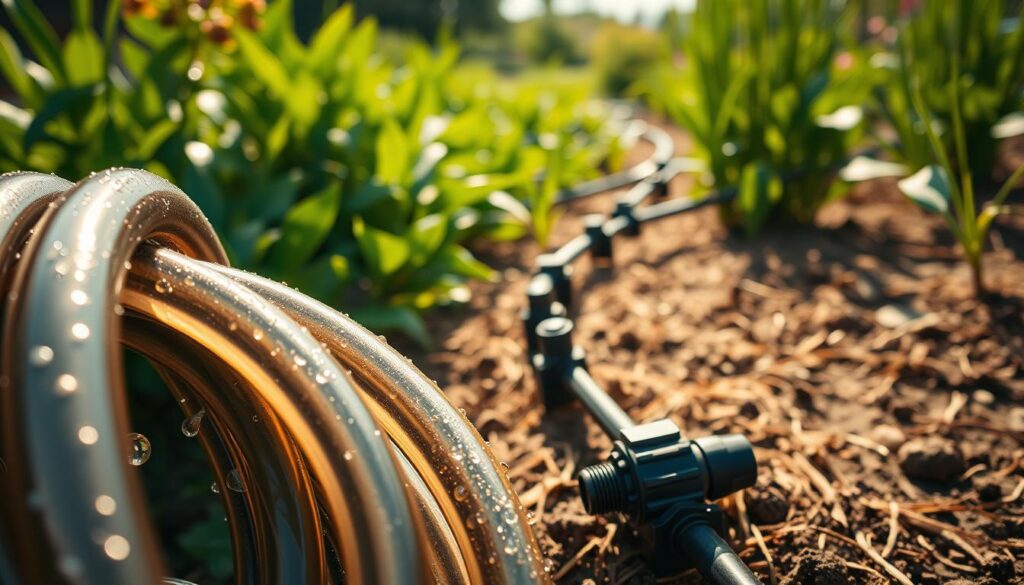
1/2-inch line max flow: 240 GPH and what it means in real systems
1/2-inch line = 240 gph. This tubing works well for small beds and short runs. It becomes a hard ceiling when emitter totals approach 240 gph.
3/4-inch line max flow: 480 GPH and when to step up
3/4-inch line = 480 gph. Step up when you add beds, lengthen runs, or need steadier delivery to far branches.
1-inch line max flow: 780 GPH for larger setups
1-inch line = 780 gph. Use this for larger irrigation systems, long mains, or when multiple branches feed heavy demand.
Why available GPH can still cap performance
Big pipe won’t create missing water. Your usable flow equals the lower of source GPH and mainline capacity. If the spigot gives less than the tubing can carry, the source sets the limit.
| Mainline | Max GPH | Best use |
|---|---|---|
| 1/2-inch | 240 GPH | Small beds, short runs |
| 3/4-inch | 480 GPH | Medium gardens, longer runs |
| 1-inch | 780 GPH | Large gardens, multiple branches |
“If pressure looks good at the start but the far end stays thirsty, check mainline size and layout.”
Quick diagnostic cue: strong pressure near the source with poor far-end wetting suggests a sizing or layout bottleneck. After you spot the limit, resize the mainline, shorten runs, or split the system into zones so every area gets enough water.
Split into smaller zones so each area gets enough water
Breaking a large system into zones keeps demand within what your supply and mainline can handle. This simple step restores steady water distribution and prevents far-off areas from being starved when the mainline can’t carry all the emitters at once.
Zoning means running one area at a time so each bed gets enough water.

How zoning prevents over-demand on the mainline
Think of each zone as a smaller system. When the whole garden runs together, flow splits and the farthest lines lose out.
Run one zone at a time and the full supply reaches those distant emitters. That fixes low pressure without changing pipe size.
Group plants by water needs to improve water distribution
Keep thirsty vegetables on one zone and drought-tolerant herbs on another. Grouping by water needs makes scheduling easier and reduces waste.
Use valves and multi-station timers to control zones
Install simple inline valves or an automatic manifold, then attach a multi-station timer. Set each station to run a zone in sequence and the system delivers steady flow to each area.
Concrete example: split when demand exceeds supply
If you have 600 emitters at 1 GPH each, demand equals 600 GPH. If available flow is 300 GPH, split into two zones so roughly 300 emitters run per zone. That change restores even water distribution and getting enough water to every bed.
| Problem | Action | Result |
|---|---|---|
| Total emitter demand exceeds supply | Split into zones; use valves and a multi-station timer | Each zone receives enough water; far lines wet properly |
| Mismatched plant water needs | Group similar plants on same zone | Improved water distribution and healthier plants |
| Hard to isolate leaks or clogs | Run one zone at a time for tests | Easier troubleshooting and faster repairs |
Practical schedule tip: run Zone 1, then Zone 2. You can run them back-to-back or split morning and evening depending on heat and soil type. Zoning keeps things simple and makes diagnosing flow problems clear and quick.
For a compact example of a small system layout that uses zoning well, see a useful setup for seedlings and pots at my DIY seed station.
Inspect emitters and drip lines for clogs, leaks, and hidden damage
Walk each line slowly and listen for the subtle sounds that reveal a blocked emitter or a hidden leak. Quick emitter checks pinpoint uneven watering and guide simple fixes you can do today.
Signs of clogged emitters versus damaged emitters
Clogged emitters often drip weakly or not at all. Damaged emitters may spray, leak at the base, or pop off the tubing.
Do a quick swap test: move a suspect emitter to a known-good spot. If the issue follows the emitter, replace or clean it. If it stays, inspect the line and fittings.
Cleaning options: take-apart emitters, vinegar soaks, and replacements
Open serviceable emitters and rinse grit from chambers. For mineral buildup, soak removable parts in a vinegar-water mix for 15–30 minutes, then rinse.
Replace non-serviceable or badly worn emitters. Keep a handful of common emitter types on hand during the season.
Kinks, crushed tubing, and loose fittings that stop flow at the end of the line
Walk the run and check under mulch for hidden kinks, crushed tubing from foot traffic, or loose connectors that leak before the end.
- Make sure fittings are fully seated and locked.
- Make sure the line is staked to prevent twisting and kinks.
- Use the swap test to isolate leaks versus emitter failure.
“Once emitters deliver steady output, soil evens out and plants stop showing that midday wilt.”
Conclusion
End by focusing on two numbers — available flow and total demand — then act on the gap. Measure the water at the source, match emitters to that supply, and test one zone at a time.
Follow a calm path: check the water source, flush lines, clean filters and regulators, confirm flow rate math, verify tubing size and zone layout, and inspect emitters and fittings.
Once you know the supply and the demand, most irrigation system mysteries stop being mysterious. Make sure pressure stays steady and that water moves freely past filters and regulators.
Avoid overbuilding a single run; a lot of dry spots come from asking one line to feed too many emitters. After repairs, run one zone and watch the farthest bed first.
Keep parts labeled and in one place, do a quick seasonal check, and for a handy checklist see this guide on common irrigation errors.