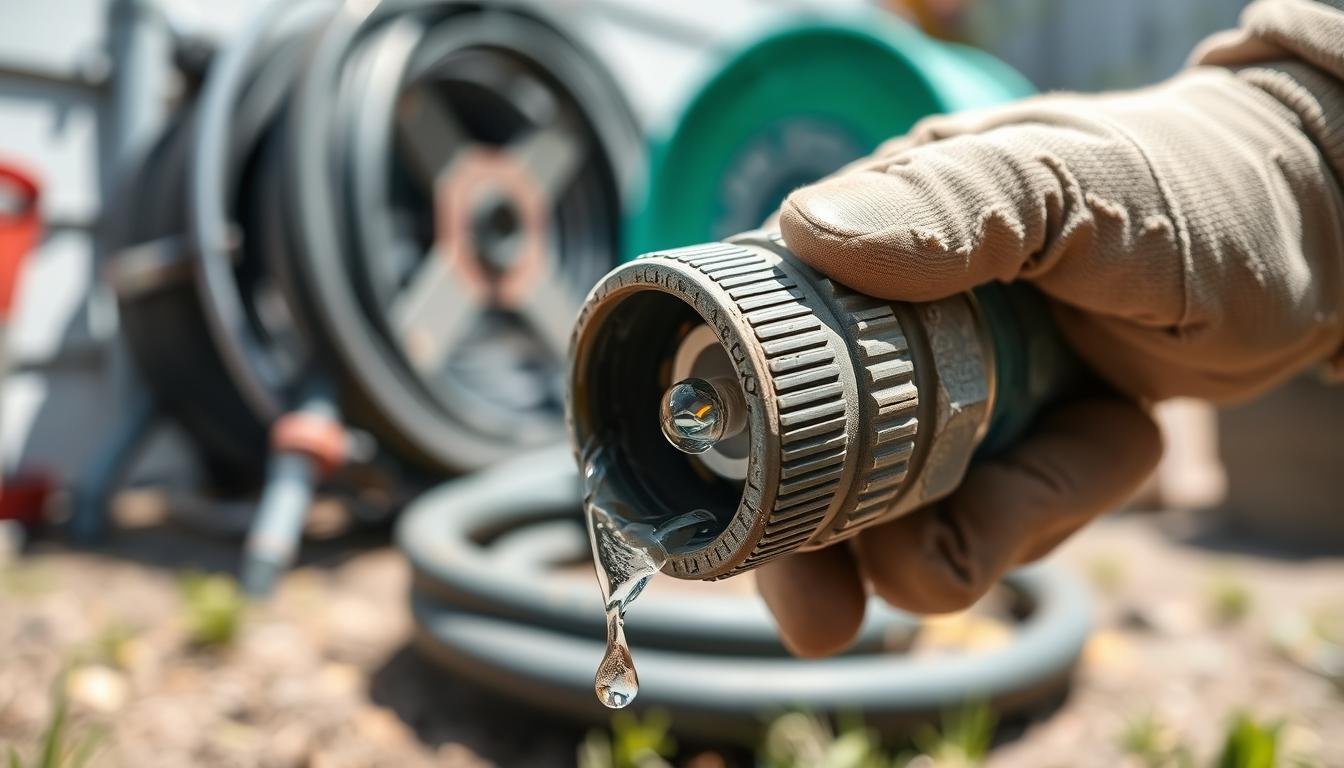
Most quick-connect hose fitting leaks come from a small sealing problem, not a failed whole system. Before buying new connectors, check where the water appears: at the hose or tubing entry, around the lock or collet, or from the threaded end.
Shut off the water first, relieve pressure, and dry the connection. A dry fitting makes the leak path easier to see, and it keeps you from pulling apart a pressurized hose, irrigation line, or watering setup.
Quick answer
If a quick-connect hose fitting is leaking, start with the simplest checks: reseat the hose or tubing, inspect the washer or O-ring, clean grit from the fitting, check for a square tubing cut, and confirm the connector size matches your hose or tubing. Replace the fitting only if the body is cracked, the locking parts are worn, or the leak continues after the seal and fit have been checked.
Watch where the water first appears before pulling anything apart. The wet spot usually tells you which part needs attention.
Key takeaways
- Leaks often come from under-seated tubing, worn washers, damaged O-rings, dirt, angled cuts, or mismatched parts.
- Always turn off the water and relieve pressure before disconnecting a quick-connect fitting.
- A leak at the tube entry points to seating, size, or cut-quality issues.
- A leak at the threaded end often points to a missing, flattened, or wrong-size washer.
- Only replace the full fitting after cleaning, reseating, and seal inspection do not solve the problem.
Quick diagnosis: where is the fitting leaking?
Use the leak location as your first clue. It saves time and helps you avoid replacing parts that are still fine.
| Where you see water | Likely cause | First fix to try | When replacement makes sense |
|---|---|---|---|
| At the tube or hose entry | Not seated fully, wrong size, rough tubing end, or bad seal contact | Reseat the tubing or hose, then check cut quality and size | Replace tubing if it is scratched, crushed, brittle, or cut unevenly |
| Around the collet or locking ring | Side strain, debris, worn gripping teeth, or damaged internal seal | Relieve pressure, remove straight, clean the fitting, and inspect the lock area | Replace the fitting if the collet no longer grips securely |
| At the threaded or adapter end | Missing washer, flattened gasket, cracked adapter, or thread mismatch | Check the washer, thread type, and connector fit | Replace the washer or connector if the seal or body is damaged |
| Only when pressure rises | Weak seal, wrong pressure rating, poor fit, or strain on the joint | Reduce strain, confirm compatibility, and test slowly | Replace parts that are not rated or sized for the setup |
| After reconnecting | Grit, scratched tubing, twisted washer, or incomplete seating | Clean, inspect, and reconnect straight | Replace worn seals or damaged tubing if the drip returns |
How quick-connect hose fittings seal
Quick-connect fittings look simple, but the seal depends on several parts lining up correctly. Garden hose quick-connects, drip irrigation fittings, push-to-connect tubing fittings, and pressure-rated couplers do not all use the same design, so compatibility matters.
The fitting body
The body holds the water path and keeps the hose, tube, or adapter aligned. If the body is cracked, gouged, warped, or cross-threaded, a new washer may not solve the leak.
The locking part
Some fittings use a sleeve, collar, or collet to hold the connection in place. If this part no longer grips firmly, the hose or tubing can shift under pressure and let water escape.
The O-ring or washer
The soft seal is often the first part to check. A missing washer, flattened gasket, nicked O-ring, or dirty sealing surface can cause a drip even when the connector looks properly attached.
Safety and prep before you troubleshoot
Turn off the water supply and relieve pressure before loosening any fitting. Open a downstream valve, sprayer, or faucet if available, then let the leftover water drain into a towel or bucket.
Keep electrical cords, pumps, outdoor outlets, and stored tools away from the wet area. Even a small leak can become a bigger problem if water reaches power equipment or items that should stay dry.
Basic tools worth having nearby
- Clean rag: Wipes away grit and helps you spot fresh water.
- Small bucket or towel: Catches leftover water from the line.
- Marker and ruler: Helps mark insertion depth on tubing-style fittings when the fitting instructions call for it.
- Tube cutter: Helps make a cleaner square cut on compatible irrigation tubing.
- Small pick: Helps lift a damaged O-ring gently when the fitting design allows it.
- Replacement washers or O-rings: Useful when the old seal is missing, cracked, or flattened.
Do not force stuck parts apart. Press the release area if the fitting has one, pull straight, and avoid twisting tubing sharply. For garden hose fittings, check the hose thread and washer before assuming the coupler itself has failed.
Common causes of quick-connect hose fitting leaks
Once the area is safe and dry, match the leak to one of the common causes below. Start with the easiest fix before replacing the connector.
Improper seating
If tubing does not reach the internal stop, it may not press evenly against the seal. This usually shows as a drip where the tube enters the fitting. Push the tube in straight until it seats fully, then test again under low pressure.
For push-to-connect tubing, use the insertion depth recommended for that exact fitting. Avoid relying on one universal measurement because depth changes by fitting style and size.
Uneven or angled cuts
A ragged or angled tubing end can keep the seal from sitting flat. This matters most on drip irrigation tubing, greenhouse watering lines, and other tubing-style connections where the cut end sits inside the fitting.
If the leak starts where irrigation tubing enters the fitting, a proper tubing cutter can help create a cleaner square end before reseating the tube. The Rain Bird TC/1PKS Drip Irrigation Tubing Cutter on Amazon is better suited to compatible drip tubing than ordinary scissors or a dull knife, but it is not meant for every hose type.

Wrong size or mismatched components
A hose end, tube, adapter, or thread can feel close by hand and still leak when pressurized. Check the tube outside diameter, standard garden hose size, thread type, and connector style before pushing parts together.
This is especially important if you are mixing garden hose quick-connects with irrigation add-ons, sprayers, filters, or specialty fittings. Parts that look similar may use different seals or pressure expectations.
Side strain and pressure load
A hose that hangs from the connector or bends sharply near the fitting can pull the seal out of alignment. The fitting may seal when still, then drip when the hose moves or pressure rises.
Reroute the hose, support the tubing, or add a better angle in the line if the connection is being tugged sideways. For tight garden setups, reducing strain can matter as much as replacing a washer.
Debris or dried residue
Grit, sand, dried minerals, or bits of old seal material can block the seal from closing evenly. Outdoor fittings and irrigation parts collect dirt easily, especially when they are disconnected and set on the ground.
Flush the line, wipe the fitting clean, and inspect the sealing surface before reassembly. Do not scrape soft sealing surfaces aggressively.
Worn O-rings or washers
Look for a washer that is missing, flattened, cracked, twisted, or no longer springy. On quick-connect couplers, check any visible O-ring for nicks or stretching.

If the wet area is at the threaded end or a missing seal is visible, a washer and O-ring kit can be useful as long as the replacement size matches the original fitting. The Tatuo 30 Pack Garden Hose Washers Power Pressure O Rings Set on Amazon may fit common garden hose washer and compatible quick-connect seal needs, but it should not be treated as a universal kit for every system.
Step-by-step fixes for the most common leaks
Work through these in order. The goal is to repair the actual failure point, not replace every part around it.
Reseat the tubing or hose
- Turn off the water and relieve pressure.
- Dry the fitting and remove the hose or tubing using the correct release method.
- Inspect the end for scratches, flattening, or dirt.
- Reconnect straight, without bending the hose or tubing sideways.
- Turn the water back on slowly and watch the same leak point.
If the leak stops, the problem was likely seating, dirt, or light misalignment. If it returns, keep checking the seal and fit.
Remove the connection without damage
For push-to-connect tubing, press the release collar evenly and pull the tubing straight out. Avoid twisting or yanking, because scratches on the tube can create a new leak path.
For garden hose quick-connects, unlock the coupler and inspect the washer or O-ring before tightening anything further. Over-tightening can distort a washer or make a cracked connector worse.
- High-quality lightweight cutting tool; makes clean cuts with no jagged edges or crushing of tubing
- Works on all brands of 1/4" to 3/4" Drip irrigation tubing
- Razor sharp Stainless-steel blade and ergonomic handle
- Features recessed wells requiring less leverage and force
Clean and inspect the sealing surfaces
Wipe the hose end, adapter, tubing, and inside of the fitting where reachable. Remove grit with clean water and a rag. If you see a deep groove, crushed tubing, cracked plastic, or damaged threads, cleaning alone will not be enough.
After cleaning, reconnect and test at low pressure. If the leak only appears when the hose is moved, check for side strain rather than only replacing seals.
Replace the O-ring or washer
Replace only the seal that matches the original size and shape. A washer that is slightly too large can bunch up, while one that is too small may not seal the edge of the connection.
- Remove the old washer or O-ring gently.
- Compare the replacement to the original seal.
- Seat the new seal flat, without twisting it.
- Reconnect the fitting straight.
- Turn the water back on slowly and check for drips.
For potable-water, filtration, or specialty systems, confirm that the replacement material and size are suitable before installing it. For ordinary garden hose repairs, the most important first checks are fit, washer condition, and thread compatibility.
- Considerable amount: the package comes with 10 garden hose washers, 20 pieces of power pressure washer o rings, with black colors, sufficient for various watering tools, such as garden hose fittings, water faucets, spray nozzles, other garden connectors
- O ring Size: outside diameter of 17.1 mm; Inside diameter of 11.8 mm; the power pressure washer o rings are designed for 3/8 inch quick connect coupler
- Garden Hose Washer Size: outside diameter: 1 inches/ 25 mm, inside diameter: 5/8 inches/ 16 mm; the garden hose rubber washers fit all standard 3/4 inch standard garden hose fittings, hose thread connections
- Water Saving: save water by reducing your leaks with our garden hose seal washers and O rings, and simply use one to replace any broken or leaking washer to fix leaks at hose connections
Cut back damaged tubing
If irrigation tubing is scratched, ovaled, or crushed at the end, cut off the damaged portion if there is enough length. Make the cut square, then reinsert the tubing according to the fitting’s instructions.
This fix is useful only when the leak is coming from the tubing end. It will not solve a cracked connector, wrong-size fitting, or missing washer.
Replace the fitting when the body is the problem
Replace the entire fitting if the connector body is cracked, the locking mechanism no longer holds, the sealing surface is gouged, or the same leak returns after proper cleaning and seal replacement.

If the connector body is cracked or still leaks after cleaning and seal replacement, a standard garden hose quick-connect set may be the cleaner replacement path. The Orbit Brass Hose Quick Connect Set on Amazon is a replacement option for standard 3/4-inch outdoor garden hose quick-connect setups, not for all irrigation tubing, pressure-washer couplers, or specialty fittings.
Which fix fits your leak?
This table keeps the repair decision simple. Use it after you have shut off the water and found the leak location.
| Problem found | Best repair path | Useful support item | Important caution |
|---|---|---|---|
| Ragged or angled drip tubing cut | Cut a fresh square end and reseat the tubing | Drip irrigation tubing cutter | Confirm the tubing is compatible before cutting |
| Missing or flattened garden hose washer | Replace the washer with the correct size | Garden hose washer or O-ring set | Do not force a washer that does not sit flat |
| Dirty seal or grit in the fitting | Clean, flush, dry, and reconnect | Clean rag and water | Avoid scratching the sealing surface |
| Hose pulling sideways on the connector | Reroute, support, or reduce strain on the joint | Hose support or better layout | Do not rely on a new washer to fix poor routing |
| Cracked or worn quick-connect body | Replace the fitting | Compatible garden hose quick-connect set | Match hose size, thread type, and intended use |
Maintenance tips to prevent repeat leaks
Quick-connect fittings last longer when they stay clean and are not pulled sideways. Disconnect removable garden hose fittings before long storage, wipe off dirt, and keep small washers where they will not dry out or get lost.
Reduce strain at the connection
A hanging hose or tight bend can stress the seal every time the hose moves. Give the hose a gentler path, support irrigation tubing near the fitting, and avoid leaving the connector under tension.
Check seals during seasonal setup
At the start of watering season, inspect washers, O-rings, and quick-connect ends before turning the water on fully. Replace seals that are cracked, flattened, or missing.
Store fittings clean and dry
Grit inside a quick-connect fitting can scratch or block the seal later. Rinse dirt off removable connectors, dry them, and store them away from sharp tools or heavy items that can crush the seal.
When a standard garden hose connector is the part that has failed, check the replacement size and fitting style before buying. For standard 3/4-inch outdoor garden hose use, you can check this replacement quick-connect set on Amazon and compare it with your current connector style.
- QUICK AND EASY: Save time by swapping out different hose-end accessories without twisting.
- HEAVY-DUTY BRASS: The brass construction can withstand high water pressures and severe weather conditions without the worry of breaking, rusting, or failing.
- INCLUDES: (1) male adapter and (1) female connection.
- STANDARD CONNECTION: Attaches to a standard 3/4-in. outdoor garden hose.
FAQ
Why is my quick-connect hose fitting leaking?
It is usually leaking because the hose or tubing is not seated correctly, the washer or O-ring is damaged, the fitting is dirty, or the parts do not match. A cracked connector body can also leak even with a new seal.
Can I fix a quick-connect leak without replacing the whole fitting?
Yes, often you can. Try cleaning the fitting, reseating the connection, replacing the correct washer or O-ring, or cutting a fresh square tubing end before replacing the full connector.
Where do most quick-connect leaks start?
Most leaks show up at the hose or tube entry, around the locking area, or at the threaded adapter end. The exact wet spot helps narrow the cause.
Should I use tape on a leaking garden hose quick-connect fitting?
Use caution. Many garden hose leaks come from the washer, not the threads, so tape may not fix the real problem. Check the washer, thread match, and connector condition first.
How do I know if the O-ring or washer is bad?
A bad seal may look cracked, flattened, stretched, twisted, missing, or dirty. If it no longer sits flat or rebounds slightly, replace it with the correct size.
When should I replace the quick-connect fitting?
Replace it when the body is cracked, the lock no longer holds, the sealing surface is damaged, or the leak continues after cleaning, reseating, and using the correct seal.
Final verdict
A leaking quick-connect hose fitting is usually worth diagnosing before replacing. Start with water off, pressure relieved, and the fitting dry. Then check the leak location, seal condition, tubing cut, size match, and hose routing.
If the issue is a dirty seal, bad washer, rough drip tubing cut, or incomplete seating, a targeted repair may solve it. If the connector is cracked, worn, or mismatched, replacement is the safer path.