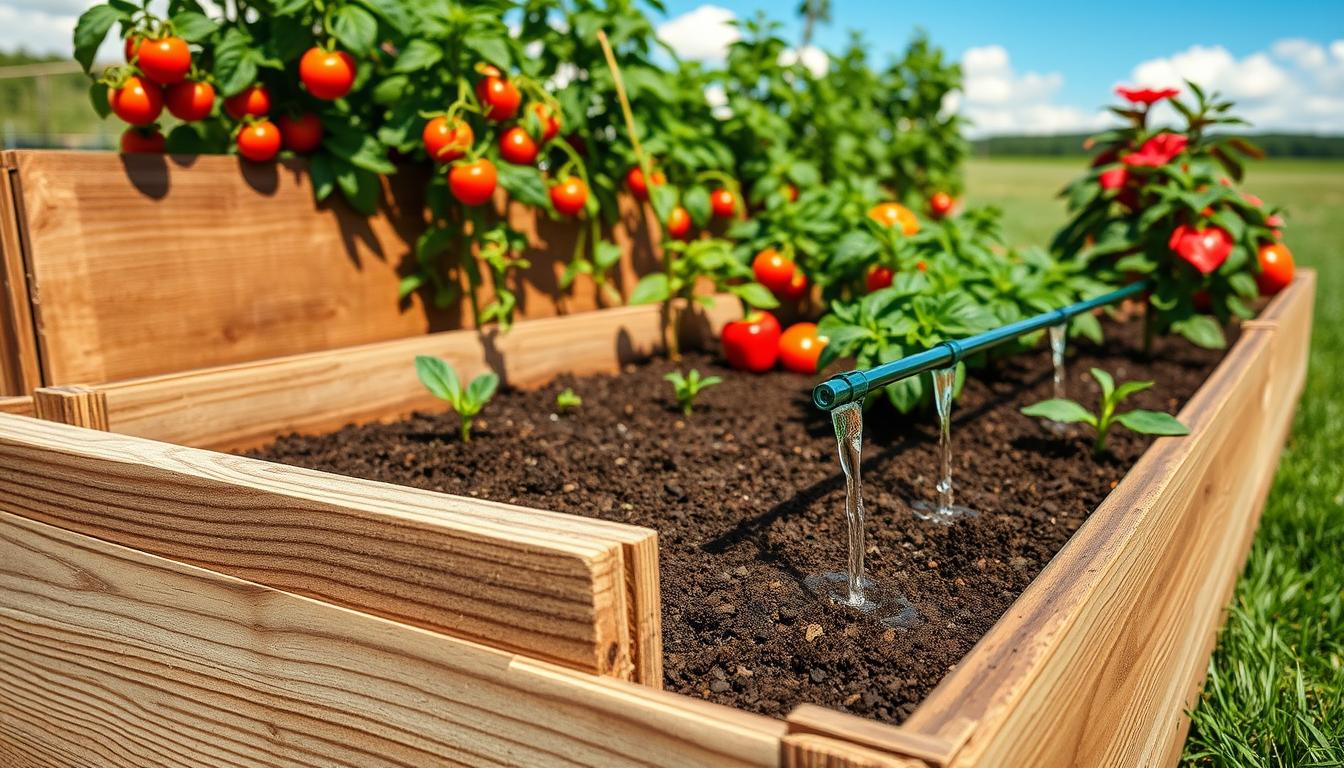
Clay-heavy soil changes how a raised bed drip system behaves. It can hold water longer below the surface, but that does not mean every drip line can be spaced far apart without risk.
The safer approach is to start with a practical spacing plan, run the system long enough to see the wetting pattern, then adjust before plants depend on that layout. Wider spacing can work in some clay-heavy beds, but it needs checking.
Quick answer
For clay-soil raised beds, wider drip spacing may be useful when water spreads evenly between lines and the soil stays moist several inches down. It can cause problems when the top layer dries quickly, roots are shallow, or the bed mix is lighter than the native clay below.
A good starting point is to keep drip lines close enough that the wet zones meet around the crop root area, then test after watering. Do not rely only on the surface. Clay soil may look dry on top while staying wet underneath.
The goal is not simply wider spacing. The goal is even root-zone moisture without soggy clay pockets.
Key takeaways
- Clay soil can hold water longer, so run time often matters as much as drip-line spacing.
- Wider spacing may work when the bed has steady moisture between lines after a normal watering cycle.
- Wider spacing can fail if the raised bed fill is loose, shallow, exposed, sloped, or planted tightly.
- Moisture checks below the surface are more useful than judging only by the top inch of soil.
- Products should support the setup, not replace observation, spacing adjustment, and seasonal watering changes.
Helpful products at a glance
These are the main support products for readers who want help setting up and checking a clay-soil raised bed drip system without turning the project into a full irrigation rebuild.
Best for starting a raised bed drip layout because it is listed for one 4-foot by 8-foot bed
- Convenient Drip irrigation kit has everything needed to water up to a 4’ x 8’ raised bed garden
- Ideal for all types of raised garden beds with professional-grade components that are built to last

Best for checking clay-soil moisture because it helps look beyond the dry surface layer
- Compact & Portable: Have you been sticking your finger in the soil hoping to feel when it's time to water? Why not eliminate the guesswork and keep your hands clean when you use the Dr.meter Soil Moisture Sensor Meter! Know the right time to water your garden, farm, lawn and houseplants, anytime.
- Easy to Read: No experience required--while this plant moisture meter is sophisticated, it's not complicated! With an interface using ten scales and a color-coded reading system from red, green to blue, it's never been more straightforward reading your soil moisture.

Why clay soil changes drip spacing
Clay-heavy soil drains more slowly than sandy soil. It can also hold moisture below the surface after the top looks dry, which makes overwatering easy if you keep adding run time without checking deeper soil.
Raised beds add another layer of variation. Many beds are filled with compost, raised bed mix, or amended soil, so the top 8 to 12 inches may not behave like the native clay underneath. If the bed mix is loose and fast-draining, the spacing plan should follow the bed fill more than the clay below it.
What happens around each drip line
Water from a drip line does not move in a perfect circle. In clay-heavy soil, it may spread outward more slowly and stay near the root zone longer. In lighter bed mix, it may move down faster and leave dry strips between lines.
That is why a spacing guide should be treated as a starting point, not a fixed rule. The same raised bed can behave differently in spring, midsummer heat, or after mulch has been added.
| Raised bed condition | What it may mean for drip spacing | What to check before changing the layout |
|---|---|---|
| Clay-heavy bed fill | Wider spacing may work if moisture spreads between lines | Check soil several inches down between drip lines |
| Loose raised bed mix over clay | Spacing may need to stay closer than expected | Look for dry strips in the top root zone |
| Mulched bed | Moisture may stay more even between watering cycles | Make sure the soil is moist, not soggy |
| Hot, exposed bed | Wider spacing may leave shallow-rooted crops stressed | Watch plant response between waterings |
| Slightly sloped bed | Water may collect at the lower side | Check both the high and low ends of the bed |
When wider drip spacing may work
Wider spacing is most reasonable when the bed holds moisture evenly and the crop roots can reach the wet area between lines. Established plants with wider root zones usually tolerate this better than tiny seedlings.
Mulch can also make a difference. A light mulch layer helps reduce surface drying, which can make the bed look less patchy between drip lines. Still, mulch does not fix poor line placement or short watering cycles.
Good signs for wider spacing
- The soil between drip lines feels moist several inches below the surface after watering.
- Plants are not wilting between normal watering cycles.
- There is no puddling directly under emitters.
- The lower part of the bed is not staying soggy.
- Moisture looks steady across the crop row, not only under each emitter.
Good drip spacing is the layout that keeps the root zone evenly moist, not the widest spacing that looks neat on paper.
When wider spacing can fail
Wider drip spacing can leave dry bands when the bed fill is light, the crops are planted close together, or the system runs too briefly for water to spread. This is common in raised beds that contain a lot of compost or bagged bed mix even when the native ground below is clay.
It can also fail with shallow-rooted crops. Lettuce, young herbs, seedlings, and tightly planted greens often need more even surface moisture than deeper-rooted mature plants.
Warning signs to watch
- Dry soil appears between drip lines after a full watering cycle.
- Leaves wilt even though the area near each emitter is wet.
- Water puddles around emitters but does not spread evenly.
- The surface crusts while the lower soil stays wet.
- One side of the bed grows better than the other.
Practical setup guidance
Start by looking at bed width, crop rows, and root zones. A narrow bed with one crop row may need fewer lines than a wide bed with several rows of vegetables. A 4-foot-wide raised bed often needs more careful layout because the middle can dry out if lines sit too close to the edges.
Place drip lines where the roots will actually grow, not just where the tubing looks tidy. For mixed vegetables, that usually means spacing lines so the wet zones meet around the planted rows.
For readers who want a ready starting point instead of piecing together every drip part, the Rain Bird GARDENKIT can support the layout stage after spacing and moisture-checking basics are understood. It is listed for up to a 4-foot by 8-foot raised bed, but larger or unusual layouts may still need extra parts or a different setup.
The kit should not be treated as a clay-soil fix by itself. It can help with the physical layout, while the final spacing still depends on bed width, crop spacing, soil mix, mulch, slope, and how the soil responds after watering.
If you want to review the listed kit details before deciding whether it fits one raised bed, you can check this raised bed drip kit on Amazon.
Basic spacing approach
Use a cautious layout first. Keep lines close enough that dry strips are unlikely, run the system, then check the soil between lines. If the bed stays evenly moist and not soggy, wider spacing may be reasonable.
If the soil is wet only near the tubing, keep the lines closer or adjust the watering cycle before removing lines. If the soil is soggy below the surface, shorten the run time before assuming the layout is wrong.
Helpful supplies for a clay-soil raised bed drip setup
A raised bed drip setup does not need to be complicated, but a few parts matter. Tubing, emitters, a pressure regulator, a filter, stakes, and end caps all affect how evenly the system waters. If any part is mismatched, clay soil can make the mistake more obvious because wet spots linger longer.
For a single raised bed, a kit can be simpler than buying each small part separately. For several beds, custom tubing and separate components may make more sense.
- Convenient Drip irrigation kit has everything needed to water up to a 4’ x 8’ raised bed garden
- Ideal for all types of raised garden beds with professional-grade components that are built to last
- Waters at low volume near roots for healthier plants, higher yields and up to 80% water-savings
- Pressure-compensating emitters deliver even watering throughout garden beds
Use the product as a setup aid, not as a shortcut around testing. After installation, run the system and check whether water reaches the spaces between lines before planting heavily around the layout.
Watering and adjustment notes
Run time should change with weather, crop size, mulch, and season. Clay-heavy beds may need slower, less frequent watering than fast-draining beds, but that depends on the actual soil in the raised bed.
Do not add more run time just because the surface looks dry. Push a finger into the soil, use a small trowel to check the root zone, or use a simple moisture tool as a second check.
Because clay soil can stay wet under a dry-looking surface, a simple moisture meter can be useful when checking whether wider spacing or shorter run times are working. It should support your checks, not replace them.
Probe placement matters. Take readings between drip lines, near the edge of the bed, and near the plants. If every check happens right beside an emitter, the bed may look wetter than it really is.
Finger checks and small test holes are still helpful. A basic meter may give a quick moisture clue, while your soil feel and plant response give the bigger picture.
Troubleshooting dry and soggy spots in clay-soil raised beds
Dry and soggy spots often come from different causes, so do not fix both with the same adjustment. Dry strips may need closer drip lines, longer but slower watering, or better line placement. Soggy patches may need shorter run time, better drainage, or a check for low spots.
If the bed has both dry and wet areas, check whether the tubing is level, whether emitters are clogged, and whether one side of the bed gets more sun or slope-driven water. Clay soil can hide these issues because the wettest areas may stay damp long after the rest of the bed dries.
A soil moisture meter can help you compare different parts of the bed, especially when the surface is misleading. You can check this soil moisture meter on Amazon if you want a simple tool for moisture checks beyond the top layer.
- Compact & Portable: Have you been sticking your finger in the soil hoping to feel when it's time to water? Why not eliminate the guesswork and keep your hands clean when you use the Dr.meter Soil Moisture Sensor Meter! Know the right time to water your garden, farm, lawn and houseplants, anytime.
- Easy to Read: No experience required--while this plant moisture meter is sophisticated, it's not complicated! With an interface using ten scales and a color-coded reading system from red, green to blue, it's never been more straightforward reading your soil moisture.
- No Batteries Required: Who needs batteries or electricity? Just plug the plant water meter into the ground and get a reading in no time.
- Gentle to Plant Roots: Keep roots intact when you do readings thanks to the single probe design. You won't have to dig up too much soil or disturb sensitive roots when you take readings so your plants can stay perfectly healthy.
Treat the reading as one clue. Soil contact, probe depth, texture, and salts in the soil can affect simple moisture meters. If the plants look stressed but the meter reads moist, check the soil by hand before changing the whole watering plan.
| Problem you see | Likely cause | Better first adjustment |
|---|---|---|
| Dry strip between drip lines | Lines are too far apart or run time is too short | Check moisture between lines and move tubing closer if needed |
| Puddling near emitters | Water is applying faster than the soil absorbs it | Shorten the cycle or water in shorter sessions |
| Top looks dry but soil below is wet | Clay is holding moisture below the surface | Check below the top inch before adding more water |
| Plants wilt between watering | Root zone may not be getting even moisture | Check near roots, not only beside emitters |
| Lower end of bed stays wetter | Slope or drainage may be moving water | Level the layout if possible and adjust run time carefully |
Common mistakes to avoid
Copying sandy-soil spacing
Sandy soil and clay soil move water differently. A spacing plan that works in a loose, fast-draining bed may not be right for clay-heavy soil, and the reverse is also true.
Judging only by the surface
The surface can dry before the root zone does. This is one of the easiest ways to overwater clay-heavy raised beds.
Using one run time all season
Spring seedlings, midsummer tomatoes, and fall greens do not use water the same way. Adjust the drip schedule as plants mature and the weather changes.
Removing lines too early
If the bed is newly planted, wider spacing may look fine at first but fail when small roots need more even moisture. Test the layout before making it permanent.
FAQ
How far apart should drip lines be in clay soil raised beds?
There is no single spacing that works for every clay-soil raised bed. Start close enough that wet zones can meet around the crop roots, then test the soil between lines after watering.
Does clay soil need fewer drip lines?
Sometimes, but not always. Clay soil can hold and spread moisture differently, but raised bed mix, compost, mulch, plant spacing, and bed width can change how many lines you need.
How do I know if wider spacing is working?
Check moisture between drip lines several inches below the surface. If that area stays evenly moist without puddling or soggy lower layers, the spacing may be working.
Can drip irrigation overwater clay soil?
Yes. Drip irrigation applies water slowly, but clay-heavy soil can still stay too wet if the system runs too long or too often.
Should I use a soil moisture meter in clay soil?
A soil moisture meter can help as a quick check, especially below a dry-looking surface. Use it with finger checks, small test holes, and plant response rather than relying on one reading.
Should emitters be low-flow in clay soil?
Low-volume watering can be helpful because clay soil absorbs water slowly. The setup still needs proper spacing, pressure control, filtration, and run-time adjustment.
Conclusion
Raised bed drip spacing for clay soil should be based on moisture movement, not guesswork. Wider spacing can be useful when the wet zones meet and the root zone stays evenly moist, but it can also leave dry strips or hide soggy soil below the surface.
Start with a layout that protects the root zone, test the bed after watering, and adjust slowly. In clay-heavy raised beds, the best setup is usually the one that balances spacing, run time, mulch, crop needs, and regular moisture checks.