You know that uneasy feeling when a patch by the house stays soggy while the far beds look parched? That tension between muddiness and thirsty plants hits many gardeners hard. I felt it too — the guilty wonder if I’d overwatered or missed a hidden leak.
The manifold is simply the hub where zone valves and lines meet. When something goes wrong there, water pools by the hub and the rest of the system can run short. This guide helps you confirm the pattern, rule out recent rain, check drainage, then run quick irrigation tests to find the real problem.
Follow a clear start-here order so you avoid swapping parts blindly. Some fixes take five minutes; others, like reshaping drainage or easing compacted soil, take more time but protect roots and plants.
We’ll focus on two main buckets: landscape drainage and distribution failures such as leaks, valves, pressure loss, or clogs. The goal is simple: even moisture, healthy roots, and no soggy patch by your home.
Key Takeaways
- Start by confirming the pattern: soggy hub area and thirsty far beds.
- Understand the manifold as the central hub for valves and lines.
- Rule out rain and check surface drainage before testing the irrigation.
- Test zones in order to find leaks, pressure drops, or clogs.
- Short repairs can fix flow issues; drainage fixes protect long-term soil health.
Understanding the pattern: why the manifold area gets soggy while the ends stay thirsty
A persistent damp ring around the control cluster alongside parched outer beds often signals a distribution problem. This pattern usually points to a local leak or flow loss close to the valves rather than a plant-level watering error.
The classic tell is simple: consistently damp soil at the valve bank while distant areas remain dry or uneven. That contrast often flags a localized leak or a distribution imbalance in the system.
A small break or seep can quietly release lots of water over weeks. Underground leaks feed the root zone near the hub and steal flow that should reach the far lines.
Pressure and flow matter. If the line loses volume early, the far side gets shorted first. Restrictions, partial clogs, or a weeping valve change how the system shares flow.
Some shifts happen fast: a cracked fitting, frost heave, or work that disturbs a pipe can change performance overnight. Other causes show up over years: compaction from foot traffic, slow filter clogging, or aging layout problems.
Remember: this is usually a system symptom, not a plant-by-plant need. Before you dig, verify the extra moisture is in the root zone and not just surface puddles.
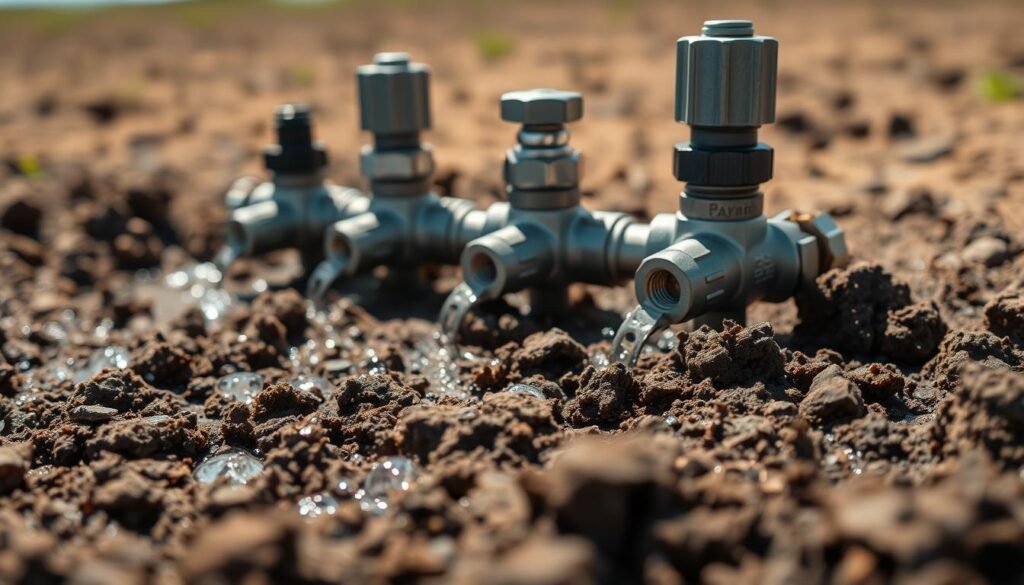
- Next step: confirm root-zone wetness so repairs target the real source.
Confirm it’s really “wet soil” and not just surface puddling or recent rain
Begin with a hands-on check to tell a lasting seep from a short-lived puddle. This step saves time and prevents needless digging or repairs.
Grab a garden glove and a trowel—let your hands be the instruments.
Simple touch-and-squeeze check
Dig several inches down at the soggy spot and at a far bed. Grab a handful and squeeze.
If the clump stays cool, sticky, and molds into a plastic-like ball, you have genuine saturation. Healthy moisture will form a ball but crumble under pressure.

Plant signals of root-zone waterlogging
Look for yellow leaves with brown edges, soft stems, and low vigor. Plants that pull up easily or show root decay often sit in oxygen-poor ground.
Also note insects gathering at a plant base and a persistent damp smell—both are reliable signs of excess water around roots.
Timing clues to avoid false alarms
Rain puddles usually clear in 1–2 days. After a normal irrigation, expect the area to dry in about a week. If it stays soggy longer, log your watering and local rain to separate recent storms from constant seep.
Next step: if moisture is rooted below the surface, run a drainage reality check to see if the landscape funnels water toward the valve bank.
Further reading on quick drying tips and seed-start fixes: how to dry out soil quickly and seed starting mistakes fixed.
Run a quick drainage reality check for your landscape conditions
A simple pit test gives fast insight into whether the yard or the irrigation is the real problem. It separates slow-draining ground from distribution or programming faults.
Dig a 12-inch-wide, 12-inch-deep hole in the soggy spot and another in a normal area. Fill both holes with water and start a clock. If the water leaves in under three hours, drainage is fast. If it takes three to twelve hours, drainage is adequate. If the hole still holds water after twelve hours, you have poor drainage.
Fast results protect roots; slow results point to long-term drainage issues. Slow movement means roots sit in oxygen-poor soil and need fixes beyond irrigation adjustments.
Watch the surface around the test: darker patches, springy ground, and lingering footprints mark collection areas. Slight slopes, downspouts, or hardscapes can funnel runoff and raise local water.
“If the hole drains slowly even with no recent watering, the site itself is part of the problem.”
Persistent wetness can also signal a high water table. You can correct irrigation flow today, but fixing the landscape may mean regrading, adding organic matter, or installing a drain line.

Soil physics that drive wet spots: clay soils, field capacity, and moisture movement
Think of field capacity as the garden’s sweet spot where roots sip, not drown. It is the moisture left after excess water drains and before pores fill so much they block air.
A simple sponge image helps: a dripping sponge is saturated and unusable. A damp sponge holds usable moisture. That usable moisture is capillary water between permanent wilting point and field capacity.
Clay and clay soils hold more capillary water because tiny particles create small pores. Those small pores keep water longer and can seal the surface. That slows infiltration and keeps the surface soggy in heavy textures.
When pores fill with water, air declines. Roots need air for respiration; low air content stalls root growth. Compaction from foot traffic, mowers, or working the ground when too wet squeezes out pore space and traps water near the top.
Compacted structure can take years to recover without adding organic matter and reducing traffic. Even in heavy soil, a properly balanced irrigation zone should not leave one chronically saturated patch while the rest runs short.

| Factor | Effect | Homeowner action |
|---|---|---|
| Clay texture | High field capacity; slow drainage | Add compost; avoid tilling when wet |
| Compaction | Reduced pore space; poor air movement | Limit traffic; aerate and add organic matter |
| Saturated vs capillary | Saturation drowns roots; capillary water feeds them | Test moisture depth; adjust irrigation run times |
For deeper reading on physical measures and texture effects, see this soil physics study.
what causes wet soil near manifold, dry at ends [troubleshooting]
Start with the likely, fixable faults so you don’t tear up the yard unnecessarily. Small failures close to the valve bank often explain a soggy ring while the far beds go thirsty.
Think of the manifold area as the system’s faucet — leaks and slow drips pool locally.
Common, easy fixes include cracked fittings, loose clamps, and thread failures that seep slowly into the same patch of soil. These small leaks can steal enough water to leave distant areas short.
A second frequent issue is valve “weeping.” A solenoid that won’t shut completely lets water pass between runs, keeping the valve bank damp even when the controller is off.
Pressure and flow loss create the pattern you see: when volume drops early, far emitters or sprinklers can’t deliver. Partial clogs, dirty filters, or pinched lines also reduce distribution and leave uneven moisture.
Mismatched hardware or a long zone layout — mixed emitter type or poor spacing — concentrates flow near the supply and leaves the tail dry. These are system distribution problems, not plant-only issues.
- Quick tests: look for dampness, run the zone and watch for pressure loss, and inspect fittings.
- Further help: a concise dripline troubleshooting guide walks through emitter and line checks.
“A targeted check of valves, clamps, and filters often finds the fault without heavy digging.”
![what causes wet soil near manifold, dry at ends [troubleshooting]](https://thegardenhaven.com/wp-content/uploads/2026/02/what-causes-wet-soil-near-manifold-dry-at-ends-troubleshooting-1-1024x585.jpeg "what causes wet soil near manifold, dry at ends [troubleshooting]")
Pinpoint the cause with targeted system tests
Watch the control cluster while a zone runs to spot leaks and uneven flow quickly. This live view often shows fresh seepage and gives clear signs of loss.
Step-by-step checklist:
- Look for pooling, constantly dark soil, or algae-like slickness around fittings.
- Run the zone and watch for new seepage, then turn it off. If dampness continues, a valve may be weeping.
- Compare spray distance or drip output at the supply and the far end to reveal pressure drop or blockage.
Controller sanity check near the home matters. Confirm run days, durations, and seasonal adjustments so a schedule isn’t masking a leak or overwatering one zone.
Hidden underground leaks show by a growing wet patch, persistently soft ground, or a greener strip in lawn areas. Minimize walking on the spot — repeated traffic compacts the soil and slows recovery.
When to call a pro: if you suspect a mainline leak, can’t isolate the zone, or the wet area threatens the foundation or hardscape. For DIY drip upgrades, consider this helpful DIY drip system.
“Targeted observation and a few quick output checks often find the problem before you dig.”
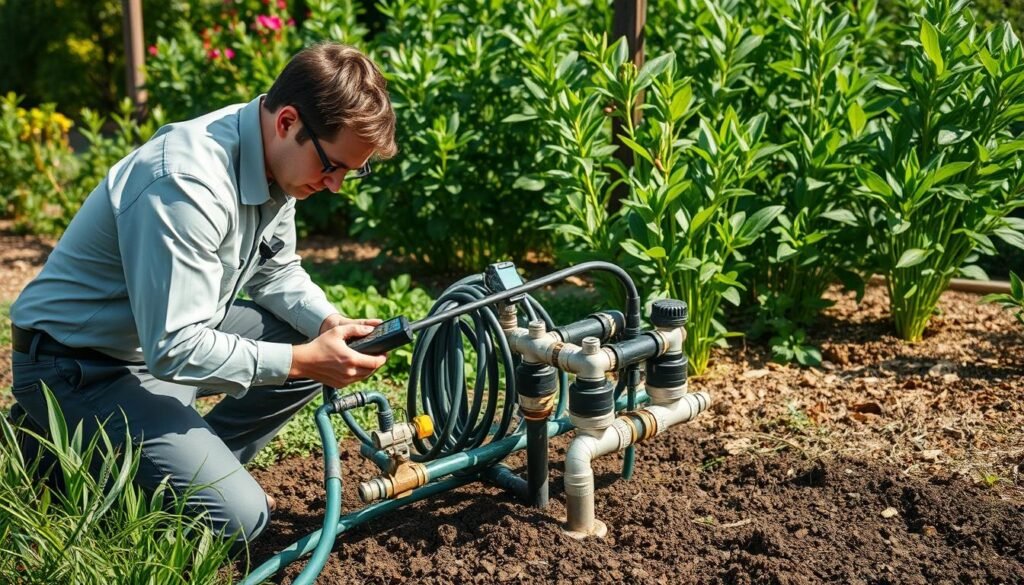
Fixes that work: from quick corrections to longer-term drainage solutions
Start small, stop losses, then improve the ground so the same spot won’t hold water forever. Combine a few fast repairs with soil and landscape changes for the best, lasting result.
A few quick actions can often halt the steady seep and reveal whether deeper fixes are needed.
Immediate steps: pause or reduce watering on the affected zone. Wait 24–48 hours and re-check the area to see if leftover moisture subsides without scheduled irrigation.
- Tighten or replace fittings, repair cracked manifold components, and swap a faulty valve or solenoid that lets water pass when it should be off.
- Clean or replace filters, flush lines, and confirm emitter spacing and pressure so the far ends receive steady flow.
Soil and surface fixes: core aeration or careful hand-aeration opens pore space without upheaval. Mix in compost to improve structure in heavy clay and help roots breathe.
Reroute foot traffic and mower paths to prevent compaction. If some guides interest you in seasonal rebuilding, see building healthy soil in fall for timing and methods.
On lime products: hydrated lime can speed drying in a pinch, but spot-test and follow label directions. A soil test helps avoid shifting pH too far for plants.
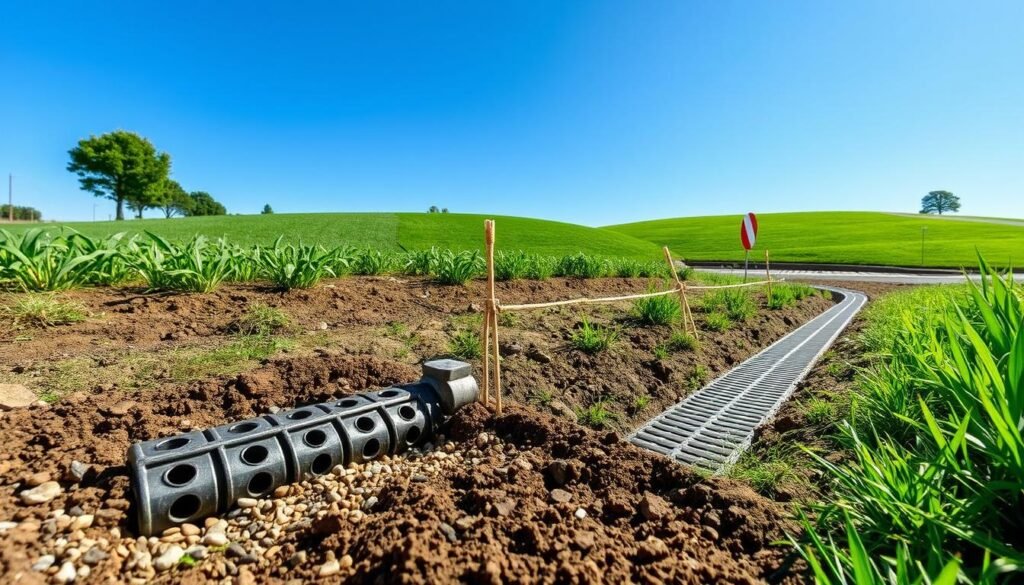
When the site needs bigger work: reshape surface flow with a shallow swale, add a gravel trench, or install a perforated pipe French drain. Plan the outlet—many areas restrict discharge to storm systems, so pick a legal, safe outlet on your property.
“Stop the leak first, then rebuild pore space and surface flow so the patch recovers and stays healthy.”
| Fix | When to use | Benefit |
|---|---|---|
| Hardware repair | Visible seep or weeping valve | Stops steady water loss; quick fix |
| Aeration + compost | Compacted or clay-heavy ground | Improves pore space and root health |
| Surface swale / French drain | Persistent collection or high water table | Moves water to a safe outlet; long-term drainage |
Final note: a combined approach is usually the best solution. Fix distribution faults first, then restore soil structure and adjust surface drainage so the same spot stops staying soggy after storms or irrigation.
Conclusion
Summarize the path from detection to solution so your plants recover faster. Follow a simple order: confirm true damp soil, check landscape drainage, then test irrigation for leaks, valve seepage, or flow loss.
Pattern logic matters: a soggy ring beside the control with thirsty beds usually means water is leaving near the supply and the far side loses delivery. That is an actionable result you can test.
If a drainage test shows slow loss, fix surface flow and amend the soil to improve pore space. If drainage drains well, focus on hardware, filters, and pressure balance to restore even water delivery.
Protect your plants while you work: pause or reduce runs over saturated spots and watch the dry areas for recovery. Healthy roots need steady moisture and open air—drowning roots can mimic drought and lead to the wrong repair.
Note: persistent saturation can reflect a high water table in some conditions. Choosing tolerant plants or adding a drain may be the most realistic long-term option. Once water flows where it should, the whole landscape usually rebounds with greener growth and fewer bare patches.