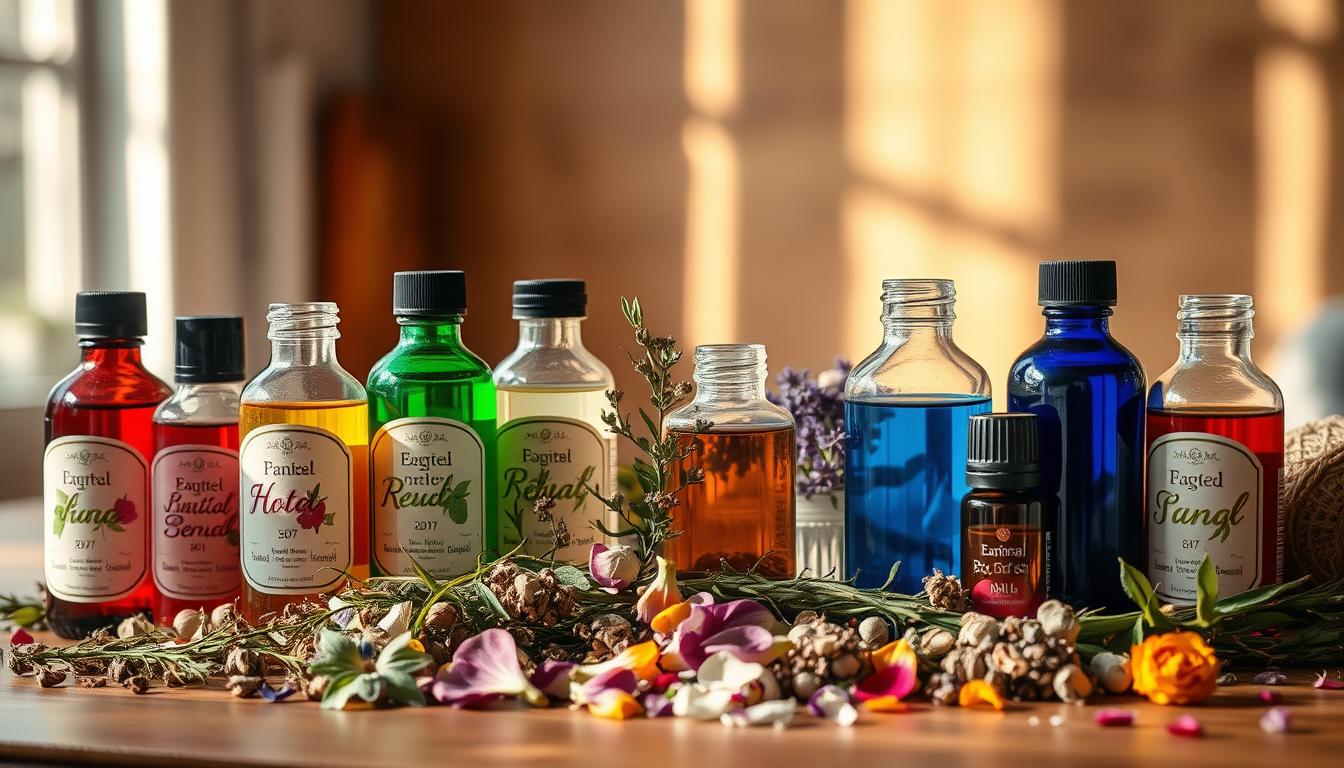
Can a small windowsill plot yield fragrant oils that rival store-bought blends?
This guide walks you from seed to scent with clear steps and gentle tips you can trust.
Start simple: choose a few resilient plants you love and learn the basics of garden timing, harvest, and basic distillation. Small batches teach patience and reveal what makes each aroma sing.
Different species store aromatic compounds in tiny glands, so your selection and timing shape both yield and quality. Work in a ventilated room when you handle fresh biomass to protect your senses and keep aromas true.
Expect home setups to serve learning and small-scale blends for aromatherapy or DIY products. With tidy notes on varieties and care, you’ll refine your craft season by season and enjoy more consistent results.
Key Takeaways
- Begin with easy, container-friendly plants to build skill and steady supplies.
- Harvest timing and gentle handling preserve the best aroma and quality.
- Ventilate your workspace when processing fresh plant material.
- Small home methods work well for learning; industries use larger systems for scale.
- Keep notes on varieties, timing, and results to improve each season.
Understanding Essential Oils, Plant Material, and Home Extraction Goals
Tiny glands and resin channels in a plant hold the molecules that give each species its signature scent. These volatile compounds evaporate easily, which is why fresh biomass fills a room with aroma when you handle it.
Essential oils are concentrated aromatic mixes. Many high-value oils contain 100–200+ constituents, so small changes in season or handling shift scent and quality.
Different plant parts—leaves, flowers, peels, stems, seeds, bark, and roots—offer distinct profiles. Fresh or dried plant material is often used, and moisture affects oxidation and retention.
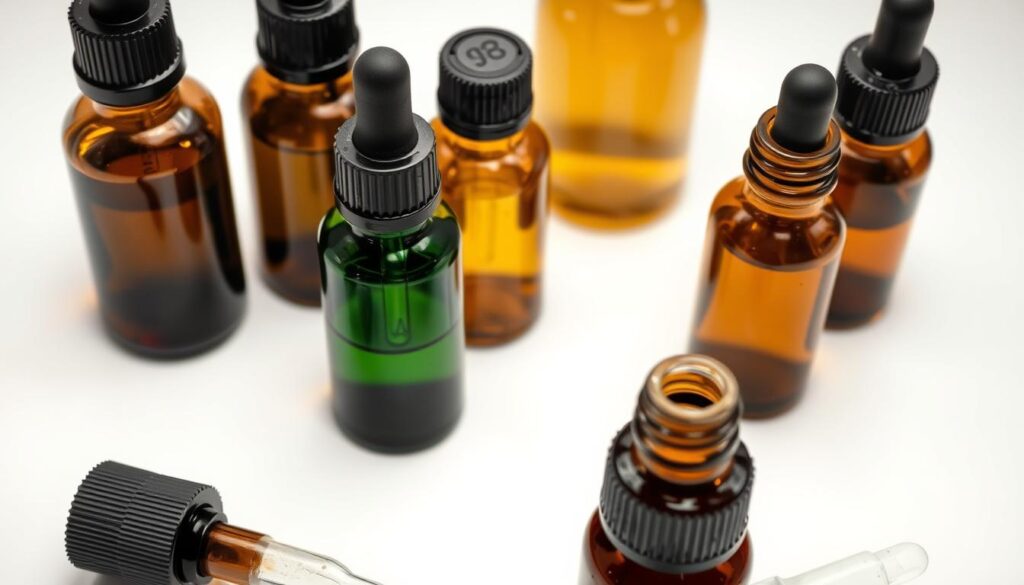
Steam and water behavior matter during distillation because vapor carries volatile molecules. Common approaches include distillation, cold pressing, solvent methods, and CO2.
- Set clear goals: decide which products and benefits you want—aromatherapy blends, body care, or culinary accents.
- Choose one primary plant and track which parts and pre-treatments you use to improve future batches of oils and essentials.
Planning Your Herb Garden for Aromatic Yield and Oil Quality
Pick a few reliable fragrant species and match them to containers, light, and season for the best results. This focused approach helps you produce consistent batches and makes post-harvest prep easier.
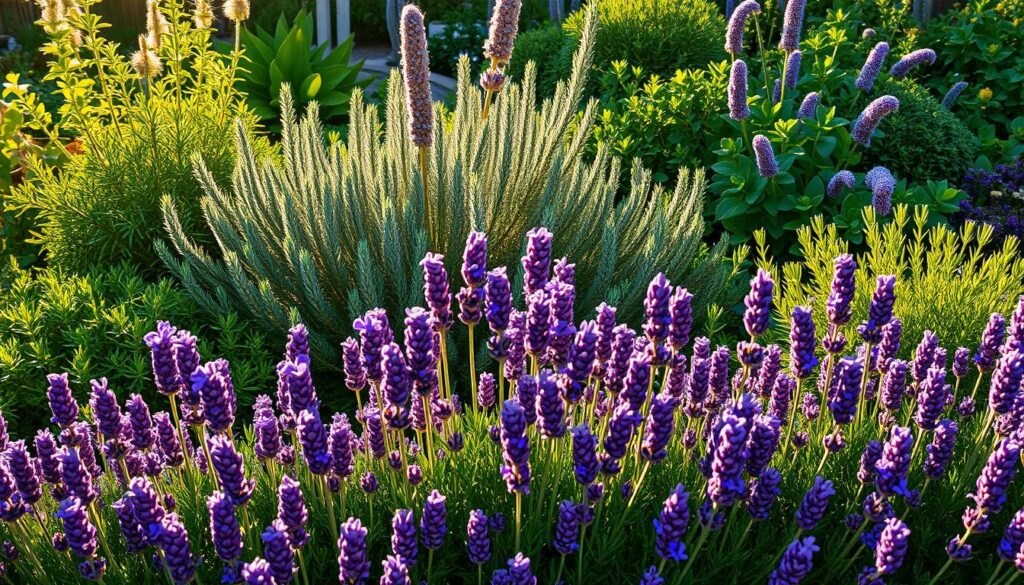
Top picks for home plots include lavender, peppermint, rosemary, thyme, and geranium. Lavender gives floral-camphor notes, peppermint offers menthol clarity, rosemary brings piney brightness, thyme adds savory lift, and geranium lends a rosy-green character. These are often used for essential oils in small-scale projects.
Small-space and indoor setups
Match pots to root habits so each plant thrives. Prune to encourage branching and more gland-rich foliage, which boosts aromatic oils.
- Use window planters or shelving with full-spectrum lights to keep plants compact and productive.
- Keep consistent water and airflow to protect leaf health and prevent mildew.
- Set a light schedule so growth and quality stay steady through winter cuttings.
From garden to still
Prepare a tidy workstation for sorting plant material; clean handling preserves top notes in your oils.
Keep a checklist for your first steam run: flask, condenser, separator, and distilled water. Decide the main use—diffusion, bath blends, or topical mixes—so you can plan biomass and storage accordingly.
For extra reading on cultivation and selection, see a practical guide to optimizing herb growth here, and a note on standout garden choices here.
Growing Conditions in the United States: Light, Water, Soil, and Care
Sunlight, soil mix, and steady routines shape whether your plants make bright, true aromas or muted scents. Small choices—light hours, drainage, and gentle handling—have outsized effects on final oil quality and aromatic properties.
Sunlight and indoor grow lights?
Aim for 6–8 hours of direct sun outdoors. If you use lights, keep them close to the canopy to boost terpene formation and support essential oils potential.
What soil, drainage, and watering practices help?
Use a gritty, well-aerated mix to avoid compaction and support oxygenated roots. Keep roots evenly moist but never soggy; consistent water and fast drainage protect the glands where oils form.
When should you prune and inspect for pests?
Prune lightly and often to encourage fresh shoots full of oil glands. Scout weekly for aphids and mites; a hard water spray, hand removal, and good airflow usually solve problems without residues.
- Avoid excessive heat that can volatilize aroma before harvest.
- Handle leaves gently so glands stay intact until distillation.
- Record timing by variety to repeat what gives the best oil quality.
Harvesting and Preparing Fresh vs. Dried Plant Material
Collecting plant material at peak scent preserves fragile volatiles and improves your final oils. Gentle cleaning, proper drying, and light bruising make steam distillation and other methods more efficient.
When should you harvest for the best aromatic yield?
When is the best time to cut for maximum concentration?
Harvest in the cool morning after the dew dries. This time keeps volatile compounds stable and gives brighter results during steam distillation.
What prep steps protect aroma and improve yield?
What cleaning, drying, and bruising steps optimize the process?
- Rinse quickly with clean water and pat dry; remove damaged stems and leaves so your material stays clean for the process.
- For citrus, zest peels from ripe fruit; avoid pith to keep top notes clear.
- Air-dry bunches in shade for several days or use a dehydrator on low to preserve glands in plant matter.
- Chop or lightly bruise biomass just before extraction so steam can pass evenly during distillation.
- For soft plants, consider a gentle infusion method in a neutral carrier; shake daily for 2–4 weeks and strain through cheesecloth.
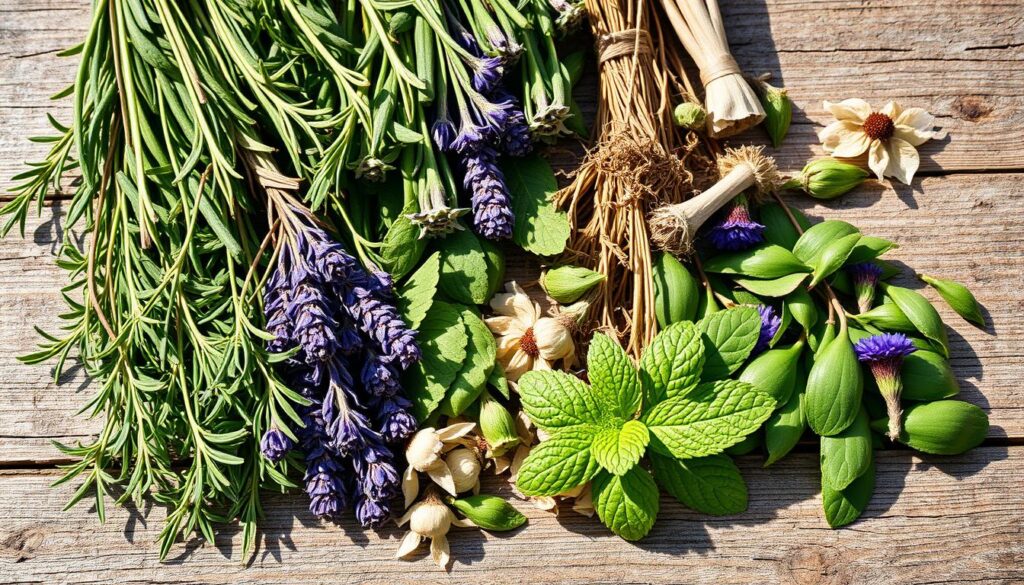
Label small prep batches by variety and date. Store prepped material in breathable containers away from heat and light to protect volatile oils until collection.
Steam Distillation at Home: Step-by-Step Distillation Process
Most of the work is control: steady steam, gentle temperature, and patient timing deliver the purest aromas from fresh plant material. Set your kit carefully, watch the run, and label each batch so you learn what works for each species.
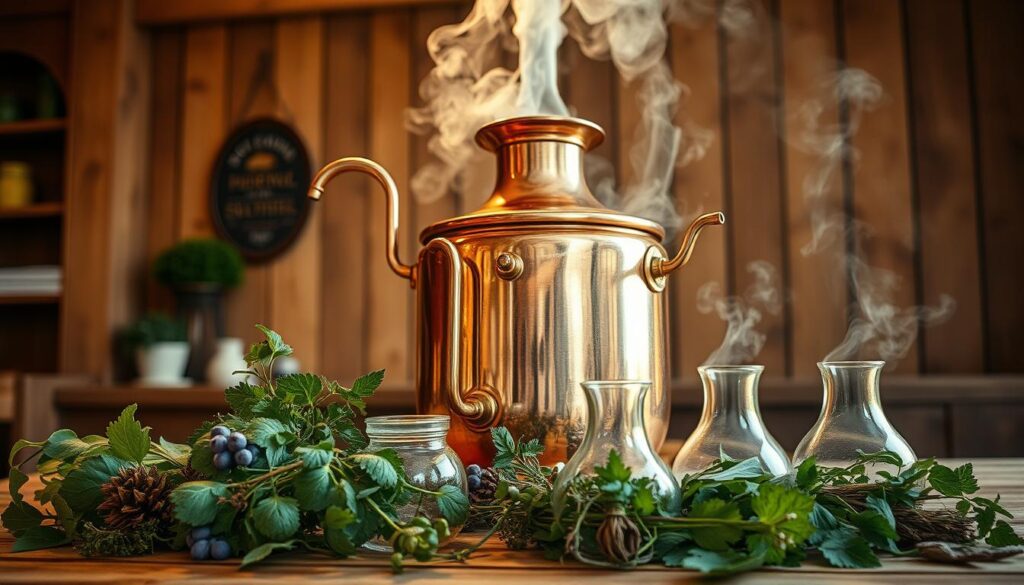
What to set up and why
Assemble a firm flask for biomass, a tight condenser, and a separator. Use distilled water to reduce impurities.
Pack plant material loosely so steam flows and ruptures glands without channeling. Overfilling cuts yield and slows the process.
Keeping heat, steam, and time in balance
Bring the still to a gentle boil and stabilize heat. Lower, steady energy protects delicate compounds and top notes.
Monitor the condensate drip: a steady stream signals good control of time and temperature. Runs vary—soft plants often finish in hours; woody types may need much longer.
Collecting and separating the layers
The condensed liquid will form a natural mixture of hydrosol and oil. In the separator, two layers appear and you can decant the oils carefully.
Keep seals tight to avoid lost aroma, clean glassware between runs, and label both hydrosol and oil for future reference.
Quick reference: best practices
- Water: use distilled only.
- Packing: loose, even layers of material.
- Heat: gentle, steady, avoid spikes.
- Timing: record run length by plant type.
| Step | Key action | Reason | Typical time |
|---|---|---|---|
| Setup | Assemble flask, condenser, separator; add distilled water | Limits impurities and ensures clean condensate | 10–20 min |
| Packing | Loosely load plant material | Allows even steam flow and better oil release | 5–15 min |
| Run | Heat to gentle boil; stabilize | Protects volatile compounds and avoids off-notes | 2–8+ hours |
| Collection | Separate hydrosol and oil; label | Preserves product identity and quality | 15–30 min |
Cold-Press and Infusion Methods for Citrus Peels and Soft Herbs
Bright citrus notes often hide in the thin rind, ready to pop free with gentle pressure. Cold pressing preserves top notes and vitamins that heat can dull.
Cold pressing citrus peels for bright, heat-sensitive oils
For citrus, cold pressing targets the fruit peels where most aroma lives. Prick or zest the peels, press to release droplets, then rinse with water and let the layers separate.
Cold-press extraction keeps color and fresh scent but gives modest yields. Use this method for lemon, orange, or grapefruit when you want a vivid, zesty result that steam and distillation might soften.
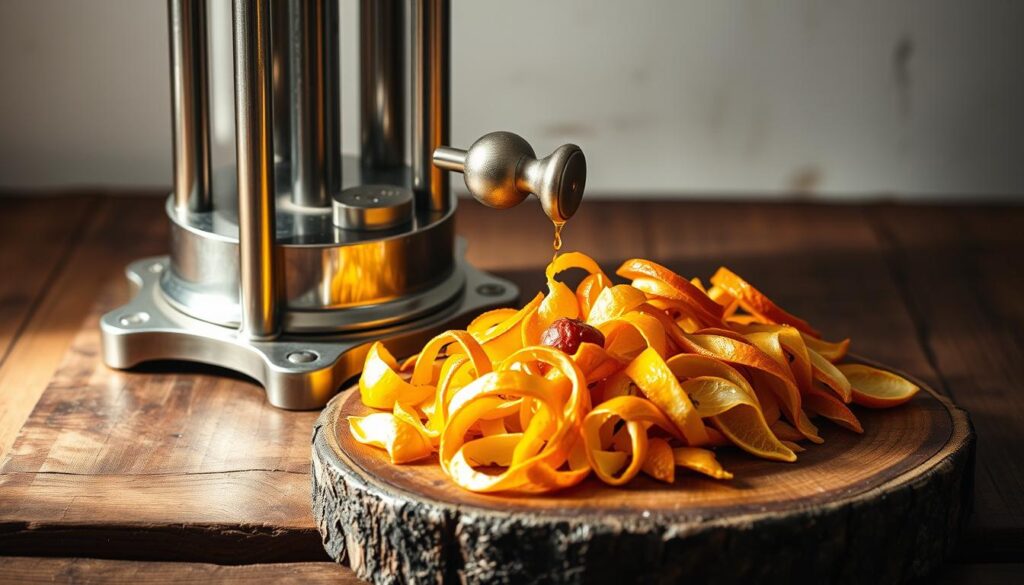
For soft plant matter, bruise leaves and cover them with a neutral base such as jojoba or sweet almond. Shake daily for 2–4 weeks so the mixture draws out aroma, then strain through cheesecloth.
- Pick a stable carrier with little scent to highlight the herb.
- Store finished blends in dark glass and label with date and plant name.
- Tip: Gentle warming can speed an infusion method, but avoid high heat that steals top notes.
Compare results by scent: cold-press keeps citrus bright, while infused blends feel round and herbal. Reserve distillation for plants that gain complexity from steam and separator-collected oils.
Other Extraction Methods Explained: Solvent, CO2, and What’s Practical at Home
Solvent routes and CO2 systems can reach compounds steam can miss. They offer high yields and tuned profiles, but they bring cost and safety trade-offs.
Some producers use solvent extraction with ethanol, methanol, or hydrocarbons like hexane. These solvents dissolve target compounds, then the mix is filtered and vacuum distilled to remove traces.
Be cautious: residues may remain and hydrocarbons demand strict handling and ventilation for safe production.
What makes CO2 different?
CO2 acts as a tunable solvent when compressed. Supercritical CO2 runs at higher pressure and temperature for higher throughput, while subcritical conditions are gentler and preserve delicate notes.
Which method should you pick?
For most home projects, stick to distillation, cold expression, and infusions. If you consider alcohol tinctures, remember they pull different polar fractions than oil-focused approaches and suit other product goals.
- Tip: Match the method to the plant and your product: woody material favors distillation; citrus works by expression; soft leaves suit infusions.
- Reality check: CO2 and solvent paths deliver high-quality oils and essential oils in industry, but they are rarely practical for small-scale production due to cost and safety.
“Choose a method that fits your safety comfort, equipment, and the aroma you want to keep.”
Post-Extraction: Filtration, Storage, Quality, and Safe Use
After distillation or infusion, quick handling preserves scent and prevents spoilage. Clean tools, cool dark storage, and clear labels keep batches reliable.
Filter and bottle with care.
Filter through unbleached paper or fine mesh to remove fines. Rinse glassware with a small amount of alcohol, follow with distilled water, and dry fully to protect product quality.
What storage and labeling look like
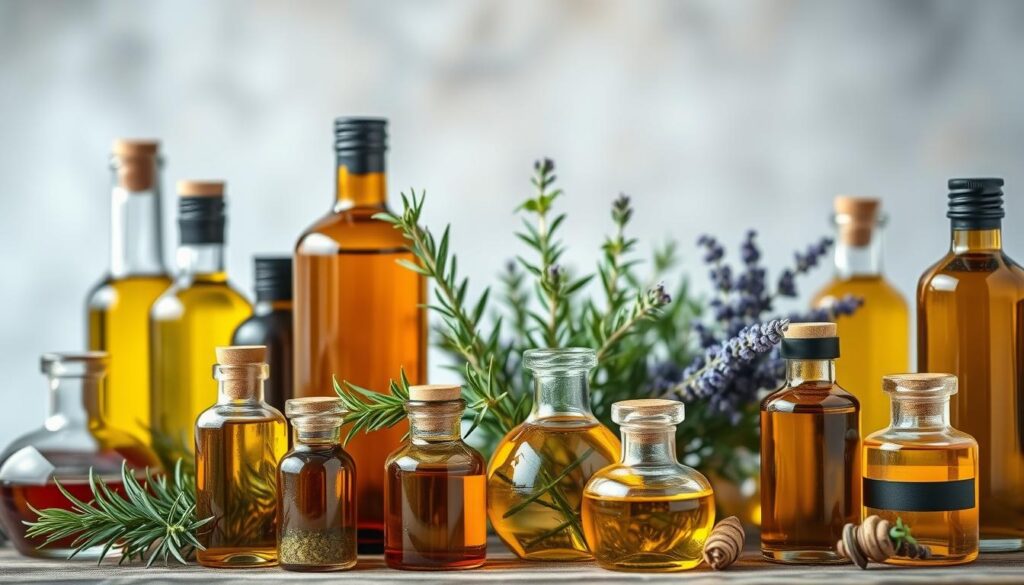
- Bottle oils in dark amber or cobalt glass and fill to the shoulder to limit oxygen.
- Label each collection with plant, date, and batch so you can track time and rotate supplies.
- Store at cool room temperature away from sunlight and heat sources.
How long will finished products last?
Most oils keep 1–2 years; pressed citrus tends to lose top notes sooner and can increase photosensitivity for some skin types.
Safety basics to protect family and pets
- For aromatherapy or topical use, always dilute in a carrier base and patch-test before broad use.
- Keep concentrates away from children and pets; some plants produce oils unsafe for them.
- Ventilate when pouring or diffusing; strong volatiles can overwhelm a small room quickly.
- If making tinctures, high-proof alcohol is often used—avoid open flame and never ingest products without expert guidance.
| Step | Action | Reason |
|---|---|---|
| Filtration | Unbleached paper or fine mesh | Removes fines and cloudiness |
| Cleaning | Rinse with alcohol, rinse with distilled water, dry | Prevents contamination and preserves aroma |
| Storage | Dark glass, cool room, label | Limits oxidation and tracks age |
Conclusion
Finish each run with care: label bottles, note timing, and clean gear so your next batch starts stronger. Small choices—timing, distilled water, steady steam—add up to clearer aromas and better results.
A thoughtful process turns simple methods into reliable results.
Start with approachable methods like steam distillation for leafy plants and cold pressing for citrus. Learn the real difference between solvent extraction and co2 extraction using carbon dioxide, and respect safety when handling solvents.
Keep notes, label each jar, and celebrate what each trial teaches. For practical garden care and next steps, learn more about herb care and let season and soil guide your small-batch craft.