
Can a sunny ledge feed your family fresh leaves every week? This guide shows how a compact, well-drained window box can deliver quick baby-leaf harvests and steady regrowth with simple care.
In just a few weeks you can clip tender servings from a tiny setup. Germination often appears in 7–10 days, and cutting outer leaves about an inch above the crown encourages repeat growth.
We cover how to pick the right exposure, choose a 6–8+ inch depth container, and mix organic potting soil with compost for balanced moisture and drainage.
Expect practical, bite-size tips on sowing, thinning, watering, and light schedules so your bowls stay crisp and full of flavor through spring and fall.
Key Takeaways
- Fast results: seedlings in 7–10 days and harvests within weeks.
- Setup basics: 6–8+ inch depth, good drainage, organic soil mix.
- Cut-and-come-again: harvest at ~3 inches and clip above the base.
- Light and season: morning sun and afternoon shade work best in summer.
- Daily care: steady watering and light feeding keep growth balanced.
- Safety: harvest cleanly and wash before serving.
- For recommended containers and herb pairings, see our picks at best herb garden setups.
Why a Kitchen Window Box Is the Smartest Way to Grow Salad Greens at Home
A compact planting ledge can supply regular, fresh salads with minimal fuss.A three-foot planting ledge can feed weekly side salads for one or two people when it’s about 6–8 inches deep and filled with a good mix of lettuces and baby greens.
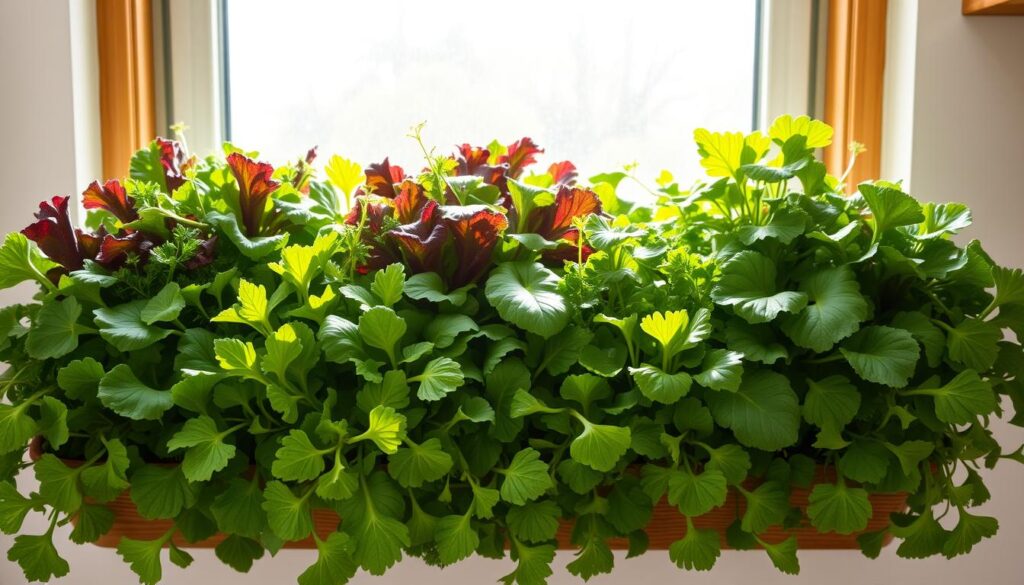
Grow at home for better flavor and safety. Harvesting within arm’s reach beats store trips for taste and reduces worry during recall headlines. Mix lettuces, spinach, kale, arugula, and mesclun so texture and flavor stay interesting.
Small setups work well. Controlled soil and watering lower disease risk compared to ground beds. The microclimate near a window warms fast in spring and stays accessible in bad weather, so you can tend plants in minutes.
- Maximize space: sturdy window boxes turn unused ledges into steady sources of fresh greens.
- Cut-and-come-again: pick outer leaves to encourage repeat production for months.
- Beginner friendly: leafy crops germinate fast and forgive light mistakes.
For a practical step-by-step on layouts, sowing, and weekly care, see our guide to grow greens in a window box for more tips on planning and planting.
Plan Your Window Box Garden: Light, Space, and Secure Mounting
Place the planting ledge where light and stability match the season and your daily routine.Morning sun with afternoon shade keeps plants cool in summer. In spring and fall, move toward fuller sun for faster growth.
Choose exposure first. Aim for at least 4–6 hours of direct light per day. Use shade cloth on hot days to stop bitter leaves and bolting.
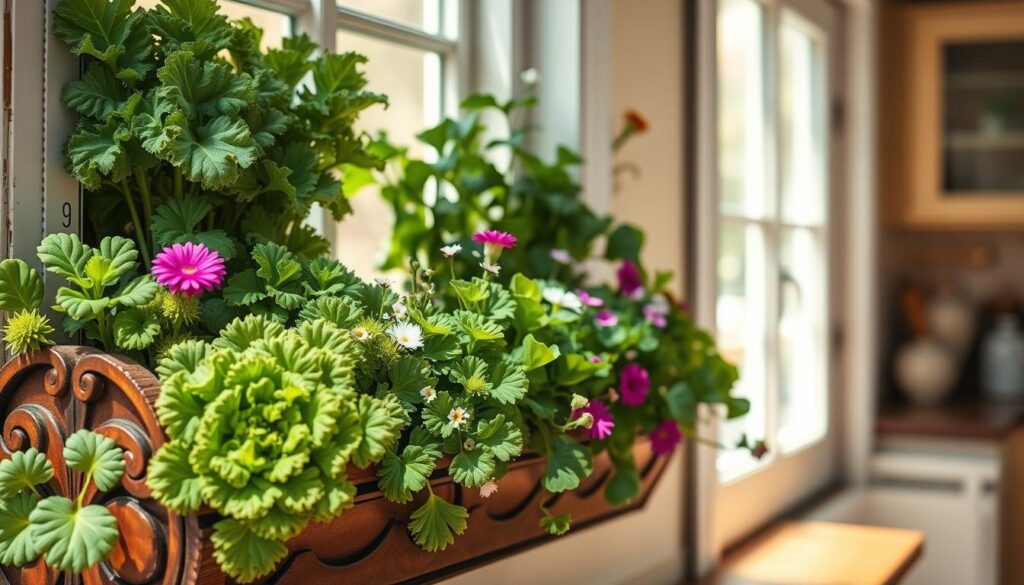
Size the unit to fit your room and needs. A three-foot long box about 6–8+ inches deep works well for one or two people. Go deeper (up to 12 inches) if your site gets wind or heat; extra depth holds moisture and protects roots.
Pick durable materials and mount safely. Wood, plastic, and metal containers all work when paired with solid brackets. Confirm drainage holes so water never pools, and leave an inch of rim when filling to avoid overflow.
“Secure brackets and good drainage make a small ledge reliable all season.”
- Test mounts into studs or masonry anchors.
- Use liners in metal boxes to protect finishes.
- Load-test with wet soil before planting.
| Feature | Recommended | Why it matters |
|---|---|---|
| Length | ~3 feet | Feeds 1–2 people with frequent harvests |
| Depth | 6–8+ inches (up to 12) | Keeps soil moist and roots healthy |
| Materials | Wood / Plastic / Metal | Choose by weight, look, and durability |
Build the Foundation: Potting Mix, Drainage, and Soil Prep
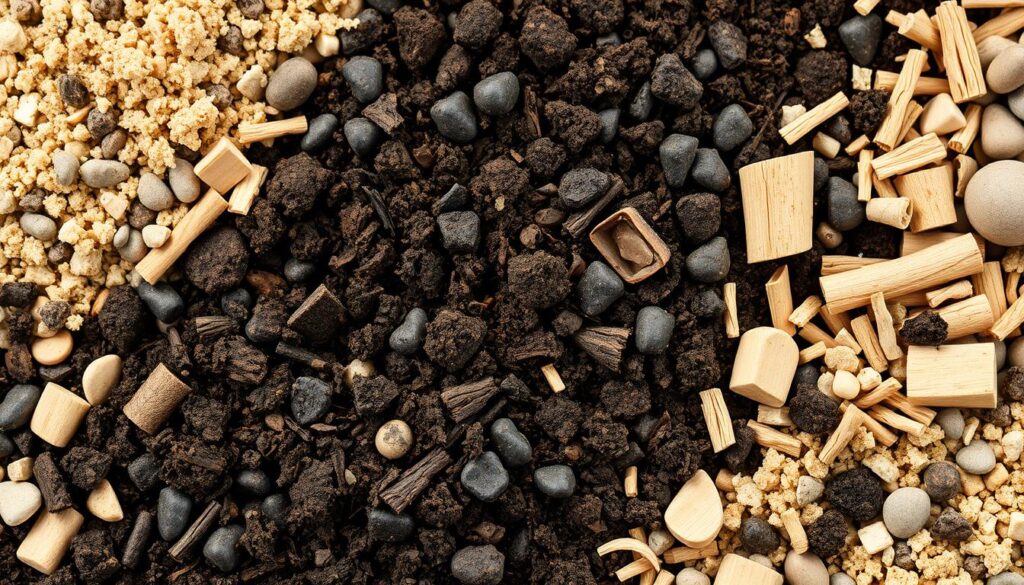
Good soil and clear drainage are the backbone of steady harvests.Use an organic potting mix made for vegetables, then amend it so young roots get air, moisture, and food without drowning.
Start by choosing a high-quality potting mix designed for containers; avoid compacting topsoil. Blend in mature compost or composted manure to improve structure and add gentle nutrients.
Pre-charge the medium with a balanced organic fertilizer following label rates so seedlings have a steady start. Stir in perlite or vermiculite to increase porosity and even water retention.
Rinse and disinfect reused containers. Scrub them, then soak for 10 minutes in a 1:9 bleach-to-water solution and rinse well. This lowers disease risk and keeps young plants healthy.
- Check drainage holes and clear any blockages; add a few holes if water lingers.
- Consider self-watering inserts or deeper container profiles to slow drying on hot, windy days.
- Fill to within an inch of the rim for easier watering and less mess on the sill.
Water to moisten the medium evenly, then let excess drain. The goal is a light, friable texture that crumbles when squeezed and lets roots breathe.
For detailed container techniques and inspiration, see our guide to container gardening secrets.
Kitchen window box provides all salad greens: Step-by-step planting
Seed or transplant? Follow simple, timed steps to fill your ledge with steady, cut-and-come-again harvests.
Choose a lineup that balances quick picks and longer-lasting heads. A mesclun mix gives variety, while arugula, lettuce, spinach, kale, and Swiss chard add texture and flavor.
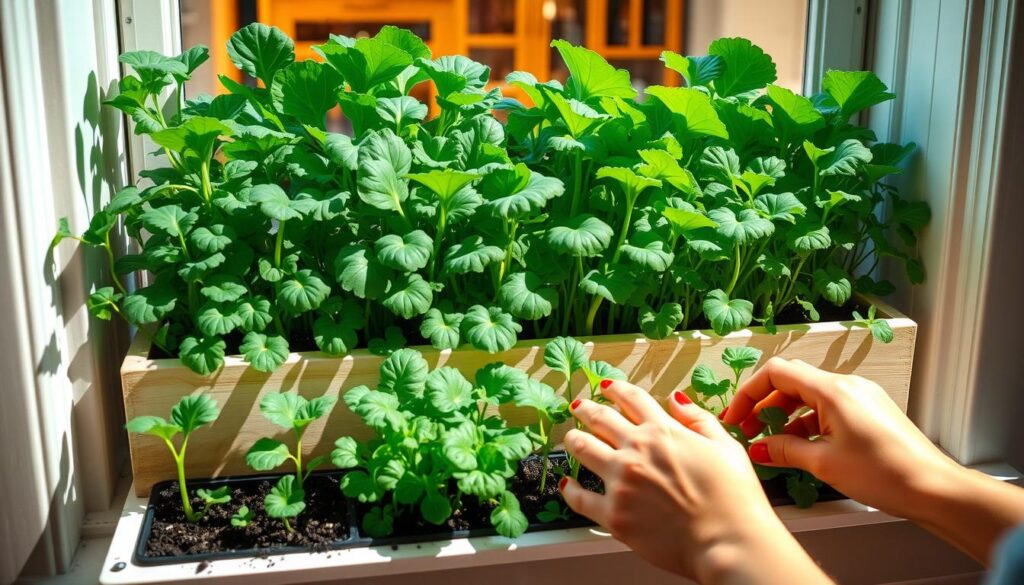
Sow or set out transplants? Direct seeding saves money and lets you plant many varieties. Transplants give a faster first harvest and help in cool weather. Match transplant soil level to the nursery cell when you place them.
How deep and how far apart?
Pre-moisten potting medium, then make shallow furrows. Sow seeds following packet guidance and cover with about a 1/4 inch of fine mix.
Thin seedlings early with scissors, leaving a couple inches between survivors so airflow and growth improve. For heads, space wider per seed packet notes.
Care during germination
Mist the surface or use a fine-rose can so seeds don’t wash into clumps. Keep the top layer evenly damp but not waterlogged. Many leafy crops sprout in 7–10 days; cooler nights can push that toward 10.
| Step | Action | Why it matters |
|---|---|---|
| Lineup | Mix mesclun, arugula, lettuce, spinach, kale, chard | Staggers texture, flavor, and harvest timing |
| Sowing | Shallow furrows, cover ~1/4 inch, label rows | Encourages even emergence and easy ID |
| Thinning | Snip to leave ~2 inches between seedlings | Improves airflow and speeds growth |
| Succession | Resow strips every 2–3 weeks | Extends harvests for several weeks |
“Thin with scissors early to protect roots and let survivors thrive.”
Care That Pays Off: Sun, Water, Fertilizer, and Harvest Timing
A few mindful minutes each day keep young leaves productive and tasty. Follow a simple rhythm of light checks, steady moisture, and light feeding to keep plants vigorous and flavors bright.
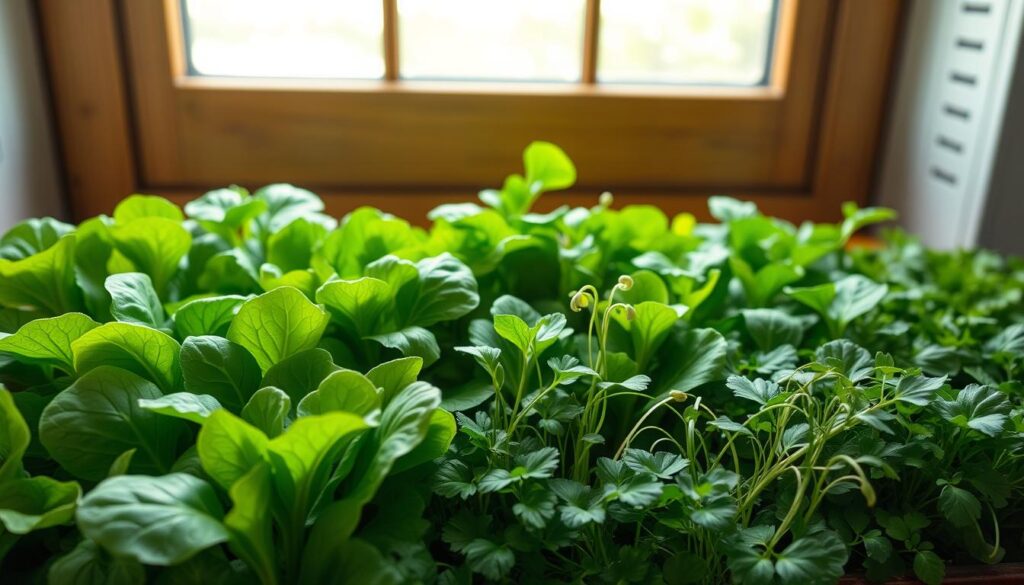
What should I check each day?
Check light, moisture, and temperature every day. Aim for about 4–6 hours of direct sun when possible.
Containers dry faster than beds, so inspect the top inch of soil each morning and evening during heat waves.
How do I beat the heat and keep flavor?
In summer highs above 80°F, move the container or rig afternoon shade to slow bolting and prevent bitterness.
Shade helps tender leaves hold water and taste better through hot spells.
When and how should I water and feed?
Water thoroughly until runoff, then let excess drain. Adjust so the surface never cracks fully dry.
Feed lightly with a dilute organic liquid fertilizer every 2–3 weeks to sustain steady growth without harsh flavors.
How do I harvest for continuous regrowth?
Harvest with scissors. Clip outer leaves at about three inches and leave the center to regrow.
Rotate cuts along the length of the window box so every plant recovers evenly. Remove yellow or damaged leaves right away to lower disease risk.
“Observe plant signals—upright, turgid greens by midday mean conditions are on point.”
Grow What You Love: Best Greens, Seasonal Swaps, and Succession Planting
Select greens that match your taste and your light, then stagger sowings so harvests never stop. This keeps fresh leaves on the table from spring through fall with minimal fuss.
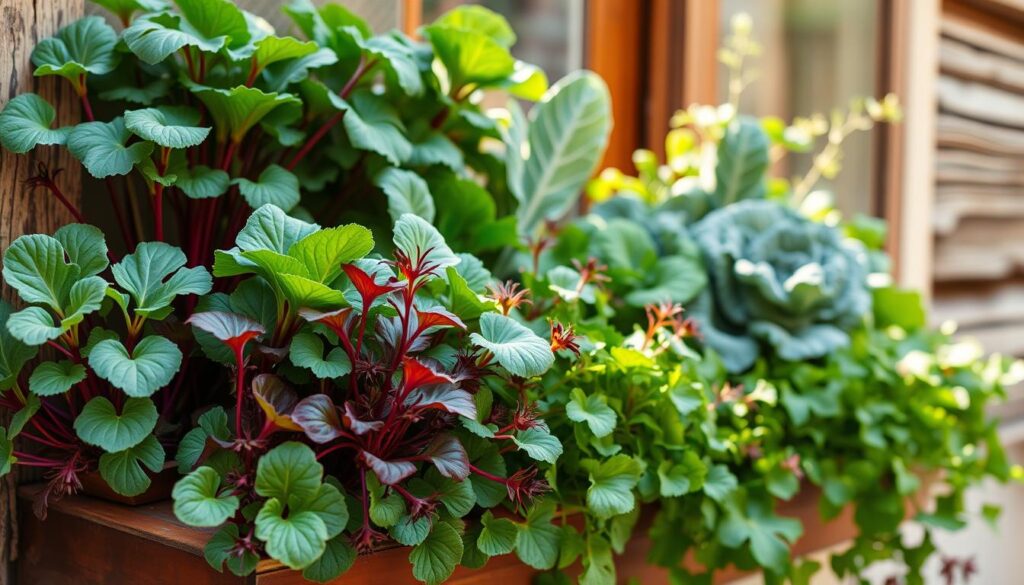
Which types should I plant for reliable results?
Build a base mix of leaf lettuces, spinach, and Swiss chard for steady volume and nutrition. Add accents like arugula, mizuna, and tatsoi for texture and peppery notes.
How do I plan succession sowing?
Sow small strips of seeds every 2–3 weeks. This staggers maturity so young leaves replace older ones without replanting the entire container.
| Use | Best Picks | When to Sow |
|---|---|---|
| Quick, tender leaves | Leaf lettuces, arugula | Spring, fall, or cool summer mornings |
| Nutrition and color | Spinach, Swiss chard, radicchio | Spring and fall; chard tolerates heat |
| Texture & heat tolerance | Mizuna, tatsoi, kale | Succession through cool seasons; choose heat-tolerant types for midsummer |
Tip: Dedicate a small section of your ledge to rotating sowings so one side is always maturing while the rest recovers. Keep a backup of favorite seeds and note which types handle your light and flavor preferences best.
Troubleshooting and Food Safety for Window Box Salads
What should you do when pests, stress, or handling threaten your harvest? Keep routines simple: scout, thin, shield, and clean to stop small problems from becoming big ones. Good habits protect flavor and yield so you enjoy crisp bowls through spring and fall.
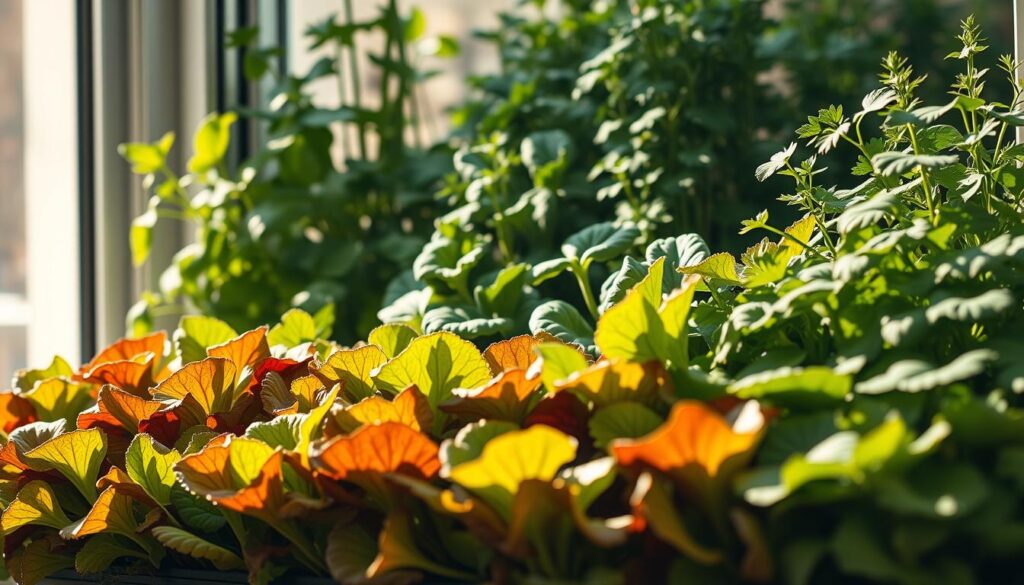
How do I stop pests and disease quickly?
Scout daily for tiny holes, webbing, or slime trails. Early detection stops pests like flea beetles and slugs before they explode in a small space.
- Use lightweight row covers to block insects while letting light through.
- Thin crowded areas to boost airflow and reduce powdery mildew risk.
- Remove and discard diseased leaves immediately and sanitize tools between uses.
How can I prevent bolting and watering problems?
Keep soil moisture steady and ensure free drainage so roots stay healthy. If water lingers, add holes or lighten the mix with perlite.
Give afternoon shade in hot spells and maintain adequate container depth to buffer heat stress that triggers bolting.
How should I handle harvested leaves safely?
Harvest with clean shears and chill produce right away at 35–40°F. Wash under running water just before serving to preserve crispness and reduce pathogen risk.
- Water at the soil level in the morning so surfaces dry during the day.
- Practice container hygiene: disinfect between plantings and clear spent roots and debris.
- If severe heat or wind hits, temporarily move the container to a sheltered spot.
Want more on clever container solutions? See our practical planter guide at discover how to grow herb planter for ideas that keep plants productive and safe.
“Scout often and act early—small checks save a whole season.”
Conclusion
Keep a short daily rhythm and a few simple rules to turn your ledge into a steady source of fresh bowls. Consistent routines — about 4–6 hours of sun, steady moisture, and light, regular feeding — support repeat harvests of outer leaves.
Sow small amounts often, snip outer leaves, and rotate varieties so flavors stay bright. Sanitize tools, ensure open drainage, and chill picks promptly to protect quality and safety.
Scale thoughtfully: add another window box or a deeper container when you want more volume. For a practical how‑to on year‑round indoor salad gardening, see year‑round indoor salad gardening.
Use these simple tips and you’ll enjoy fresh salad greens at home with less time and less waste.