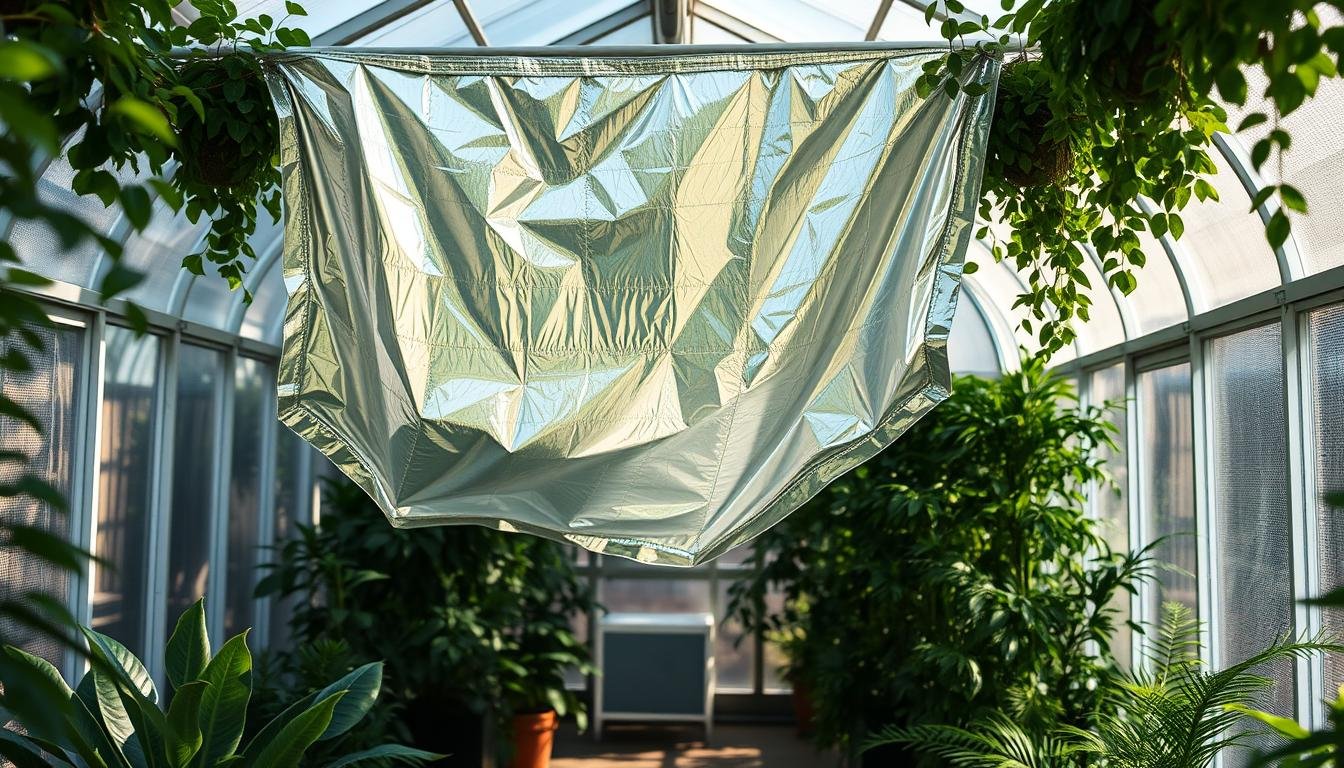
Can a $10 reflector cut night chill and boost usable light enough to save seedlings?
Greenhouse temperatures swing wildly from hot days to freezing nights, and that stress stunts plants fast. This short guide shows a practical method you can set up by hand in a weekend to steady heat and add usable light with reflective blankets and simple thermal mass.
We’ll show what to buy, exact placement, and safe mounts for reflectors so pots and seedlings get more even warmth and light. Add water barrels or cans for thermal buffering, a bit of insulation, and minimal heating only if needed.
Expect clearer steps, common mistakes to avoid, and simple safety checks so your garden gains steadier nights, less frost risk, and healthier plants without constant heating.
Key Takeaways
- Reflective blankets can redirect light and bounce lost heat back into the space.
- Combine reflectors with water thermal mass to smooth day–night swings.
- Simple insulation and sealed drafts reduce heating needs and stress on plants.
- Most setup tasks are DIY and done by hand in a few hours.
- Safety: secure mounts and monitor small heaters or candles if used.
Why a simple reflective upgrade can transform winter greenhouse light, heat, and plant health
Reflective panels redirect short winter sun into plant beds and help keep stored warmth inside at night.That simple change reduces temperature swings, eases stress on stems and roots, and cuts reliance on active heating.
Reflective surfaces don’t make energy; they redirect the sun and lost radiant heat so more sunlight reaches leaves and soil. This improves daytime photosynthesis and gives a gentle warming effect when the sun is low.
Glass or plastic glazing admits light well but insulates poorly. One clear example: day temperatures can soar to 110°F and fall toward 30°F by night. Tightening that cycle protects roots and foliage.
At night, mirrors and foil send radiant heat back into the space, reducing heat lost through glass. During the day, reflectors spread sun across benches instead of concentrating it in one hot spot, improving air movement and even warmth.
- Space-smart: place panels along low-light sides to reclaim usable light for beds.
- Energy-smart: better sunlight use lowers heating needs over the season.
- Quick win: a few panels produce visible improvement on day one.
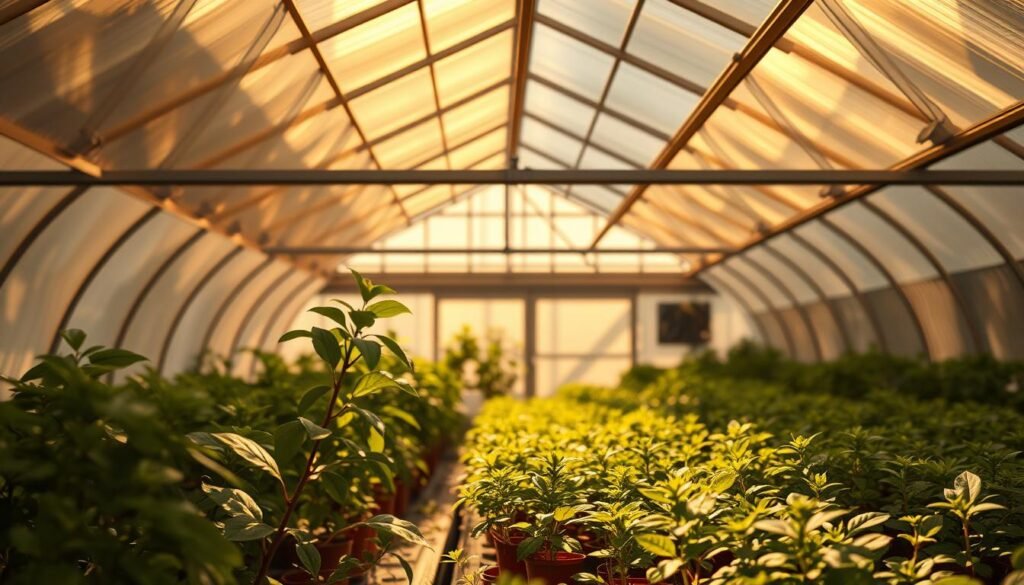
Emergency blanket method: low-tech hack brighter, healthier greenhouse using emergency
This method redirects sunlight to shaded benches and traps radiant heat after sunset. It’s a simple setup that relies on reflective material, secure mounts, and careful placement to protect plants and vents.
What you need:
- Mylar emergency blankets (reflective material).
- Rust-resistant clips or UV-stable tape and lightweight battens for support.
- Clean, dry surface for adhesion; non-abrasive backing pads for clip points.
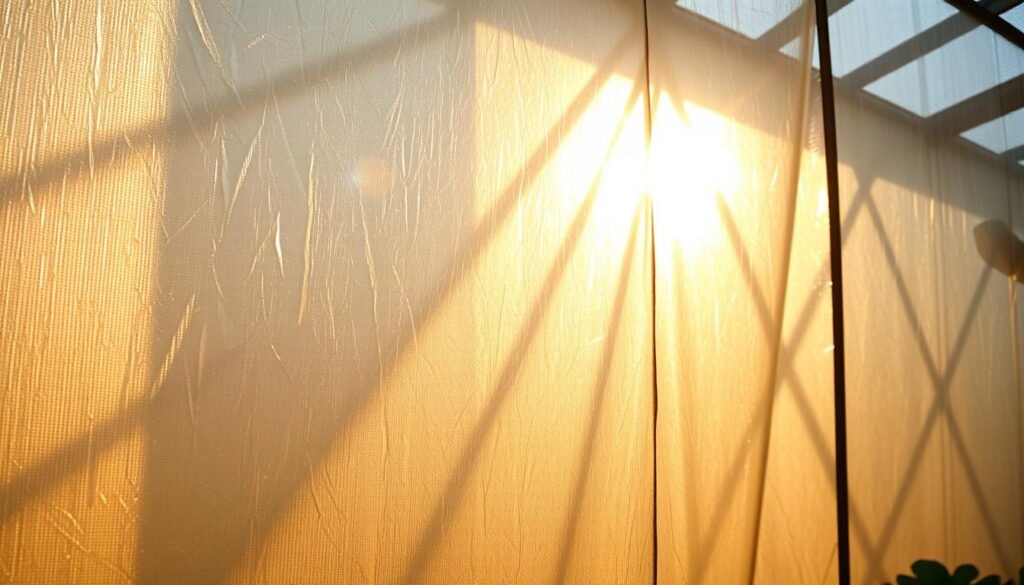
Where to place panels
Start on the north wall, then line the end walls and any shaded side. Aim panels so they reflect light at canopy height, not down at the floor.
Step-by-step setup
- Clean the mounting area and remove dust so tape holds.
- Attach a light batten or cord along the top edge and clip the blanket taut without stretching.
- Secure bottom corners to stop flapping and leave a 1–2 inch air gap to cut condensation.
Common mistakes and safety
- Do not block vents, doors, or wax-motor vent paths; airflow keeps moisture down.
- Avoid placing reflective sheets near open flame or hot chimneys; candle setups need a non-flammable base and strict supervision—never leave unattended.
- Wipe surfaces periodically and replace torn panels to keep the system effective.
Boost passive solar with thermal mass: water barrels, watering cans, and stone
Bring in barrels, cans, or stone to turn the sun’s energy into steady, usable warmth for plants. Water stores heat efficiently and releases it slowly, so daytime sun helps the space through cold nights.
Summary: Thermal mass stores daytime energy and releases it at night for steadier temperatures. Water outperforms concrete and dry soil per volume and is easy to add with barrels or cans.
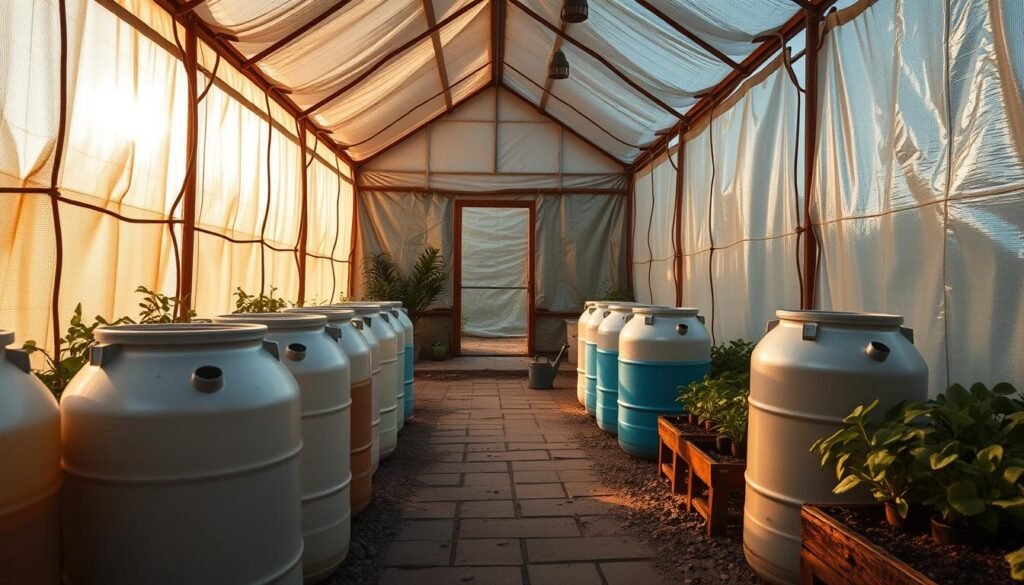
Why water evens day–night swings
Water has a very high heat capacity. By volume it holds roughly twice the heat of concrete and about four times that of dry soil.
This means a barrel warms slowly by day and gives back heat at night without large temperature jumps. The effect reduces stress on roots and helps food-producing plants keep steady growth in winter.
Placement tips and practical options
Place 55-gallon drums or a rainwater tank along the north side so they catch reflected sun and do not shade beds. Paint containers black to increase absorption and group them for greater capacity.
If space is tight, tuck small watering cans under benches or add stone flooring and a concrete block wall to boost ground-connected mass. Position seedlings near a barrel for a warmer microclimate at night.
Limits, footprint, and maintenance
Thermal mass reacts slowly—expect smoother peaks and valleys, not instant heat. Start with one to three barrels; more volume gives more stability but takes space.
- Footprint: cluster barrels where they won’t block access.
- Maintenance: keep lids closed, top off water, and check for leaks.
- Upgrade path: consider a ground-to-air system later, but barrels offer a simple, no-electricity start.
Insulation that pays off: bubble wrap, double layers, and sealing drafts
Start with insulation and you lock more daytime heat in for nights when plants need it most. Small changes—wrap, seals, and ground cover—cut heat loss, trim heating bills, and steady temperature swings fast.
A quick win is interior bubble wrap on glazing, doors, and vents. It fits glass or plastic surfaces and is usually easy to cut from old parcel wrap.
Fast wins: interior bubble wrap on glass and plastic
Pick UV-stable bubble wrap and install on a clean, dry surface. Leave a small air gap to limit condensation and keep clear panels for high-light areas.
Seal the leaks: weatherstripping, ground insulation, and edge taps
Add compressible weatherstrip around doors and vents so they still open smoothly but block drafts at night. Insulate the ground with straw, mats, or foam edges to reduce losses through the floor.
- Double-layer strategy: a second interior sheet boosts R-value and smooths nighttime temperature dips.
- Maintenance: wash glass before fitting and re-tape edges if they loosen over time.
- Pairing: combine reflective film and good insulation to keep light on plants while holding warmth.
| Option | Benefits | Cost & times |
|---|---|---|
| UV bubble wrap | Improves insulation on glass/plastic, easy DIY | Low cost, installs in an hour |
| Weatherstrip | Seals doors/vents, cuts drafts, preserves internal temperature | Low cost, quick fit |
| Ground insulation | Reduces floor surface losses; steadier root zones | Variable cost, simple placement |
| Double-layer setup | Best for cold nights; raises overall R-value | Moderate cost, short install time |
Air matters: simple ventilation and airflow control without electricity
Good airflow prevents daytime overheating and nighttime condensation. Set up passive vents and a clear air path to protect plants and cut reliance on active heating.
Airflow shapes plant health as much as heat and light; a simple plan keeps air moving without electricity.
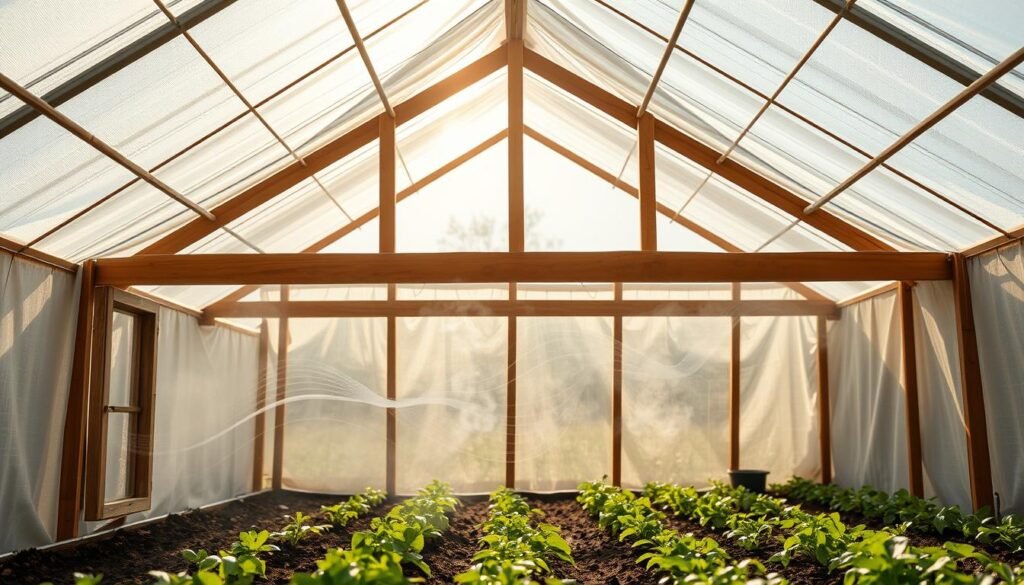
Automatic wax-motor vents: set-and-forget roof and side openings
Wax-motor openers expand at about 68–77 °F and can lift roughly 7 kg. They cost around $20 each and need no power, so they add ventilation energy-free.
Match the model to the sash: some fit vertical side windows, others suit roof vents. Install with one bracket on the sash and one on the frame and keep the linkage clear of reflective films or support cords.
Manual airflow: stack effect, cross-venting, and reflector placement for air paths
Plan a low intake and a high exhaust to use the stack effect. Aim airflow past canopies so moving air removes heat and moisture instead of stalling at walls.
Avoid hanging reflectors across main routes. Trim or relocate panels so vents breathe freely and humidity drops after irrigation or a warm day.
Simple routines work: crack a side door or vent late morning and close gradually in late afternoon to hold evening warmth and avoid cold night drafts.
- Summary: passive ventilation prevents hot pockets and reduces disease pressure.
- Balance: steady air plus water barrels lowers swings in temperature and cuts dampness.
- Safety: don’t rely on a heater to fix moisture; ventilate first, then supplement heat if truly needed.
Optional low-tech heat sources to pair with reflectors and mass
When reflectors and water barrels fall short, small, focused heat sources can protect tender plants on cold nights. Choose options that match the scale of your space and your comfort with maintenance and fuel.
Candle-terracotta-brick heater: tiny warmth, strict safety
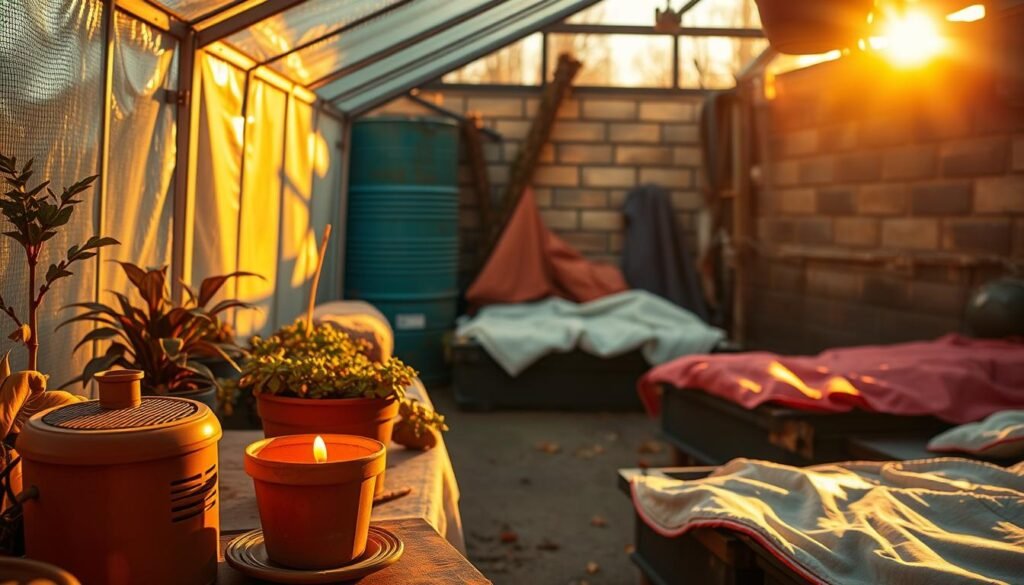
These deliver a small, localized heat halo. Build with two terracotta pots (one inverted), bricks for a stable base, and a tea light cup over the drain hole.
Safety: place on a non-flammable surface and never leave lit candles unattended near plastic films or vents.
Hot beds and composting bales: steady biological heat
Straw, hay, or manure piles warm as they decompose. Start them early so microbial activity peaks in winter when you need heat.
They need space and occasional turning, but they are a low-cost option that also makes good use of garden waste.
Animal hutches for gentle background warmth
Small livestock such as rabbits or chickens give mild ambient heat and add usable manure. Keep bedding dry, control ammonia, and preserve airflow for plant and animal health.
Rocket mass and compost-water heaters: larger, efficient systems
Rocket mass heaters burn small amounts of wood and route hot exhaust through a mass of brick or cob to store heat for hours. Compost-water systems push water through a hot pile (100–160 °F) to warm a looped circuit.
Both fit bigger greenhouses and require more space, fuel, and maintenance, but they can cut energy needs when sized well.
- Match the method to your area: estimate how much heat you need to stay above freezing and pick the simplest option that meets that amount.
- Resource check: wood, compost materials, or animals need steady supply and clearance for safe operation.
- Integration: treat these as top-up systems—reflectors, insulation, and water mass should still do the daily heavy lifting.
Day-night operations, safety, and maintenance
Create a simple daily rhythm to vent moisture by day and seal in warmth at night. This routine keeps insulation effective, protects materials, and helps water and heat stores do their job.
Set short, repeatable tasks that fit your time and area. Do the small checks that prevent big problems: clear vents, fasten reflectors, and inspect covers. Treat candle or small heater setups with strict care and never leave flames unattended.
Fire safety and heater rules
- Never place open flames near plastic, Mylar, or bubble wrap.
- Put any heater on a non-flammable surface and keep generous clearances from pots and bench surfaces.
- Turn off or supervise candle-based units at night; follow manufacturer instructions for any heater.
Condensation control and reflector care
- Open vents at sunrise to lower humidity and wipe condensation from glazing or plastic films.
- Use small standoffs behind reflective material to allow airflow and prevent trapped moisture.
- Clean reflectors monthly and replace torn film or re-tape edges to keep light levels high.
Daily and periodic checklist
- Morning: open vents, check for wet spots, inspect water barrels lids for seal and leaks.
- Afternoon: secure reflectors, reduce openings as temperatures fall, confirm no flapping materials.
- Night: close vents, verify heaters are safe or off, and ensure covers are clear of hot components.
Maintenance cadence: do quick weekly checks of fasteners and seals, and a monthly inspection of structural anchors and film integrity to keep the system reliable over time.
Troubleshooting results: brighter light, steadier temperature, healthier plants
Quick fixes often produce big improvements in a few days. Check placement, airflow, and passive mass first; then add small changes if needed.
If you don’t see more light on beds or steadier temperature readings, start with placement. Re-aim or lower reflectors so they send light onto the canopy. Add a second panel on an end wall to fill dim spots.

Clear air paths next. Ensure reflective film or tape does not jam wax-motor vents (they open around 68–77 °F). Bubble wrap on glass must allow vents and door hardware to function.
- Temperature swings: add water barrels (painted black and grouped on the north wall) or extra cans for thermal buffering.
- Fog or wet films: vent earlier in the day, fit small spacers behind films, and reduce overhead watering near reflective walls.
- Cold corners or leggy plants: improve cross-venting paths or place a barrel near that location for local warmth and stronger light on leaves.
Track highs and lows several times a week. Small data points guide the next tweak and help your heating system and system of reflectors work best in the space.
Conclusion
Stabilizing temperature starts with passive design: insulation, thermal mass, and good airflow. Make sunlight work for you first, then add targeted heat only when needed.
Start simple: place reflectors to reclaim lost light, add one or two barrels of water for thermal storage, and seal obvious drafts. Small steps cut the need for extra heating and save energy across cold times.
Build over time: record a few nights of temperature data, then expand reflectors or mass, improve seals, or choose a fuel option such as wood or a compost-based system when the space demands a larger heater.
Practical next step: line the north wall with reflective film this week, add barrels, and patch the single draft you know about. For wider context on planetary-scale ideas and experiments, see hacking planet.
Outcome: steadier winter conditions help your garden and plants produce more fresh food and reduce frost risk with a manageable, DIY-forward way.