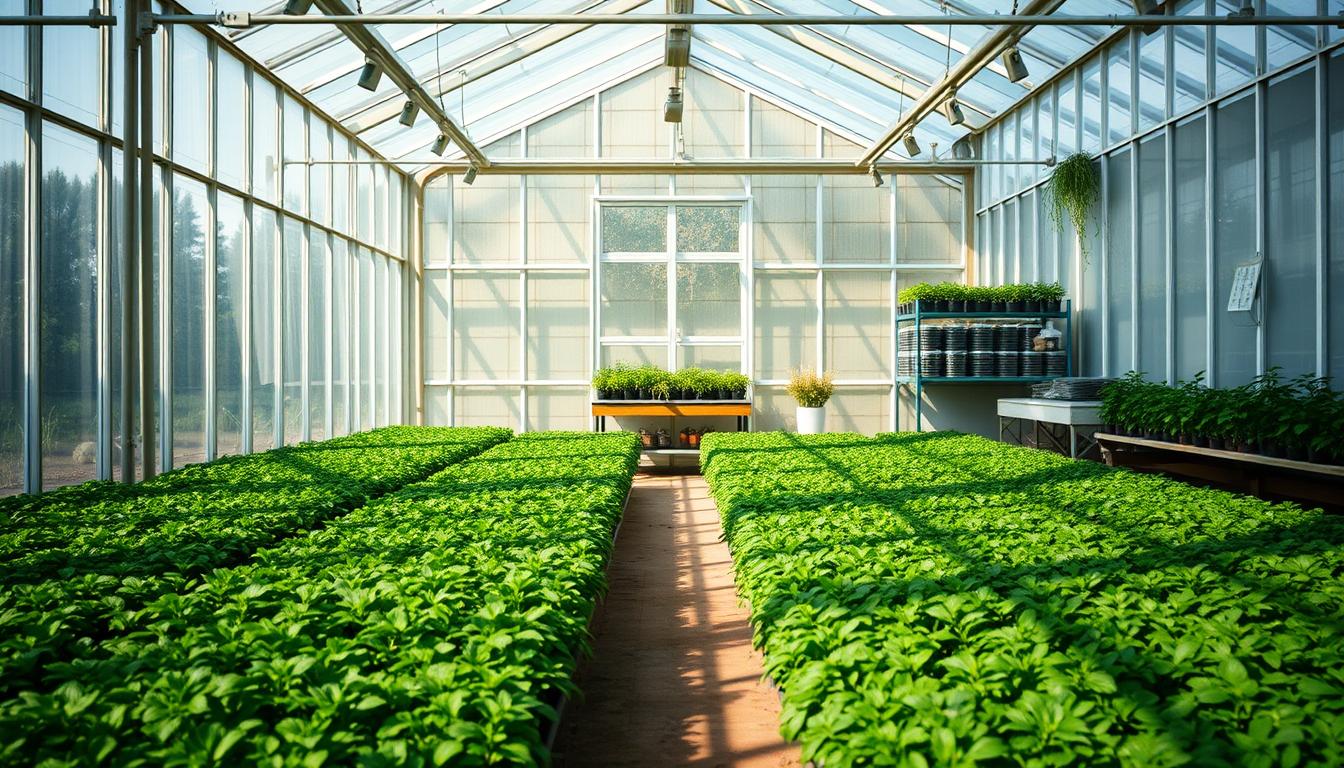
Can arranging a structure into clear work and crop areas really cut microclimate swings and lift yields? Many gardeners assume bigger is better, but thoughtful planning often beats raw size when you want steady growth and reliable harvests.
Start by defining goals, choosing a sunny, protected spot, and mapping zones for seedlings, fruiting beds, and storage. Plan for 6+ hours per day of sun, water and power access, and a 3-foot clearance all around the structure.
Layer durable materials, simple air and temperature controls, and smart benches where you work most. Match materials and costs to priorities: aluminum frames, polycarbonate glazing, and concrete bases offer trade-offs between price, durability, and thermal stability.
With modest space planning and clear zones you get easier workflow, improved air movement, and more predictable timing for crops. For inspiration and an indoor herb setup that pairs well with zoned designs, see this hydroponic herb guide.
Key Takeaways
- Divide areas by task to reduce microclimate swings and support steady growth.
- Plan location, size, and permits before buying materials or hiring work.
- Invest in stability where environment matters most; save on noncritical elements.
- Start small with clear zones and expand as needs or garden size grow.
- Expect better airflow, easier daily routines, and more consistent harvests.
Why zoning your greenhouse boosts plant health and yield
Smaller, purpose-built sections lower hidden stress and make growth more predictable. They keep humidity, temperature, and light steady so crops spend energy on fruiting, not coping.
When you divide interior space into compact blocks, microclimate swings shrink. Studies favor block-style layouts for steady outcomes; short, repeatable air paths cut hotspots and reduce disease pressure.
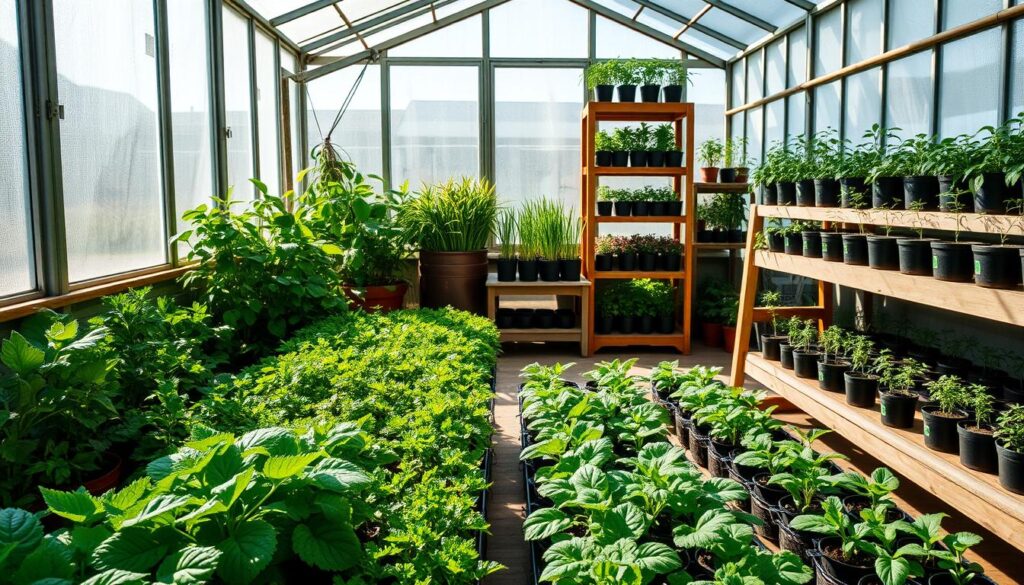
How smaller planting zones reduce microclimate variance
Short, defined areas help maintain uniform leaf temperature and steady transpiration. Group similar plants together to simplify watering and climate settings. That reduces stress and speeds growth.
Aligning zones with purpose: hobby, commercial, or research
- Hobby: flexible mixed beds and shelving for variety and learning.
- Commercial: throughput-first layouts with tight environmental control and clear workflows.
- Research: small, isolated chambers with precise monitoring.
Practical zone types: propagation (warmth and humidity), cultivation (balanced air and light), and storage/work (clean prep and tools). Start with two or three areas, then add partitions or shelving as your gardening goals grow.
Pick the right location and orientation to set zones up for success
Good site choice balances sun, wind protection, and access to utilities to make daily care easy. This sets the tone for steady temperature and predictable growth across your zones.
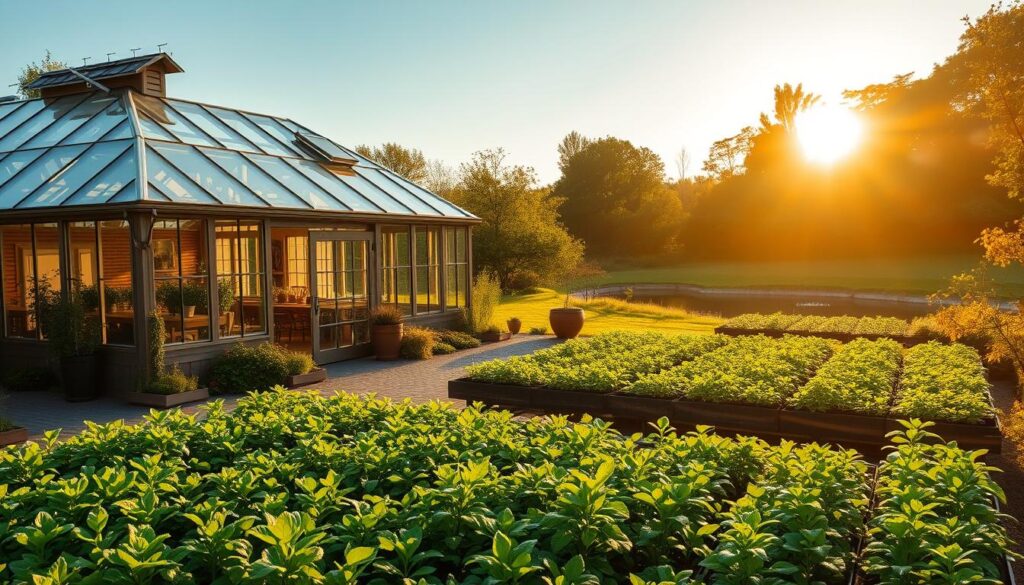
How much sun and which orientation fits your site?
Prioritize a bright location that delivers at least 6+ hours of direct sunlight each day. Place the long side facing south or southeast for best light capture.
Above 40° latitude, consider an east–west ridge to collect low-angle winter sunlight when day length shrinks.
Protect from wind, frost pockets, and shade
Keep a 3-foot clearance around the structure and setback shade-makers: deciduous trees 25+ ft, evergreens 15+ ft, buildings 10+ ft, fences 5+ ft.
Use hedges or slatted fences ~15 ft out to break wind without causing turbulent cold drafts. Avoid low-lying frost pockets where night air pools and dips temperature suddenly.
Water, power, slope, and drainage
Place the structure near water and electricity for heaters, fans, and irrigation. This reduces daily hassle and helps control temperature and humidity.
Test drainage with a few holes; a 2–5% slope helps runoff. If drainage is poor, raise the floor or add perimeter drains to keep paths and beds dry.
| Site Factor | Recommendation | Why it matters |
|---|---|---|
| Sunlight | 6+ hours/day; long side S/SSE | Supports steady growth and reduces supplemental light needs |
| Setbacks | Trees 25 ft; evergreens 15 ft; buildings 10 ft; fences 5 ft | Prevents mid-day shade and uneven light patterns |
| Windbreaks | Slatted fence or hedge ~15 ft away | Slows wind without creating chilling turbulence |
| Utilities & drainage | Close to water/power; 2–5% slope; test holes | Makes daily care easier and avoids soggy floors |
- Plan room to expand for a second bay or cold frames as your garden grows.
- Align site choice with what you grow, when you work, and how you reach the space year-round.
Map your greenhouse size, pathways, and zone areas before you build
Start with a clear floor plan that shows benches, aisles, and service access. Planning the footprint first saves time, materials, and frustration during setup.
A smart layout starts on paper: map bench runs, aisle widths, and service access before buying materials. Choose a size that fits goals: 6×8 ft for urban starts, 8×10 ft for hobby projects, and 12×20+ ft for larger operations.
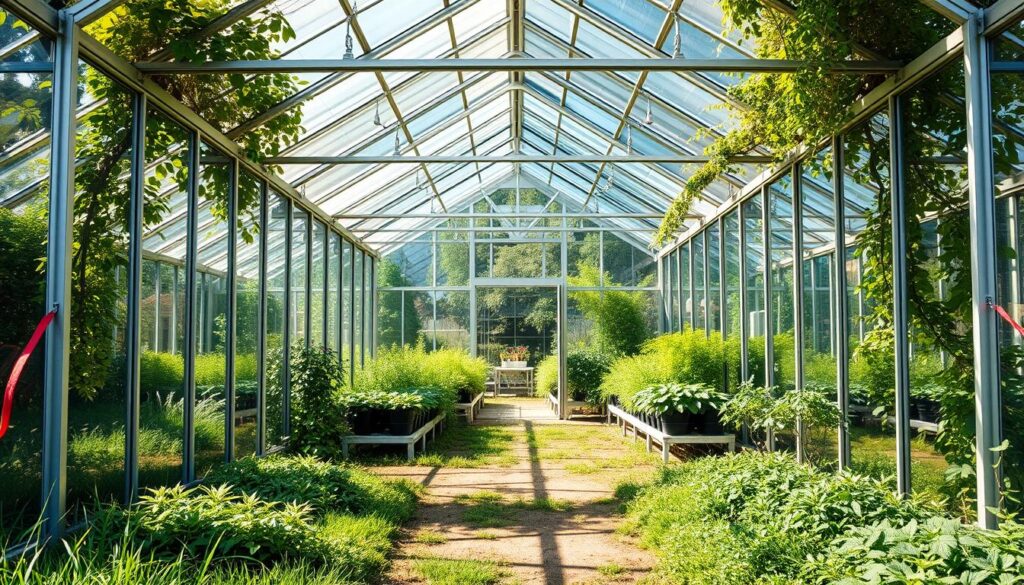
Quick size guide and plant spacing
Keep a 3-foot clearance around the structure. Inside, allow aisles of 2–3 ft for carts and safe watering. Use U-shaped benches for staging; for a 6×8 ft layout, fit two ~68″ x 22″ side benches. In an 8×12 ft plan add an 8′ rear bench and a 9′ side bench.
Design a zone map
Sketch propagation, cultivation, and storage/work areas. Position the workbench and storage near the door and water to cut trips. Group plants by spacing: leafy greens ~1 sq ft, tomatoes 1.5–2 sq ft, vining vegetables 4–6 sq ft.
- Anchor benches for stability and under-bench storage for tools and trays.
- Plan vertical staging for seedlings to speed growth and transitions.
- Map airflow paths; taller ridge heights improve air volume and steady conditions.
Choose frame, glazing, and flooring materials that match each zone’s needs
Pick materials that suit local climate and the function of each bay. Right choices reduce temperature swings, control humidity, and make daily care easier.
Which frame fits your weather?
Aluminum balances cost and rust resistance at roughly $1.50/ft and works well for moderate conditions. Galvanized steel handles heavy snow (~360 kg/m²) and winds ~63 mph, ideal for long spans and harsh environments.
Glazing options: light, insulation, and lifespan
Polycarbonate panels (~$1.65/sq ft) diffuse light and add insulation, smoothing night temperature dips. Glass gives the best sunlight transmission and scratch resistance but weighs more and needs stronger support. Double-layer films improve insulation for cold nights.
Flooring that manages water and cleanliness
Choose draining floors—gravel, permeable pavers, or tiles—to lower humidity and protect soil roots. Concrete works but needs good grading and cleaning to avoid odors and pathogens.
- Plan vents and fans into the design so air and heat move where you want them.
- Match glazing to sun exposure and keep propagation zones insulated.
The simple greenhouse zoning method use healthier plants: step-by-step
Picture separate corners for warmth, cool greens, seedlings, and a tidy workbench. Each area gets tailored temperature, airflow, and tools so daily tasks feel faster and outcomes become more reliable.

Warm zone: high-light crops, heating, and shade
Define a Warm Zone for fruiting vegetables and sun‑loving crops. Add a thermostat-controlled heater and consider tubular heaters under benches to keep trays a few degrees above freezing in cold months.
Fit 30–50% shade cloth in peak sun to cut stress without starving light-hungry crops.
Cool zone: leafy greens, airflow and bench height
Place leafy greens and herbs where nights can be a bit cooler to keep compact growth. Use low benches for easy harvests and open airflow paths to avoid stagnant pockets.
Propagation zone: humidity, heat mats, and staging
Stack staged shelving so top tiers get the warmest air. Use heat mats and covered trays for steady germination and higher humidity until roots form.
Storage & work zone: potting, tools and paths
Put the potting bench near the door with labeled bins, soil tubs, and hooks for tools. Keep hoses and cans stored to avoid trip hazards and speed routine tasks.
- Use portable fans to move air across areas without blasting seedlings.
- Mark zones with partitions or clear staging transitions and keep pathways clear.
- Calibrate temperature per zone: warm starts, cooler leafy nights, and steady heat for fruiting crops.
- Review weekly and move plants between zones as they grow; log light and heater setpoints.
| Zone | Key equipment | Target temp range | Quick tip |
|---|---|---|---|
| Warm (fruiting) | Thermostat heater, shade cloth | 68–78°F day, 55–65°F night | 30–50% shade in peak sun |
| Cool (leafy) | Low benches, fans | 55–68°F day, 45–55°F night | Prioritize airflow, minimal heat |
| Propagation | Heat mats, covered trays, staged shelves | 70–80°F steady for starts | Top shelves warm; harden off below |
| Storage & work | Potting bench, labeled bins, hooks | Ambient to 65°F | Keep near door and utilities |
Dial in temperature, ventilation, humidity, and light per zone
Tune the microclimate for each area so crops stay productive and your routine gets simpler. Match temperature, fans, vents, and light to the needs of the crop and the season. Small tweaks save energy and prevent stress.
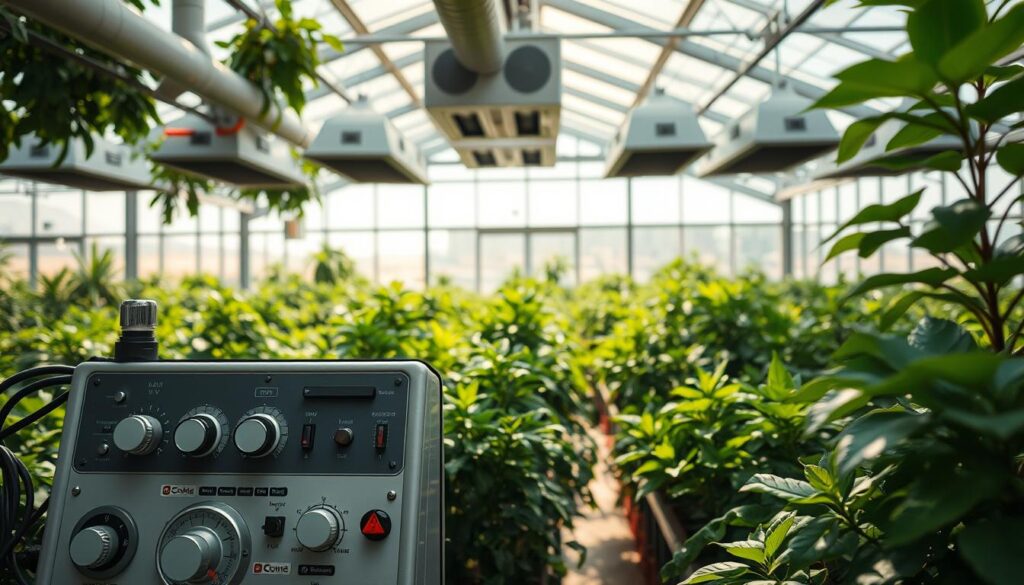
How to control temperature efficiently
Calculate heater needs by zone and size units to hit target ranges (most crops prefer 60–75°F). Use thermostats to keep setpoints steady. For larger cold spaces pick propane or natural gas; electric units work well for moderate areas. Add passive thermal mass, like black barrels, to smooth night swings.
Ventilation and air movement
Install roof and side vents for natural flow. Pair vents with intake/exhaust fans sized to change the full air volume roughly once per minute in warm weather. Add HAF fans to eliminate hot corners and keep temperature uniform.
Humidity and light strategies
Track humidity with hygrometers. Use cross-venting or dehumidifiers in propagation spaces to cut mildew and damping‑off. Tailor shade cloth seasonally; start light and add coverage during peak summer day exposure.
- LEDs: bluer spectra for leafy growth, red-rich for flowering and fruiting.
- Automate: smart thermostats and timers to smooth daily swings.
- Maintain: keep vents clear and clean fan filters for best performance.
Lay out benches, shelves, and partitions to reinforce your zones
A thoughtful bench and partition layout turns cramped shelving into productive, easy-to-manage growing areas. Good interior planning keeps air moving, cuts wasted steps, and makes daily work feel effortless.
A U-shaped bench run maximizes bench surface while keeping a clear central aisle. Rolling benches add flexibility for heavy pots and seasonal staging.
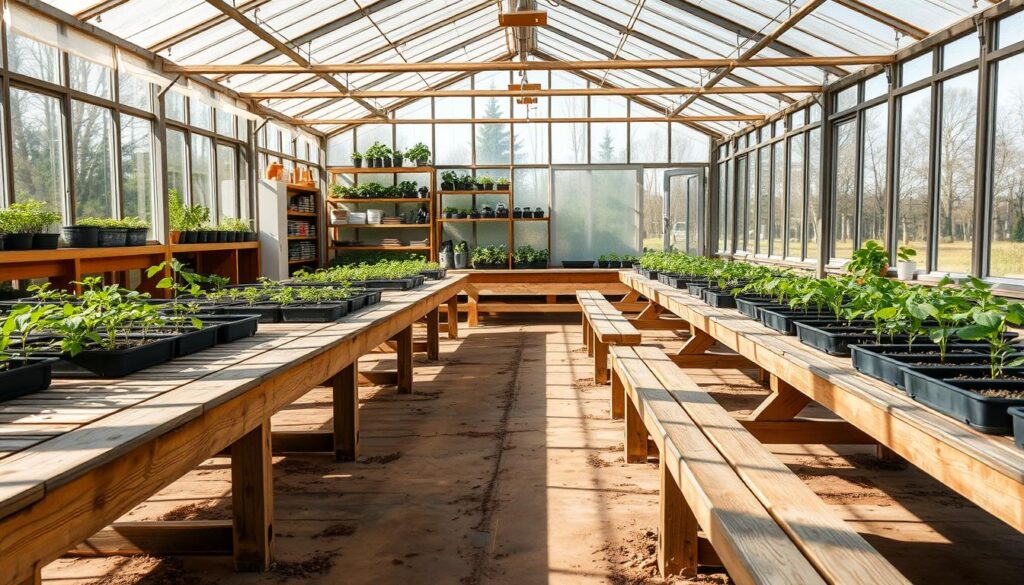
U-shaped benches, rolling benches, and top-shelf staging
Top-shelf staging near bright glazing suits orchids and propagation trays. Put heavy soil mixes and large pots on lower benches for stability.
Internal glass partitions to create distinct microclimates
Internal glass partitions separate warm and cool areas without blocking light. They let you run different heaters or fans while keeping airflow steady.
Drainage design: raised beds, subsurface drains, and hydroponic options
Raised beds shed excess water and protect roots. In poor soils add subsurface drains; hydroponic systems tighten water control and cut waste.
- Keep pathways 2–3 ft wide for carts and hoses.
- Consolidate storage under benches and mount tools on a pegboard for tidy work zones.
- Leave gaps behind benches and near partitions so airflow and warmth circulate evenly.
- Choose durable, easy-to-clean materials around potting benches to lower disease risk.
“A clear layout saves hours each season and protects your investment in every plant.”
Review layout seasonally and shift staging or partitions as plant volumes change. Small tweaks keep the space efficient and ready for the next crop.
Seasonal playbook: rotate crops and adjust zones throughout the year
A crisp seasonal plan keeps each bay tuned to the crops that thrive there through cold snaps and heat waves.Small, regular adjustments in heating, shading, and bench staging let you harvest more and waste less.
Winter to early spring: Start peppers, eggplants, tomatoes, and early cucumbers in warm propagation shelves. Stagger sowings for steady harvests. Run thermostatically controlled heaters and add tubular heat under benches so soil and trays stay just above freezing.
Spring to summer: Harden seedlings before moving about 70% outside after the last frost; keep a portion indoors for fast summer salads. Open vents, run fans, and add shade cloth on bright days. Water deeply and early each day to cut stress and encourage strong root growth.
Late summer to fall: Succession-sow cut-and-come-again salads and herbs. Shift leafy crops to cooler corners while fruiting vegetables keep the brightest bays. Dial back watering as day length shortens and maintain airflow at night to reduce mildew risk.
- Protect: use fleece and steady heat for tender overwintered specimens.
- Soil care: refresh beds or swap media to lower disease pressure before winter sowing.
- Calendar: keep a seasonal schedule to time sowings, shade changes, and venting routines.
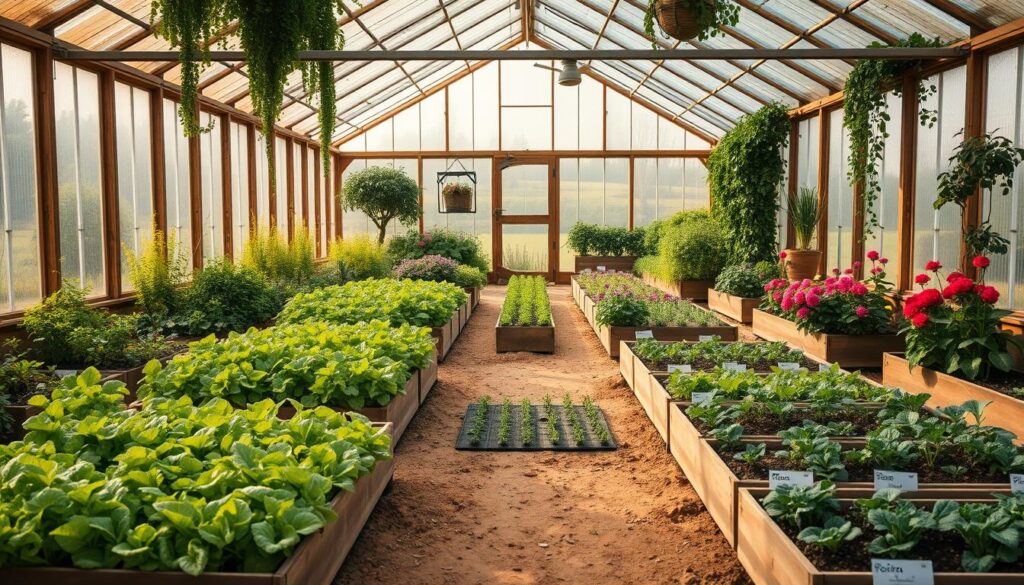
For design ideas that link plant succession to resilient layouts, review permaculture principles to add long-term planning to your gardening rhythm.
Plan for U.S. permits, costs, and ongoing operating expenses
Contact your city or county office early and build a clear budget that covers permits, site prep, and operating systems. Knowing fees and rules up front helps match your design to local limits and avoids costly rework.
What to check with your local office and HOA?
Call the planning department to confirm setbacks, height limits, and inspection requirements. Zoning permits are common; building permits often apply to larger or permanent structures.
HOAs can add appearance or placement rules, so get written approval if required. Bring a plan set showing frame type, glazing, size, foundation, and utility hookups to speed review.
Budgeting materials, labor, and operating expenses
Estimate materials: frame costs—wood $1.00/ft, PVC $1.25/ft, aluminum $1.50/ft, steel $2.50/ft. Glazing runs from polyethylene $0.20/sq ft to polycarbonate $1.65/sq ft and glass $2.60/sq ft. Flooring: concrete $3–$6/sq ft.
Labor can be ~40% of total. Typical ranges: small (100–300 sq ft) DIY $1,000–$3,000, pro $1,500–$4,500; medium (300–1,000 sq ft) DIY $7,500–$15,000, pro $12,500–$30,000; large 1,000+ sq ft often exceeds $50k.
| Line item | Typical cost | Why it matters |
|---|---|---|
| Permits | $100–$600 | Required for inspections and legal occupancy |
| Site prep | $500–$5,000 | Ensures drainage and stable foundation |
| Heating, fans, irrigation | Variable | Ongoing operating costs tied to climate and size |
- Size systems to your needs: match heating, fans, and water pumps to real load, not guesswork.
- Compare glazing: polycarbonate balances light and insulation; glass costs more but transmits well.
- DIY vs pro: DIY can cut labor on small builds; hire pros for complex frames or integrated controls.
- Recordkeeping: keep plans, receipts, and manuals handy for inspections and maintenance.
- Plan to grow: choose a frame and foundation that can accept future bays or expansions.
For quick ideas on budget builds and scale options, review these budget-friendly designs.
Conclusion
Clear zones, the right frames and glazing, and tuned climate controls create steady conditions that keep plants productive and reduce surprises.Start small, add benches and storage as you learn, and keep habits that protect health and simplify daily work.
Site for 6+ hours of sun, map zones to match needs, and size systems to real load.
Adjust vents, shade, and watering with the seasons to lower stress and extend the harvest window for vegetables and starts. Keep pathways clean, store tools properly, and log setpoints so upkeep stays easy.
Sketch a zone map, list materials and permits, then build one bay well. A thoughtfully zoned greenhouse becomes a dependable garden partner that supports growth, plant health, and reliable yields through every season.