Why do some packets sit untouched while others burst to life? That question nags many gardeners each season. This post breaks down the common issues—moisture, temperature, light, sowing depth, and seed quality—and shows simple fixes you can try today.
Our horticulturist-backed approach turns lab facts into hands-on steps. You’ll get clear guidance on seed starting and when to start indoors versus direct-sow outside. Small changes in medium and watering often deliver fast wins.
We’ll explain how to align timing with your local season, save money, and avoid repeated failures. Expect plain language, practical examples, and quick checks to spot which reason is likely holding back growth.
Key Takeaways
- Moisture and temperature are the most common culprits; keep them steady.
- Light and sowing depth matter—adjust based on seed type.
- Use a clean, fine medium and water with intention for better germination.
- Small routine tweaks save time and money over the season.
- Know when to start indoors versus direct-sow with a simple example.
- Give seeds time and the right conditions; most will respond.
Why Seed Germination Fails: Setting Expectations for This Growing Season
Good germination needs four simple conditions—moisture, temperature, oxygen, and light. Miss one and a seed can stall. This short guide shows what to check and when to wait during the growing season.
Successful germination starts when four simple needs—moisture, temperature, oxygen, and light—are all met. Any single missing element can stop progress, even if the soil looks fine.
Age and storage matter. Old or badly stored seeds lose viability. Even careful garden work and perfect soil won’t revive dead or damaged seed.
Different crops take different amounts of time to appear. Some pop in days, others in weeks. Patience and steady care often beat premature re-sowing.
- Soil temperature controls enzyme activity more than air temperature. Cool soil slows everything.
- Overwatering cuts off oxygen and suffocates embryos; underwatering leaves them dry during the swell phase.
- Light cues vary—follow packet instructions; some seeds need darkness, others need light.
- Seed starting indoors helps control variables when outdoor conditions flip-flop.
Use a simple thermometer to check soil before sowing. Handle seeds gently once they imbibe water; disturbance can damage the embryo and end the process quietly.

| Factor | What to check | Quick fix |
|---|---|---|
| Moisture | Even, damp—not soaked | Mist surface; use dome or bottom-watering |
| Temperature | Soil temp specific to crop | Use heat mat or wait for season warmth |
| Oxygen | Good drainage, loose mix | Flip to lighter mix; avoid waterlogging |
| Light cue | Packet guidance: dark vs light | Sow shallow or leave exposed per instructions |
Asked horticulturist top 5 reasons your seeds aren’t sprouting
Quick answer:Most failures come from a few fixable things—moisture swings, wrong soil temperature, poor light or medium, planting depth errors, and low-quality seed.
Gardening can feel mysterious when nothing appears. Here are five clear causes that explain slow or absent emergence and what to check first.
- Inconsistent moisture. Wet-dry cycles stop the biological wake-up. Seeds swell, then dry and shrivel before roots form. Keep the surface evenly damp.
- Cold or untimely soil. Planting outside a crop’s window slows metabolism and invites rot, especially for warmth-loving varieties.
- Poor light or heavy mix. Heavy garden soil indoors blocks air and light. Seedlings either stall after germination or emerge weak.
- Wrong depth and disturbance. Too deep exhausts reserves; too shallow can dry them out. Handling sprouts can damage delicate radicles.
- Old or poorly stored seed. Low viability means fewer sprouts no matter how good the care.
Most gardeners overlook soil temperature, watering method, and true sowing depth. These three often act together. Cold, waterlogged soil can mimic dead seed.
Before replanting, run a quick checklist: soil temp, moisture method, light, and depth. Seed starting indoors helps isolate each variable so you can pinpoint the problem fast. Specific fixes follow in the next sections.
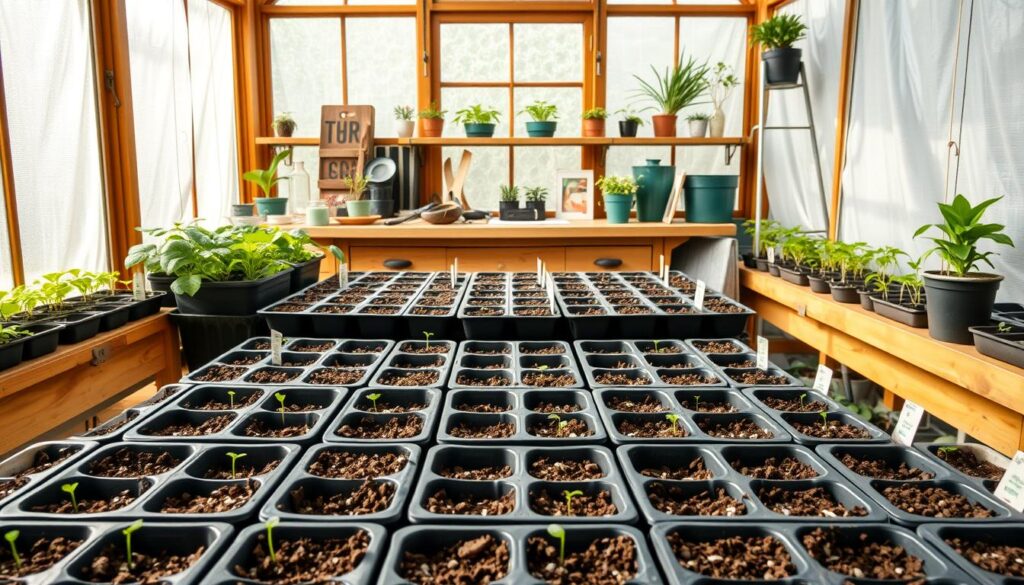
| Issue | What to check | Quick fix |
|---|---|---|
| Moisture | Surface dampness, drainage | Use dome, fine mist, or bottom-water |
| Temperature | Soil thermometer reading | Use heat mat or wait for proper window |
| Light & Medium | Mix texture and light level | Switch to seed-starting mix and add grow light |
| Depth & Handling | Sowing depth vs. seed size | Sow by packet depth; avoid disturbing radicles |
Moisture Matters: Inconsistent Watering and Seed Desiccation
Steady moisture, not sudden drenching, gives seeds the best chance to swell, split, and send out their first root. Think slow, even wetting—like a thaw—so the soil stays damp but not waterlogged.
Water starts the germination cascade. A seed soaks in moisture until internal pressure cracks the coat and the radicle appears. That process can take days, so the surrounding soil must stay evenly damp the whole time.
Imitate slow snowmelt by checking the surface daily. Look for a slight shine and feel the top layer; if it looks dull or dry, mist or water gently. Keep the surface moist—never sopping—so the embryo gets oxygen while it swells.
How to water without moving tiny seeds
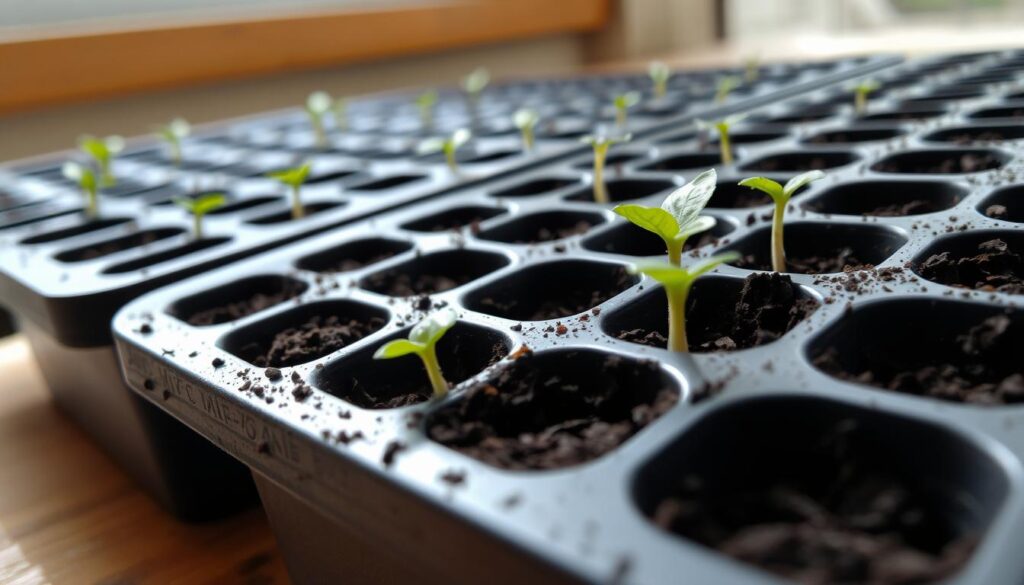
Outdoors, use a gentle spray head so droplets fall evenly and don’t wash seeds into clumps or bury them deep. Indoors, bottom watering keeps the surface intact; lift trays into shallow water and let the mix wick up moisture.
Practical checks and cautions
Use a clear dome early to hold humidity, then vent daily to balance moisture and airflow. Log watering by hand so you spot patterns if seedlings stall. Remember: drying stops germination, but overwatering robs oxygen and invites damping-off.
Timing and Temperature: Sowing Out of Season or in Cold Soil
A clear calendar and a soil thermometer beat guesswork when it comes to starting plants. Match sowing to local frost dates and check soil warmth so you don’t waste seed or time.
How should I align sowing with my growing season?
Check your average last frost date and the usual soil temperatures. Many crops do best when planted close to these local cues rather than a fixed calendar.
Which crops need heat, and which can go straight outside?
Warm-season crops like peppers need steady heat to germinate and thrive. Cold soil slows enzymes and raises rot risk for heat-loving varieties.
- Direct-sow cool-season greens and quick crops once soil is workable.
- Avoid early outdoor sowing for warmth-loving types; they often fail in chilly ground.
When should I start seeds indoors for a head start?
Count back from your transplant date to decide when to start seed indoors. Aim for sturdy seedlings, not rootbound trays, for the best transplant success.
Practical tips to guard timing
Use a heat mat for warm trays, then remove it after germination to stop legginess. Watch weekly forecasts—cold snaps can cool the soil quickly. Keep a season notebook to refine timing each year.
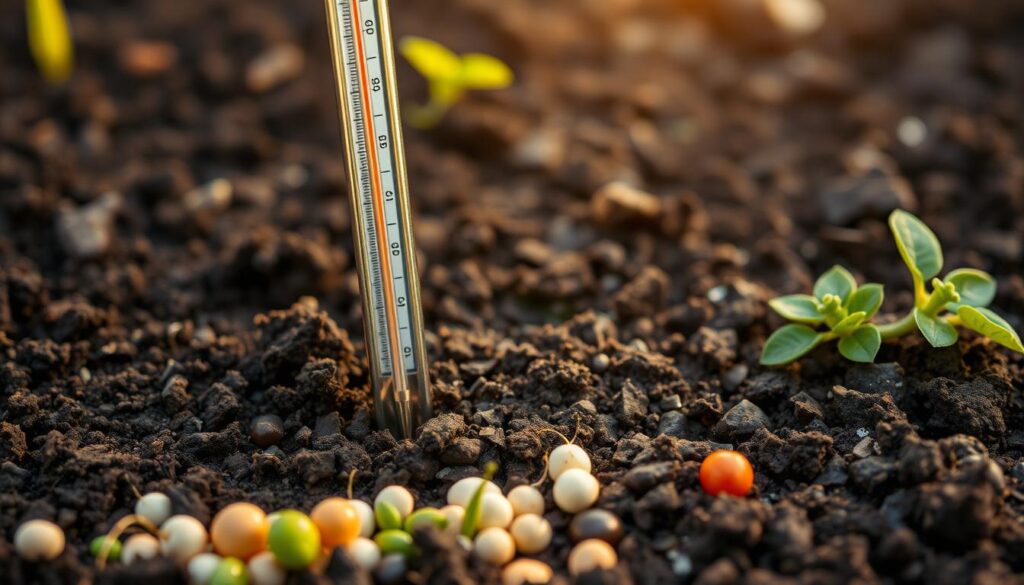
“Soil temperature, not just air, drives germination speed and success.”
Light and Medium: Poor Lighting or the Wrong Seed-Starting Mix
Good light and a breathable medium give young plants the energy and room they need. Fixing both often cures slow or weak emergence.
Why seed-starting mix beats garden soil
Seed-starting mix is made for drainage and aeration. Its fine texture keeps pore spaces open so a seed gets moisture and oxygen at once. That balance speeds uniform emergence and keeps tiny roots healthy.
Why not use garden soil inside?
Garden soil compacts when wet. It can hold too much water, hide pests, and carry pathogens. In trays this slows emergence and raises damping-off risk.
Practical steps for better starts
Pre-moisten mix until it feels like a wrung-out sponge. This gives seeds steady contact without waterlogging.
Place lights 2–4 inches above the canopy. Move them up as seedlings grow to avoid heat stress.
Run lights 14–16 hours daily, then taper before transplant to harden growth. Add gentle fan airflow; it strengthens stems and dries the surface between waterings.
- Clean trays and fresh medium cut damping-off risk.
- Label flats clearly to track variety performance.
- Consistent light plus quality mix helps tiny-seeded plants that are especially sensitive.
If young plants look weak, follow this short guide on what to do when seedlings look.
Sowing Depth and Handling: Planting Too Deep, Too Shallow, or Disturbing Roots
Keep depth simple and handling minimal: plant by seed size, firm soil contact, and place sensitive crops where roots stay undisturbed.
Depth and gentle handling decide whether tiny roots find oxygen or trouble.
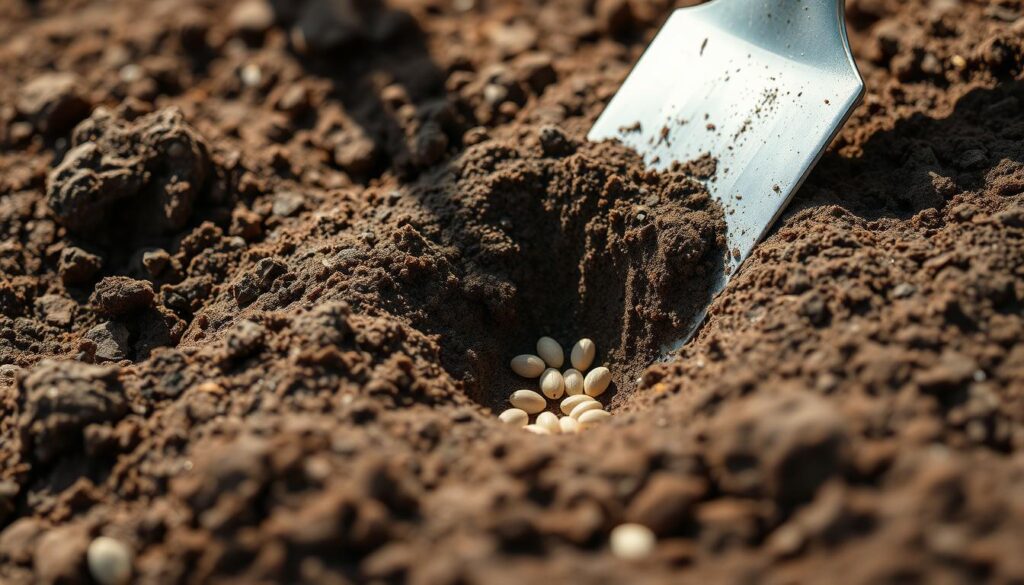
Use the rule of thumb: sow a seed about two to three times its width deep. Light-dependent species should be surface-sown or barely covered.
Planting too deep can exhaust the seed before it reaches light. Too shallow and the soil can dry or blow seeds away.
- Why avoid transplanting: Beans, peas, cucurbits, and root crops dislike root disturbance. Direct-sowing in the garden often gives these plants the best start.
- Firm contact: Press gently to close air gaps so moisture moves into the seed. Avoid crushing with heavy pressure.
- Tools and thinning: Use a dibber or fingertip for consistent placement. Thin with scissors to protect nearby seedlings’ fragile roots.
| Task | What to do | Why it matters |
|---|---|---|
| Depth | 2–3× seed width; surface-sow light-loving | Matches energy reserve to distance to light |
| Soil contact | Firm, gentle press | Eliminates air pockets for steady moisture uptake |
| Handling | Minimize movement; thin with scissors | Prevents root damage and transplant shock |
| Pre-sowing | Pre-water furrow; label depth and spacing | Ensures even moisture and repeatable success |
When in doubt, direct-sow sensitive crops once the garden soil is warm. For more starting depth tips, see proper depth and moisture guidelines.
Seed Quality and Dormancy: Old, Damaged, or Untreated Seeds
Good seed quality often explains slow or patchy germination. Test and store intentionally, and match sowing method to the crop to save time and space.
Good seed quality is the quiet factor that decides whether a planting effort succeeds or stalls.
Do a quick viability check: place ten seeds on a damp paper towel, fold, keep warm and moist, and count sprouts after the listed germination time to estimate percent viability.
Store to keep vigor: use airtight containers in a cool, dry, dark place with a desiccant. Label jars with year and lot notes so you track performance over time.

How to match method to crop
Direct-sow fast-maturing, root-sensitive crops in warm soil—beans, cucurbits, peas, mesclun, and sunflowers do well this way.
Start long-season crops indoors—peppers, onions, and tomatoes—to ensure a full harvest in short seasons.
Dormancy and damage
Some species need scarification or cold stratification; follow packet cues before sowing. Old seed may still germinate but slower and erratically—sow a bit heavier or replace when rates fall.
- Quick checks: test viability, note slower germination in older seed.
- Storage tips: cool, dry, airtight with desiccant and clear labeling.
- Buy smart: choose reputable suppliers that list packed-for dates and germination rates.
| Situation | Recommended action | Why it helps |
|---|---|---|
| Low germ rate | Run paper-towel test | Estimate viability before replanting |
| Older stock | Sow heavier or replace | Offsets slower, patchy emergence |
| Dormant species | Scarify or stratify per packet | Triggers natural germination cues |
Do This Instead: Proven Seed-Starting Tips to Save Money and Grow More
A few smart starting habits will give you better plants, more variety, and lower costs all season.
Start small, plan well, and you’ll stretch your budget while growing tastier food and brighter flowers.
A packet of bush beans costing about $2.69 can sow roughly 16 feet and yield near 7 pounds of harvest. By contrast, a six-pack of transplants costs about $4 and only covers 2 feet. That simple example shows how seed starting can help you save money while producing far more food for the same spend.
Why start seeds indoors?
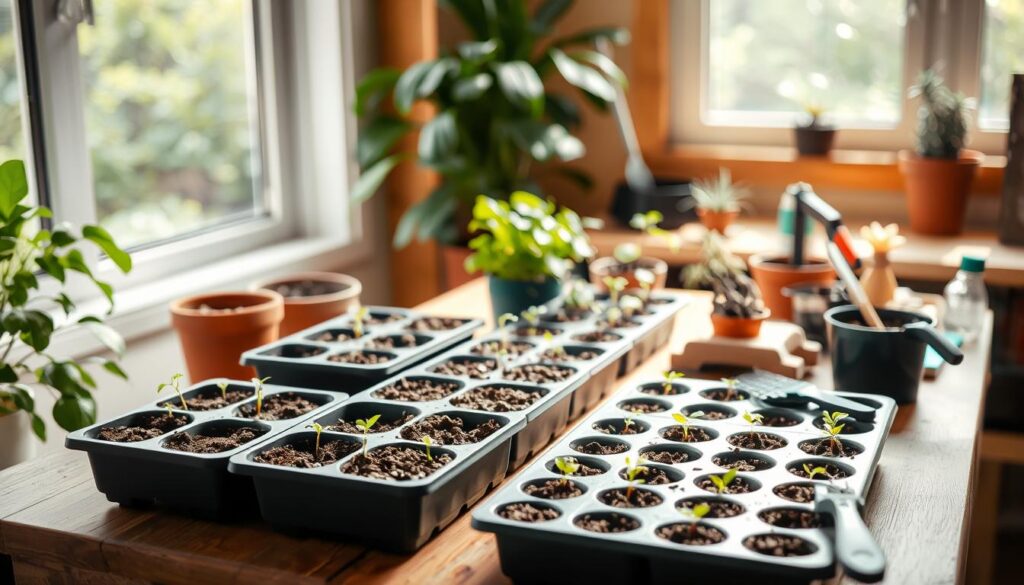
Starting indoors extends the season for long-maturing crops like tomatoes and peppers and helps seedlings establish away from cold snaps. You control light, heat, and timing so plants leave the tray strong.
Practical ways to keep costs low
- Batch tasks: mix medium, fill trays, sow, and label in one session to save time and reduce mistakes.
- Grow staples from seed: focus dollars on what saves the most money—beans, lettuces, and easy flowers that also feed pollinators.
- Try one new variety: pick a flavor-first tomato or colorful pepper to expand your garden palette without big risk.
- Succession sowing of quick crops keeps fresh harvests coming so you buy less produce at the store.
“Start with 3–5 crops indoors, try one experiment variety, and log dates and yields to learn fast.”
Control inputs—from potting mix to light schedules—to grow stronger plants than many store-bought starts. For a fuller look at why gardeners choose to grow from packets, see this helpful guide on how to garden from seed: grow from seed.
Conclusion
Simple changes in routine can turn guesswork into repeatable success. Recap the core causes: moisture swings, cold timing, weak light or wrong mix, sowing depth and handling, and poor seed quality. Match fixes to each and give them a little time to work.
Aligning sowing with local season and soil temperature pays off. Start small. Try one or two changes and watch how seedlings respond before you adjust more. This approach helps gardeners save money and build lasting confidence.
Pair vegetables with companion flowers to boost pollination and beauty. Keep a short log of dates, temps, and outcomes. Handle trays with a steady hand, water gently, and set lights at the right height.
Thanks for spending time with this post. If you run a quick seed viability test or have post-season wins, please share post results and questions so the whole community learns.