
Can a tiny patch of yard become a real, layered forest in just a few years? This guide shows how a dense, garden-scale forest can transform a small lot into habitat, shade, and stormwater capture without endless upkeep.
We used a field-tested approach that speeds natural succession by mixing native species, preparing soil, and planting close enough for quick canopy closure. In many cases seedlings grow up to three feet per year and survival rates stay high after the first three years.
Expect practical steps for site reading, soil work, spacing math, mulching, and simple fencing during establishment. This is designed for U.S. home gardeners who want a tidy, resilient forest patch that fits a typical backyard.
No forestry degree required: a focused weekend of preparation, native plants, and timely watering sets you up for long-term, low-effort success.
Key Takeaways
- Dense native mixes speed growth and build a resilient habitat.
- Prepare soil and mulch well to mimic a mature forest floor.
- Expect rapid visual change within the first growing season.
- Use quick-growing pioneer trees for early shade and structure.
- Small footprint, big benefits: birds, pollinators, and cooling shade.
Why a Miyawaki-style mini-forest works in small spaces
This approach fast-tracks a small yard into a layered, resilient forest by pairing local species with dense planting and improved soil. It recreates the look and function of mature vegetation much sooner than waiting for slow succession.
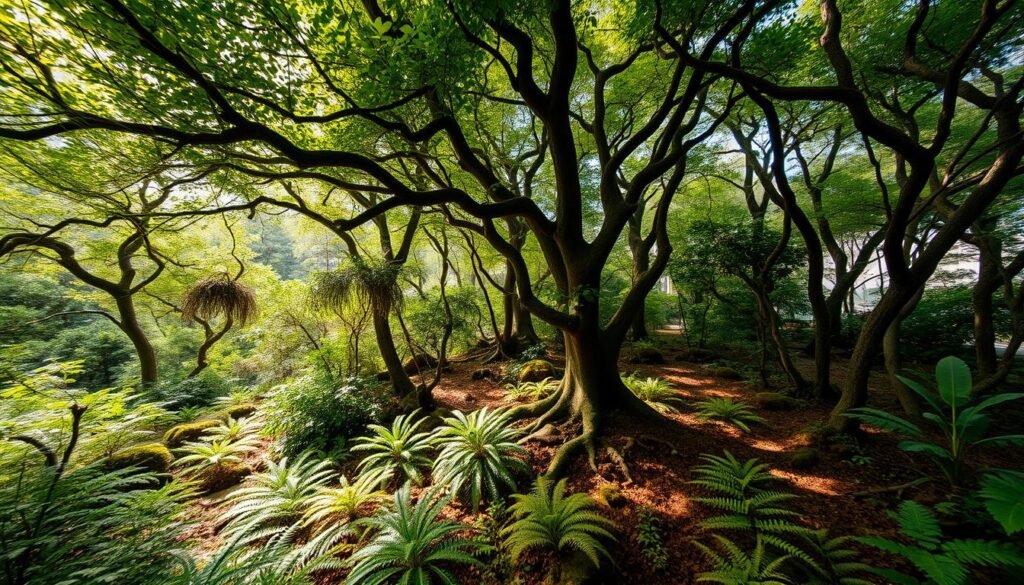
How does this skip slow succession and reach a stable climax faster?
Planting many native species together compresses ecological succession. Instead of waiting for pioneer stages to give way to late-successional trees over decades, you introduce a mix that includes shade-tolerant species now.
This jump-starts canopy closure and lets the community self-organize into a climax-like state within just a few years.
Why does dense, multi-layer planting mimic a natural forest so well?
Close spacing creates overlapping roots and crowns. That competition drives rapid vertical growth, while leaf litter and mulch build a spongey soil layer.
The interior stays cool and moist, and soil life links plants underground—just like a natural forest.
Can a small, community-scaled forest really sequester carbon and sustain itself?
Yes. Diverse, compact plantings store carbon faster than single-species lawns. After light care for three years, leaf drop and shade generally suppress weeds and reduce future inputs.
“Urban mini-forests planted with dense native mixes show strong survival and fast growth, acting like tiny forests rather than scattered garden trees.”
| Feature | What it does | Why it matters |
|---|---|---|
| Dense planting | Quick canopy closure | Shades soil, reduces weeds, speeds change |
| Diverse species | Year-round blooms and fruits | Supports pollinators and wildlife |
| Improved soil & mulch | Holds moisture, builds organic matter | Creates a self-sustaining ecosystem |
Key takeaway: Think small in area, big in function. A compact miyawaki forest packs more plants and ecological value into each square foot, delivering carbon benefits, habitat, and shade for neighbors and nature.
Plan your 10×10: site, soil, and species for a thriving mini-forest
Read the place, rebuild the ground, and pick a layered palette that fits your environment.A short site survey and targeted soil work set the stage for lasting success.
A careful site walk tells you which native species will thrive and where to place each layer.
Read the site: walk the area and note sun exposure, wind, drainage, and nearby structures. Test moisture after rain and feel the soil texture. Matching your plant list to local potential vegetation reduces future inputs and boosts resilience.
Rejuvenate the soil: remove turf by scalping, solarizing, or herbicide as recommended by Fairfax County to cut early competition and weeds. Loosen compacted soil to a spade’s depth and blend in plenty of composted organic matter to mimic a forest floor.
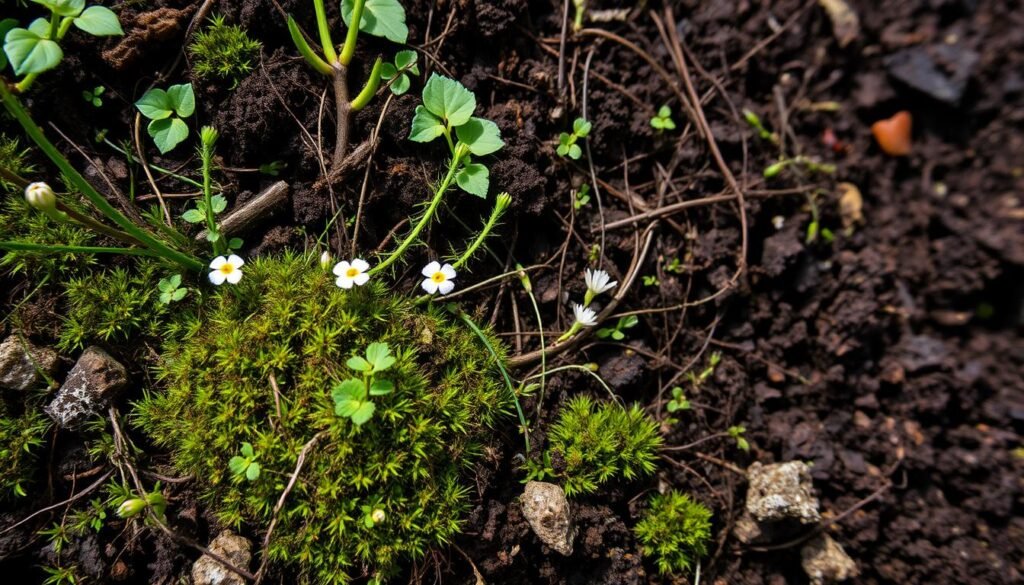
Map the layout: sketch the 100 sq ft area with four layers. Place a few canopy seedlings in the center and corners, tuck understory trees between them, thread shrubs throughout, and fill gaps with herbaceous plants. Group shade-tolerant species where the canopy will form.
- Stage resources: set mulch, water access, and a simple watering plan for the first seasons.
- Diversity first: choose multiple species per layer—nectar, fruit, nitrogen-fixing, and fast-shade plants—to support wildlife and spread risk.
- Mark the area: use stakes and string to translate your sketch into accurate spacing on planting day.
“Assessing potential natural vegetation helps identify native species most likely to thrive in your landscape.”
For more urban planting ideas and resource planning, see this simple greenhouse and staging guide: build a staging shelter.
planted micro-forest 10×10 foot spacehere’s method
Follow a clear, numbered plan to turn a small area into a layered forest in one focused weekend. This short guide walks you from staging to mulch so a busy gardener can complete the key steps with confidence.
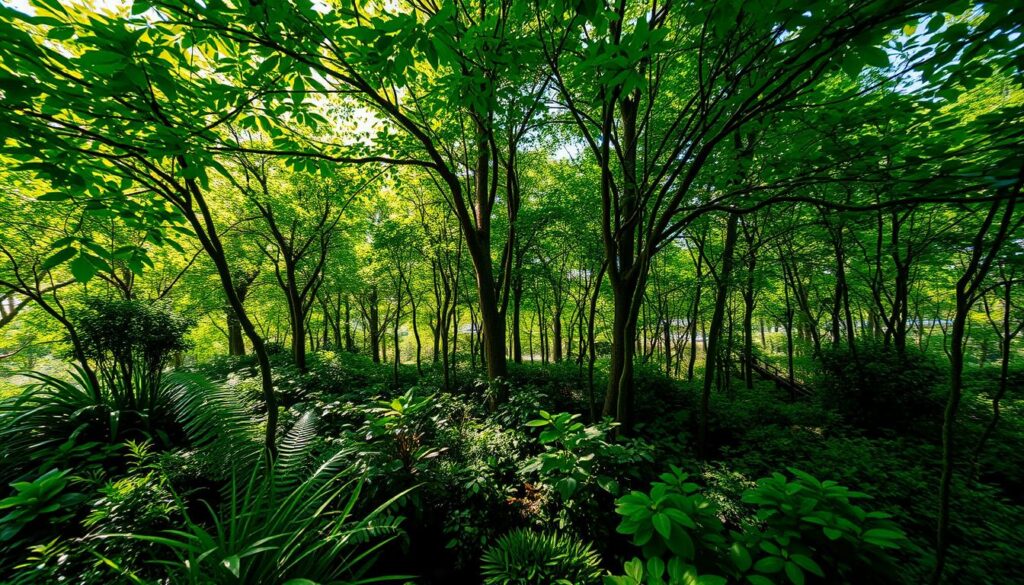
Step-by-step planting process
- Stage materials — gather native plant mixes by layer, long-handled spades, buckets, wheelbarrow, labels, and 2–4 inches of mulch.
- Mark the layout — flag the area and place canopy, understory, shrubs, and herbaceous spots so layers interweave across the site.
- Prep roots and holes — pre-soak root balls, dig wide shallow holes to encourage lateral roots, and set plants at nursery depth.
- Backfill and firm — use loosened native soil (not pure compost), firm gently, then water slowly and deeply to settle roots and remove air pockets.
- Mix species — include fast-growing pioneer trees with slower canopy trees and diverse shrubs to speed shade and increase resilience.
- Mulch and water — finish with a continuous 2–4″ mulch layer, keep mulch a few inches from stems, and water immediately on a weekly schedule during early dry periods.
How many plants and spacing for this area?
Use the standard density of three plants per square meter. For 100 square feet (~9.3 m²), that equals about 28 plants. This density accelerates canopy closure and creates the layered structure faster.
Quick tips: photograph the site after planting, label key trees, and keep a simple watering log for the first season. With attentive early care, the patch needs much less time and inputs as it matures into a true small forest.
Mulch, protection, and edges: setting your mini-forest up for success
Finish planting by building a protective floor, adding short-term browse protection, and shaping a soft meadow edge.
These three steps cut moisture loss, reduce weeds, and let the new plantings establish fast.
Mulching like a forest floor
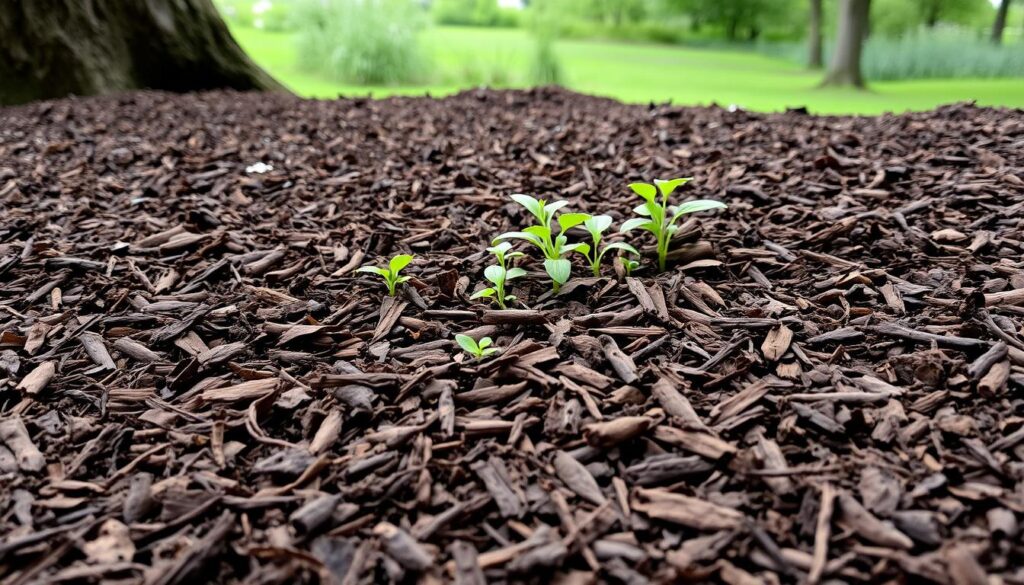
Lay a uniform 2–4 inch mulch layer to lock in moisture and suppress weeds. Keep mulch pulled back a few inches from trunks and stems to prevent rot and allow air at the crown.
- Use natural wood chips or shredded leaves so the floor breaks down into organic matter.
- Top up annually during establishment and spot-weed before seeds set.
- Mulch reduces evaporation, erosion, and temperature swings while feeding soil life for young roots.
What fencing works here?
Install welded wire fencing 4–5 ft tall on 6 ft T‑posts, set about 2 ft outside the planting edge. This simple barrier deters deer, beaver, and casual human trampling during the first seasons.
- Keep the fence clear of vines and check posts annually.
- Remove the fence once trees and shrubs are tall and dense enough to tolerate occasional browse.
How do you design a buffer meadow to stabilize the edge?
Create a 2–6 ft perimeter meadow outside the planted area to reduce weeds and protect mower blades. Choose a simple native grass and wildflower mix and mow less frequently as the edge matures.
| Edge option | Benefits | Maintenance |
|---|---|---|
| Native meadow ring | Holds soil, reduces weeds, adds habitat | Seasonal mowing; low water |
| Shrub band near entry | Defines boundary, adds berries and cover | Light pruning first 2 years |
| Mulch apron | Protects trunks, eases transition to lawn | Top up yearly; spot-weed |
Take a photo before and after you finish these steps. It helps track progress and shows neighbors the lot now reads as a cared-for miyawaki forest patch.
The first three years: maintenance that leads to self-sustaining growth
A short, seasonal routine in years one through three keeps young plants healthy and lets the forest become self-reliant. Focused, light work now prevents much larger problems later.
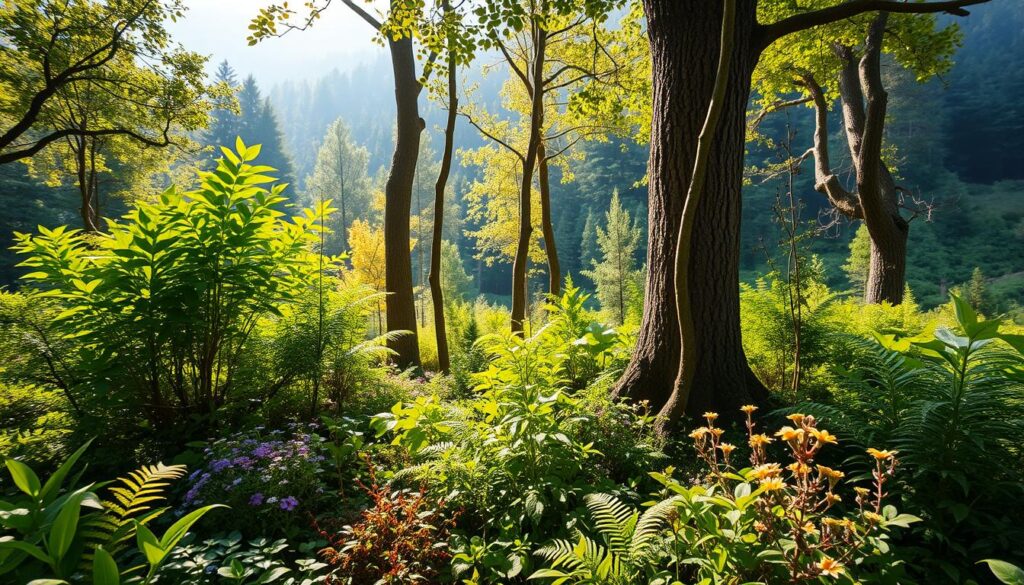
How should I water, weed, and monitor?
Water deeply during dry spells in the first growing season. Aim for slow soaks that wet the top 6–8 inches, then let the surface dry a bit before the next session.
Patrol monthly in year one and after heavy rain for emerging weeds. Remove them by hand before they set seed, and top up mulch where soils are bare.
When should I prune, remove vines, and manage invasives?
After year two, start light structural pruning: remove broken or crossing branches with small, clean cuts. Keep cuts conservative to avoid shocking young trees.
Remove vines immediately during the first three years. Even vigorous native vines can smother crowns before canopy closure. Also keep the site free of non-native invasive plants to protect long-term health.
Simple seasonal checklist
- Spring: deep soak if dry; pull early weeds; check stakes and mulch.
- Summer: water during extended droughts; watch for stress and upright any leaners after storms.
- Fall/Winter: prune sparingly after two years; remove vines and clear invasive seedlings.
| Task | When | Threshold |
|---|---|---|
| Deep watering | Year 1–2 (reduce by year 3) | Soil dry in top 2 inches after a week |
| Weed patrol | Monthly year 1; seasonal later | Any weed before seed set |
| Vine removal | Continuous first three years | Any vine contacting stems or crowns |
| Light pruning | Begin year 2 | Broken/crossing branches only |
Keep notes on which plants struggle, where water pools, and which species thrive. By about three years, many patches yield dense shade and need far less hands-on care.
Layering a forest: structure that boosts resilience and habitat
Think of the planting as vertical neighbors: each layer helps the next survive and thrive. A clear structure of canopy, understory, shrubs, and ground plants speeds recovery and builds habitat fast.
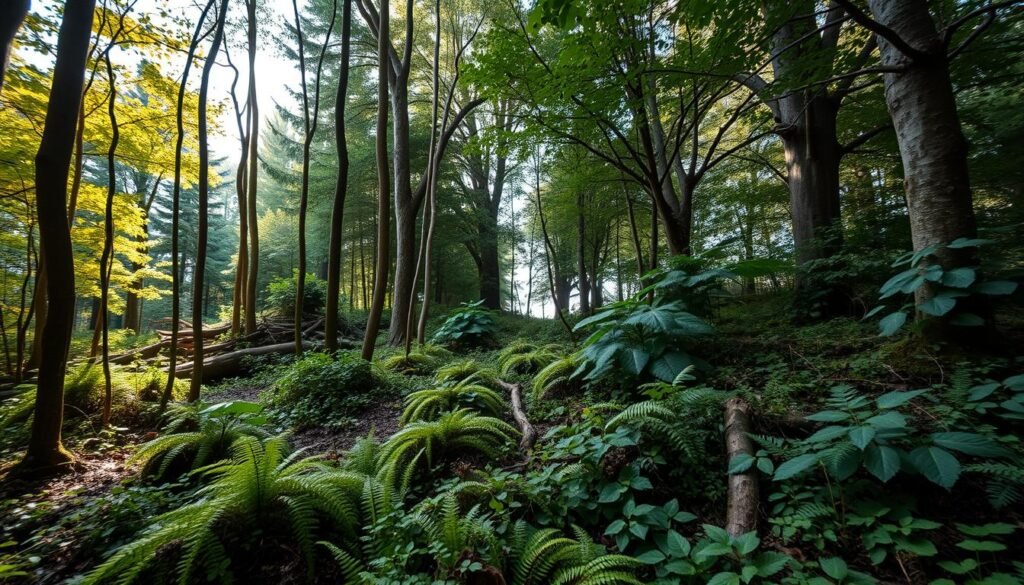
What does each layer do?
Canopy: The tallest trees set long-term structure and cool the soil. Fast-growing pioneers shoot up first and give quick shade. They protect slower canopy trees as they mature.
Understory: Mid-height trees fill the mid-canopy with flowers and fruit. These trees create perches and shelter for birds and link the canopy to the lower layers.
Shrubs: Shrubs thicken the scene and feed pollinators and birds. Place them throughout the patch, but protect them from deer until they grow tall enough.
Herbaceous and forest floor: Scattered patches of native ground plants and a living forest floor hold moisture and feed soil life. Leaf litter and small woody debris power nutrient cycling and help the whole ecosystem.
“A well-stacked set of layers nudges the site toward a stable climax like a natural forest while spreading risk from storms and pests.”
| Layer | Role | Example benefit |
|---|---|---|
| Canopy | Long-term shade and structure | Quick pioneers give 20–30 ft lift in 2–3 years |
| Understory | Mid-level cover, blooms, fruit | Supports birds and specialist insects |
| Shrubs | Thick cover and nectar/fruit | Edge screening and pollinator food |
| Herbaceous & Floor | Moisture retention and soil life | Fungi and invertebrates drive nutrient cycling |
Practical tip: mix several species in every layer. Diversity gives resilience and steady resources through seasons. If one layer feels thin next year, add a few plants to balance light and function.
What to expect over time: growth, biodiversity, and climate benefits
Small, dense plantings show fast visual change and real environmental wins. In a few seasons you’ll notice height, shade, and more wildlife—clear signs the site is moving toward a functioning forest patch.
Expect rapid visible shifts: seedlings often sprint upward the first growing seasons and reshape the area quickly.
How fast will seedlings become dense shade?
Many young trees add up to three feet per year. Within about three years the canopy often closes enough to make afternoons noticeably cooler under the planting.
What ecosystem and climate benefits appear over time?
As vegetation thickens, the patch reduces runoff and holds more water in the soil. Roots and litter slow rain and improve infiltration.
Wildlife follows structure: shrubs and small branches bring insects, then birds and pollinators as blooms and berries appear.
- Cooling: shade plus evapotranspiration lowers local temperatures.
- Stormwater: thicker soil and roots reduce runoff.
- Carbon: dense plantings store carbon efficiently for a small area.
- Community gains: multiple small patches add up across neighborhoods.
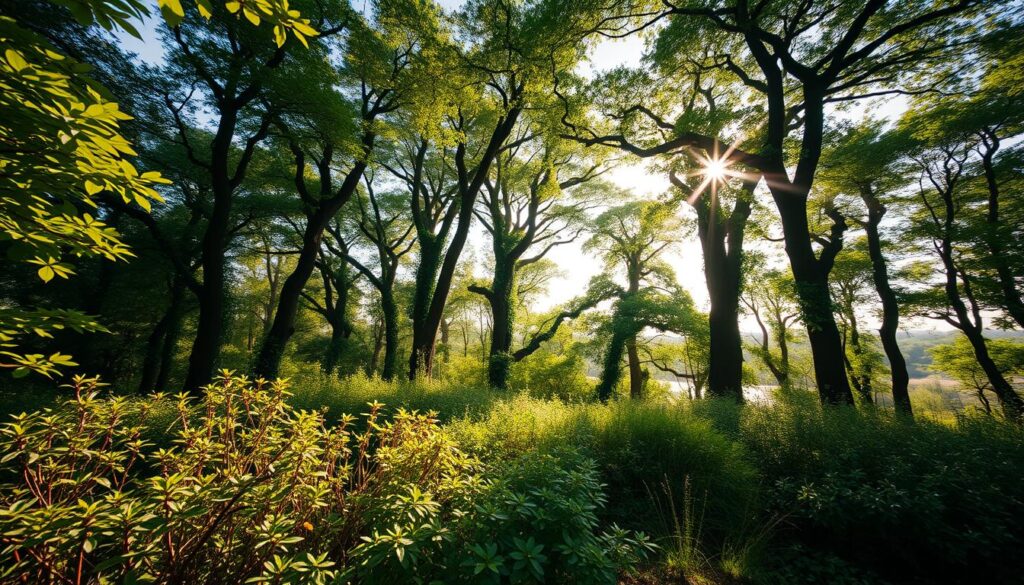
Track progress: take a seasonal photo from the same angle. Side-by-side images show how plants fill gaps and how succession moves the site from open soil toward a natural forest feel.
“A few years of attentive care gives long-term, low-input benefits: cooler air, richer soil, and steady habitat for local nature.”
| Milestone | When | Visible change |
|---|---|---|
| Rapid height growth | Year 1–2 | Seedlings gain multiple feet; understory begins to leaf out |
| Canopy closure | Around year 3 | Meaningful shade; weeds decline under mulch and leaves |
| Functional patch | 5–20 years | Deeper roots, greater carbon storage, richer biodiversity |
Conclusion
Small, dense plantings change a garden faster than scattered trees, delivering shade, soil health, and wildlife value.
Ready and simple: you now have a clear home-scale process to turn a corner of your yard into a living forest patch that cools, shelters, and restores.
Follow the steps: read the site, rebuild soil, mix native species across layers, plant densely, mulch well, protect edges, and give light care for the first three years.
This miyawaki forest approach pairs local plants and fast structure to speed growth. Municipal and community examples show strong survival and quick habitat gains. Start with one small plot and watch it change in a single season.
Take action: use this page as your checklist on planting day, invite a friend, and plant your first square. Your patch can stitch into neighborhood communities and help the landscape and environment around you.