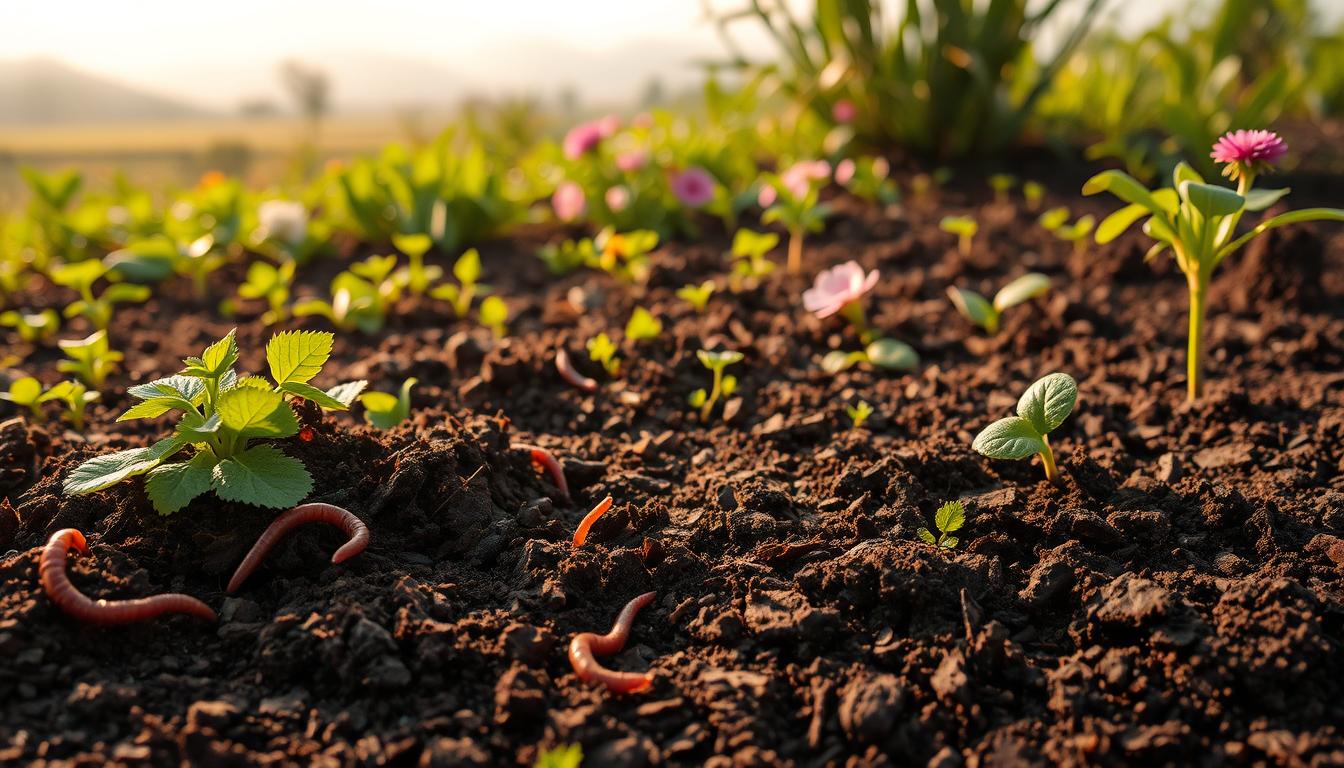
Curious which simple steps turn patchy beds into steady, thriving plots? This intro maps a clear seasonal path so gardens gain steady visible growth and fewer setbacks.
Healthy gardens start with four basics: texture, drainage, pH, and organic content. Get these right and biology takes over to feed strong plants.
Start small. A quick spring check, a midseason mulch refresh, and a fall organic boost compound into big gains. Minimal tillage, timely testing, and steady additions of compost keep beds productive.
Advice blends university-backed research with hands-in-the-dirt experience. Expect practical steps that fit busy lives and every plot size, from raised beds to in-ground borders.
Key Takeaways
- Focus on texture, drainage, pH, and organic content first.
- Test pH early in the season and adjust as needed.
- Use mulch midseason to conserve moisture and suppress weeds.
- Add compost in fall to build long-term fertility.
- Favor minimal tilling to protect soil life and structure.
- Start with one bed or task for visible, motivating results.
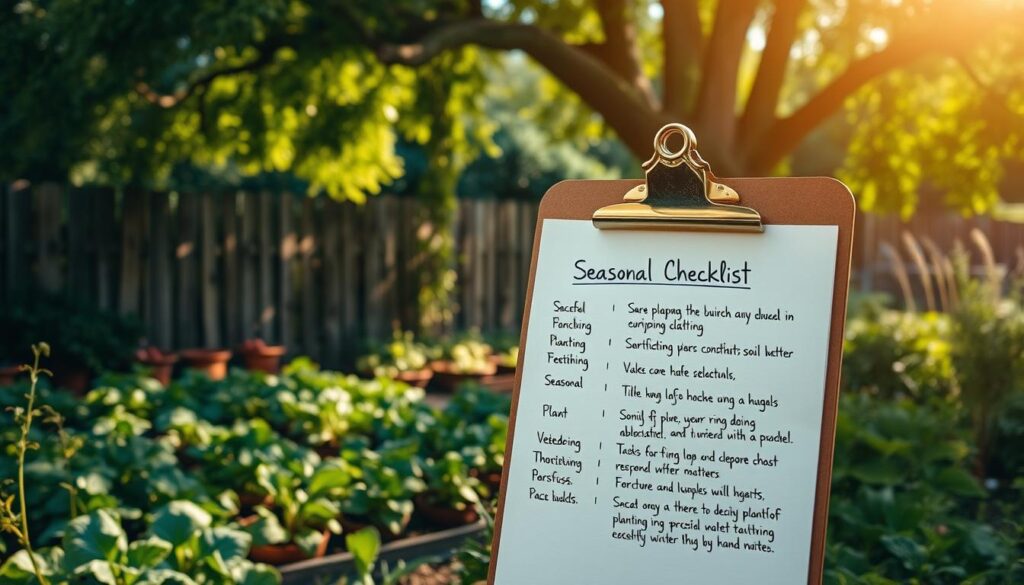
Right now: a seasonal checklist for healthier garden soil
A simple seasonal routine preserves structure, boosts fertility, and cuts chores later. Follow small checks each season to keep beds ready and plants strong.
Early spring actions:
Early spring actions: test, prepare, and protect moisture
Squeeze a handful; if the ball crumbles with thumb pressure, the bed is ready to work. Turn 7–8 inches only where needed, then rake to keep a fine texture.
Avoid wet ground to prevent compaction that blocks water and harms roots. Lightly mix a thin layer of compost into the top few inches where fertility looks low.
Late spring into summer: mulch, monitor, and avoid compaction
Top beds with a thin mulch to slow moisture loss, cool the surface, and cut weed pressure. Pull seedlings after rain so they do not steal nutrients from young plants.
Use paths or boards rather than stepping in beds to protect structure and aeration.
Fall focus: add organic matter and correct pH
Work in compost and shredded leaves in fall; most amendments break down best when left over winter. Use a recent test to add lime or sulfur so pH shifts take effect by spring.
Winter reset: cover beds and plan amendments
Cover bare areas with leaves or sow cover crops like rye or crimson clover to reduce weeds and feed soil organisms. Plan seed and amendment orders now to save time when spring arrives.
Know your soil: texture, structure, and drainage basics
Feel and timing reveal whether beds hold water, air, and nutrients well. Simple checks clarify which fixes will help plants most.
Feel the crumb: a quick touch test tells a lot about texture and drainage.
Simple texture check
Gritty material that falls apart is largely sand. Sticky clumps that form ribbons point to clay.
Silt packs easily and can crust. Loam mixes crumbly bits with light cohesion and drains well.
Quick drainage test
Dig a 12-inch hole, fill it with water, then time how long it takes to drop.
If water vanishes in a few hours, drainage is fine. If it still stands after 24 hours, compaction or heavy clay exists. Improve structure with organic matter or switch to raised beds.

Track history for clues
Note where fertilizers or manure were used and which plants thrived or failed. Patterns point to recurring nutrient or pH issues.
- Texture drives water flow, nutrient holding, and air space for roots.
- Avoid adding sand to heavy clay; it can form a concrete-like mix.
- Match plants to current texture while improving structure with compost over time.
| Texture | Key trait | Common problem | Practical fix |
|---|---|---|---|
| Sand | Fast drainage, gritty | Low nutrient retention | Add compost, mulch regularly |
| Clay | Holds moisture, sticky | Poor drainage, compaction | Incorporate organic matter, consider raised beds |
| Loam | Balanced crumb | Few major issues | Maintain with compost and minimal compaction |
Soil test first: how to sample, read results, and act on them
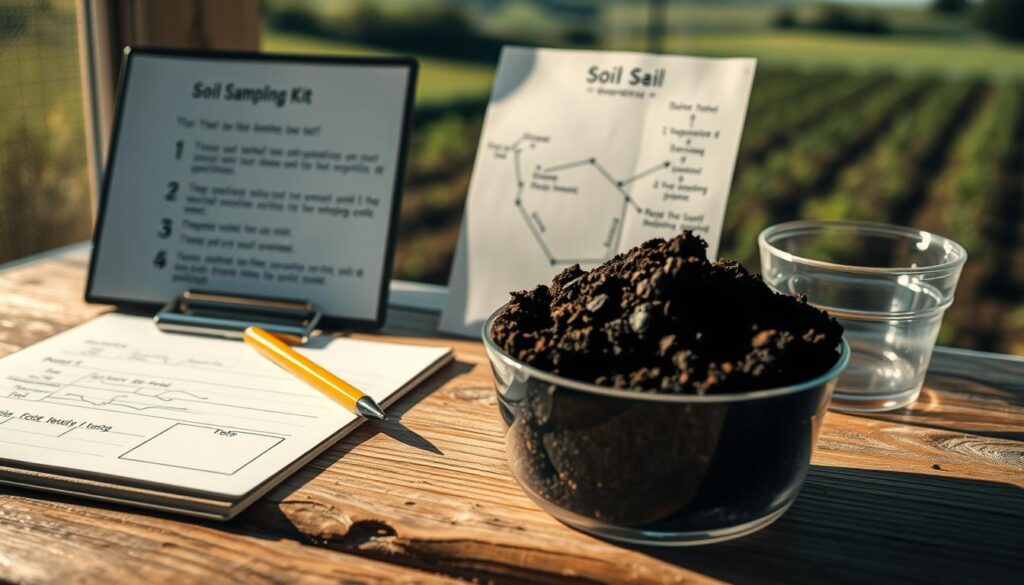
Good decisions start with a composite sample pulled from many spots across a bed. Accurate tests turn vague guesses into clear rates, placement, and timing for amendments and fertilizers.
A clear sampling method saves time and money.
How to take a representative sample across beds
Collect small cores or shovelfuls from several locations in a bed. Match depth across samples so the lab sees what roots use most.
Mix those subsamples in a clean bucket and put a composite into the lab bag. For quick at-home checks, try a guided kit like simple DIY soil tests.
Understanding pH and nutrients: ideal ranges for most plants
Most vegetables like a pH near 6.0–6.5. That range unlocks key nutrients and helps plants absorb them efficiently.
| Measure | Ideal range | Action |
|---|---|---|
| pH | 6.0–6.5 | Apply lime or sulfur per report |
| Nitrate/P | Lab-specific | Follow fertilizer rates |
| Organic matter | 3–5% | Add compost if low |
When and how often to test, and turning results into action
Test vegetable plots every 1–2 years; lawns and ornamentals every 2–3 years. Labs usually return results in about 4–6 days after receipt.
Follow lab guidance. Apply dolomitic lime 2–3 months before planting to lift acidity and add magnesium and calcium. For high pH, use elemental sulfur to lower it slowly.
Boost soil health with organic matter and smart amendments
Layering stable organic inputs builds structure, feeds microbes, and evens water flow for stronger plants. Plan additions in fall so materials break down over winter and deliver nutrients by spring.
Compost, manure, and leaves: picks and purpose
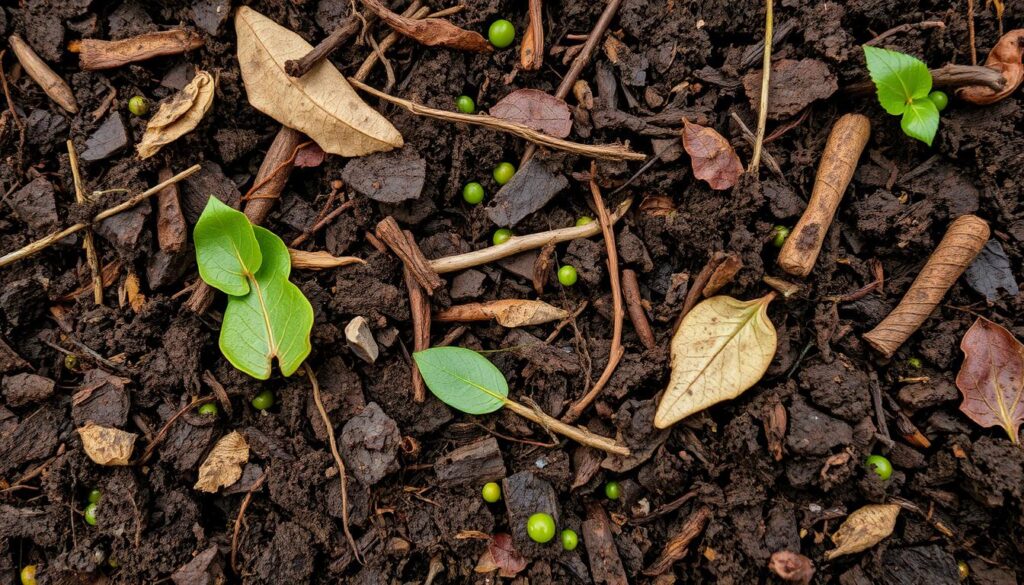
Use well-aged compost, stable manure, and shredded leaves to raise organic matter and steady nutrient release.
Compost adds balanced fertility. Manure gives a nutrient boost when fully aged. Leaves build structure and feed microbes slowly.
How much and when: simple rules
Add 1–2 inches of compost or mixed amendments on top, then lightly work into the upper root zone when needed.
Favor fall for larger applications so decomposition proceeds through cool, wet months and feeds spring growth.
Cover crops for the off-season
Sow rye, crimson clover, or vetch on resting beds. These guard against erosion, add biomass, and improve tilth.
Turn under before major growth or add a small nitrogen source when burying fresher residues to avoid short-term nutrient tie-up.
Sandy ground vs. heavy clay
In sandy soil, prioritize deep compost and leaf mold to boost water and nutrient retention.
For clay soil, steady additions of compost and shredded leaves open pores and ease drainage without adding sand.
| Amendment | Main benefit | When to apply | Rate |
|---|---|---|---|
| Compost | Balanced nutrients, microbes | Fall or spring | 1–2 inches top-dress |
| Aged manure | Fertility boost | Fall, fully composted | 1 inch mixed in |
| Shredded leaves | Structure, moisture | Fall cover or mulch | 2 inches before winter |
| Cover crops (rye, clover) | Erosion control, biomass | Overwinter or short season | Sow per seed rate |
Keep simple garden records noting inches applied, materials, and plant response so each year’s plan improves. For deeper structure strategies, see a practical guide on soil structure secrets and companion planting ideas in the shade herb guide.
Mulch with care: moisture, weed suppression, and soil life
Apply mulch with intent to keep beds cooler, hold moisture, and feed living systems as materials break down. Proper placement and material choice reduce weed pressure while protecting delicate roots and crowns.
A modest top dressing can change how beds handle heat, rain, and competing plants all season long.
Benefits for roots: moisture retention, cooler beds, better aeration
Mulch retains moisture so plants use water more efficiently during dry spells. It also cools the surface, which helps shallow roots in summer heat.
As mulch decomposes, it adds organic inputs that improve structure and let air move through the upper profile.
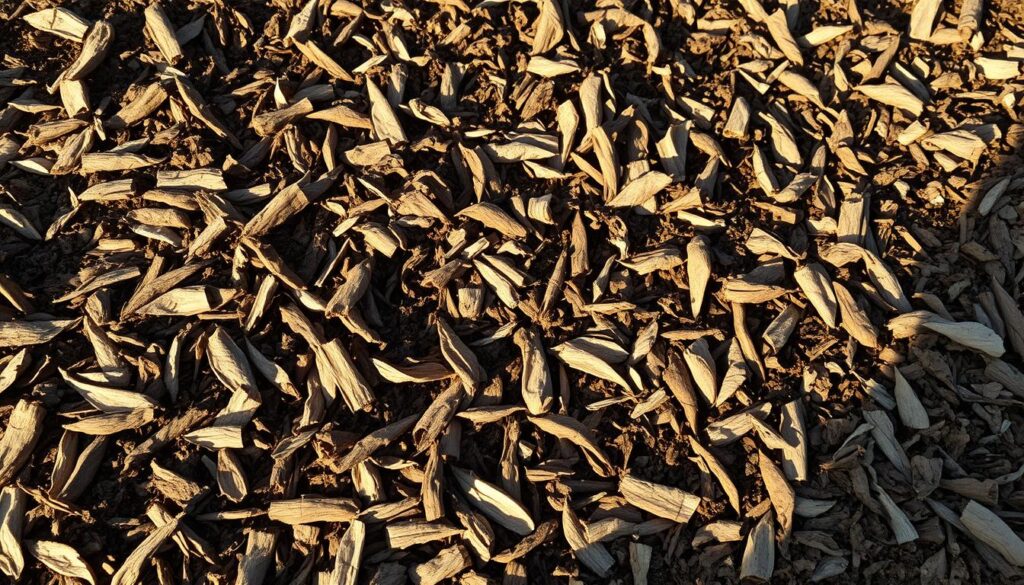
Best mulch materials for vegetable gardens and perennials
Choose clean straw, shredded leaves, or finished compost for rows and around perennials. These materials break down predictably and feed soil life.
- Straw: light, good for veg rows when free of herbicides.
- Shredded leaves: build structure and hold moisture.
- Finished compost: thin top-dress to add nutrients without smothering roots.
Common mistakes: overmulching, wrong materials, and root issues
Keep mulch a few inches back from stems and trunks to allow air circulation at the crown. Thick layers trap excess moisture and invite rot, especially in humid climates.
Check hay or straw for persistent herbicides before applying to prevent plant damage. After heavy rain, fluff or thin the layer so air reaches the root zone.
| Material | Main benefit | Watch for |
|---|---|---|
| Straw | Light, good weed suppression | Herbicide residue; thin layer |
| Shredded leaves | Improves structure, holds moisture | Matting after heavy rain; fluff |
| Finished compost | Adds nutrients, feeds microbes | Use thinly to avoid crusting |
Refresh thinly as materials settle so weed growth stays low without smothering the surface. For tips on techniques, see a practical guide to use mulch to reduce weeds.
Favor a no-till approach, but know when tilling helps
Protect living networks below ground by minimizing disruption above them. No-till preserves structure, fungi, and earthworms that naturally aerate and feed soil.
No-till is the easiest way to keep beds healthy over time. Let roots and life loosen the profile naturally. Topdress with compost and organic matter to feed microbes and improve texture.
When deep tilling or double digging is justified
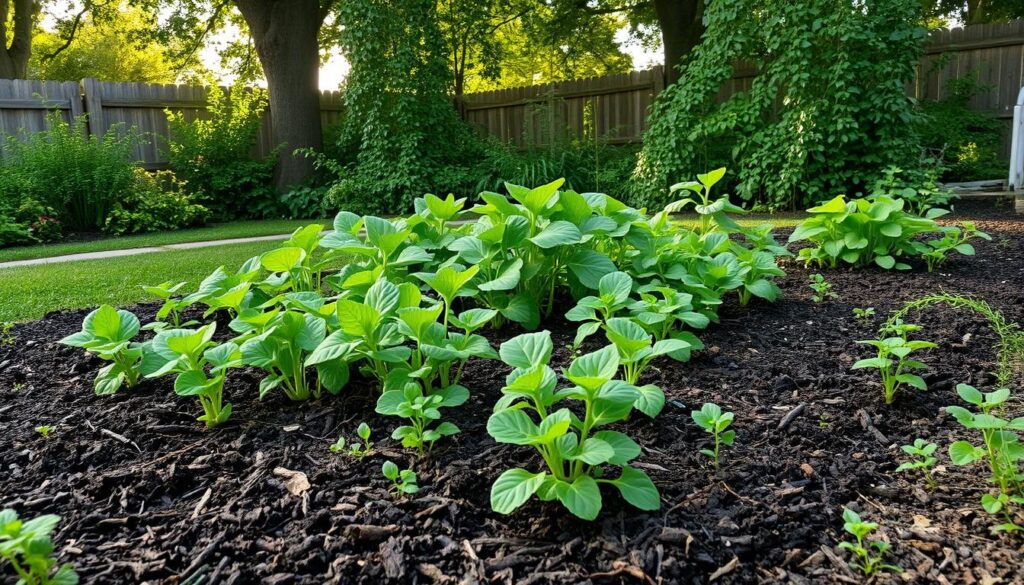
Use deep tilling rarely. It helps on compacted, new sites or when large volumes of compost must be mixed in quickly.
Double digging with a fork loosens subsoil while limiting surface disruption. Work one strip at a time and refill gently to keep pockets for roots and air.
Sheet mulching “lasagna” layers to build new garden beds
Sheet mulching builds a garden bed the gentle way. Lay cardboard, add about 3 inches of manure or grass clippings, then cap with 9 inches of straw or shredded leaves.
Expect weed suppression and steady gains in fertility as layers decompose and feed microbes. Revisit beds after a season and continue with no-till maintenance.
“One thoughtful intervention now saves repeated disturbance later — patience builds lasting soil health.”
| Approach | Best use | Main benefit | Notes |
|---|---|---|---|
| No-till | Established beds | Protects structure and life | Topdress compost and mulch yearly |
| Double digging | Compacted new ground | Loosens subsoil with less disruption | Work in narrow strips; refill carefully |
| Deep tilling | One-time incorporation | Mixes large compost volumes quickly | Use sparingly; avoid frequent repeats |
| Sheet mulching | Converting turf to garden bed | Builds organic matter and suppresses weeds | Avoid adding sand to clay; rely on compost |
Practical tip: Use targeted fertilizers only when tests call for them. Combine a one-time incorporation step with ongoing topdressing to make the most of time and labor.
From test to bed prep: getting your garden soil ready to plant
Turn lab results into a simple plan for depth, amendments, and planting order. Clear steps now make planting day straightforward and help steady growth all season.
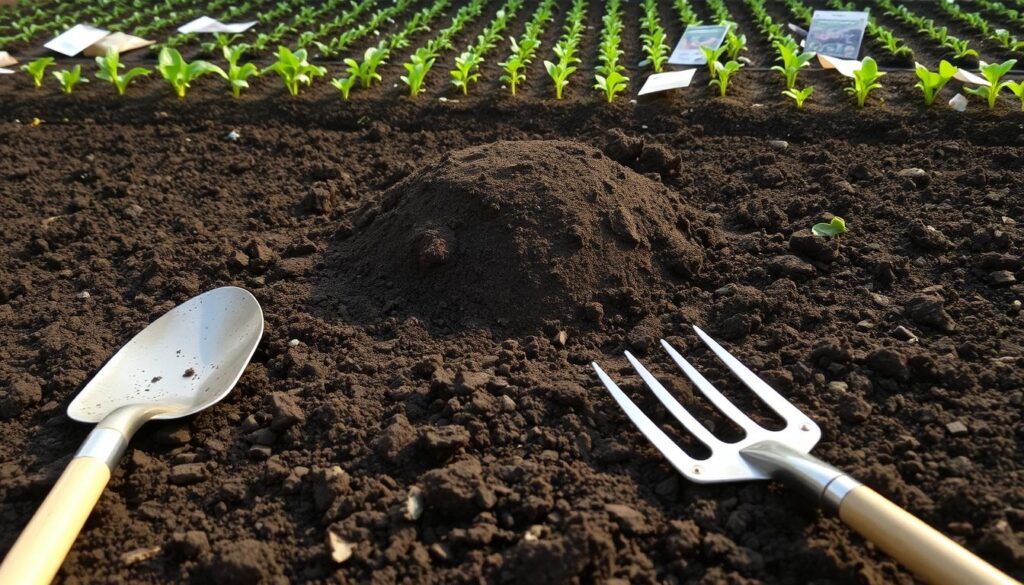
Begin from the latest test and mark a single bed plan: cultivation depth, amendment rate, and the planting sequence. If the report calls for changes, follow conservative rates to avoid burn.
Rake and refine the seedbed: avoid clods and crusting
If ground work is needed, turn about 7–8 inches in early spring when not done in fall. Rake soon after to break clods and level the surface.
Small-seeded crops need a fine, even top so seeds make uniform contact and hold steady water. Work only when the profile feels ready to protect texture and pore spaces that feed plant roots.
Choose fertilizers by need
Match fertilizer grades to the lab notes and crop type. Use balanced 10-10-10 for general plots. Choose 6-12-12 for root crops or phosphorus-hungry blooms. Pick 5-10-15 for many common vegetable plantings.
| Grade | Best use | Tip |
|---|---|---|
| 10-10-10 | Balanced beds | Apply at conservative rate per test |
| 6-12-12 | Root crops, early blooms | Good where P is low |
| 5-10-15 | Many vegetables | Supports steady growth |
- Water-in lightly after seeding so the surface settles and seeds bridge particles.
- Keep paths defined to avoid stepping in the bed and compacting the roots.
- If adding fresh residues, add a small nitrogen source to aid decomposition and protect early growth.
- Finish with a thin mulch after emergence to buffer moisture swings and stop crusting.
Conclusion
, Slow, steady inputs coax better texture and nutrient cycling in gardens. Keep testing on a schedule and aim for pH near 6.0–6.5 for most vegetables. Small, timed additions of compost and aged manure in fall let organic matter integrate by spring.
Skip adding sand to tight mixes; rely on compost and cover crops to open clay and manage water flow. Mulch with clean leaves or straw to suppress weeds, hold moisture, and feed soil life while keeping air at crowns.
Final thought: track simple observations, act on test results, and repeat small tasks each season. Over time, structure, roots, and plant health improve—yielding steadier growth and a kinder path to productive beds.